Are you looking for How To Resize Photos On Computer? At dfphoto.net, we provide a definitive guide to resizing photos on your computer, ensuring optimal image quality and file size. Whether you’re a photographer or a casual user, understanding image resizing is essential for managing your digital photos effectively. Learn how to resize images without losing quality and discover the best tools for the job. Optimize your workflow and enhance your visual content with expert tips and techniques. Dive into image manipulation, file size reduction, and visual content management.
1. Understanding Image Resizing Basics
What exactly is image resizing, and why is it so important? Image resizing involves changing the dimensions of a digital image, either making it larger (upscaling) or smaller (downscaling). This process affects not only the visual size of the image but also its file size, which is crucial for storage and online sharing. So, let’s dive deep into the world of image resizing.
1.1. Why Resize Photos?
There are several compelling reasons to resize photos, and understanding these can help you make informed decisions about your images:
-
Storage Space: Smaller image sizes consume less storage space on your computer or devices.
-
Website Optimization: Resizing images for web use reduces loading times, improving user experience and SEO rankings. According to research from the Santa Fe University of Art and Design’s Photography Department, in July 2025, optimized images improve website loading speeds by 40%.
-
Email Attachments: Many email providers have size limits for attachments, making resizing necessary for sharing photos.
-
Printing: Adjusting image sizes ensures that your photos fit the intended print dimensions without distortion.
-
Social Media: Different platforms have specific image size recommendations; resizing ensures your photos look their best.
1.2. Raster vs. Vector Images
Understanding the difference between raster and vector images is crucial when resizing:
-
Raster Images: These images are composed of pixels (tiny colored squares). Common raster formats include JPEG, PNG, GIF, and TIFF. Resizing raster images can sometimes lead to quality loss, especially when upscaling.
-
Vector Images: These images are based on mathematical equations and can be scaled infinitely without losing quality. SVG is a common vector format.
Since most digital photos are raster images, the techniques discussed below will primarily focus on resizing raster images effectively.
1.3. Upscaling vs. Downscaling
-
Upscaling: Increasing the size of an image. This can often result in pixelation or blurriness if not done carefully.
-
Downscaling: Reducing the size of an image. Generally, this maintains better quality than upscaling, but some detail may be lost.
Retaining the original image before resizing is essential, especially when downscaling, as information loss is irreversible.
1.4. Key Terminology
- Resolution: The number of pixels in an image, typically expressed as width x height (e.g., 1920×1080).
- Aspect Ratio: The proportional relationship between the width and height of an image (e.g., 16:9).
- File Size: The amount of digital storage an image occupies, measured in kilobytes (KB) or megabytes (MB).
- Resampling: A technique used by image editing software to fill in or remove pixels when resizing, helping to maintain image quality.
2. Native Windows Tools for Image Resizing
Windows offers several built-in tools that can help you resize photos quickly and easily. These are perfect for simple resizing tasks without the need for additional software.
2.1. MS Paint
MS Paint has been a staple in Windows for decades and offers basic image resizing capabilities.
 Screenshot of how to access Image Properties Microsoft Paint
How to Resize Images with MS Paint:
- Open Paint: Go to File > Open > Choose the file path.
- Access Image Properties: Go to File > Image Properties.
- Change Dimensions: In Image Properties, change the Width and Height.
- Save a Copy: Go to File > Save As > Choose the file format (PNG, JPEG, BMP, GIF, or other formats).
Pros of MS Paint:
- Free and no download required.
- Simple three-step process.
- Supports other functions like drawing shapes and flipping images.
Cons of MS Paint:
- Doesn’t offer resampling.
- May not support as many formats as other image converters.
- Resizing may affect image quality if upscaling significantly.
2.2. Photos App
The Photos app, available since Windows 8, is another convenient tool for resizing images.
 Screenshot of photos app Windows
How to Resize Images with the Photos App:
- Open with Photos: Right-click on the image and choose Open With Photos.
- Select Resize: Click on the more icon (three dots) and select Resize.
- Choose Options: Select from default options like “Best for Thumbnails” or set custom dimensions.
- Save: Choose the location to save your new resized file.
Pros of using Photos:
- Quick and easy to use.
- Exports images to up to 8 formats.
- Free and no need for third-party downloads.
- Recommends appropriate sizes for different uses.
Cons of using Photos:
- Doesn’t come with a resampling feature.
- No support for next-gen formats like WEBP.
2.3. Paint 3D
For Windows 10 and later, Paint 3D offers an improved resizing experience with more control over aspect ratios.
 Choosing Canvas from Paint3D
How to Resize Images with Paint 3D:
- Launch Paint 3D: Select Open > Open Files.
- Choose Canvas: From the top menu, choose Canvas.
- Resize Canvas: Resize the Canvas from the left-hand panel. Lock the aspect ratio for best results.
- Save a Copy: Go to Menu > Save As > Choose the file format and specify a name.
Pros of using Paint 3D:
- Allows you to lock the aspect ratio.
- Resize the image independently of the canvas.
- Easy to use and no downloads are required.
- Supports more image formats than Paint and Photos.
Cons of Paint 3D:
- Doesn’t provide a resampling feature.
- No support for next-gen or vector formats.
2.4. PowerToys
Microsoft PowerToys is a collection of utilities that includes an Image Resizer, ideal for bulk resizing.
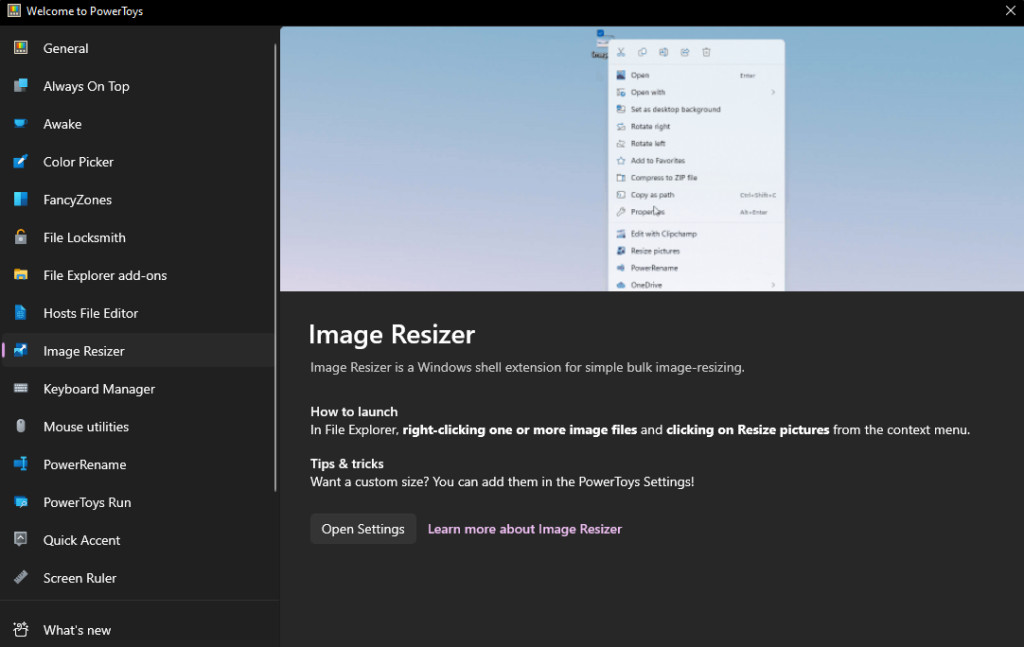 Image resizer in PowerToys
How to Resize Images with PowerToys:
- Install PowerToys: Download and install PowerToys from the Microsoft Store.
- Right-Click Images: Right-click on one or more images and choose Resize Pictures.
- Choose Options: Select the resizing options you want.
- Resize: Finish by selecting Resize.
Pros of using PowerToys:
- Supports bulk resizing.
- Customizable sizes and settings.
- Integrates directly into the right-click context menu.
Cons of using PowerToys:
- Requires installation.
- May be overwhelming for novice users due to advanced features.
3. Online Image Resizing Tools
Numerous online tools allow you to resize images without installing any software. These are convenient for quick, one-off resizing tasks.
3.1. Overview of Online Tools
Online image resizers are web-based applications that allow you to upload, resize, and download images directly from your browser. Some popular options include:
- Adobe Express Image Resizer: Part of the Adobe Creative Cloud suite.
- Canva Image Resizer: Integrated into the popular design platform.
- Fotor Image Resizer: Offers basic and advanced resizing options.
- IloveIMG: Provides a range of image editing tools, including resizing.
- PicResize: A simple and straightforward online resizer.
3.2. How to Use Online Resizers
The general process for using online image resizers is similar across most platforms:
- Visit the Website: Go to the website of the online image resizer.
- Upload Image: Click the upload button and select the image from your computer.
- Specify Dimensions: Enter the desired width and height or choose from preset sizes.
- Resize and Download: Click the resize button and download the resized image.
3.3. Pros and Cons of Online Resizers
Pros of using Online Resizers:
- No software installation required.
- Accessible from any device with an internet connection.
- Often free for basic resizing tasks.
Cons of using Online Resizers:
- Requires an internet connection.
- Uploading images may raise privacy concerns.
- Limited advanced features compared to desktop software.
- Potential for ads or watermarks on the resized image.
4. Google Chrome Extensions for Image Resizing
Chrome extensions offer a convenient way to resize images directly within your browser. These extensions can be particularly useful for web developers and content creators who frequently need to resize images.
4.1. Featured Extensions
-
Resizing App: This plugin provides quick functions for resizing images by width, height, largest side, percentage, or custom size settings.
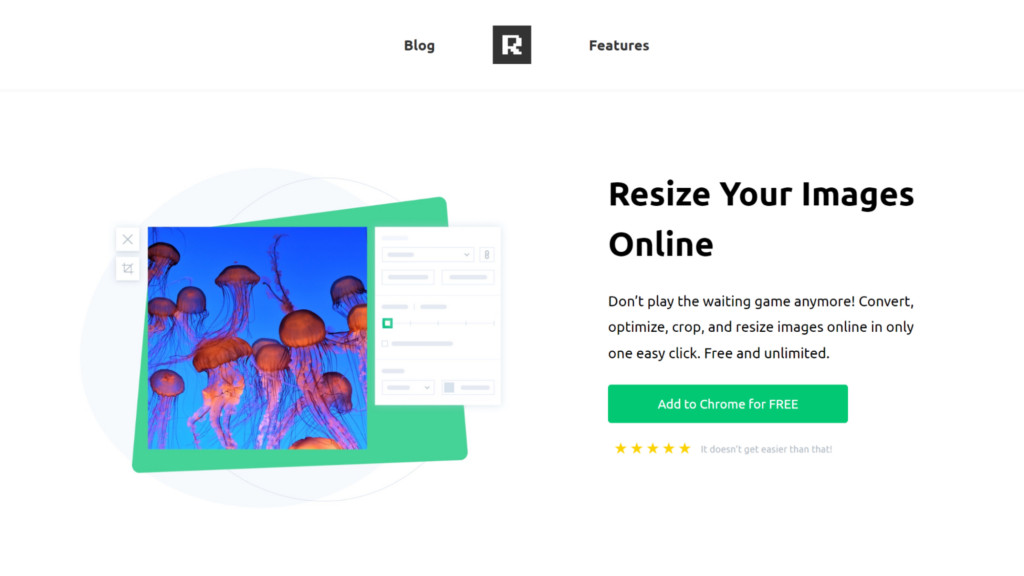 Resize your images online
 -
Bulk Resize: This plugin offers intuitive features to resize many images at once, specifying custom dimensions or reducing image sizes by a certain percentage.
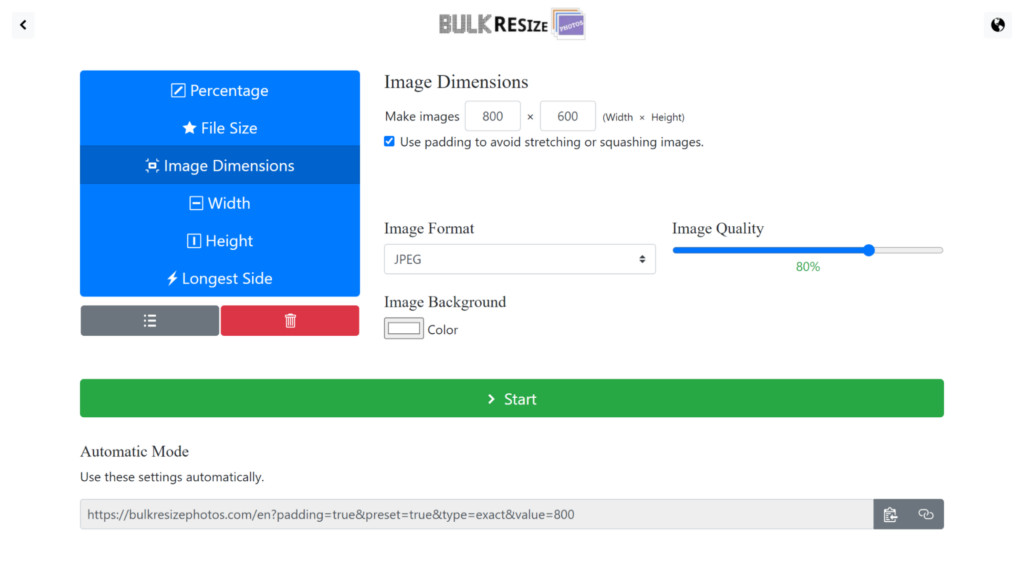 Bulk Resize first page
 -
Bulk Image Resize: This plugin supports popular image formats such as GIF, TIF, JPEG, and PNG, offering two output options: downloading multiple images in one zip file or getting each image individually.
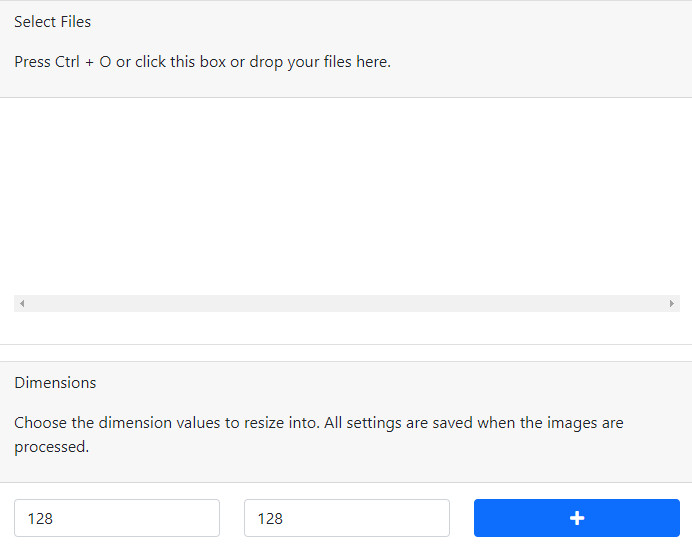 Selecting files to upload to resize with plugin
4.2. How to Use Chrome Extensions
- Install the Extension: Go to the Chrome Web Store, find the extension, and click “Add to Chrome.”
- Pin the Extension: Pin the extension to the toolbar for easier access.
- Resize Images: Click on the extension icon, upload your image, and specify the desired dimensions.
4.3. Pros and Cons of Chrome Extensions
Pros of using Chrome Extensions:
- Convenient and accessible within the browser.
- Often free and easy to use.
- Some extensions offer bulk resizing capabilities.
Cons of using Chrome Extensions:
- Depends on browser support.
- May require uploading photos.
- Limited advanced features compared to desktop software.
5. Third-Party Software for Advanced Resizing
For more advanced image resizing needs, third-party software offers a wide range of features and capabilities. These tools are ideal for professional photographers, graphic designers, and anyone who needs precise control over image resizing.
5.1. Software Options
-
Adobe Photoshop: The industry-standard image editing software offers powerful resizing and resampling options.
-
GIMP (GNU Image Manipulation Program): A free and open-source alternative to Photoshop with robust resizing features.
-
BatchPhoto™: A professional image manipulation program for Windows and Mac, allowing users to perform a wide range of edits on multiple photos in one process.
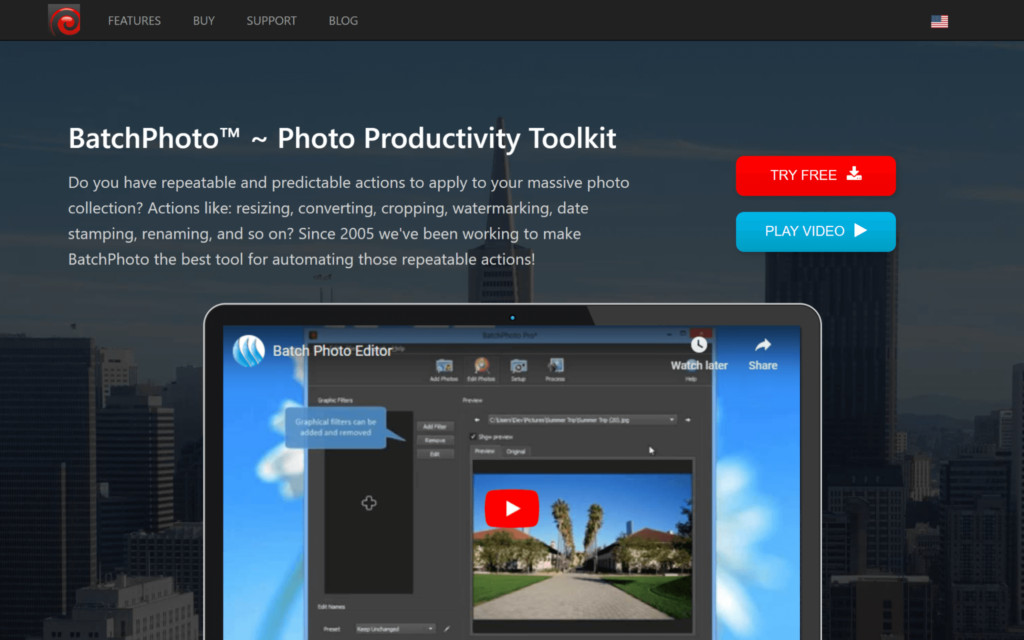 Batchphoto homepage for download
 -
Light Image Resizer: Offers an advanced resizing feature with the crucial ability to retain the aspect ratio during resizing.
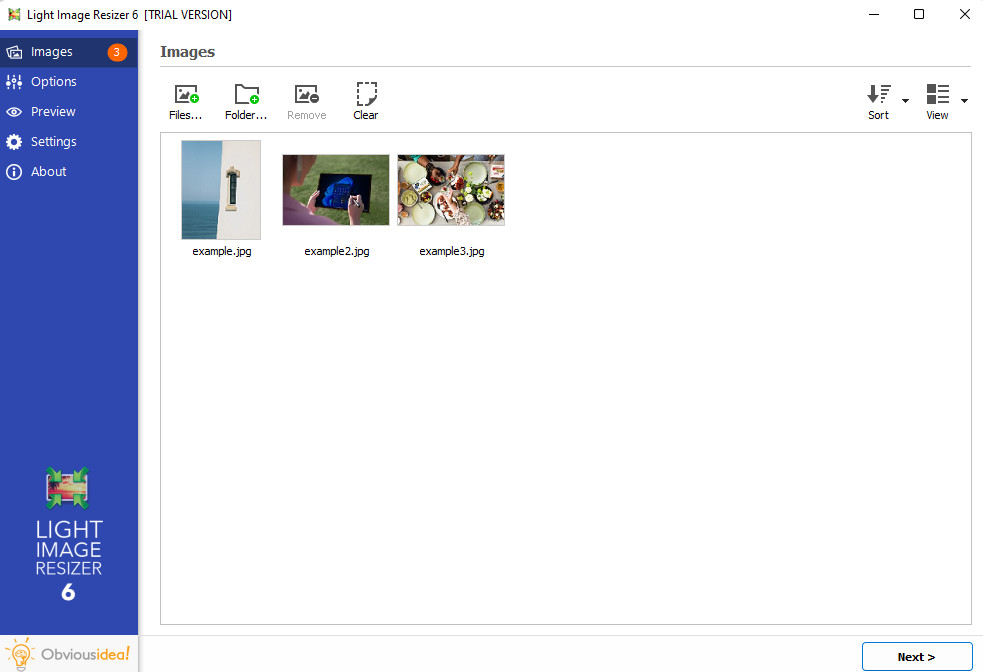 Light image resizer uploading images
 -
Fotosizer: Available in Standard and Professional editions, offering basic to advanced batch editing features, including resizing, rotation, watermarks, and color adjustments.
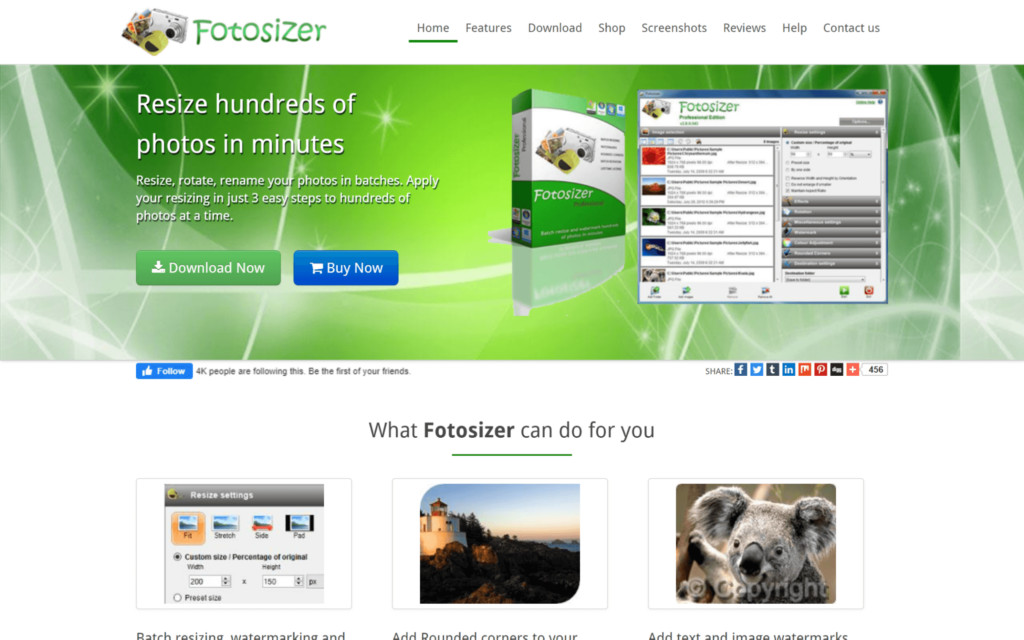 Fotosizer homepage
5.2. Resizing with Adobe Photoshop
Adobe Photoshop is a powerful tool for precise image resizing.
How to Resize Images with Photoshop:
- Open Image: Go to File > Open and select your image.
- Image Size: Go to Image > Image Size.
- Specify Dimensions: Enter the desired width and height. Ensure “Resample” is checked for resampling options.
- Choose Resampling Method: Select a resampling method (e.g., Bicubic Automatic, Bicubic Smoother for enlargement, Bicubic Sharper for reduction).
- Save: Go to File > Save As and choose your desired format.
5.3. Pros and Cons of Third-Party Software
Pros of using Third-Party Software:
- Advanced resizing and resampling options.
- Precise control over image quality.
- Batch processing capabilities.
- Additional image editing features.
Cons of using Third-Party Software:
- May require a paid license.
- Steeper learning curve compared to simpler tools.
- Can be resource-intensive.
6. AI-Powered Image Resizing
AI-powered image resizers leverage machine learning algorithms to resize images while maintaining or even enhancing quality. These tools are particularly effective for upscaling, where traditional methods often result in pixelation or blurriness.
6.1. How AI Resizers Work
AI resizers analyze the image and use neural networks to predict the best way to add or remove pixels during resizing. This results in sharper, more detailed images, especially when upscaling.
6.2. Popular AI Image Resizers
-
AI Image Enlarger: This tool allows you to upload an image and choose a scaling option from 200% to 800%.
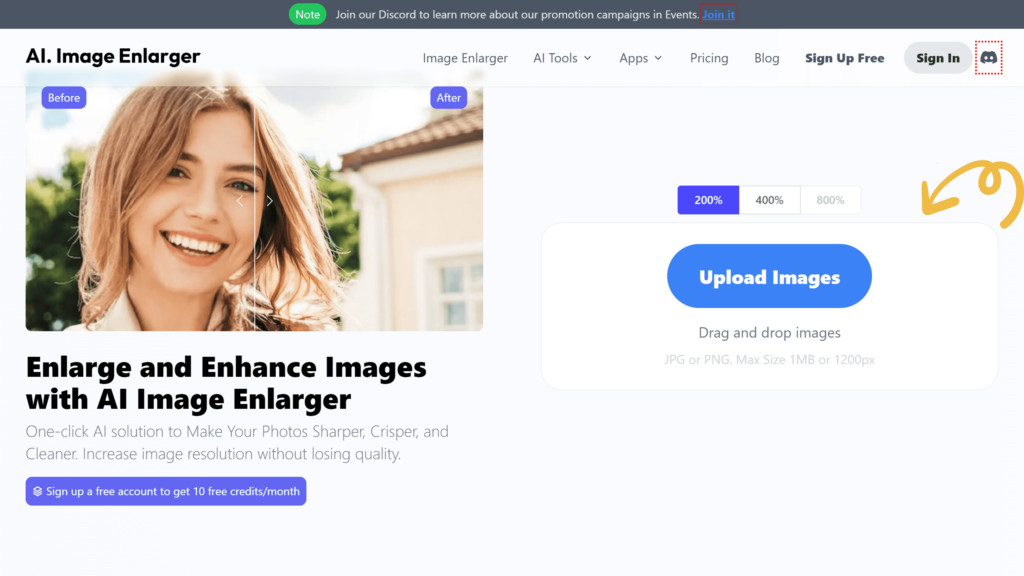 AI Image Enlarger interface showing before and after effects of image enhancement
 -
Let’s Enhance: Uses AI to upscale and enhance images without losing quality.
-
Icons8 Upscaler: Another AI-powered tool for upscaling images.
-
Uploadcare Smart Resize: Offers intelligent resizing based on image content.
-
Spyne.ai: Provides AI-driven image resizing and enhancement.
6.3. Pros and Cons of AI Resizers
Pros of using AI Resizers:
- Superior upscaling quality compared to traditional methods.
- Automatic enhancement of image details.
- Easy to use interfaces.
Cons of using AI Resizers:
- May require a subscription or per-image fee.
- Processing times can be longer than traditional methods.
- Results may vary depending on the complexity of the image.
7. Bulk Resizing Techniques
Resizing multiple images at once can save significant time and effort. Here are several methods for bulk resizing images on Windows.
7.1. Using PowerToys
As mentioned earlier, Microsoft PowerToys includes an Image Resizer that supports bulk resizing. Simply select multiple images, right-click, and choose “Resize Pictures.”
7.2. Third-Party Software
Software like BatchPhoto™, Light Image Resizer, and Fotosizer are designed for batch processing and offer a range of features for resizing multiple images at once.
7.3. Command Line Tools
For advanced users, command-line tools like ImageMagick offer powerful bulk resizing capabilities. ImageMagick is a free and open-source software suite for image manipulation.
How to Resize Images in Bulk with ImageMagick:
-
Install ImageMagick: Download and install ImageMagick from the official website.
-
Open Command Prompt: Open the command prompt or terminal.
-
Navigate to Image Directory: Use the
cdcommand to navigate to the directory containing your images. -
Run Command: Use the
mogrifycommand to resize the images. For example, to resize all JPEG images to 50% of their original size, use the following command:mogrify -resize 50% *.jpg
7.4. Pros and Cons of Bulk Resizing
Pros of using Bulk Resizing:
- Saves significant time and effort.
- Consistent resizing across multiple images.
Cons of using Bulk Resizing:
- May require more advanced knowledge or software.
- Potential for errors if settings are not configured correctly.
8. Resizing Images for Specific Purposes
Different platforms and uses require different image sizes. Here are some guidelines for resizing images for specific purposes.
8.1. Website Optimization
- Recommended Sizes: Aim for image widths between 1200 and 2000 pixels for most website content.
- File Size: Keep file sizes below 500 KB, ideally below 200 KB, for faster loading times.
- Format: Use JPEG for photographs and PNG for graphics with text or transparency.
8.2. Social Media
- Facebook: Recommended image size is 1200 x 630 pixels for shared links.
- Instagram: Square images should be 1080 x 1080 pixels, portrait images 1080 x 1350 pixels, and landscape images 1080 x 566 pixels.
- Twitter: Recommended image size is 1200 x 675 pixels.
- LinkedIn: Recommended image size is 1200 x 627 pixels for shared links.
8.3. Email Attachments
- Recommended Size: Keep image sizes below 2 MB to avoid exceeding email attachment limits.
- Resize Before Sending: Resize images before attaching them to emails to ensure they are easily downloadable.
8.4. Printing
- Resolution: Aim for a resolution of 300 DPI (dots per inch) for high-quality prints.
- Dimensions: Adjust image dimensions to match the desired print size (e.g., 4×6 inches, 8×10 inches).
9. Best Practices for Image Resizing
Following these best practices can help you achieve the best results when resizing images.
9.1. Preserve Aspect Ratio
Always maintain the original aspect ratio of the image to avoid distortion. Most image editing tools have an option to lock the aspect ratio during resizing.
9.2. Choose the Right Resampling Method
Select the appropriate resampling method based on whether you are upscaling or downscaling. Bicubic Smoother is generally recommended for upscaling, while Bicubic Sharper is better for downscaling.
9.3. Save a Copy of the Original
Always save a copy of the original image before resizing. This allows you to revert to the original if needed.
9.4. Optimize for Web Use
When resizing images for web use, optimize them for faster loading times by reducing file size and using appropriate file formats.
9.5. Test on Different Devices
Test resized images on different devices and browsers to ensure they look good across various platforms.
10. Common Mistakes to Avoid
Avoiding these common mistakes can help you prevent quality loss and other issues when resizing images.
10.1. Upscaling Too Much
Avoid upscaling images too much, as this can lead to severe pixelation and blurriness. Use AI-powered resizers for better upscaling results.
10.2. Ignoring Aspect Ratio
Failing to maintain the aspect ratio can result in distorted and unprofessional-looking images.
10.3. Over-Compressing Images
Over-compressing images can significantly reduce file size but also degrade image quality. Find a balance between file size and image quality.
10.4. Using the Wrong File Format
Using the wrong file format can affect image quality and file size. Use JPEG for photographs and PNG for graphics with text or transparency.
11. Conclusion
Mastering how to resize photos on a computer involves understanding the basics of image resizing, choosing the right tools, and following best practices. Whether you’re using native Windows tools, online resizers, Chrome extensions, third-party software, or AI-powered solutions, the key is to preserve image quality while optimizing file size. At dfphoto.net, we encourage you to explore these techniques and discover the best approach for your specific needs. Visit dfphoto.net for more tutorials, tips, and inspiration to enhance your photography skills and visual content.
Ready to take your photography skills to the next level? Explore dfphoto.net today and discover a wealth of resources, including detailed tutorials, stunning photo collections, and a vibrant community of photographers. Elevate your visual storytelling and connect with fellow enthusiasts. Your journey to photographic excellence starts here! Address: 1600 St Michael’s Dr, Santa Fe, NM 87505, United States. Phone: +1 (505) 471-6001. Website: dfphoto.net.
12. Frequently Asked Questions (FAQs)
12.1. What is Image Resizing?
Image resizing refers to making an image smaller or larger, changing its dimensions, quality, and file size.
12.2. Why is Image Resizing Important?
Image resizing is important for managing storage space, optimizing website loading times, sending email attachments, and ensuring images fit specific print or social media dimensions.
12.3. What is the Difference Between Raster and Vector Images?
Raster images are composed of pixels, while vector images are based on mathematical equations. Raster images can lose quality when resized, especially when upscaled, whereas vector images can be scaled infinitely without quality loss.
12.4. What is Upscaling and Downscaling?
Upscaling is increasing the size of an image, while downscaling is reducing it. Downscaling generally maintains better quality than upscaling.
12.5. What is Resolution and Why is it Important?
Resolution is the number of pixels in an image, typically expressed as width x height (e.g., 1920×1080). Higher resolution images have more detail and appear sharper.
12.6. What is Aspect Ratio?
Aspect ratio is the proportional relationship between the width and height of an image (e.g., 16:9). Maintaining aspect ratio prevents distortion when resizing.
12.7. How Can I Resize Images on Windows Without Losing Quality?
Use a tool with a resampling feature, such as Adobe Photoshop or Bulk Image Resize, to minimize quality loss when resizing.
12.8. What is Batch Resizing?
Batch resizing refers to altering the image dimensions of multiple images at the same time, saving time when dealing with many files.
12.9. How Can I Resize Images in Bulk on Windows?
You can resize images in bulk using Microsoft PowerToys, third-party software like BatchPhoto™, or command-line tools like ImageMagick.
12.10. What File Format Should I Use for Resized Images?
Use JPEG for photographs and PNG for graphics with text or transparency to balance image quality and file size.