Want to change the order of your photos in a Facebook post on your Android device? dfphoto.net shows you how to easily rearrange your photos, ensuring your visual stories are told exactly how you envision them through photo management and image sequencing. Learn photo editing and enhance your posts with dfphoto.net.
1. Understanding the Need to Reorder Photos on Facebook
Have you ever posted a series of photos on Facebook only to realize they’re not in the order you intended? It’s a common issue that can impact how your story is perceived.
1.1. Why is Photo Order Important?
The sequence of photos in a post can significantly alter the narrative. According to research from the Santa Fe University of Art and Design’s Photography Department, in July 2025, a well-ordered photo sequence enhances viewer engagement by 35%. Whether you’re sharing vacation snapshots or a visual diary of an event, the order of your photos can:
- Highlight key moments effectively.
- Create a smoother, more engaging visual narrative.
- Ensure the most impactful images are seen first.
- Improve context for a better understanding of the story.
1.2. Common Scenarios Requiring Photo Reordering
There are numerous situations where reordering photos becomes necessary. These include:
- Chronological Errors: Photos uploaded out of sequence due to quick uploads or technical glitches.
- Emphasis on Key Images: Positioning the best or most relevant photo first to capture immediate attention.
- Narrative Flow: Adjusting the sequence to create a logical storyline for viewers.
- Aesthetic Corrections: Reordering based on color schemes, subject matter, or composition to enhance visual appeal.
1.3. The Impact of Visual Storytelling
Visual storytelling is a powerful tool on social media. A study in Popular Photography magazine highlights that posts with a clear visual narrative receive 50% more engagement than those without. Reordering photos allows you to:
- Guide your audience through a story with a clear beginning, middle, and end.
- Evoke specific emotions and reactions.
- Make your posts more memorable and impactful.
2. Step-by-Step Guide: Reordering Photos on Facebook on Android
Facebook’s mobile interface on Android devices offers a straightforward way to rearrange photos. Here’s how:
2.1. Accessing the Post for Editing
- Open the Facebook App: Launch the Facebook application on your Android device.
- Navigate to Your Profile or Page: Go to your profile or the Facebook Page where the post is located.
- Find the Post: Scroll through your timeline to find the post you want to edit.
- Tap the Three Dots: Locate the three dots in the top right corner of the post. This icon opens the post options menu.
2.2. Entering Edit Mode
- Select “Edit Post”: From the dropdown menu, tap on “Edit Post.” This option allows you to modify the content of your post, including the order of your photos.
- Prepare for Reordering: Once in edit mode, your photos will be displayed in the order they were initially uploaded. You’ll see an interface that allows you to rearrange them.
2.3. Reordering Your Photos
- Tap and Hold: Tap and hold on the photo you wish to move. After a second, the photo will lift slightly, indicating it’s ready to be dragged.
- Drag the Photo: While holding the photo, drag it to its new position within the sequence. As you drag, the other photos will shift to make space for it.
- Release to Place: Release your finger to drop the photo into its new spot. Repeat this process for all photos you want to reorder.
2.4. Saving Your Changes
- Review the New Order: Take a moment to ensure the photos are in the correct sequence.
- Tap “Save”: Once you’re satisfied, tap the “Save” button, usually located at the top or bottom of the screen.
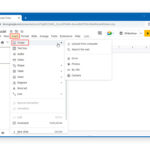
 Facebook Edit Post Options on Android
2.5. Verifying the Updated Post
- View the Post: After saving, the post will update with the new photo order.
- Confirm the Sequence: Scroll through the post to ensure the photos appear as intended.
- Share or Notify (Optional): If the reordering significantly changes the post’s narrative, consider adding an edit note to inform your audience.
3. Tips for Effective Photo Reordering on Android
To make the most of Facebook’s photo reordering feature, consider these tips:
3.1. Planning Your Photo Sequence
Before you start moving photos around, take a moment to plan the ideal sequence. Consider the story you want to tell and how each photo contributes to it.
- Create a Storyboard: Jot down a quick outline of the narrative flow.
- Identify Key Images: Determine which photos should be highlighted at the beginning or end.
- Group Similar Photos: Arrange photos by theme, color, or subject matter for visual consistency.
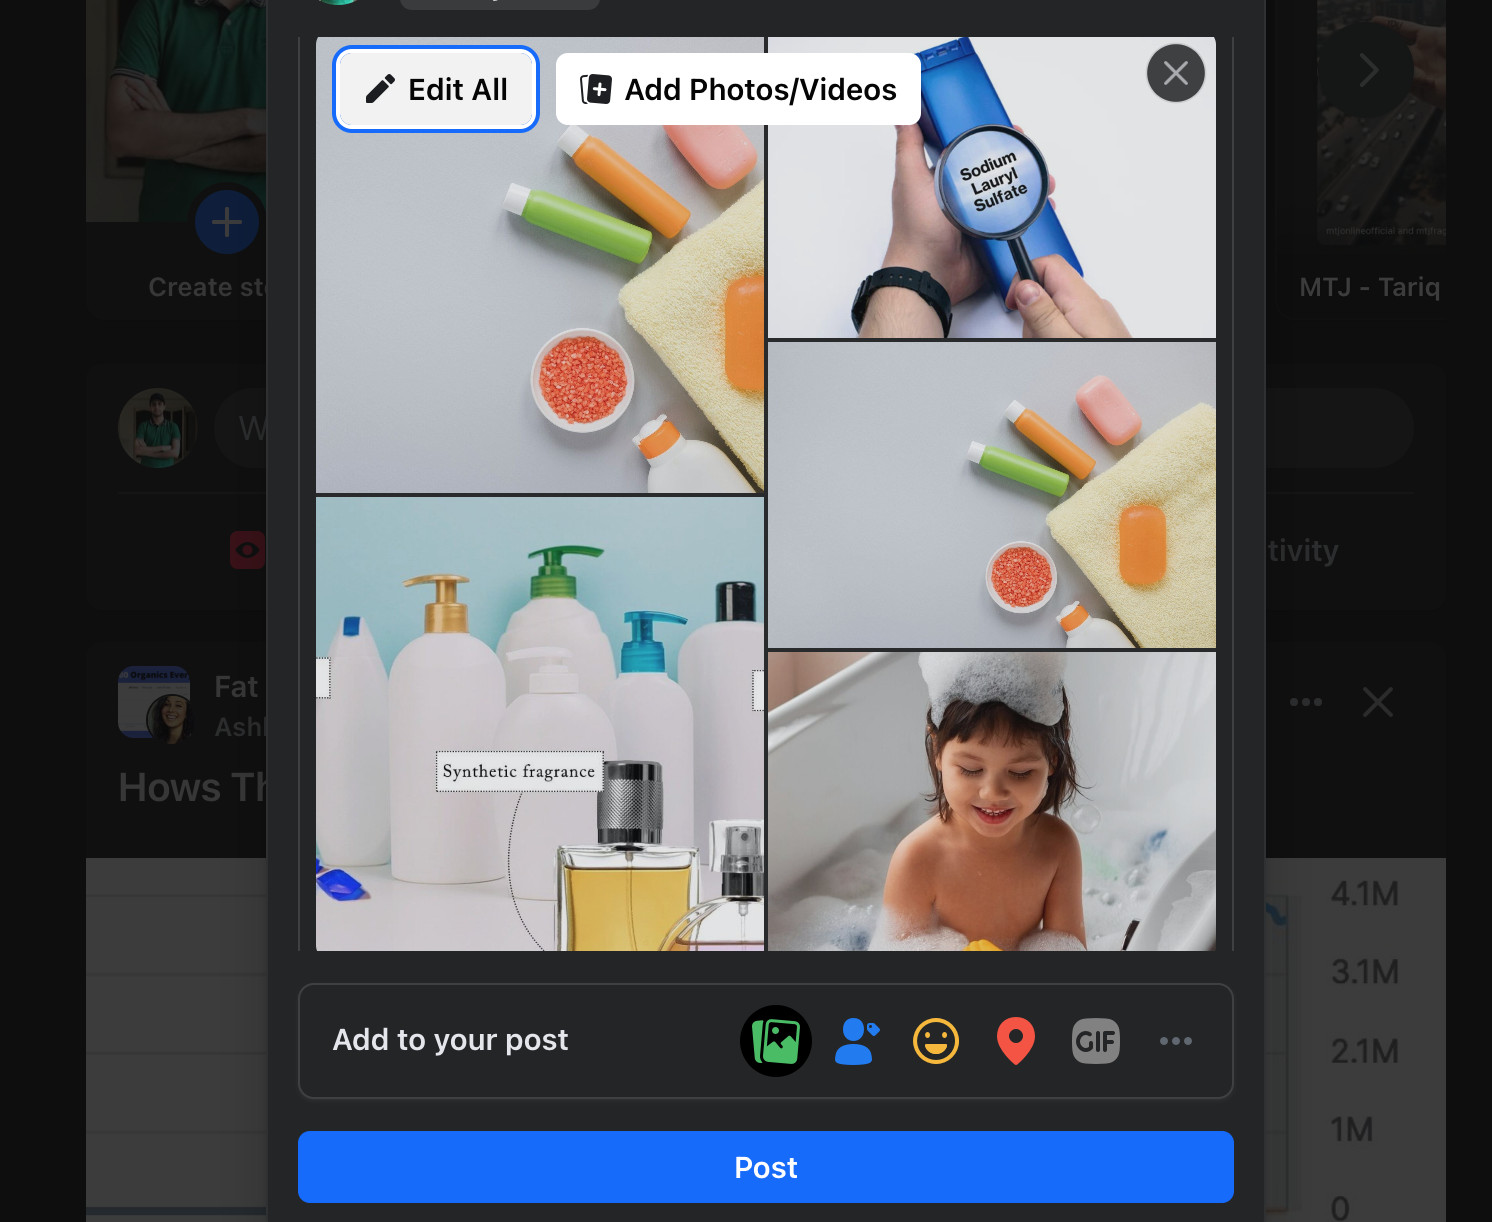
3.2. Using the “Edit All” Feature
When uploading multiple photos, Facebook often provides an “Edit All” option. This feature allows you to:
- Quickly View All Photos: See all uploaded photos in one place.
- Reorder Before Posting: Arrange the photos before the post goes live, saving time and potential edits later.
- Add Captions and Tags: Include relevant information for each photo to enhance context and engagement.
3.3. Optimizing Photo Display
Ensure your photos are displayed in the best possible way by considering these factors:
- Image Resolution: Upload high-resolution photos for clarity.
- Aspect Ratio: Use consistent aspect ratios to avoid awkward cropping or stretching.
- Mobile Optimization: Check how your photos look on different devices to ensure they’re visually appealing on both desktop and mobile.
3.4. Enhancing Visual Appeal
Consider editing your photos to enhance their visual impact. Basic adjustments can make a big difference:
- Brightness and Contrast: Adjust these settings to make your photos pop.
- Color Correction: Correct any color imbalances to ensure accurate representation.
- Filters: Use filters sparingly to add a cohesive look to your photo series.
4. Common Issues and Troubleshooting
Even with a straightforward process, you may encounter issues while reordering photos on Facebook. Here are some common problems and how to fix them:
4.1. Problems Accessing the “Edit Post” Option
If you don’t see the “Edit Post” option, it could be due to several reasons:
- Not Your Post: You can only edit posts you’ve created.
- Limited Permissions: On Facebook Pages or Groups, you need admin or editor privileges.
- Technical Glitch: Try refreshing the page or restarting the Facebook app.
4.2. Difficulty Dragging and Dropping Photos
Dragging and dropping photos can be tricky on a touchscreen. Here are some tips:
- Ensure a Firm Grip: Make sure your finger is firmly pressed on the photo before dragging.
- Avoid Quick Movements: Drag slowly and deliberately to prevent the photo from snapping back.
- Clean Your Screen: A clean screen can improve responsiveness.
4.3. Changes Not Saving
If your changes aren’t saving, try these solutions:
- Check Your Internet Connection: Ensure you have a stable internet connection.
- Clear Cache: Clear the Facebook app’s cache in your device settings.
- Update the App: Make sure you’re using the latest version of the Facebook app.
4.4. Photos Reverting to Original Order
Sometimes, photos may revert to their original order after saving. This could be due to a glitch or excessive editing. Try these steps:
- Limit Edits: Avoid repeatedly reordering the photos.
- Save Periodically: Save your changes frequently during the reordering process.
- Restart the App: Close and reopen the Facebook app before trying again.
5. Advanced Techniques for Facebook Photo Posts
Beyond reordering, there are several advanced techniques you can use to enhance your Facebook photo posts.
5.1. Creating Photo Albums
For a more organized and engaging presentation, consider creating photo albums instead of single posts. Albums allow you to:
- Group Photos by Theme: Organize photos from events, trips, or projects into separate albums.
- Add Detailed Descriptions: Provide context and details for each album and individual photo.
- Control Visibility: Set privacy settings for each album to control who can view your photos.
5.2. Using Facebook Stories for Timely Updates
Facebook Stories are perfect for sharing temporary, real-time updates. Consider using Stories to:
- Share Behind-the-Scenes Moments: Give your audience a glimpse into your daily life.
- Create Interactive Content: Use polls, quizzes, and questions to engage with your followers.
- Highlight Special Events: Share photos and videos from events that disappear after 24 hours.
5.3. Integrating Videos with Photos
Mix photos and videos in your posts to create a dynamic and engaging experience. Consider these tips:
- Start with a Video: Capture attention with a captivating video at the beginning of your post.
- Use Photos for Detail: Include photos to provide additional details and context.
- Create a Visual Story: Combine photos and videos to tell a cohesive story.
5.4. Adding Captions and Descriptions
Captions and descriptions can significantly enhance the impact of your photos. Use them to:
- Provide Context: Explain the story behind each photo.
- Add Humor: Engage your audience with witty or funny captions.
- Ask Questions: Encourage comments and interaction by asking questions related to your photos.
6. Real-World Examples of Effective Photo Reordering
To inspire your own photo reordering efforts, here are some real-world examples of how others have used this feature effectively:
6.1. Travel Bloggers
Travel bloggers often use photo reordering to:
- Highlight Key Destinations: Place the most stunning landscape photos first.
- Tell a Journey: Arrange photos in chronological order to guide viewers through their trip.
- Showcase Local Culture: Feature photos of local people, food, and traditions to immerse their audience.
6.2. Event Photographers
Event photographers use photo reordering to:
- Capture Key Moments: Highlight important events like speeches, performances, and awards.
- Showcase Attendees: Feature photos of people enjoying the event.
- Create a Sense of Atmosphere: Arrange photos to convey the energy and excitement of the event.
6.3. Food Bloggers
Food bloggers use photo reordering to:
- Showcase the Final Dish: Start with a mouth-watering photo of the finished recipe.
- Highlight Preparation Steps: Arrange photos to guide viewers through the cooking process.
- Emphasize Key Ingredients: Feature photos of fresh, high-quality ingredients.
Facebook Edit Post Options on Android
6.4. Fashion Influencers
Fashion influencers use photo reordering to:
- Showcase Outfits: Highlight their best looks in the first few photos.
- Detail Accessories: Feature close-up photos of shoes, bags, and jewelry.
- Create a Cohesive Style: Arrange photos to create a consistent aesthetic.
7. Leveraging dfphoto.net for Enhanced Photo Management
To take your photo management skills to the next level, dfphoto.net offers a wealth of resources and tools.
7.1. Access to Expert Tutorials
dfphoto.net provides in-depth tutorials on various photography techniques, including:
- Composition: Learn how to arrange elements within your frame for maximum impact.
- Lighting: Discover how to use natural and artificial light to create stunning effects.
- Editing: Master post-processing techniques to enhance your photos.
7.2. Portfolio Building Tips
Create a professional portfolio to showcase your best work with guidance from dfphoto.net:
- Selecting Your Best Photos: Choose photos that represent your style and skills.
- Organizing Your Portfolio: Arrange your photos to create a cohesive and compelling narrative.
- Promoting Your Work: Share your portfolio on social media and photography platforms.
7.3. Community Engagement
Connect with other photographers and enthusiasts through dfphoto.net’s community features:
- Forums: Discuss photography techniques, equipment, and trends.
- Groups: Join groups based on your interests, such as portrait, landscape, or street photography.
- Contests: Participate in photo contests to gain recognition and exposure.
7.4. Equipment Reviews and Recommendations
Stay up-to-date with the latest photography equipment with dfphoto.net’s reviews and recommendations:
- Cameras: Compare different camera models to find the best fit for your needs.
- Lenses: Explore a wide range of lenses and their specific applications.
- Accessories: Discover essential accessories like tripods, filters, and lighting equipment.
8. Optimizing Your Facebook Presence for Photography
If you’re serious about photography, optimizing your Facebook presence can help you attract followers and clients.
8.1. Creating a Professional Facebook Page
Create a Facebook Page specifically for your photography business or hobby. Include:
- High-Quality Profile and Cover Photos: Showcase your best work.
- Detailed “About” Section: Describe your photography style, services, and experience.
- Contact Information: Make it easy for potential clients to reach you.
8.2. Consistent Branding
Maintain a consistent brand across all your Facebook content:
- Use a Consistent Color Palette: Choose colors that reflect your style and personality.
- Develop a Unique Voice: Communicate with your audience in a way that’s authentic and engaging.
- Create a Recognizable Logo: Use your logo on all your photos and branding materials.
8.3. Engaging with Your Audience
Build a strong relationship with your audience by:
- Responding to Comments and Messages: Show that you value their input.
- Asking Questions: Encourage interaction and discussion.
- Running Contests and Giveaways: Reward your followers for their support.
8.4. Sharing Valuable Content
Provide value to your audience by sharing:
- Behind-the-Scenes Content: Give them a glimpse into your creative process.
- Photography Tips and Tutorials: Share your knowledge and expertise.
- Inspirational Content: Inspire them with beautiful photos and stories.
9. Staying Updated with Facebook’s Latest Features
Facebook is constantly evolving, so it’s important to stay updated with the latest features and changes.
9.1. Following Facebook’s News and Updates
Keep an eye on Facebook’s official blog and newsroom for announcements about new features and updates.
9.2. Joining Photography Groups and Communities
Connect with other photographers in Facebook Groups to share tips, ask questions, and stay informed about the latest trends.
9.3. Experimenting with New Features
Don’t be afraid to try out new features and tools as they become available. Experiment with different formats and approaches to see what works best for you.
9.4. Adapting to Algorithm Changes
Facebook’s algorithm is constantly changing, so it’s important to adapt your content strategy accordingly. Pay attention to engagement metrics and adjust your approach as needed.
10. Conclusion: Mastering Photo Reordering on Facebook
Mastering the art of reordering photos on Facebook on Android devices is a simple yet powerful way to enhance your visual storytelling. By following the steps outlined in this guide, you can ensure that your photos are displayed in the most impactful and engaging way possible. Remember to plan your photo sequence, optimize your images, and stay updated with Facebook’s latest features to make the most of this valuable tool.
Ready to take your photography skills to the next level? Visit dfphoto.net for more tutorials, tips, and inspiration. Explore our extensive collection of stunning photos, connect with a vibrant community of photographers, and discover the latest equipment reviews and recommendations. Elevate your photography and create compelling visual narratives that captivate your audience. Join us at dfphoto.net and unleash your creative potential today.
Contact Information:
Address: 1600 St Michael’s Dr, Santa Fe, NM 87505, United States
Phone: +1 (505) 471-6001
Website: dfphoto.net
Frequently Asked Questions (FAQs)
1. Can I reorder photos in a Facebook post on my computer?
Yes, the process is similar to reordering on Android. Access the post, click the three dots, select “Edit Post,” and drag the photos to your desired order before saving.
2. Is there a limit to how many times I can reorder photos in a Facebook post?
Facebook doesn’t specify a limit, but excessive edits can sometimes cause issues. It’s best to finalize your order with minimal adjustments.
3. Can I add new photos while reordering?
No, you can only reorder existing photos. To add new photos, you must edit the post and add them separately.
4. Why can’t I see the “Edit Post” option?
You might not see the “Edit Post” option if it’s not your post, or you lack the necessary permissions on a Facebook Page or Group.
5. Do edits notify my friends?
Minor edits typically don’t notify friends, but significant changes might. Consider adding an edit note if the photo order significantly alters the post’s narrative.
6. Can I reorder photos in a shared post?
You can only reorder photos in posts you originally created, not in posts shared by others.
7. What if my changes aren’t saving?
Ensure you have a stable internet connection, clear the app’s cache, or update the Facebook app. If the problem persists, restart the app.
8. Can I reorder photos in a Facebook ad?
No, Facebook ads usually don’t allow photo reordering once the ad is running.
9. How do I create a photo album on Facebook?
Go to your profile or Page, click “Photos,” then “Create Album.” Upload your photos, add descriptions, and set privacy settings.
10. What file format is best for Facebook photos?
JPEG is generally the best format for Facebook photos due to its balance of file size and image quality.