Removing a contact photo on your iPhone is a straightforward process, allowing you to personalize your contact list or simply declutter it. If you’re looking to remove a photo associated with one of your contacts, here’s how you can do it directly from your iPhone.
First, the most direct method to remove a contact photo is through the Contacts app itself. This method should work seamlessly on most iPhones running iOS 13.3 and later.
-
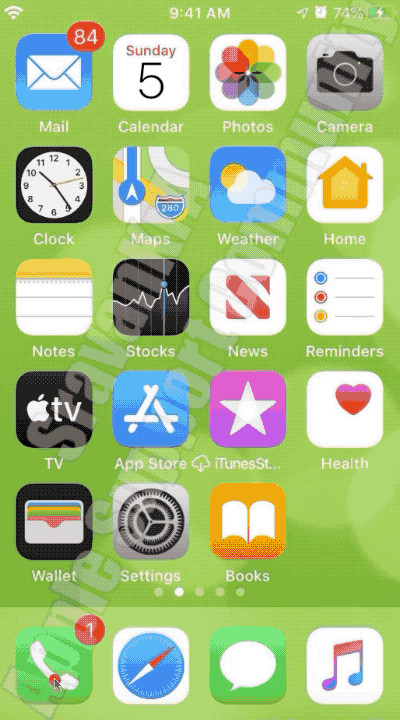
Open the Contacts App: Locate and tap the “Contacts” app icon on your iPhone’s home screen.
-
Select the Contact: Scroll through your contact list or use the search bar at the top to find the contact whose photo you wish to remove. Tap on the contact’s name to open their contact card.
-
Edit the Contact: In the top right corner of the contact card, you will see an “Edit” button. Tap on it to enter edit mode.
-
Access the Photo Options: At the top left, you’ll see the contact’s photo (or the default initials if no photo is assigned). Tap on the photo itself. This will open up photo editing options.
-
Choose “Remove Photo”: In the photo options menu, you should see several choices, including “Choose Photo,” “Take Photo,” and importantly, “Remove Photo.” Tap on “Remove Photo.”
-
Confirm and Done: After tapping “Remove Photo,” the contact’s photo will be removed, reverting to the default initials. Tap “Done” in the top right corner to save your changes.
 Removing contact photo on iPhone SE iOS 13.3 through Contacts App step-by-step, showing edit contact and remove photo options.
However, some users have reported encountering situations where the “Delete” or “Remove Photo” option is not immediately visible. If you find yourself in this situation, here are a few troubleshooting steps to consider:
-
Ensure You’re in Edit Mode: Double-check that you are indeed in the “Edit” mode of the contact. The “Remove Photo” option only appears when you are editing the contact details.
-
Tap “Edit” Under the Photo Again: Sometimes, after tapping on the contact photo in edit mode, you might need to tap the “Edit” option again that appears right under the photo to reveal the “Remove Photo” option. This second tap sometimes brings up the full suite of photo editing choices.
-
Consider Synced Accounts: Are your contacts synced with accounts like Facebook, LinkedIn, or Google? If so, the contact photo might be linked from these external sources. While removing the photo through the Contacts app should override this, in rare cases, you might need to check the settings of those synced accounts or the respective apps to manage contact photos. However, for most users, the direct “Remove Photo” option within the iPhone Contacts app should suffice.
-
Restart Your iPhone: As a general troubleshooting step for any unexpected software behavior, restarting your iPhone can often resolve temporary glitches. Power off your iPhone, wait a few seconds, and then power it back on. Then, try removing the contact photo again.
 Step-by-step GIF demonstrating how to delete a contact picture on iPhone iOS 13.3 using the Contacts application.
In conclusion, removing a contact photo on your iPhone is usually a simple task done directly within the Contacts app. By following these steps, you can easily customize your contact visuals. If you encounter any issues, these troubleshooting tips should help you resolve them and successfully remove the contact photo you desire.