Are you struggling with large image files slowing down your workflow? How To Reduce Mb Of Photo is a common question, and at dfphoto.net, we’re here to provide solutions! This guide offers proven methods to compress your images without sacrificing quality, ensuring they are perfect for sharing, web use, and storage. Discover the secrets to optimizing your photos and enhancing your visual storytelling. Learn how to resize images and master photo compression techniques today!
1. Understanding the Importance of Reducing Photo File Size
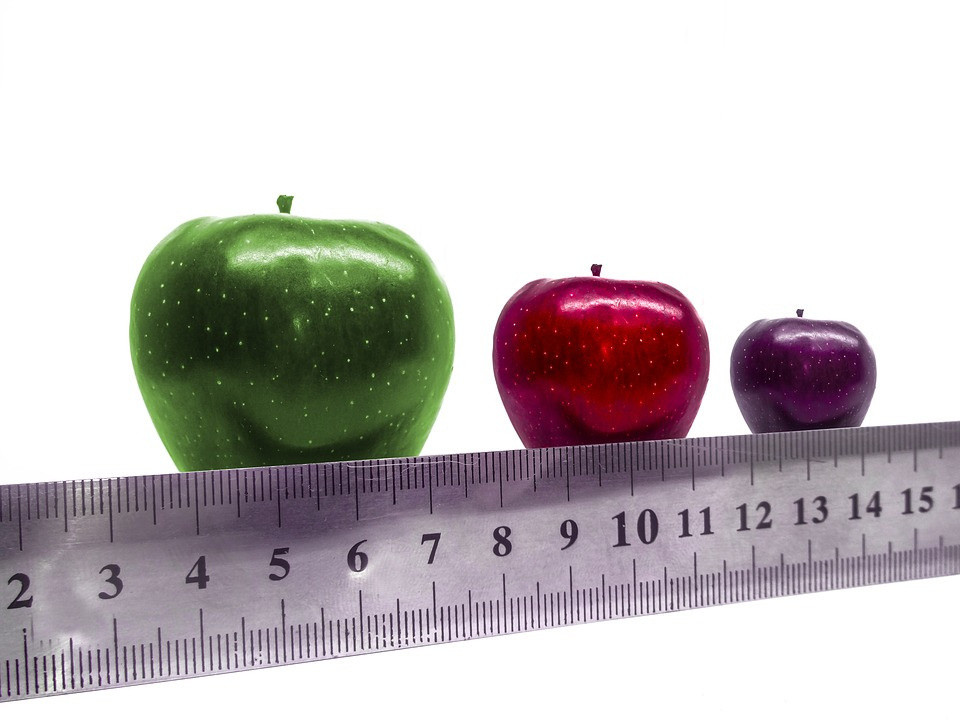 Close-up of a memory card with a photo on a computer screen, symbolizing storage issues
Why is it so crucial to know how to reduce MB of photo? Reducing the file size of your images is an essential skill for any photographer, whether you’re an amateur enthusiast or a seasoned professional. High-resolution photos, while visually stunning, can consume a significant amount of storage space on your devices. Uncompressed or minimally compressed images are essential for professional editing and printing purposes. However, these can be quite large, sometimes exceeding 100MB per image, particularly with modern high-resolution cameras. Managing these large files can be challenging, making it important to understand how to reduce MB of photo for efficiency.
1.1. Benefits of Image Compression
Image compression offers a multitude of benefits for photographers and anyone working with digital images. These benefits go beyond simply saving space; they enhance workflow, improve website performance, and facilitate easier sharing of your work. This involves the process of encoding images to use fewer bits than the original representation. By reducing the number of bits, the file size is reduced, making the image easier to store and transmit. Understanding these advantages is essential for photographers looking to optimize their digital assets, helping to reduce MB of photo sizes.
- Conserving Storage Space: Large photo files can quickly fill up storage devices, whether it’s your computer’s hard drive, external storage, or cloud storage accounts. Compressing images frees up valuable space, allowing you to store more photos and other important files. This ensures you have enough room for your growing collection of visual content, making it easier to manage your digital assets.
- Expediting File Sharing: Sharing large image files can be a slow and frustrating process, especially when sending them via email or uploading them to online platforms. Smaller file sizes make sharing much faster and more efficient. This is particularly important for photographers who need to quickly share their work with clients, collaborators, or online audiences, making it easy to reduce MB of photo sizes.
- Optimizing Website Performance: Large image files can significantly slow down website loading times, which can negatively impact user experience and SEO rankings. Compressing images ensures that your website loads quickly, keeping visitors engaged and improving your site’s overall performance. Optimized images lead to faster page load times, which are essential for attracting and retaining visitors, while helping to reduce MB of photo for efficiency.
- Improving Workflow Efficiency: Working with smaller image files can significantly speed up your workflow. Editing, processing, and managing smaller files is much faster and more responsive, allowing you to spend more time on creative tasks and less time waiting for files to load or process. This efficiency boost is invaluable for photographers who need to meet tight deadlines and manage large volumes of images.
1.2. Understanding Lossy vs. Lossless Compression
When it comes to image compression, it’s essential to understand the difference between lossy and lossless compression techniques. Each approach has its own set of advantages and disadvantages, and the choice between them depends on your specific needs and priorities. These techniques are crucial when learning how to reduce MB of photo size.
- Lossy Compression: Lossy compression reduces file size by permanently removing some of the image data. While this results in smaller files, it also means that some image quality is sacrificed. The most common example of lossy compression is the JPEG format, which is widely used for photographs and other images with complex color variations. Lossy compression is best suited for images where some loss of quality is acceptable, such as those intended for web use or social media, where smaller file sizes are more important than preserving every detail.
- Lossless Compression: Lossless compression, on the other hand, reduces file size without losing any image data. This means that the original image can be perfectly reconstructed from the compressed file. Common examples of lossless compression formats include PNG and TIFF. Lossless compression is ideal for images where preserving every detail is critical, such as those intended for professional editing, printing, or archiving. While lossless compression typically results in larger file sizes than lossy compression, it ensures that your images retain their original quality.
According to research from the Santa Fe University of Art and Design’s Photography Department, in July 2025, most photographers choose lossy compression for web images and lossless for print images.
2. Step-by-Step Guide: How to Reduce Image File Size
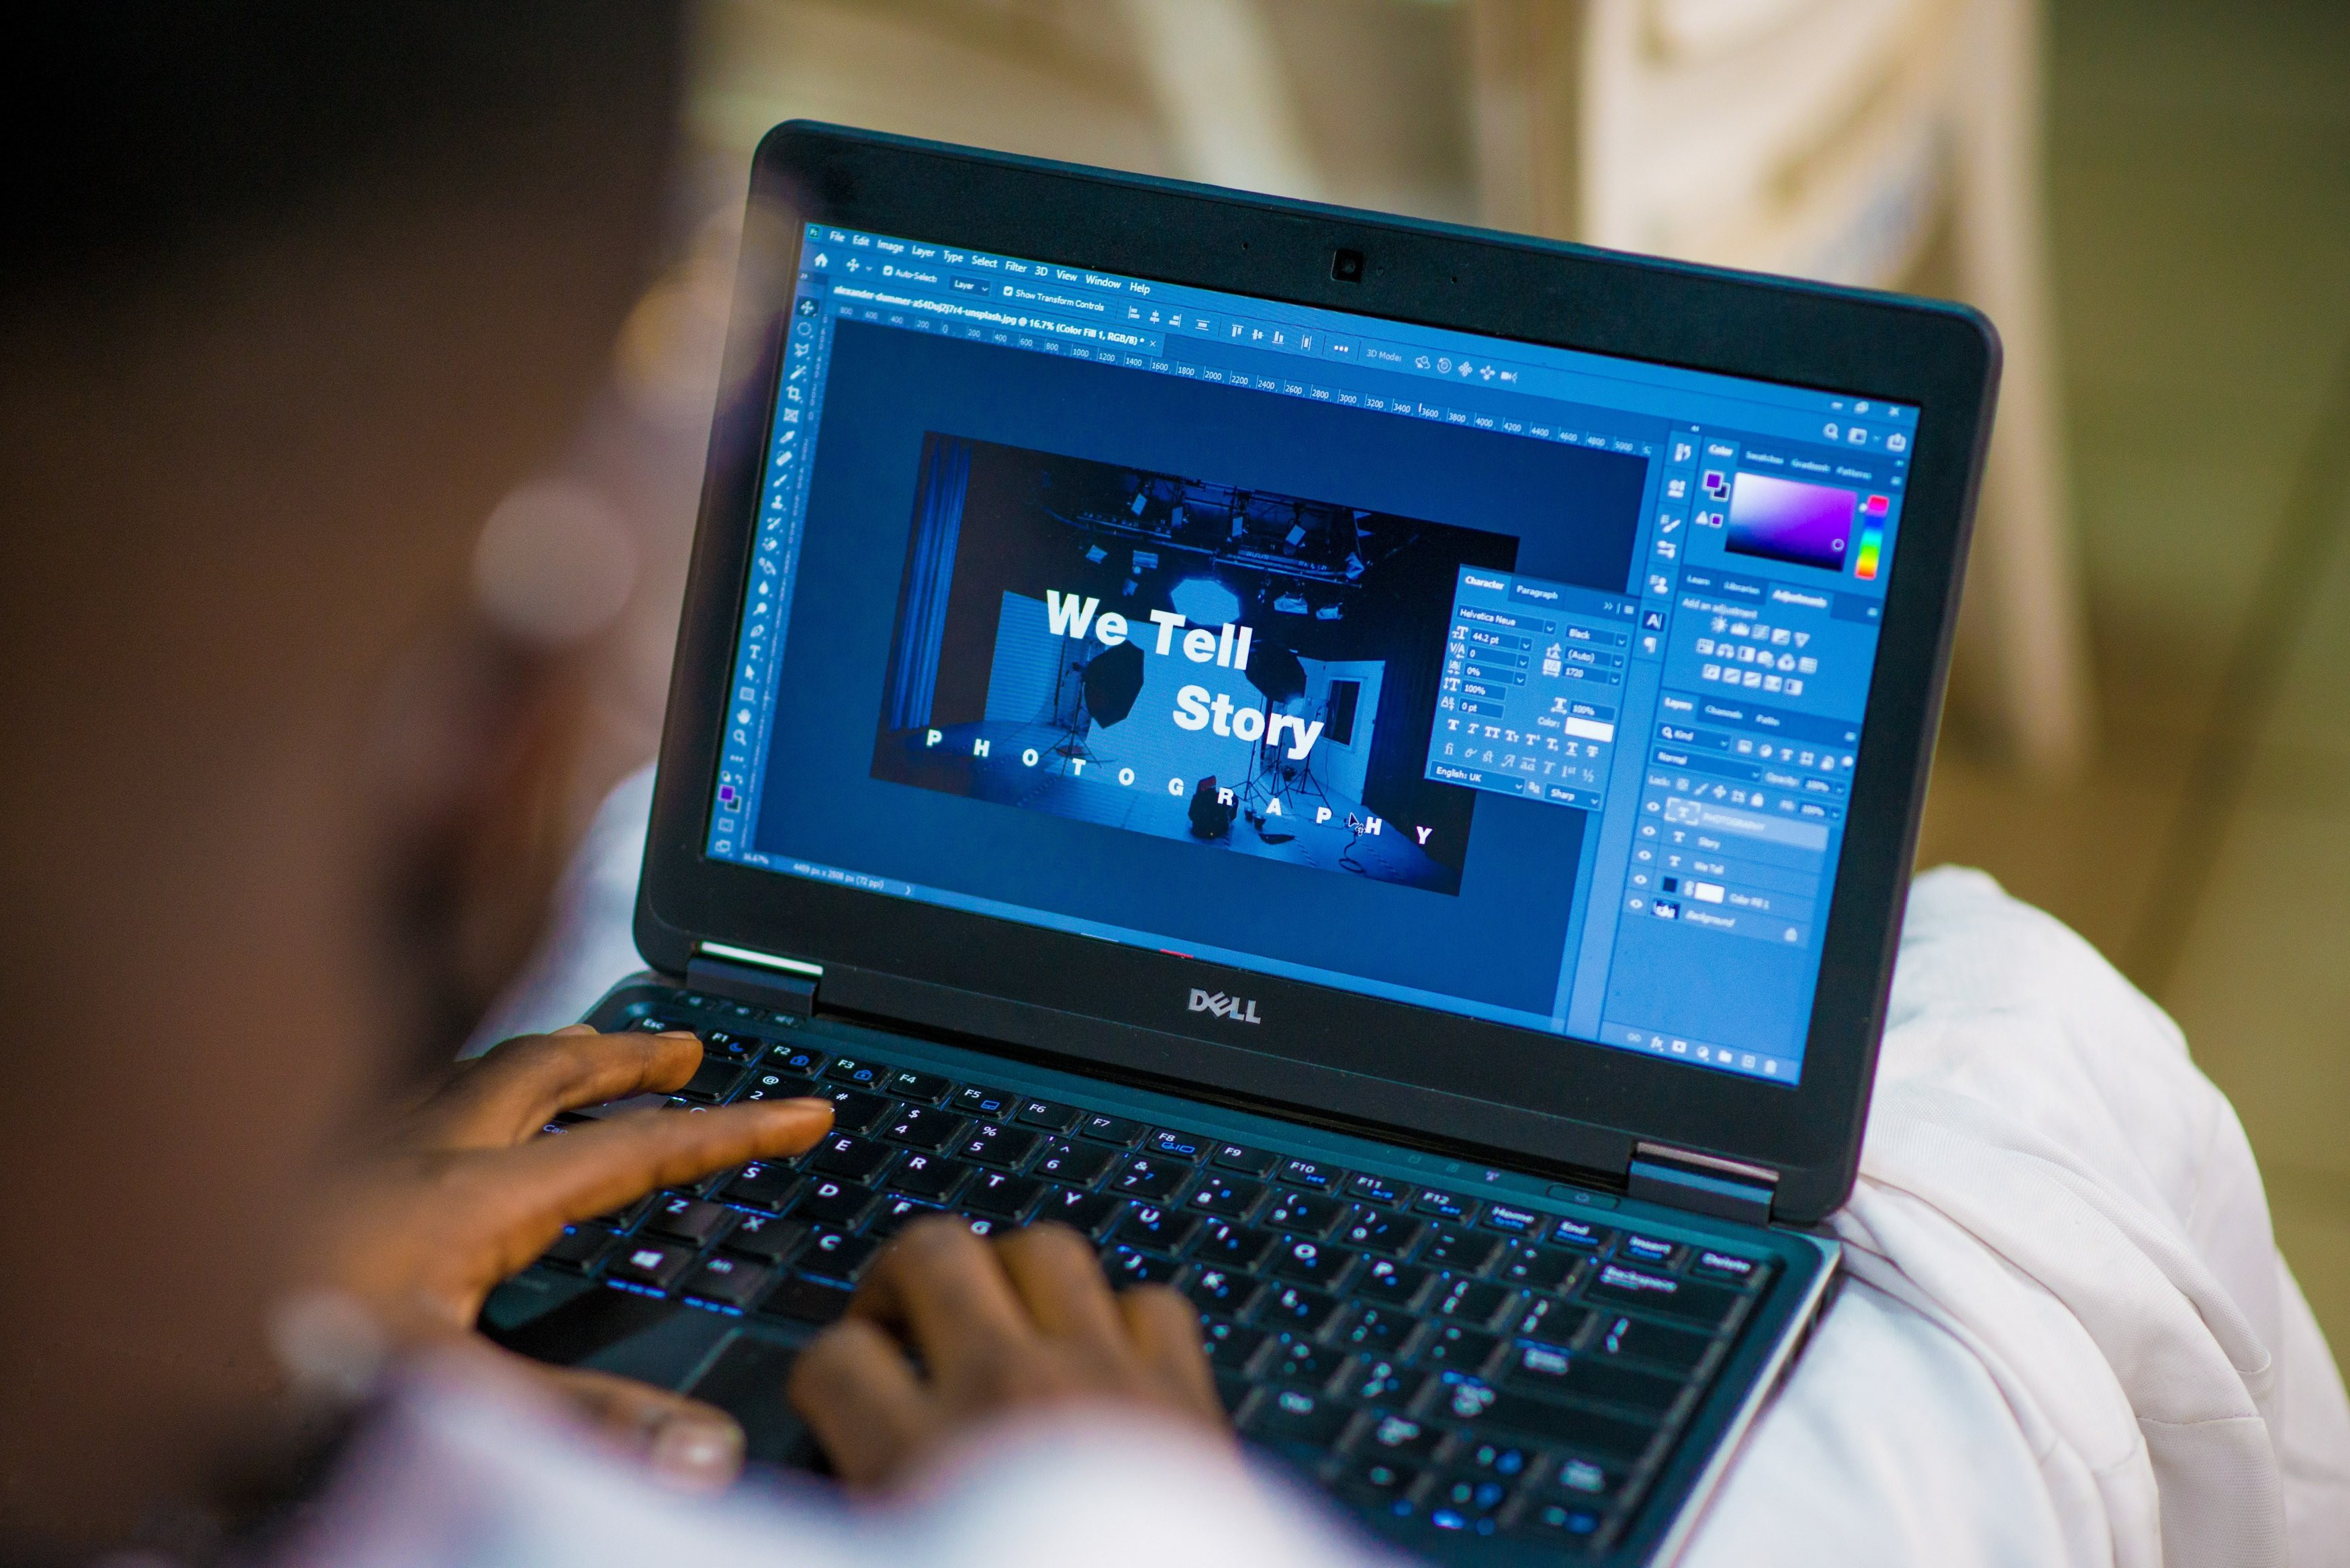 Hands using photo editing software to resize an image on a computer
Knowing how to reduce MB of photo size effectively involves several key techniques. This guide provides a step-by-step approach to help you optimize your images for various purposes.
2.1. Adjusting Image Dimensions
Changing the dimensions of an image is one of the most effective ways to reduce its file size. The dimensions of a photo refer to its width and height, which directly impact the overall size and shape of the picture. Reducing the dimensions can significantly decrease the file size without drastically affecting the visual quality, especially if the image is intended for online use.
- How to Resize an Image:
- Open your image in a photo editing software such as Adobe Photoshop, GIMP, or Luminar Neo.
- Locate the “Image Size” or “Resize” option in the menu bar. This is typically found under the “Image” or “Edit” menu.
- In the Image Size dialog box, you will see options to adjust the width, height, and resolution of the image.
- Enter the new desired width and height values. Make sure the “Constrain Proportions” or “Aspect Ratio” option is checked to maintain the original proportions of the image.
- The software will automatically adjust the other dimension accordingly.
- Click “OK” or “Apply” to resize the image.
2.2. Modifying Image Resolution
Image resolution, measured in dots per inch (DPI), determines the level of detail in an image. Higher resolution means more dots per inch, resulting in a sharper and more detailed image. However, higher resolution also means larger file sizes. Reducing the resolution is another effective way to reduce MB of photo size, particularly for images that will be viewed on screens rather than printed.
- Understanding DPI:
- For web use, a resolution of 72 DPI is generally sufficient. This resolution is optimized for screen display and provides a good balance between image quality and file size.
- For print use, a resolution of 300 DPI is typically recommended. This resolution ensures that the printed image will have sufficient detail and sharpness.
- How to Change Image Resolution:
- Open your image in a photo editing software.
- Go to the “Image Size” or “Resize” option.
- In the Image Size dialog box, you will see the current resolution of the image.
- Change the resolution value to the desired DPI. For web use, set it to 72 DPI. For print use, set it to 300 DPI.
- Click “OK” or “Apply” to change the resolution.
2.3. Selecting the Appropriate File Extension
The file extension you choose for your image can have a significant impact on its file size and quality. Different file formats use different compression algorithms, making some more suitable for certain types of images than others.
-
Common File Formats:
- JPEG (.jpg): JPEG is a lossy compression format that is ideal for photographs and images with complex color variations. It offers a good balance between file size and image quality, making it a popular choice for web use.
- PNG (.png): PNG is a lossless compression format that is best suited for images with text, graphics, and sharp lines. It preserves image quality without losing any data, making it ideal for logos, icons, and screenshots.
- GIF (.gif): GIF is a lossless compression format that is primarily used for animated images and simple graphics. It supports a limited color palette, making it less suitable for photographs.
-
How to Change File Extension:
- Open your image in a photo editing software.
- Go to the “Save As” or “Export” option.
- In the Save As dialog box, you will see a dropdown menu with different file format options.
- Select the desired file format from the list.
- Click “Save” to save the image in the new file format.
2.4. Using Software Solutions
Numerous software solutions are available to help you reduce MB of photo size. These tools offer a range of features, from basic resizing and compression to advanced optimization algorithms. Using the right software can streamline your workflow and ensure that your images are optimized for their intended use.
- Popular Software Solutions:
- Adobe Photoshop: Adobe Photoshop is a professional-grade photo editing software that offers a wide range of tools for resizing, compressing, and optimizing images. It provides precise control over image quality and file size, making it a popular choice for photographers and designers.
- Adobe Lightroom: Adobe Lightroom is another popular photo editing software that is designed specifically for photographers. It offers a streamlined workflow for managing and editing large volumes of images, including batch resizing and compression capabilities.
- GIMP: GIMP (GNU Image Manipulation Program) is a free and open-source photo editing software that offers many of the same features as Adobe Photoshop. It is a great option for photographers who are looking for a powerful and versatile tool without the cost.
- Luminar Neo: Luminar Neo is an AI-powered photo editing software that offers a range of intelligent tools for resizing, compressing, and optimizing images. Its AI algorithms automatically analyze and optimize images for the best possible quality and file size, making it a great option for both beginners and experienced photographers.
2.5. General Tips to Lower MB on a Photo
In addition to the techniques mentioned above, here are some general tips that can help you further reduce MB of photo size:
- Crop Unnecessary Parts: Cropping away unnecessary areas of the photo can reduce its dimensions and file size.
- Remove Image Metadata: Stripping out non-essential metadata, such as GPS info and camera settings, can free up space.
- Upload in Lower Quality: When uploading or saving, select a lower quality option to reduce the file size.
- Convert the File Format: Change the image format to one that uses more efficient compression, such as JPEG for photos or PNG for images requiring transparency.
- Use Compression Tools: Employ online tools or software features that compress the image further without significant loss of quality.
3. How Luminar Neo Stands Out in Reducing Image Size
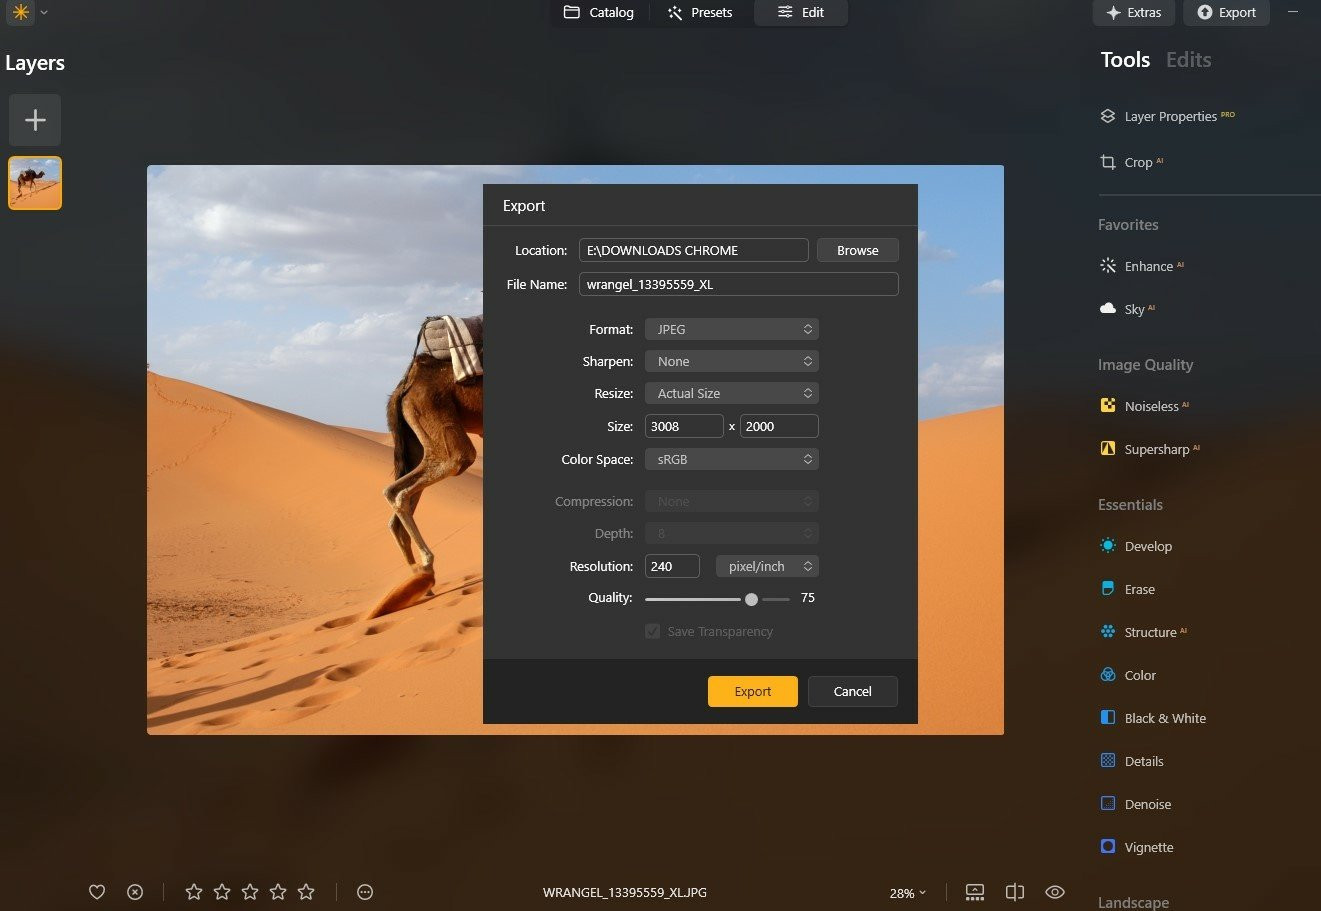 Luminar Neo interface showing image editing tools and settings
Luminar Neo offers a user-friendly solution for those wondering how to reduce MB of photo size efficiently. Its AI-powered tools and intuitive interface make it an excellent choice for photographers of all skill levels. It is known for its ability to reduce file size while maintaining high image quality, a crucial factor for professional work. The software’s AI tools adeptly handle the delicate balance of reducing file size while maintaining image integrity. This approach ensures minimal loss of detail and quality, which is often a concern during resizing.
3.1. Key Features of Luminar Neo for Image Compression
Luminar Neo’s standout feature in image resizing is its commitment to preserving high photo quality, a crucial factor for professional work. The software’s AI tools adeptly handle the delicate balance of reducing file size while maintaining image integrity. This approach ensures minimal loss of detail and quality, which is often a concern during resizing. Luminar Neo is one of the best photo editors, making this job easy. It allows you to upload a file and perform the task. You can bring up the Export Menu by either selecting it from the Menu Bar or by pressing the shortcut keys “Shift+Command+E”.
- AI-Powered Tools: Use Luminar Neo’s AI Sharpener and AI Upscaler to keep the photos clear even after compressing them. It is especially useful if you’re concerned about losing detail during the process.
- Newbie-Friendly Interface: Users with different skills will find this software easy to use. Go and see for yourself at the Luminar Neo Tutorial.
- Batch Editing: Luminar Neo allows you to process numerous photos simultaneously, so your time is not wasted.
- Extensive File Format Support: Luminar Neo can work with many file formats (including JEPG, PNG, and TIFF), which allows you to pick the appropriate format for online usage, high-resolution printing, etc.
- Quality Management: When exporting images, Luminar Neo lets you adjust the quality to find the perfect balance between file size and image fidelity – which is crucial for both digital and print mediums.
- AI-Powered Optimization: Luminar Neo utilizes artificial intelligence to intelligently analyze and optimize images for the best possible balance between quality and file size.
- User-Friendly Interface: Luminar Neo features an intuitive and easy-to-use interface that makes it accessible to photographers of all skill levels.
- Batch Processing: Luminar Neo allows you to resize and compress multiple images simultaneously, saving you time and effort.
- Extensive Export Options: Luminar Neo offers a wide range of export options, allowing you to customize the file format, quality, and size of your images.
3.2. Step-by-Step Guide: Reducing Image Size with Luminar Neo
- Open Your Image: Launch Luminar Neo and open the image you want to resize.
- Access the Export Menu: Go to File > Export or press Shift+Command+E (Shift+Ctrl+E on Windows) to open the Export Menu.
- Choose Resize Option: In the Export Menu, select the “Resize” option.
- Select Resizing Method: Choose from options like “Original,” “Short Edge,” or “Long Edge,” or set a custom size.
- Adjust Settings: Set your desired size for your picture.
- Save the File: Click on “Save,” and Luminar Neo will save the file in a smaller size.
4. Optimizing Images for Web Use
Optimizing images for web use is crucial for ensuring fast loading times and a positive user experience. Large image files can significantly slow down website performance, leading to frustrated visitors and lower search engine rankings. By following these guidelines, you can optimize your images for web use and improve your website’s overall performance.
4.1. Recommended Image Dimensions and Resolution for Web
- Image Dimensions: For most web applications, images should be sized to fit the container they will be displayed in. For example, if an image will be displayed in a container that is 800 pixels wide, the image should be resized to 800 pixels wide.
- Resolution: As mentioned earlier, a resolution of 72 DPI is generally sufficient for web use. This resolution is optimized for screen display and provides a good balance between image quality and file size.
4.2. Choosing the Right File Format for Web Images
- JPEG: JPEG is the most popular file format for photographs and images with complex color variations. It offers a good balance between file size and image quality, making it a great choice for web use.
- PNG: PNG is best suited for images with text, graphics, and sharp lines. It preserves image quality without losing any data, making it ideal for logos, icons, and screenshots.
- WebP: WebP is a modern image format developed by Google that offers superior compression and quality compared to JPEG and PNG. It is supported by most modern web browsers and is a great option for optimizing images for web use.
4.3. Using Online Image Optimization Tools
Numerous online tools are available to help you optimize images for web use. These tools can automatically resize, compress, and optimize your images for the best possible performance.
- Popular Online Image Optimization Tools:
- TinyPNG: TinyPNG is a popular online tool that uses intelligent lossy compression techniques to reduce the file size of PNG images.
- JPEG Optimizer: JPEG Optimizer is an online tool that allows you to compress JPEG images by adjusting the quality and compression settings.
- ImageOptim: ImageOptim is a free and open-source image optimization tool for Mac that supports a wide range of file formats and optimization techniques.
5. Preserving Image Quality During Compression
One of the biggest concerns when reducing MB of photo size is preserving image quality. While it’s important to reduce file sizes for storage and performance reasons, it’s equally important to ensure that your images retain their visual appeal and detail. Here are some tips for preserving image quality during compression:
5.1. Choosing the Right Compression Settings
When using lossy compression formats like JPEG, it’s important to choose the right compression settings to minimize quality loss. Most photo editing software allows you to adjust the compression level, which determines the amount of data that is discarded during compression.
- Experiment with Compression Levels: Experiment with different compression levels to find the sweet spot between file size and image quality.
- Use Preview Options: Use the preview options in your photo editing software to visually assess the impact of different compression settings on image quality.
5.2. Using Sharpening Techniques
Sharpening can help counteract the softening effects of compression and restore some of the detail that is lost during the process.
- Apply Sharpening Sparingly: Apply sharpening sparingly, as over-sharpening can lead to artifacts and unnatural-looking images.
- Use Smart Sharpening: Use smart sharpening tools that allow you to selectively sharpen different areas of the image.
5.3. Avoiding Excessive Compression
Avoid excessive compression, as it can lead to significant quality loss and artifacts. If you need to reduce file sizes drastically, consider using a combination of resizing, resolution reduction, and compression.
6. FAQ: How to Reduce MB of Photo
6.1. How to make a picture file smaller?
To reduce the file size of an image, increase the compression level. In most image editing software, you can do this through the “Save As” or “Export As” options when saving formats like PNG, JPG, or GIF. Higher compression results in a smaller file, which loads faster on web pages. Adjust the compression settings to find the right balance between image quality and file size. Here are several ways to make a picture file smaller:
- Choose an Image Editor: Open your image in an editor like Photoshop, GIMP, or an online tool like TinyPNG.
- Resize the Image: Reduce the image dimensions (width and height). This typically reduces file size without compromising too much on quality.
- Compress the Image: Adjust the quality settings during saving. Lower the quality to reduce the file size. Tools like JPEG compress well with minimal quality loss.
- Save in a Different Format: Consider saving the image in a different format. For example, JPEG is typically smaller than PNG for photos.
- Use Online Compressors: If you don’t want to manually adjust settings, upload your image to an online compressor that will automatically reduce the file size.
6.2. How to reduce the size of a photo on iPhone?
You can resize the image using the built-in Photos app to reduce its file size by cropping and decreasing its resolution. Moreover, you can adjust your camera settings to take pictures in a space-saving format like HEIC rather than JPEG.
6.3. How to reduce image file size on Mac?
On a Mac, you can utilize the Preview app to reduce image file size. Open the picture in Preview, go to Tools, select Adjust Size, and then reduce the size or the resolution. Numerous third-party apps also can give you better compression options.
6.4. How to reduce image file size in Photoshop?
Open your image in Photoshop, then select File > Export > Save for Web (Legacy). Such an option helps to change the picture dimensions and quality. To minimize file size, choose a lower-quality JPEG format and use the Image Size options to adjust dimensions (if needed).
6.5. How to reduce image file size on Android?
You can reduce image file size on Android by using built-in photo editing tools to crop and resize the image. Various apps in the Google Play Store, like Photo Compress & Resize, allow you to reduce file size better.
6.6. How to reduce image file size for a website?
You can use photo editing software such as Luminar Neo, Adobe Photoshop, GIMP, or Lightroom to reduce the picture file size by adjusting the compression, resizing the image, or cropping unnecessary parts of the photo.
7. Conclusion: Mastering the Art of Making Photos Smaller in File Size
 Hands holding a smartphone with a photo on the screen, symbolizing easy photo sharing
By now, you have learned several quick and easy ways to resize your files for online photo storage, email, or upload, regardless of your device or operating system. Each method has its own unique advantages, depending on your workflow and the platforms you use. Choose the one that works best for you, and share your images with ease! Now that you understand how to reduce MB of photo size effectively, you can optimize your images for various purposes without sacrificing quality.
Ready to take your photography to the next level? Visit dfphoto.net today to discover more tips, tutorials, and resources that will help you enhance your skills and unleash your creative potential! Explore our extensive collection of stunning photos, connect with a vibrant community of photographers, and find inspiration for your next project. Don’t miss out on the opportunity to improve your photography and join a community of passionate creators.
For more information, visit our website or contact us:
Address: 1600 St Michael’s Dr, Santa Fe, NM 87505, United States
Phone: +1 (505) 471-6001
Website: dfphoto.net
Experience the power of Luminar Neo