iPhones are renowned for their exceptional camera quality, capturing stunning photos that many professional photographers admire. However, this high quality comes at a cost: large file sizes. These hefty image files can quickly eat up your iPhone storage, leading to frustrating “storage full” notifications and impacting your device’s performance. If you’re struggling with managing photo storage on your iPhone, you’re not alone. Many users are looking for effective ways to reduce photo file sizes without sacrificing precious memories.
This guide will walk you through various methods to reduce the file size of photos on your iPhone, helping you reclaim storage space, optimize iCloud usage, and even speed up your device. We’ll explore built-in iPhone features and third-party apps, providing step-by-step instructions to make the process easy and efficient. Let’s dive into how you can take control of your iPhone photo storage and keep capturing those amazing moments.
Why Compress iPhone Photos?
Before we delve into the “how-to,” let’s understand the “why.” Compressing your iPhone photos offers several significant benefits:
1. Increase Device Storage
Modern iPhones boast incredible camera capabilities, capturing 12MP photos and even 4K videos. While the visual results are impressive, each photo can range from 2MB to 8MB, depending on image complexity and detail. For users who take photos frequently, especially those with iPhones that have less storage capacity, this can quickly become a problem. Imagine having thousands of photos, each taking up several megabytes – your storage fills up rapidly. Reducing photo file size is a direct way to free up valuable space on your iPhone, allowing you to store more photos, apps, and other important files.
 Downloading Page of Shink.media
2. Optimize iCloud Storage
iCloud provides a convenient way to back up your iPhone photos and data, ensuring your memories are safe even if your device is lost or damaged. However, Apple only provides 5GB of free iCloud storage, which is often insufficient for users with extensive photo libraries. Upgrading to more iCloud storage comes with a monthly fee. By compressing your photos before they are backed up to iCloud, you can make the most of your available iCloud storage, potentially avoiding the need to pay for extra space. This is a smart way to manage your cloud storage costs while still enjoying the benefits of iCloud backup.
3. Improve iPhone Performance
When your iPhone storage is near full capacity, it can impact your device’s overall performance. A cluttered storage can slow down your iPhone, making apps run slower and the operating system less responsive. Reducing the file size of your photos contributes to freeing up space, which can, in turn, help your iPhone run more smoothly and efficiently. While it might not be a dramatic speed boost, every bit of freed-up storage can contribute to better device performance, especially on older iPhone models or those with limited storage.
Methods to Reduce Photo File Size on iPhone
Now, let’s explore the practical methods to compress your iPhone photos. We’ll cover various approaches, from using dedicated apps to leveraging built-in iPhone features.
Method 1: Using the Shrink.media App
For a dedicated and user-friendly solution, consider using the Shrink.media app. This app is specifically designed to reduce photo file sizes efficiently while aiming to maintain good image quality. Here’s how to use it:
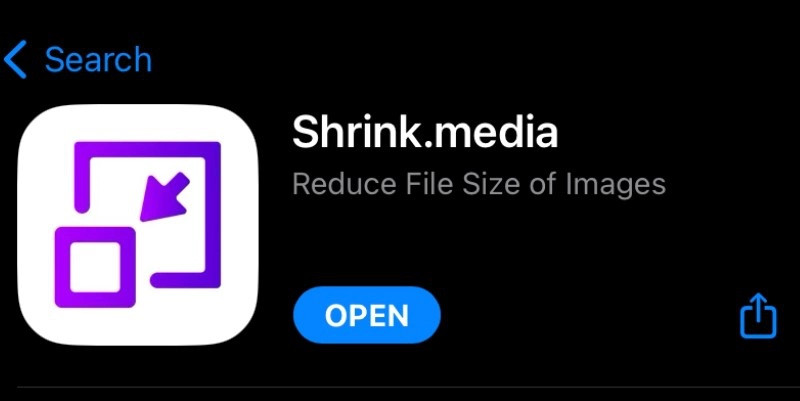
Step 1: Download and Install Shrink.media.
Get the Shrink.media app from the Apple App Store for free. Search for “Shrink.media” and install the app on your iPhone.
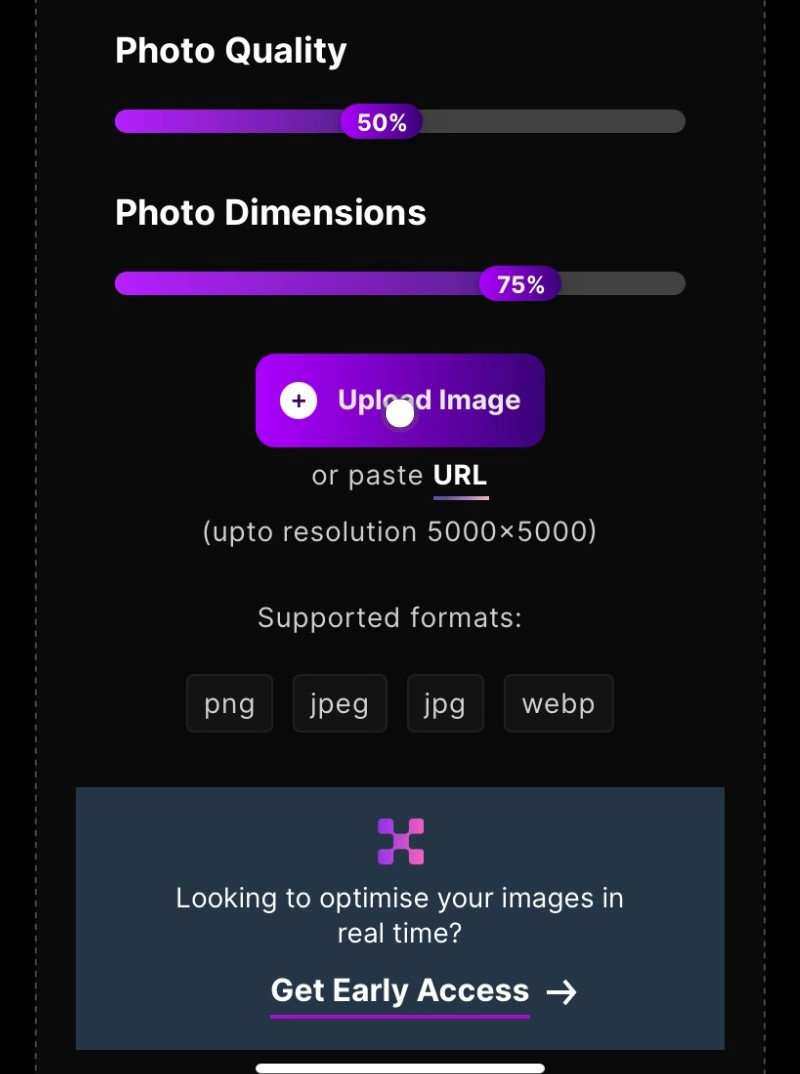
Step 2: Upload Photos.
Open the Shrink.media app and tap on the “Upload Image” button on the main interface. This will grant the app access to your iPhone’s photo albums. Select the album containing the photos you want to compress and choose the specific images. Tap “Next” to proceed.
 Home Page of Shrink.media
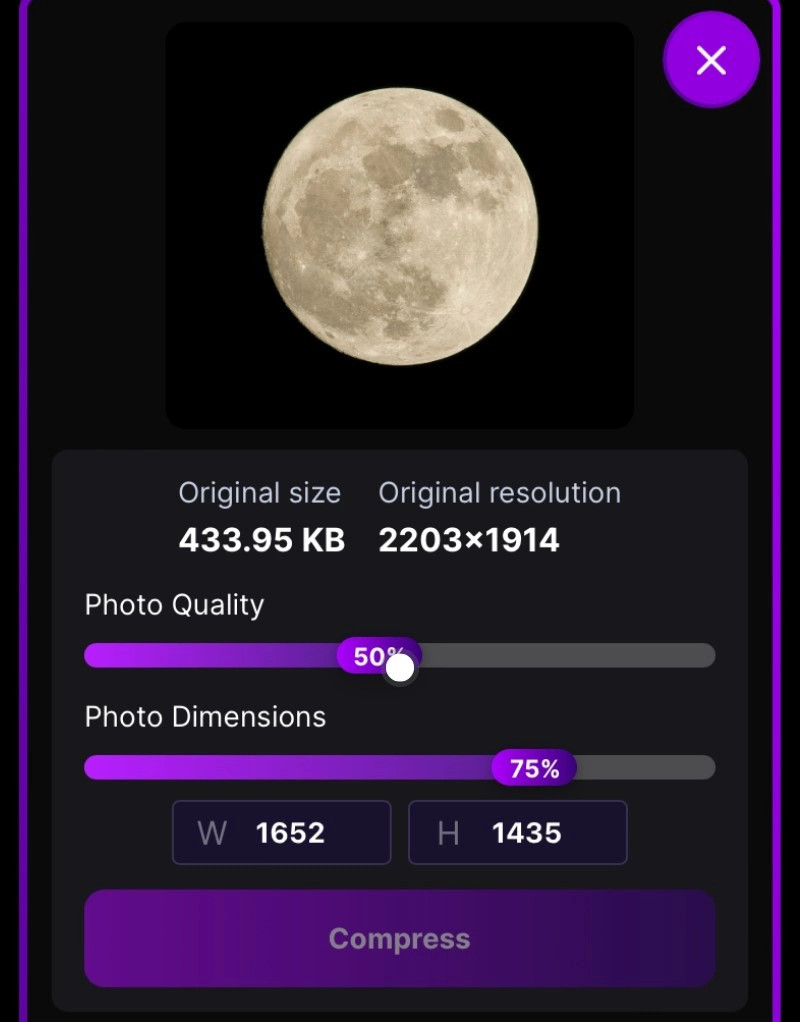
Step 3: Adjust Compression Settings.
On the next screen, you’ll find options to adjust the compression level. Shrink.media typically offers two main settings: “Quality” and “Size.” Reducing the quality setting will further decrease the file size but may result in some loss of image detail. Alternatively, you can specify a target file size percentage. For instance, you could choose to compress the file size to 80% of the original. Experiment with these settings to find a balance between file size reduction and acceptable image quality. For general use, reducing the quality to around 75-80% often provides a good compromise.
 3rd Steo to Uplodading image
Step 4: Compress Photos.
Tap the “Compress” button, usually located at the bottom of the screen. The app will then process your selected photos, reducing their file sizes based on your chosen settings. The compression speed will depend on the number of photos and your internet connection, although Shrink.media generally compresses images quite quickly.
 4th Step to Compress image
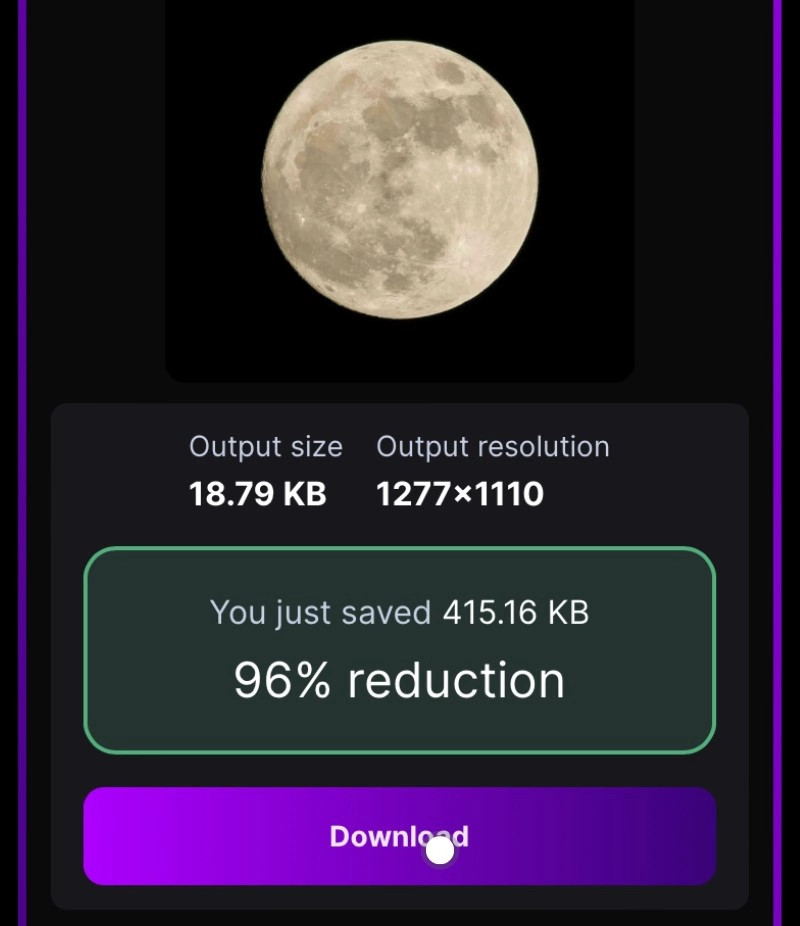
Step 5: Download Compressed Photos.
Once the compression process is complete, the app will automatically download the reduced-size photos back to your iPhone’s Camera Roll. Shrink.media typically creates a new album named “Shrink.media” within your Photos app for easy access to your compressed images.
 Last Step to Download image in low size
Step 6: Manage Original Photos (Optional).
After confirming that the compressed photos meet your quality needs, you can choose to delete the original, larger photos from your iPhone to free up storage space. This step is optional, depending on your storage requirements and whether you want to keep the original high-resolution versions.
Method 2: Taking Screenshots
A surprisingly simple, albeit somewhat basic, method to reduce photo file size on your iPhone is by taking screenshots. When you take a screenshot of a photo, the iPhone saves it as a new image file with a significantly smaller file size than the original. This method is best suited for situations where you need to quickly reduce the size of just a few images for sharing, and quality is not a primary concern.
Step 1: Open the Photo to Screenshot.
Launch the Photos app on your iPhone and select the photo you want to compress. Open the photo to view it full screen.
Step 2: Take a Screenshot.
The method for taking a screenshot varies slightly depending on your iPhone model:
- iPhone with Face ID (iPhone X and later): Press and hold the Side button (power button) and the Volume Up button simultaneously.
- iPhone with Home button: Press and hold the Home button and the Sleep/Wake button (power button) simultaneously.
Step 3: Access and Edit Screenshot (Optional).
A thumbnail of the screenshot will briefly appear in the bottom-left corner of your screen. Tap on the thumbnail to open and edit the screenshot if desired. You can crop out any unnecessary screen elements around the photo. The screenshot will also be saved automatically to your Photos app, typically in the “Screenshots” album and the main “Recents” album.
While screenshots effectively reduce file size, they also reduce image resolution and quality. This method is best for quick sharing online or in messaging apps where slight quality loss is acceptable.
Method 3: Emailing Photos to Yourself
Another built-in iPhone method leverages the email functionality to compress photos. When you email photos from your iPhone, it offers options to resize the images before sending. You can utilize this feature to send photos to your own email address and effectively create compressed versions.
Step 1: Select Photos to Email.
Open the Photos app and navigate to the album containing the photos you wish to compress. Tap the “Select” button in the top-right corner and choose the photos you want to resize.
Step 2: Share and Choose “Mail”.
Tap the “Share” button (the square with an upward arrow) at the bottom-left corner. From the share sheet options, select “Mail.”
Step 3: Choose Image Size.
A new email draft will open with your selected photos attached. Before sending, you will see a prompt asking you to choose the image size. You will typically have options like “Small,” “Medium,” “Large,” and “Actual Size.” Select a smaller size option like “Medium” or “Small” to reduce the file size significantly.
Step 4: Send Email to Yourself.
Enter your own email address in the “To” field and send the email.
Step 5: Download Compressed Photos from Email.
Once you receive the email, open it and download the attached photos. These downloaded photos will be the compressed versions. You can save them back to your Photos app.
This email method provides a convenient way to resize photos using built-in iPhone features without needing to install any extra apps.
Method 4: Utilizing “Optimize iPhone Storage” (iCloud Photos)
If you use iCloud Photos, the “Optimize iPhone Storage” feature can automatically manage your photo storage and help reduce the storage space photos occupy on your device. This method doesn’t directly compress individual photo files, but it optimizes storage by keeping smaller, optimized versions of your photos on your iPhone while storing the original, high-resolution versions in iCloud.
Step 1: Open Settings App.
Go to the “Settings” app on your iPhone Home screen.
Step 2: Navigate to Photos Settings.
Scroll down and tap on “Photos.”
Step 3: Select “Optimize iPhone Storage”.
Under the “iCloud Photos” section, you will see two options: “Download and Keep Originals” and “Optimize iPhone Storage.” Select “Optimize iPhone Storage.”
With “Optimize iPhone Storage” enabled, iCloud Photos will analyze your photo library. It will automatically replace full-resolution photos on your iPhone with smaller, device-optimized versions when storage is needed. The original, high-resolution photos are still safely stored in iCloud and can be downloaded when needed.
This method is seamless and automatic, working in the background to manage your photo storage. However, it relies on having iCloud Photos enabled and sufficient iCloud storage. It’s also important to note that accessing full-resolution photos may require an internet connection as they may need to be downloaded from iCloud.
Method 5: Using HEIF/HEIC Format for Future Photos
For photos you capture going forward, you can utilize the HEIF/HEIC (High-Efficiency Image File Format) format. Introduced by Apple in iOS 11, HEIF is a modern image format that compresses photos more efficiently than the traditional JPEG format while maintaining similar image quality. By using HEIF, your iPhone will automatically capture photos in a smaller file size format from the start.
Step 1: Open Settings App.
Go to the “Settings” app on your iPhone Home screen.
Step 2: Navigate to Camera Formats.
Scroll down and tap on “Camera,” then tap on “Formats.”
Step 3: Choose “High Efficiency”.
You will see two options: “Most Compatible” and “High Efficiency.” Select “High Efficiency.” This will set your iPhone to capture photos and videos in the HEIF/HEVC format.
Note: While HEIF offers better compression, it’s worth noting that compatibility with older devices or software might be slightly less universal than JPEG. However, HEIF is widely supported across Apple devices and modern platforms. You can also set your iPhone to automatically convert HEIF photos to JPEG when sharing if needed, under “Photos” settings, “Transfer to Mac or PC” – choose “Automatic.”
Advantages of Compressing Your Pictures
Reducing the size of your iPhone photos offers numerous benefits beyond just freeing up storage.
- Save Storage Space: The most obvious advantage is reclaiming precious storage on your iPhone and iCloud.
- Faster Sharing: Smaller file sizes make it quicker and easier to share photos via email, messaging apps, and social media, especially on slower internet connections.
- Quicker Backups: Smaller photo files mean faster iCloud backups and sync times.
- Improved Performance (Potentially): As mentioned earlier, freeing up storage can contribute to smoother iPhone performance.
- Easier Editing: Smaller files can be slightly easier to handle when using photo editing apps, especially on devices with less processing power.
How to Check Image Size on iPhone
Before and after compressing your photos, you might want to check the file size to see how much reduction you’ve achieved. iOS 15 and later versions make it easy to view image file size directly in the Photos app:
Step 1: Open the Photo in Photos App.
Launch the Photos app and select the photo you want to check.
Step 2: Tap the “Information” Button.
Look for the “Information” button (it looks like an “i” in a circle) at the bottom of the screen, or swipe up on the photo. Tap this button.
Step 3: View Image Details.
The information panel will appear, displaying details about the photo, including the file size (e.g., “3.2 MB”), resolution, format, and more.
Conclusion
Managing photo storage on your iPhone is crucial for optimal device performance and ensuring you can continue capturing memories without running out of space. By utilizing the methods outlined in this guide, from dedicated apps like Shrink.media to built-in features like email resizing and iCloud optimization, you can effectively reduce photo file sizes and take control of your iPhone photo library. Choose the method that best suits your needs and start optimizing your iPhone photos today!