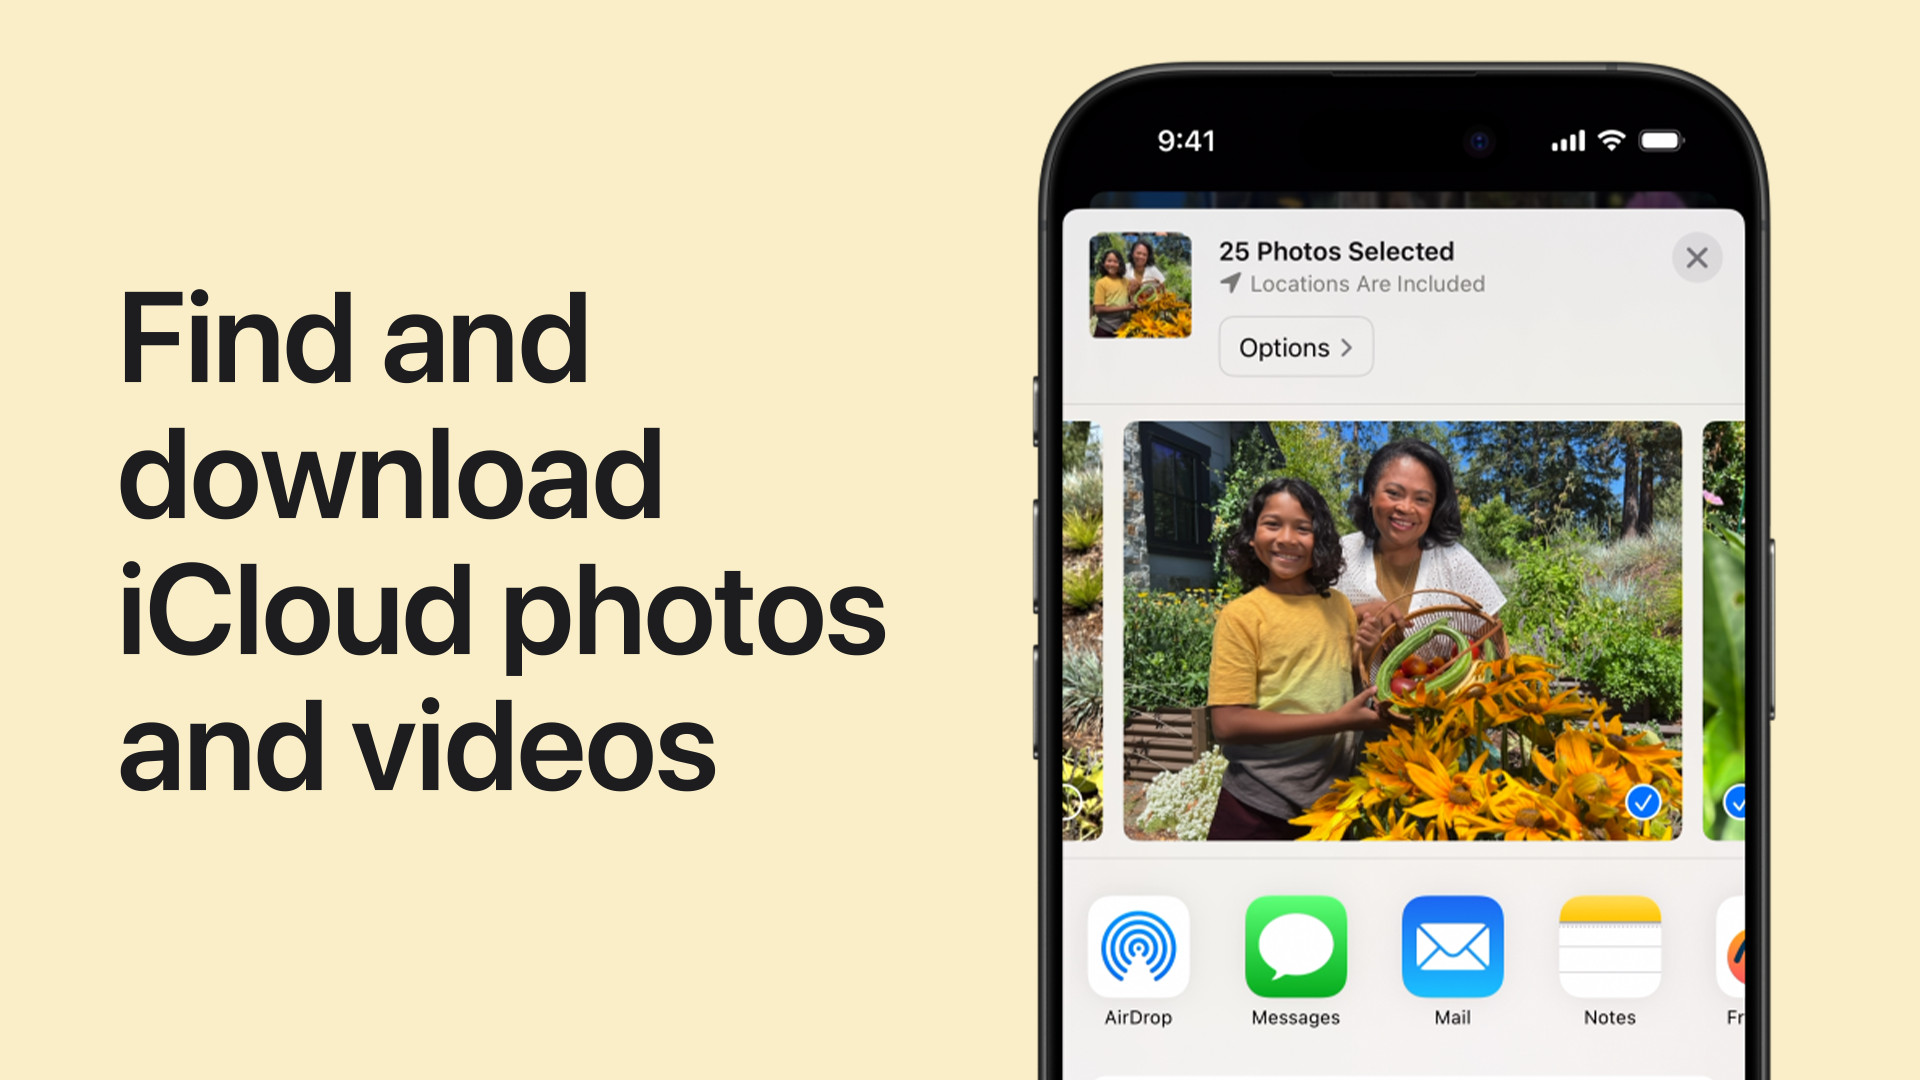
iCloud Photos is a fantastic service for keeping your precious memories safe and accessible across all your Apple devices. But what if you want to bring those photos back to your iPhone, ensuring you have them readily available even without an internet connection? Whether you’re switching devices, wanting local backups, or simply prefer having your pictures directly on your phone, recovering your iCloud photos to your iPhone is a straightforward process. This guide will walk you through several methods to effortlessly download your iCloud photo library back to your iPhone.
Method 1: Downloading iCloud Photos via iPhone Settings
The simplest way to recover your iCloud photos to your iPhone is directly through the Settings app. This method ensures that your iPhone downloads the original, full-resolution versions of your photos and videos.
-
Open the Settings App: Locate and tap the Settings app icon on your iPhone’s home screen.
-
Tap on Your Apple ID Profile: At the top of the Settings menu, tap on your name and Apple ID profile.
-
Navigate to iCloud Settings: Select “iCloud” from the Apple ID menu.
-
Access Photos Settings: Within the iCloud settings, tap on “Photos”.
-
Choose “Download and Keep Originals”: Under the iCloud Photos section, you’ll see two options: “Optimize iPhone Storage” and “Download and Keep Originals.” To recover all your iCloud photos to your iPhone, select “Download and Keep Originals”.
By selecting this option, your iPhone will begin downloading the original versions of all your iCloud photos and videos. The download time will depend on the size of your iCloud Photo Library and your internet connection speed. Ensure your iPhone is connected to Wi-Fi for a faster download and to avoid using cellular data.
Method 2: Recovering iCloud Photos from Shared Albums
If you’re looking to recover specific photos or videos from Shared Albums, you can easily save them directly to your iPhone’s Photos app. This is particularly useful for grabbing photos shared by family or friends.
-
Open the Photos App: Launch the Photos app on your iPhone.
-
Go to the “Shared” Tab: At the bottom of the Photos app, tap on the “Shared” tab.
-
Select a Shared Album: Choose the Shared Album from which you want to recover photos.
-
Tap to Select Photo or Video: Open the desired album and tap on the photo or video you wish to recover to your iPhone.
-
Use the Share Button: Tap the Share button (the square icon with an upward arrow) located in the bottom-left corner of the photo or video.
-
Choose “Save Image” or “Save Video”: From the share sheet options, select “Save Image” to save a photo or “Save Video” to save a video to your iPhone’s photo library.
Repeat these steps for any other photos or videos you want to recover from Shared Albums. These saved items will now be available in your “Recents” album and other relevant albums within your Photos app.
Method 3: Downloading iCloud Photos from iCloud.com
For more control over download options and to recover photos in batches, iCloud.com provides a web-based interface to access and download your photos. This method is useful if you want to choose specific photos or download them in different formats.
- Open Safari and Go to iCloud.com: On your iPhone, open the Safari browser and navigate to iCloud.com/photos.
- Sign in to Your Apple ID: Log in using your Apple ID and password associated with your iCloud Photos.
- Select Photos to Recover: Once logged in, you’ll see your iCloud Photo Library in your browser. Tap “Select” in the top right corner, then tap on each photo or video you want to recover to your iPhone. To select all, tap “Select All”.
- Tap the “More” Button: After selecting your photos, tap the “More” button (three dots in a circle) at the bottom right corner.
- Choose “Download”: Select “Download” from the options. You might also see “More Download Options” allowing you to choose between “Unmodified Originals,” “Highest Resolution,” or “Most Compatible” formats. Choose your preferred option and tap “Download”.
- Confirm Download: Your iPhone will prompt you to download the selected photos or videos. Confirm the download to save them to your iPhone’s Files app, from where you can then save them to your Photos app if desired.
By using iCloud.com, you have greater flexibility in choosing which photos to recover and how you want to download them. This method is particularly helpful for managing large photo libraries or when you need to download photos in specific formats.
Conclusion
Recovering your iCloud photos to your iPhone is a simple process that can be accomplished through various methods, each offering its own advantages. Whether you choose to download directly through the Settings app for a complete library recovery, use Shared Albums for specific photos, or leverage iCloud.com for more control, you can easily ensure your cherished memories are readily available on your iPhone. By following these step-by-step instructions, you can confidently manage your iCloud photos and enjoy them anytime, anywhere, directly from your iPhone.
[
