Microsoft Word is well-known for word processing, but it’s also surprisingly versatile for basic image editing tasks, like adding text to photos. Whether you’re creating a flyer, designing a social media graphic, or just want to personalize a document with a captioned image, knowing how to overlay text on a picture in Word is a valuable skill. While Word isn’t Photoshop, it offers straightforward tools to achieve this effect quickly and easily.
Step-by-Step Guide to Adding Text Over Photos in Word
Let’s walk through the simple steps to insert text on a photo directly within your Word document. This method uses text boxes, a flexible feature in Word that allows you to position text anywhere you like, including over images.
Step 1: Insert Your Image into Word
First, you need to have your picture in your Word document. If it’s not already there, go to the “Insert” tab on the Word ribbon. Click on “Pictures” and choose “This Device” to upload an image from your computer. Navigate to the image file, select it, and click “Insert”. Your photo will now appear in your document.
Step 2: Adjust Image Layout Options
To freely move and position your text box over the image, you need to adjust the image’s layout options. Select the image by clicking on it. This will bring up the “Picture Format” tab in the ribbon. In the “Arrange” group, click on “Wrap Text”. From the dropdown menu, select “Square”. This option allows you to move the image freely and place other elements around it, which is crucial for overlaying text.
Step 3: Insert a Text Box
Now, it’s time to insert a text box to hold your text. Go back to the “Insert” tab on the ribbon and this time, click on “Text Box”. A dropdown menu will appear with various text box styles. For simplicity, choose “Simple Text Box”. A text box will be inserted into your document, possibly near your image.
Step 4: Position and Type Your Text
Click and drag the text box to position it over your image where you want the text to appear. You can resize the text box by clicking and dragging the circles (handles) around its border. Once positioned, click inside the text box and type your desired text.
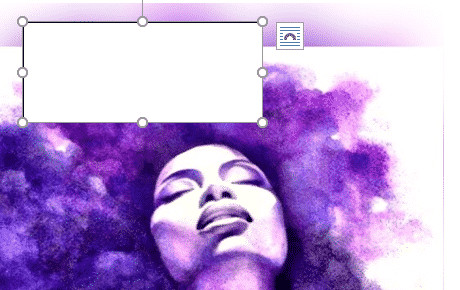 Text box inserted over an image in Microsoft Word, ready for text input.
Step 5: Format the Text Box for a Seamless Overlay
By default, the text box has a white background and a black outline, which might obstruct your image. To make the text blend seamlessly with the photo, you need to make the text box background and outline transparent.
Select the text box by clicking on its border. This will activate the “Shape Format” tab in the ribbon. In the “Shape Styles” group, click on “Shape Fill” and choose “No Fill”. Then, click on “Shape Outline” and select “No Outline”. This will make the text box background and border invisible, leaving only your text visible over the image.
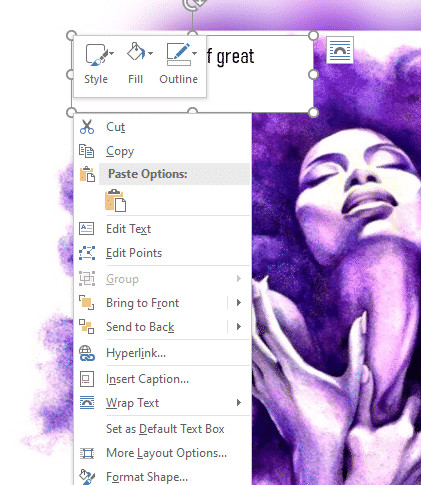 Formatting options for a text box in Microsoft Word to make the background and outline transparent, allowing text to overlay an image seamlessly.
Step 6: Customize Your Text Appearance
Finally, you can format the text itself to enhance readability and visual appeal. Highlight the text within the text box. The “Home” tab provides standard text formatting options like font style, size, color, and alignment. Experiment with different fonts and colors to make your text stand out against the image background. For instance, if your image is dark, use white or light-colored text for better contrast. You can also explore text effects under the “Text Effects” option in the “Shape Format” tab for more stylistic options like shadows or glows.
Conclusion
Adding text to photos in Microsoft Word is a straightforward process using text boxes. By following these simple steps, you can easily create visually engaging documents, personalized greetings, or impactful presentations. While Word may not be a dedicated photo editor, its text box feature provides a convenient way to overlay text on images for a variety of purposes. This technique enhances your documents and allows for creative expression directly within Word.