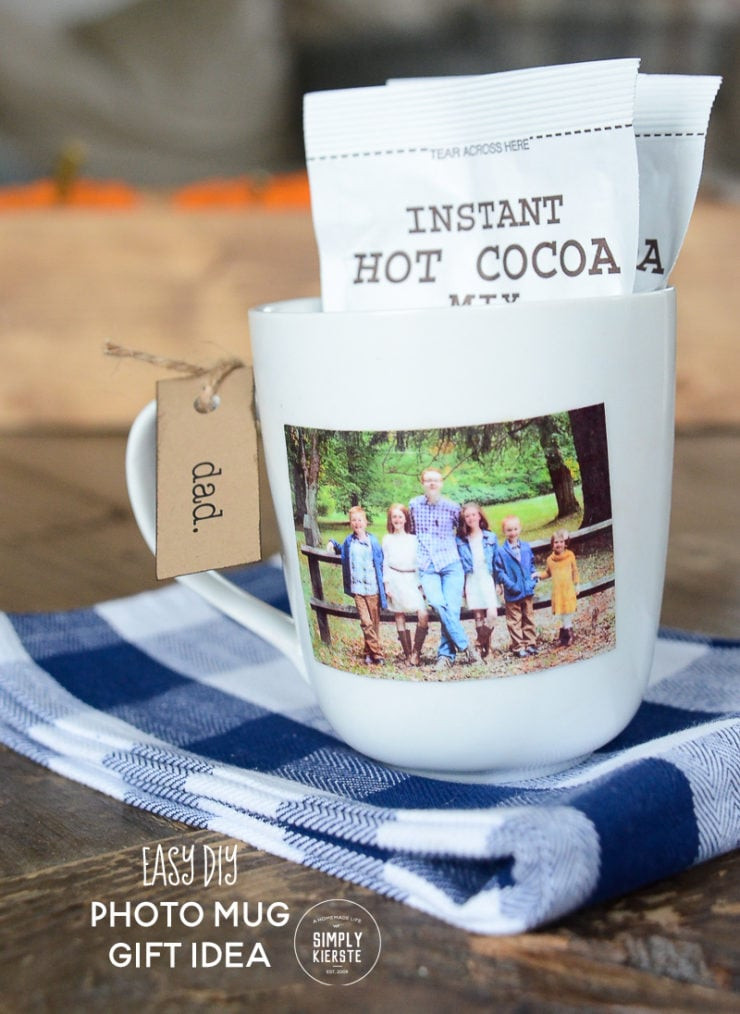
Looking for a heartfelt and personalized gift? A DIY photo mug is a fantastic option that’s both practical and sentimental. Imagine the joy of sipping a morning coffee or evening tea from a mug adorned with a cherished photo. This guide will walk you through the simple steps of How To Put A Photo On A Mug, creating a unique and lasting present for loved ones, friends, or even yourself.
 Easy DIY Photo Mug Gift Idea | simply kierste.com
A charming DIY photo mug, showcasing the ease and appeal of this personalized gift idea.
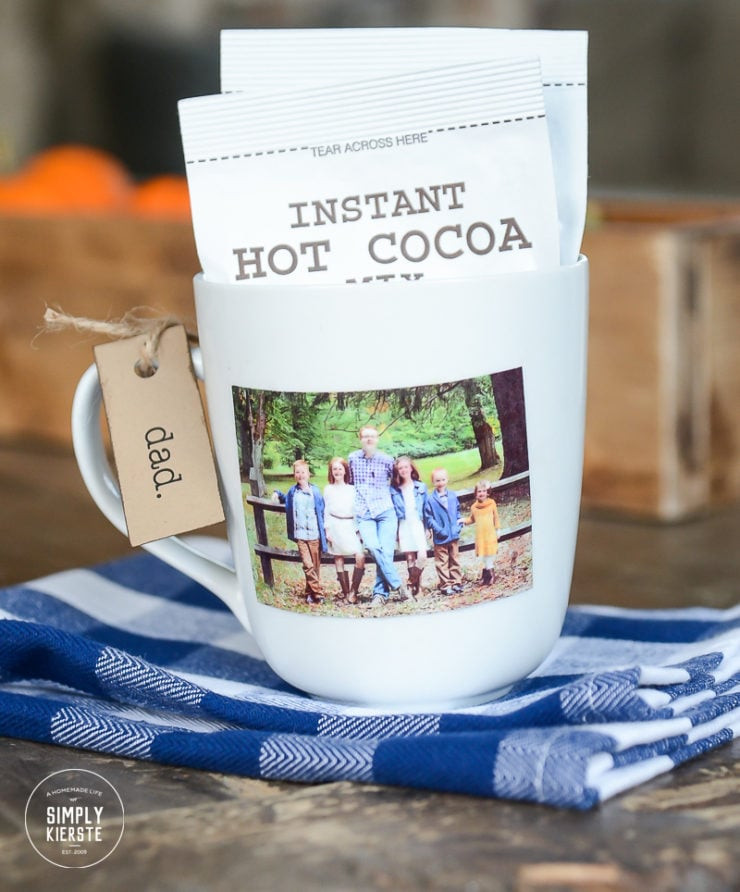
Creating your own photo mug is easier than you might think, especially with the right materials and techniques. This project is not only budget-friendly but also allows for a personal touch that store-bought gifts often lack. We’ll explore how to use readily available supplies, including dishwasher safe Mod Podge, to create a durable and beautiful photo mug.
 Easy DIY Photo Mug Gift Idea | simply kierste.com
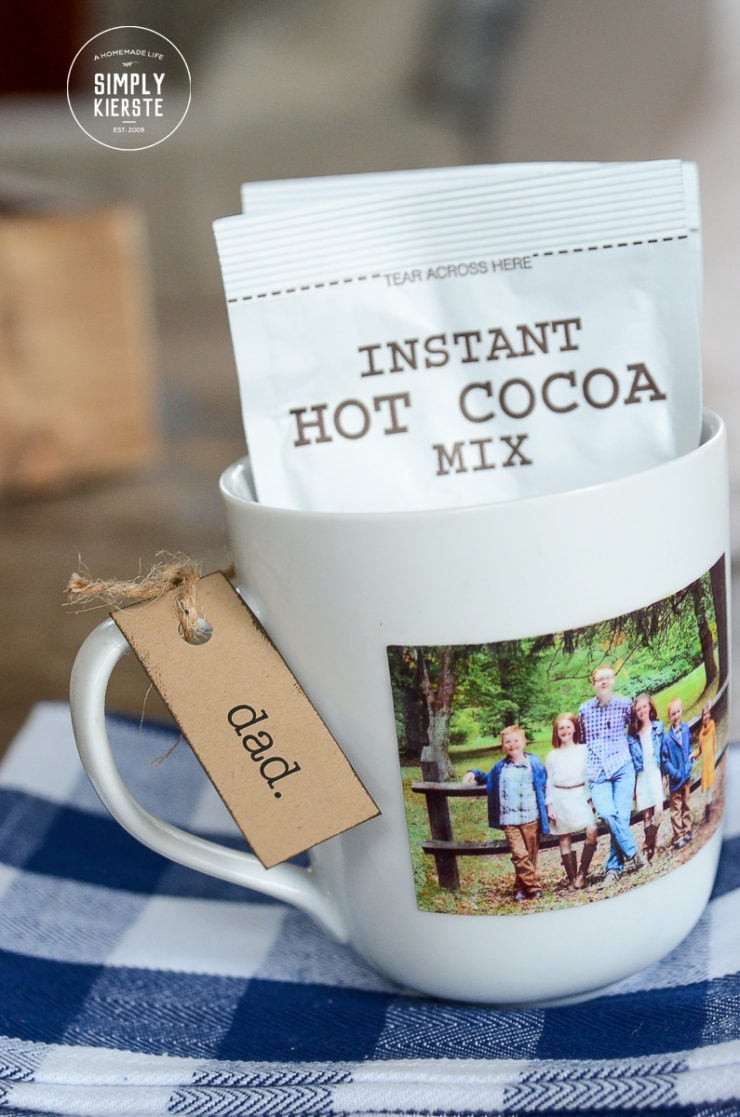
Close-up view of a finished DIY photo mug, highlighting the clear photo application and craft quality.
Step 1: Enhancing Your Photo
Before you print your photo, taking a few moments to enhance it can make a significant difference in the final result. While you can use various photo editing software, Adobe Photoshop Elements is a user-friendly and powerful option for beginners and experienced editors alike.
 Easy DIY Photo Mug Gift Idea | simply kierste.com
Opening a photo in Adobe Photoshop Elements for editing, starting the process of photo enhancement for mug application.
Quick Adjustments for Impact
Photoshop Elements’ “Quick” tab offers a range of easy-to-use tools to improve your photo’s overall appearance. Adjusting exposure, lighting, color, and sharpness can breathe new life into your images, ensuring they look their best on your custom mug.
 Easy DIY Photo Mug Gift Idea | simply kierste.com
Exploring quick editing options in Photoshop Elements, demonstrating the software’s user-friendly interface for photo enhancements.
Advanced Facial Feature Editing
For photos featuring people, the “Guided” edits in Photoshop Elements provide remarkable tools. The “Perfect Portrait” feature, under “Special Edits,” allows you to refine facial features, remove red-eye, whiten teeth, and even subtly slim faces. These tools are incredibly helpful for family photos or portraits intended for your photo mug.
 Easy DIY Photo Mug Gift Idea | simply kierste.com
Navigating to the “Perfect Portrait” guided edit in Photoshop Elements, showcasing advanced editing features for portraits.
Smile Enhancement and Eye Adjustments
One standout feature is the ability to adjust facial expressions, like adding a smile or enhancing the eyes. Located under the “Quick” tab, then “Enhance” > “Adjust Facial Features,” this tool allows you to subtly tweak smiles, eye size, and even reduce squinting. This can be particularly useful for group photos where not everyone is perfectly posed or smiling naturally.
 Easy DIY Photo Mug | simply kierste.com
Accessing the facial feature adjustment tools in Photoshop Elements, highlighting the ability to refine expressions and features.
For example, opening up the eyes of a subject who may have been squinting can significantly improve a photo. The sliders in Photoshop Elements provide precise control over these adjustments, allowing for natural-looking enhancements.
 DIY Photo Mug | simply kierste.com
Before photo showing a subject squinting slightly, demonstrating a common photo challenge.
 DIY Photo Mug | simply kierste.com
After photo showing the subject’s eyes opened more using Photoshop Elements, illustrating the effectiveness of eye enhancement tools.
Resizing Your Photo for the Mug
Once your photo edits are complete, resizing it to fit your mug is essential. In Photoshop Elements, go to “Image” > “Resize” > “Image Size.” Enter the desired dimensions for your mug, ensuring “constrain proportions” is checked to prevent distortion. This step guarantees your photo fits perfectly on the mug surface without stretching or skewing.
 Easy DIY Photo Mug | simply kierste.com
Navigating to the image resizing options in Photoshop Elements, preparing the photo dimensions for mug application.
 Easy DIY Photo Mug | simply kierste.com
Inputting specific dimensions in the image size dialog box in Photoshop Elements, ensuring correct photo proportions for the mug.
Step 2: Printing and Preparing Your Photo
With your photo edited and resized, it’s time to print. For this DIY method, printing on white cardstock is a great option as it’s readily available and provides a good base for adhering to the mug.
 DIY Photo Mug | simply kierste.com
Inserting the resized photo into a document for printing on cardstock, showing a simple method for home printing.
Sealing the Photo for Longevity
To prevent ink bleeding and ensure your photo remains vibrant, apply a thin coat of clear nail polish over the printed image. This acts as a sealant and dries quickly, preparing the photo for the Mod Podge application. Allow the nail polish to dry completely before proceeding to the next step.
Step 3: Applying the Photo with Mod Podge
Now for the fun part – attaching your photo to the mug! Dishwasher safe Mod Podge is crucial for this project, ensuring your mug is both beautiful and functional.
Mod Podge Application Technique
Using a foam brush, apply a layer of dishwasher safe Mod Podge to the area of the mug where you want to place the photo. Also, apply a layer of Mod Podge to the back of your printed photo. Carefully position the photo onto the mug, pressing gently to smooth out any air bubbles. Then, apply a thin layer of Mod Podge over the top of the photo, sealing it to the mug.
Follow the instructions on the Mod Podge bottle for the recommended number of coats and curing time to achieve dishwasher safety and durability.
 Easy DIY Photo Mug Gift Idea | simply kierste.com
Applying Mod Podge to the mug and photo for secure adhesion, demonstrating the key step in creating a photo mug.
Addressing Potential Ink Bleeding
While sealing with nail polish helps, some minor color bleeding might still occur, especially with the first coat of Mod Podge. Work carefully and gently wipe away any excess color with a paper towel as you apply the Mod Podge. If you prefer to eliminate ink bleeding entirely, consider printing your photo at a photo center or using photo paper for home printing.
Video Tutorial for Visual Learners
For a more visual guide, this short video tutorial demonstrates the process of assembling your photo mug after printing the image:
Video: HOW TO MAKE A DIY PHOTO MUG
 Easy DIY Photo Mug Gift Idea | simply kierste.com
Thumbnail of a video tutorial demonstrating the DIY photo mug creation process, offering a visual guide for readers.
Step 4: Final Touches and Supplies
Once the Mod Podge is fully cured according to the product instructions, your personalized photo mug is complete!
Supplies You’ll Need:
- Mug
- White cardstock
- Clear nail polish
- Dishwasher safe Mod Podge
- Foam brush
Step-by-Step Directions Recap:
- Edit and resize your chosen photo using software like Adobe Photoshop Elements.
- Print your photo on white cardstock.
- Seal the printed photo with clear nail polish and let it dry.
- Apply dishwasher safe Mod Podge to the mug and the back of the photo.
- Carefully adhere the photo to the mug, applying Mod Podge over the top to seal.
- Allow to cure fully according to Mod Podge instructions.
 Easy DIY Photo Mug Gift Idea | simply kierste.com
Showcasing the required supplies for making a DIY photo mug, including mug, Mod Podge, brush, cardstock, and nail polish.
 Easy DIY Photo Mug Gift Idea | simply kierste.com
A collection of finished DIY photo mugs, inspiring readers with gifting ideas for various occasions.
DIY photo mugs are wonderful for any occasion. They make thoughtful Christmas gifts, birthday presents, or just-because tokens of affection for family, friends, teachers, and anyone special in your life. Enjoy creating these personalized treasures!
