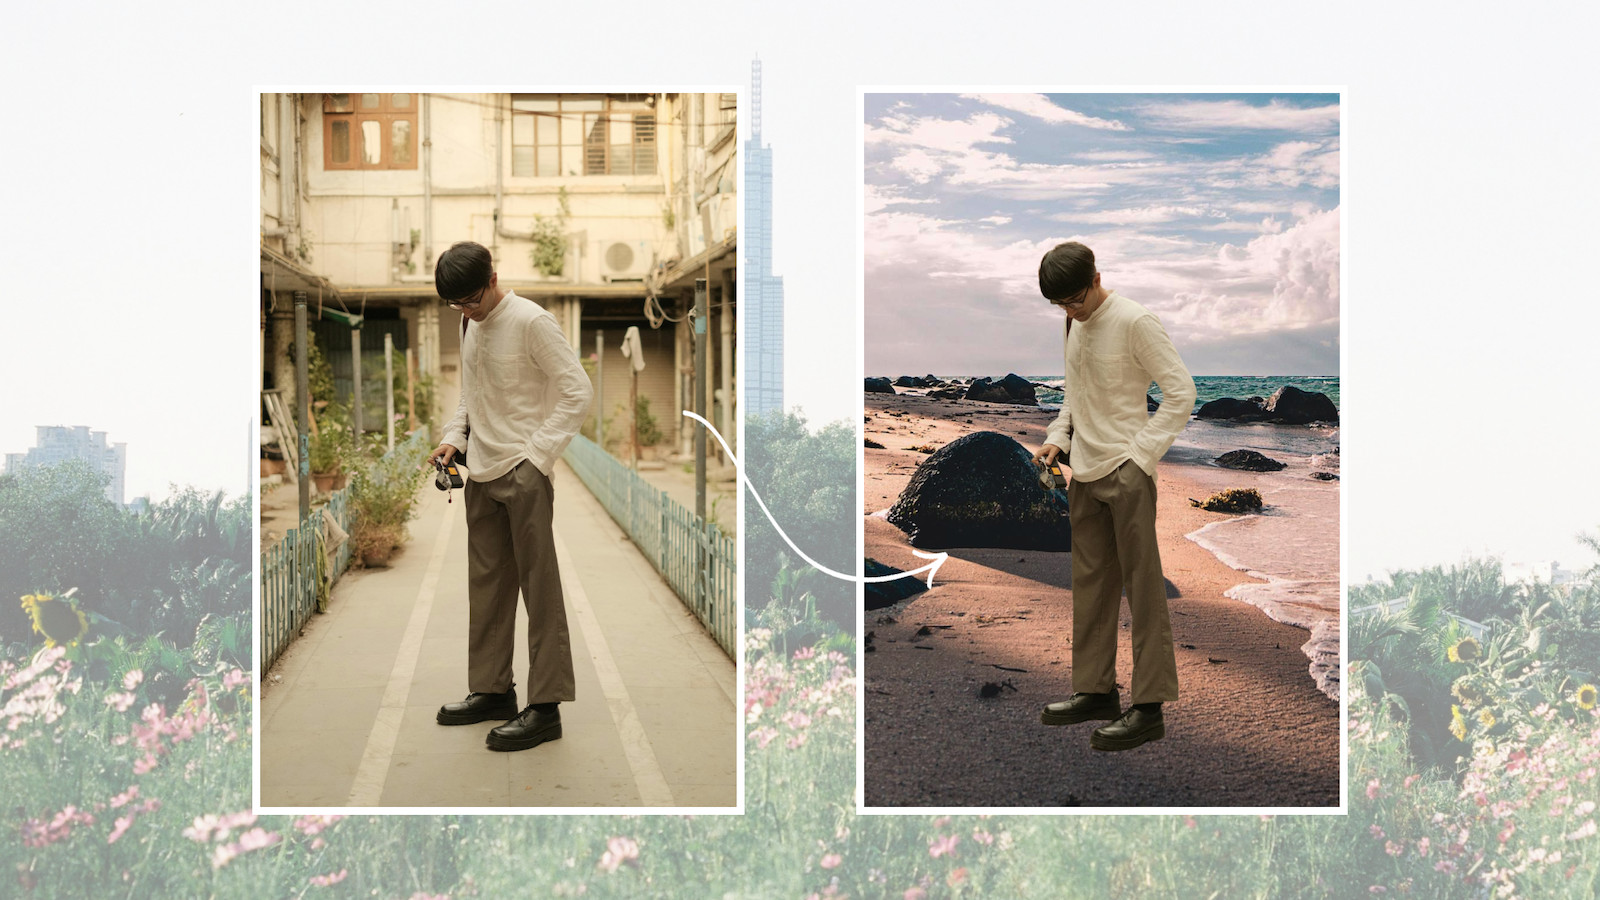
Changing the background of a photo used to be a complex task, often involving tedious manual edits and expensive software. Imagine spending hours carefully erasing pixel by pixel to isolate your subject and then painstakingly adding a new background. Thankfully, with advancements in technology, particularly AI, this process has become incredibly streamlined. BeFunky’s AI Background Remover now allows you to seamlessly put a photo on a background with just a single click.
 add new background 1
In this guide, we’ll explore the versatile capabilities of AI-powered background removal tools. From effortlessly placing studio portraits onto vibrant stock photo backgrounds to completely transforming outdoor scenes, you’ll discover how easy it is to change photo backgrounds. Beyond simple edits, we’ll also touch on creative applications for social media content, personalized stationery, and much more.
Understanding Background Changers
A background changer is a digital tool designed to replace the existing background of an image with a new one, often in just a few clicks. While free online background changers exist, they frequently come with limitations in functionality and may struggle to accurately isolate the subject of your photo. On the other end of the spectrum, professional photo editing software like Photoshop, while powerful, often requires numerous intricate steps to achieve a background change.
AI Background Remover tools bridge this gap by leveraging artificial intelligence to intelligently identify and isolate the main subject of your image. This technology ensures a natural-looking result right from the start when you put a photo on a background.
Why Change a Photo Background? Common Scenarios
There are countless situations where altering a photo background can be beneficial. Perhaps the original background is cluttered with distracting elements that divert attention from your subject. Cleaning up these distractions becomes crucial, especially when aiming for compelling portrait photography. If you’re using a photo for branding or a specific event, you might want to place your subject in a more relevant context or align the image with a particular color scheme. Even studio shots, while offering excellent lighting, can sometimes feel sterile, and adding an image background can inject personality and visual interest.
The possibilities are truly limitless when it comes to background replacement. You can transport your subject to a different location, change the season depicted in the photo, or even alter the time of day. (Specifically looking to enhance skies? Explore dedicated sky replacement tools.) Create fantastical scenes for cosplay photos, design captivating book covers, or simply rectify an unsatisfactory shooting location without the need for an entirely new photoshoot.
Background changers are also invaluable for enhancing your social media presence. Maintaining a consistent aesthetic across your Instagram feed, for example, becomes much easier when you can apply similar backgrounds to all your photos, regardless of their original setting. Choose solid colors, abstract patterns, or even other photographs as your new backgrounds.
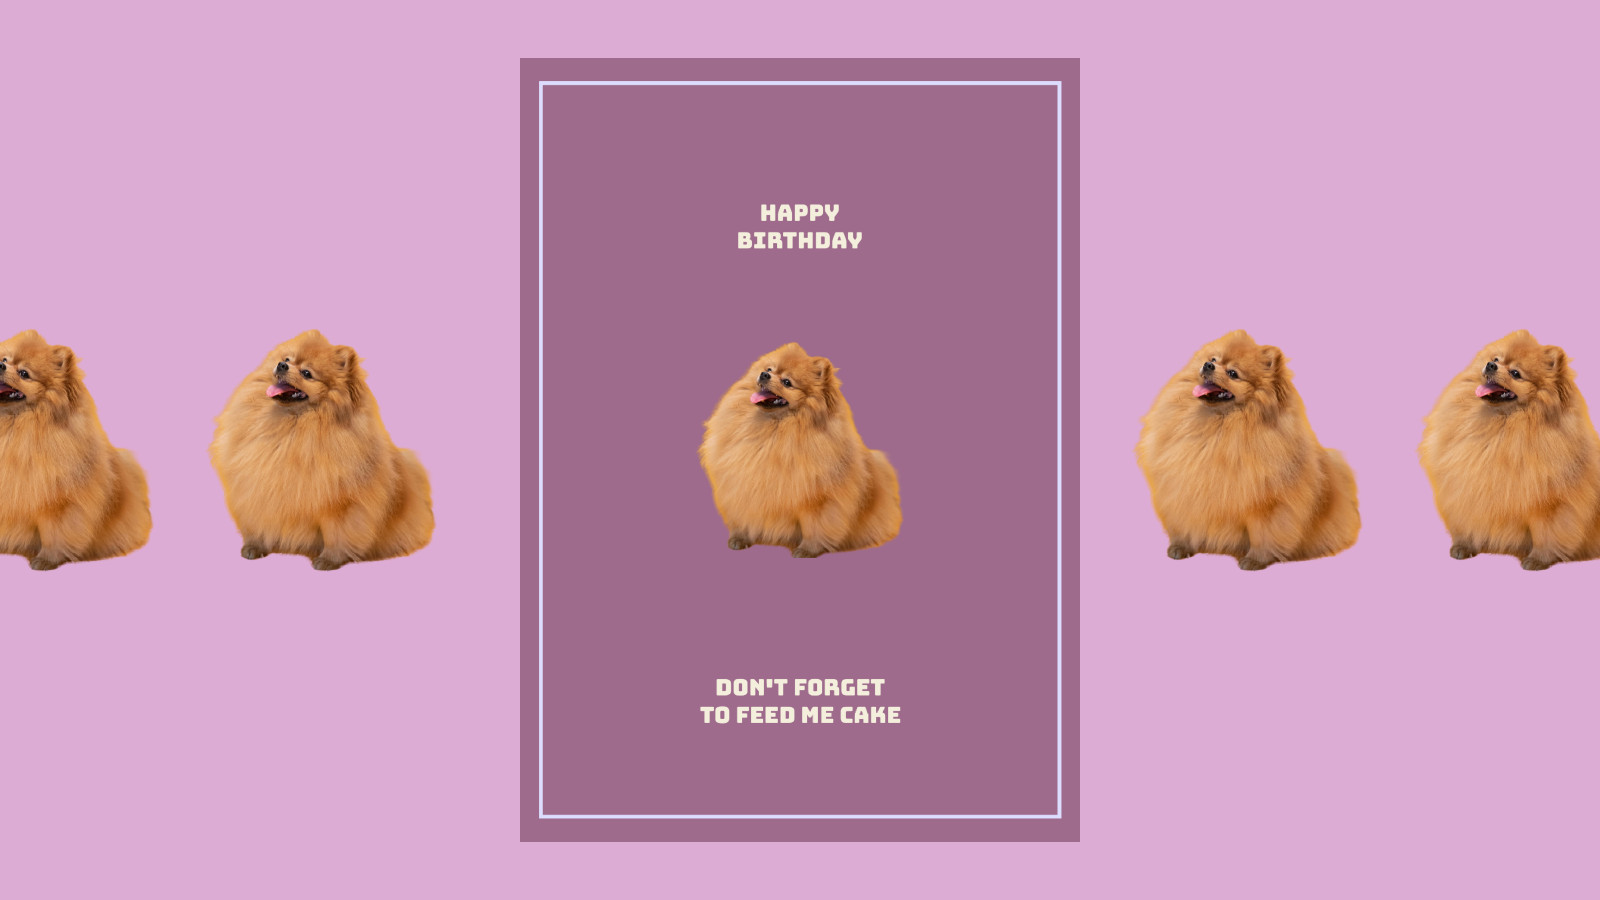
Furthermore, consider using a background remover to create personalized stationery items like unique cards and stickers. Instead of generic vector graphics on a birthday card, imagine featuring a photo of the recipient’s pet, themselves, or even a memorable picture of you together!
 background remover dogs
Step-by-Step Guide: How to Put a Photo on a Background
Using a Background Remover is remarkably straightforward, yet it provides powerful photo editing capabilities. Ready to try it out? Click here to access the Background Remover tool directly and upload your chosen photo.
Quick Tip: If you’re already working within the BeFunky app, you can find the Background Remover conveniently located in the ‘Edit’ tab.
Step 1: Fine-Tune Your Selection (Optional)
Upon uploading your image, the Background Remover automatically applies AI to generate a transparent background. This intelligent technology excels at discerning the edges of your subject from the background. Often, the initial AI selection is remarkably accurate, like in the example below:
 Add-BG-Tutorial-1
However, in cases where the Background Remover might have inadvertently included unwanted portions of the original background or removed parts of your subject, the Adjust Selection tool provides manual refinement. These adjustments are typically minor, addressing details like stray hairs or small gaps around fingers. Images with highly intricate outlines might benefit from slightly more manual editing.
 adjust selection background remover
Additionally, if your subject shares a similar color palette with the original background, consider slightly increasing the image contrast before applying the Background Remover. This can improve the AI’s ability to differentiate between the subject and background.
Step 2: Change the Photo Background
To replace the background of your photo, the Change Background tool offers three versatile options: ‘Transparent’, ‘Color’, or ‘Image’. ‘Transparent’ is the default setting, indicated by a checkered gray and white pattern. Saving your image in PNG format with a transparent background creates a digital sticker effect, perfect for versatile placement in various projects. This is especially useful when you intend to reuse the same subject across diverse applications.
Selecting the Color option allows you to instantly apply a solid color background to your photo.
 add solid color background
The Image option empowers you to introduce a completely new background. You can choose from a vast library of stock images or upload a background image directly from your computer. Experiment with different backgrounds to discover the perfect complement for your subject!
 new photo background
The Edit Background tool gives you further control. Scale your new background image to seamlessly integrate with your subject and even adjust background colors to enhance realism. This direct editing capability within the Background Remover eliminates the extra step of pre-editing background images separately.
 edit background
Once you’ve chosen your new image background, consider adding a subtle Drop Shadow effect to create a more natural blend between your subject and the background. This technique works particularly well with solid color backgrounds and close-up backgrounds like walls or textured surfaces.
 background remover drop shadow
Step 3: Saving Your Edited Photo
The final step is to Save your masterpiece. Locate the ‘Save’ button at the top of the interface and click it. Remember to save your image in a high-quality PNG format to preserve transparency if needed and maintain image clarity.
 save background remover
That’s all there is to it! In just a few clicks, leveraging the power of an AI Background Remover, you’ve successfully put a photo on a background, creating a completely transformed image. Here’s a look at the variety of background transformations we’ve achieved:
 background add final
Change Photo Backgrounds in a Single Click
If you’ve been searching for a background changer that is user-friendly, efficient, and affordable, BeFunky’s Background Remover is the ideal solution. Once you experience the ease of changing image backgrounds with a single click, a world of creative possibilities opens up! Try the AI-powered Background Remover for yourself and explore the endless potential today.
Remove Backgrounds With Ease.
Get Started Now
