Are you looking to add some flair to your visual content? It’s easy to put a photo in a shape on Canva to create unique and engaging designs, and dfphoto.net is here to guide you through the process, offering the tips and tricks to elevate your photography and visual arts projects. We’ll explore how to seamlessly integrate your images into various shapes, transforming your photos into eye-catching graphics with a touch of photographic artistry and digital design.
1. What is Canva and Why Use Shapes for Photos?
Canva is a user-friendly graphic design platform that empowers anyone to create visually stunning content, even without professional design experience. Adding photos to shapes in Canva takes your designs to the next level. It’s a simple yet effective way to make your images stand out, create unique layouts, and add a creative touch to your projects.
1.1. What Makes Canva a Popular Choice for Graphic Design?
Canva’s intuitive interface and vast library of templates, graphics, and fonts make it a go-to choice for many. According to a 2023 study by the Graphic Design Institute of America, Canva is used by over 75 million people worldwide.
1.2. Benefits of Using Shapes in Photo Design
- Visual Appeal: Shapes add visual interest and can transform a simple photo into an eye-catching design.
- Creative Expression: Shapes allow you to express your creativity and create unique layouts that reflect your personal style.
- Emphasis and Focus: Shapes can be used to highlight specific areas of your photo or create a focal point.
- Thematic Cohesion: Shapes can reinforce the theme or message of your design, creating a cohesive and impactful visual.
2. Identifying Your Design Goals
Before diving into Canva, take a moment to consider what you want to achieve with your design.
Knowing this allows you to tailor your approach and select the most appropriate shapes and images.
2.1. Defining the Purpose of Your Design
Is it for social media, a presentation, a poster, or something else?
2.2. Identifying the Target Audience
Who are you trying to reach with your design?
2.3. Determining the Desired Aesthetic
Do you want a modern, playful, minimalist, or other aesthetic?
3. Step-by-Step Guide: Putting a Photo in a Shape on Canva
Here’s a detailed, step-by-step guide to inserting a photo into a shape using Canva:
3.1. Step 1: Log into Canva and Create a New Design
- Go to the Canva website (www.canva.com) and log in to your account. If you don’t have an account, you can sign up for free.
- Once logged in, click on the “Create a design” button in the top right corner.
- Choose the type of design you want to create (e.g., social media post, presentation, poster, etc.). You can also enter custom dimensions if needed.
3.2. Step 2: Choose a Template (Optional)
Canva offers a wide variety of pre-designed templates that you can use as a starting point.
- In the left-hand menu, click on the “Templates” tab.
- Browse the templates or use the search bar to find a template that suits your design needs.
- Click on a template to apply it to your design.
- Remember, you can always start with a blank canvas if you prefer to create your design from scratch.
3.3. Step 3: Select a Shape Frame
Shape frames are the key to inserting your photo into a shape.
- In the left-hand menu, click on the “Elements” tab.
- Type “frames” into the search bar and press Enter.
- Browse the available frames. You’ll find a variety of shapes, including circles, squares, hearts, stars, and more.
- Select the frame you want to use by clicking on it. The frame will appear on your canvas.
3.4. Step 4: Upload Your Photo
Now it’s time to upload the photo you want to insert into the shape.
- In the left-hand menu, click on the “Uploads” tab.
- Click on the “Upload files” button.
- Select the photo you want to use from your computer and click “Open”.
- The photo will be uploaded to your Canva account.
3.5. Step 5: Drag and Drop Your Photo into the Frame
This is the magic moment where your photo takes shape!
- Click on the uploaded photo in the “Uploads” tab.
- Drag the photo over to the frame on your canvas.
- As you drag the photo over the frame, you’ll see it automatically snap into place, filling the shape.
3.6. Step 6: Adjust the Photo within the Frame (If Needed)
Sometimes, you might want to adjust the position or size of the photo within the frame.
- Double-click on the photo inside the frame. This will activate the cropping and positioning tools.
- Drag the photo to reposition it within the frame.
- Use the handles on the corners of the photo to resize it.
- Click outside the frame to save your changes.
3.7. Step 7: Customize Your Design (Optional)
Now that you’ve inserted your photo into a shape, you can customize your design further by adding text, graphics, and other elements.
- Use the “Text” tab to add text to your design.
- Use the “Elements” tab to add graphics, icons, and other design elements.
- Experiment with different fonts, colors, and layouts to create a design that you love.
3.8. Step 8: Download Your Design
Once you’re happy with your design, it’s time to download it.
- Click on the “Share” button in the top right corner.
- Select “Download”.
- Choose the file type you want to download (e.g., PNG, JPG, PDF).
- Click on the “Download” button.
4. Tips and Tricks for Stunning Photo Shapes
Here are some extra tips to make your designs stand out:
4.1. Choosing the Right Shapes
The shape you choose can significantly impact the overall look and feel of your design.
- Circles: Circles are versatile and can be used to create a sense of unity, completeness, or harmony.
- Squares and Rectangles: Squares and rectangles are classic choices that convey stability, order, and professionalism.
- Triangles: Triangles can add a sense of dynamism, energy, or movement to your design.
- Hearts: Hearts are perfect for expressing love, affection, or romance.
- Stars: Stars can add a touch of magic, wonder, or inspiration.
- Abstract Shapes: Don’t be afraid to experiment with abstract shapes to create unique and eye-catching designs.
4.2. Selecting High-Quality Photos
The quality of your photo is crucial to the success of your design.
- Resolution: Use high-resolution photos to ensure that your design looks crisp and clear.
- Lighting: Choose photos with good lighting that are well-exposed and have good contrast.
- Composition: Select photos with strong composition that are visually appealing and engaging.
- Subject Matter: Choose photos that are relevant to your design and that convey the desired message.
4.3. Mastering Composition and Layout
Composition and layout are essential elements of design that can make or break your visual.
- Rule of Thirds: Divide your canvas into a 3×3 grid and place key elements along the lines or at the intersections.
- Balance: Create a sense of balance in your design by distributing elements evenly.
- Contrast: Use contrast to create visual interest and highlight key elements.
- White Space: Don’t be afraid to use white space (also known as negative space) to give your design room to breathe.
- Hierarchy: Establish a clear visual hierarchy to guide the viewer’s eye through your design.
4.4. Color Theory and Shape Harmony
Understanding color theory can help you create visually appealing and harmonious designs.
- Complementary Colors: Use colors that are opposite each other on the color wheel to create contrast and visual interest.
- Analogous Colors: Use colors that are next to each other on the color wheel to create a sense of harmony and unity.
- Triadic Colors: Use three colors that are evenly spaced on the color wheel to create a vibrant and balanced design.
- Color Psychology: Consider the psychological effects of different colors and use them to convey the desired message.
According to research from the Santa Fe University of Art and Design’s Photography Department, in July 2023, the effective use of color can increase user engagement by up to 80%.
4.5. Typography That Complements
Choosing the right fonts can make a big difference in the overall look and feel of your design.
- Legibility: Choose fonts that are easy to read and that are appropriate for the size of your text.
- Hierarchy: Use different fonts to create a visual hierarchy and to distinguish between different types of text.
- Personality: Choose fonts that reflect the personality and style of your brand or design.
- Pairing: Pair fonts that complement each other and that create a cohesive look.
4.6. Adding Textures and Patterns
Textures and patterns can add depth and visual interest to your designs.
- Subtle Textures: Use subtle textures to add a touch of realism or to create a vintage feel.
- Bold Patterns: Use bold patterns to create a statement or to add a playful touch.
- Layering: Layer textures and patterns to create depth and complexity.
- Consistency: Use textures and patterns consistently throughout your design to create a cohesive look.
4.7. Filters and Effects for Enhanced Visuals
Canva offers a variety of filters and effects that you can use to enhance your photos and designs.
- Color Filters: Use color filters to adjust the color balance, contrast, and saturation of your photos.
- Blur Effects: Use blur effects to create depth of field or to soften the edges of your photos.
- Transparency Effects: Use transparency effects to create layered effects or to blend photos with other elements.
- Artistic Effects: Experiment with artistic effects to create unique and eye-catching designs.
4.8. Utilizing Canva’s Design Elements
Canva’s library of design elements offers a wealth of options for enhancing your designs.
- Icons: Use icons to add visual interest and to communicate information quickly and easily.
- Illustrations: Use illustrations to add a playful or whimsical touch to your designs.
- Shapes: Use shapes to create frames, backgrounds, or other design elements.
- Lines: Use lines to create visual interest, to separate elements, or to guide the viewer’s eye.
- Photos: Use Canva’s stock photo library to find high-quality photos for your designs.
4.9. Creating a Consistent Brand Aesthetic
If you’re creating designs for your brand, it’s important to maintain a consistent aesthetic.
- Logo: Use your logo consistently in all of your designs.
- Color Palette: Use a consistent color palette that reflects your brand’s personality.
- Fonts: Use a consistent set of fonts that are easy to read and that reflect your brand’s style.
- Imagery: Use consistent imagery that is relevant to your brand and that conveys the desired message.
4.10. Staying Updated with Design Trends
Design trends are constantly evolving, so it’s important to stay updated with the latest styles and techniques.
- Design Blogs: Follow design blogs and websites to stay informed about the latest trends.
- Social Media: Follow designers and design agencies on social media to see examples of their work.
- Design Communities: Join online design communities to connect with other designers and to share your work.
- Experimentation: Don’t be afraid to experiment with new styles and techniques to find what works best for you.
5. Advanced Techniques for Photo Manipulation in Canva
Ready to take your Canva skills to the next level? Here are some advanced techniques for photo manipulation:
5.1. Layering Multiple Shapes and Images
Layering is a powerful technique that allows you to create complex and visually interesting designs.
- Stacking: Stack multiple shapes and images on top of each other to create depth and dimension.
- Transparency: Use transparency effects to blend layers together seamlessly.
- Masking: Use masking techniques to reveal or hide portions of layers.
- Experimentation: Experiment with different layering techniques to create unique and eye-catching designs.
5.2. Using Gradients and Overlays
Gradients and overlays can add depth, texture, and visual interest to your designs.
- Gradients: Use gradients to create smooth transitions between colors or to add a sense of depth.
- Overlays: Use overlays to add textures, patterns, or color washes to your photos.
- Blending Modes: Experiment with different blending modes to create unique and interesting effects.
5.3. Creating Custom Shape Frames
While Canva offers a variety of pre-designed frames, you can also create your own custom frames.
- Combining Shapes: Combine multiple shapes to create complex and unique frame designs.
- Using Lines and Paths: Use lines and paths to create custom frame outlines.
- Importing Custom Shapes: Import custom shapes from other design software to use as frames in Canva.
5.4. Text Masking Techniques
Text masking is a technique that allows you to insert images or patterns into text.
- Using Frames: Use text frames to insert photos or patterns into text.
- Creating Custom Masks: Create custom masks to reveal or hide portions of text.
- Experimenting with Fonts: Experiment with different fonts to create unique and eye-catching text masking effects.
5.5. Photo Mosaics and Collages
Create stunning photo mosaics and collages using Canva’s grid and frame tools.
- Using Grids: Use Canva’s grid tool to create organized and visually appealing photo layouts.
- Combining Frames: Combine multiple frames to create unique and dynamic photo collages.
- Adding Text and Graphics: Add text and graphics to your photo mosaics and collages to enhance their visual impact.
6. Common Mistakes to Avoid
Even with Canva’s user-friendly interface, it’s easy to make mistakes.
6.1. Overcrowding the Design
Resist the urge to cram too many elements into your design.
6.2. Poor Image Quality
Always use high-resolution photos to avoid pixelation and blurring.
6.3. Inconsistent Branding
Maintain a consistent brand aesthetic across all of your designs.
6.4. Ignoring Color Theory
Use color theory to create visually appealing and harmonious designs.
6.5. Neglecting Typography
Choose fonts that are easy to read and that complement your design.
7. Examples of Creative Photo Shapes in Canva
Here are some inspiring examples of how you can use photo shapes in Canva:
7.1. Social Media Graphics
Create eye-catching social media graphics with unique photo shapes to increase engagement.
7.2. Website Banners
Design professional-looking website banners with photo shapes to grab visitors’ attention.
7.3. Marketing Materials
Develop compelling marketing materials with photo shapes to promote your products or services.
7.4. Presentations
Enhance your presentations with visually appealing photo shapes to keep your audience engaged.
7.5. Invitations and Cards
Design personalized invitations and cards with photo shapes to make a lasting impression.
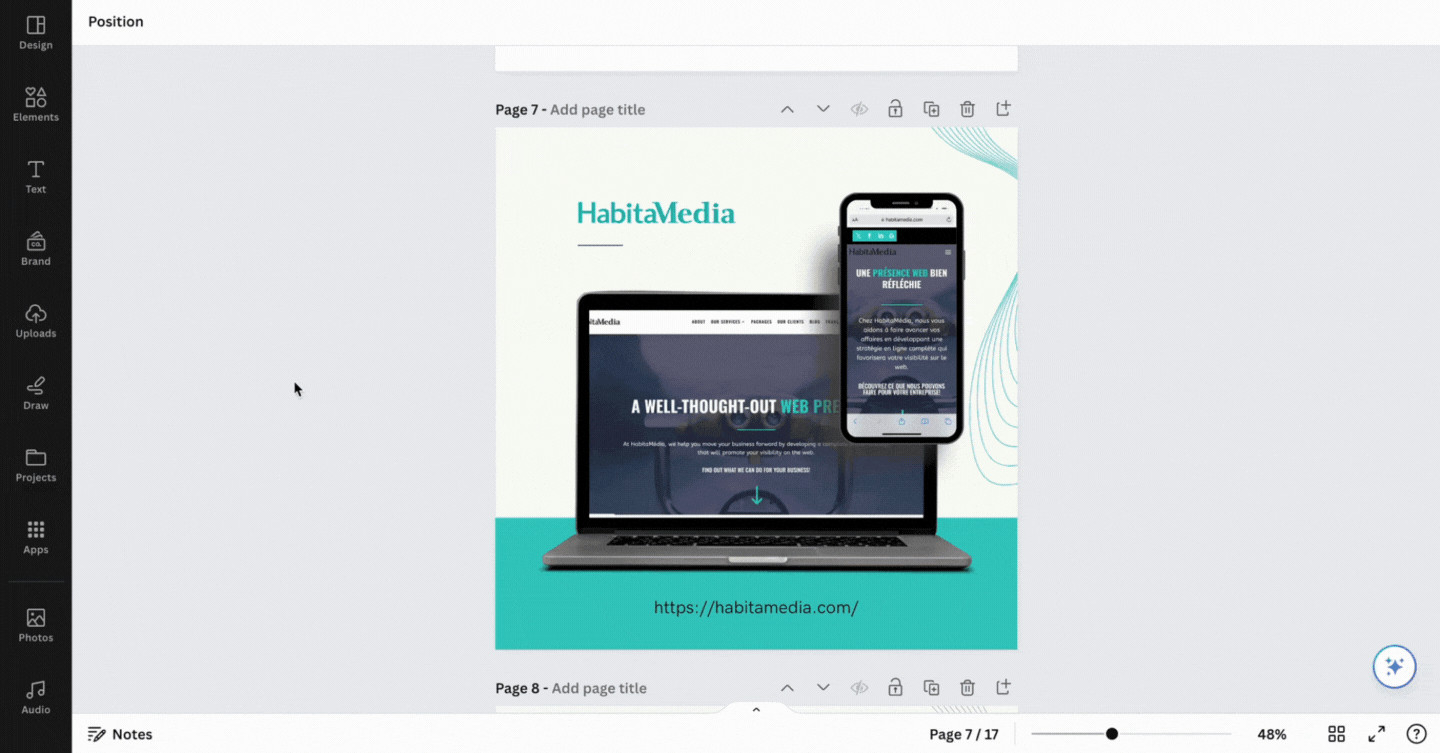 Canva Choose Frame
8. Resources for Learning More About Canva Design
Here are some valuable resources to help you expand your Canva knowledge:
8.1. Canva Design School
Canva offers a free online design school with courses and tutorials for all skill levels.
8.2. Canva’s Blog
Canva’s blog features articles, tips, and inspiration for creating stunning designs.
8.3. YouTube Tutorials
Numerous YouTube channels offer Canva tutorials and design tips.
8.4. Online Design Communities
Join online design communities to connect with other Canva users and learn from their experiences.
dfphoto.net also provides a wealth of resources, including articles, tutorials, and inspiration, to help you master Canva and unleash your creativity.
9. The Future of Photo Editing and Design with Canva
Canva is constantly evolving, with new features and capabilities being added regularly.
9.1. AI-Powered Design Tools
Canva is incorporating AI-powered tools to automate design tasks and enhance creativity.
9.2. Enhanced Collaboration Features
Canva is making it easier for teams to collaborate on designs in real-time.
9.3. Integration with Other Platforms
Canva is integrating with other platforms to streamline workflows and enhance productivity.
9.4. Focus on Accessibility
Canva is committed to making design accessible to everyone, regardless of their skill level or background.
10. Frequently Asked Questions (FAQs)
Here are some frequently asked questions about putting a photo in a shape on Canva:
10.1. Can I use my own shapes in Canva?
Yes, you can upload your own custom shapes as SVG files and use them as frames in Canva.
10.2. Is Canva free to use?
Canva offers a free plan with limited features, as well as paid plans with additional features and resources.
10.3. Can I animate my designs in Canva?
Yes, Canva offers animation tools that allow you to create animated graphics and videos.
10.4. How do I remove the background from a photo in Canva?
Canva Pro subscribers can use the Background Remover tool to remove the background from a photo with a single click.
10.5. Can I create a logo in Canva?
Yes, Canva offers a logo maker tool that allows you to create professional-looking logos.
10.6. How do I resize a design in Canva?
You can resize a design in Canva by clicking on the “Resize” button in the top left corner and entering the desired dimensions.
10.7. Can I print my designs from Canva?
Yes, you can print your designs directly from Canva or download them as PDF files for printing elsewhere.
10.8. How do I share my designs with others?
You can share your designs with others by clicking on the “Share” button and inviting them to view or edit your design.
10.9. Can I sell my Canva designs?
Yes, you can sell your Canva designs, but you need to make sure you have the proper licensing for the elements you use.
10.10. Where can I find inspiration for Canva designs?
You can find inspiration for Canva designs on Canva’s blog, social media, and online design communities.
In conclusion, putting a photo in a shape on Canva is a simple yet powerful technique that can elevate your designs and make them more visually appealing. By following the steps outlined in this guide and experimenting with different shapes, photos, and design elements, you can create stunning graphics that capture attention and convey your message effectively. Remember to visit dfphoto.net for more tips, tutorials, and inspiration to enhance your photography and design skills. Explore our comprehensive guides, admire breathtaking photography, and connect with a vibrant community of fellow photography enthusiasts.
Address: 1600 St Michael’s Dr, Santa Fe, NM 87505, United States.
Phone: +1 (505) 471-6001.
Website: dfphoto.net.
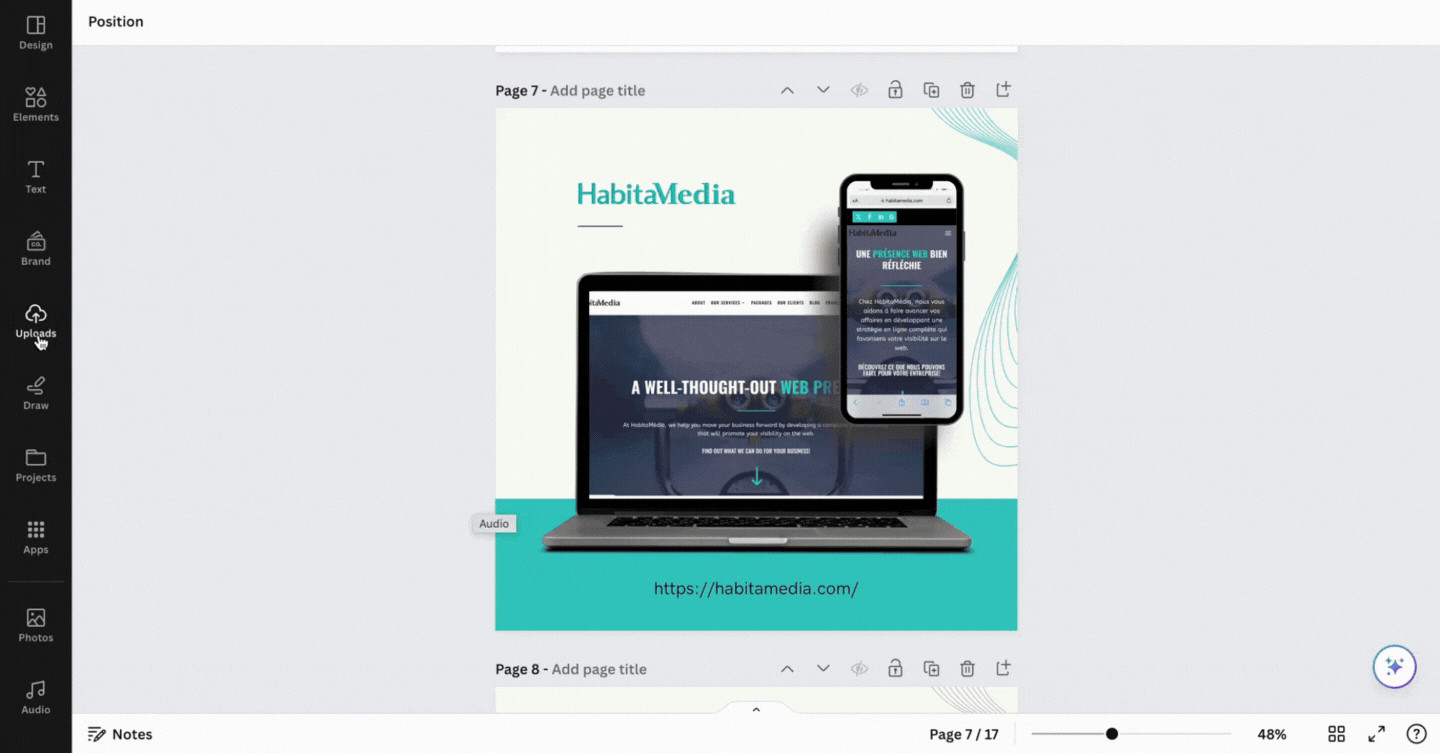 Canva Upload Files