Want to get more from your photo prints? Printing two photos on a single page is a great way to save paper, create themed prints, or simply have a handy sheet of related images. If you’re using a Mac, you have several straightforward methods to achieve this using built-in applications. This guide will walk you through how to easily print two or more photos on one page using your macOS system.
Method 1: Utilizing the Photos App Contact Sheet Feature
The Photos app on macOS offers a built-in feature called “Contact Sheet” that’s perfect for printing multiple images on a single page. This method is quick and efficient, especially when you want a simple layout.
Here’s how to do it:
-
Open Photos: Launch the Photos application on your Mac and select the images you wish to print together. You can select multiple photos by holding down the Command key while clicking on each image.
-
Initiate Print Command: Once your photos are selected, press
Command + Pto open the print dialog box. -
Choose Contact Sheet: In the print dialog, look for the “Style” options. Select “Contact Sheet” from the available styles.
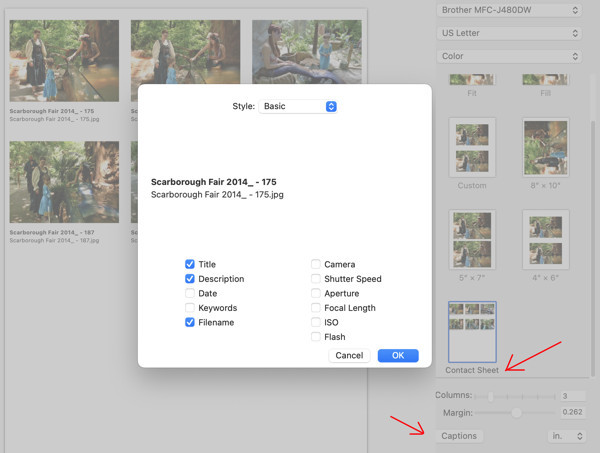 Print dialog in Photos app showing Contact Sheet option
 -
Adjust Layout: You can customize the layout of your contact sheet by adjusting the number of columns. This option is usually found within the Contact Sheet settings in the print dialog. Reducing the number of columns will increase the size of each photo on the page, fitting fewer photos but making them more prominent. For printing two photos on one page, you might want to experiment with 1 or 2 columns depending on your desired size.
-
Customize Information (Optional): The Contact Sheet option also allows you to include titles, dates, and other metadata with each picture. You can enable or disable these options in the print dialog based on your preference.
-
Print or Save as PDF: Once you are satisfied with the layout, you can either print directly by clicking the “Print” button or save it as a PDF. To save as PDF, click on the “PDF” dropdown menu located in the bottom left corner of the print dialog and select “Save as PDF”. This is useful if you want to share the layout digitally or print it later.
Even though you are in the print dialog, remember you don’t actually have to print physically. Saving as a PDF gives you a digital version of your photo layout.
Method 2: Employing Preview App for a Flexible Layout
For more flexibility in positioning and resizing your photos on a single page, the Preview app on macOS offers a handy workaround using transparency. This method allows you to manually arrange photos exactly as you want them.
Follow these steps:
-
Create a Blank Canvas in Preview: Open any photo in Preview, then go to
Edit > Select AllandEdit > Delete. This will leave you with a blank, transparent screen in Preview.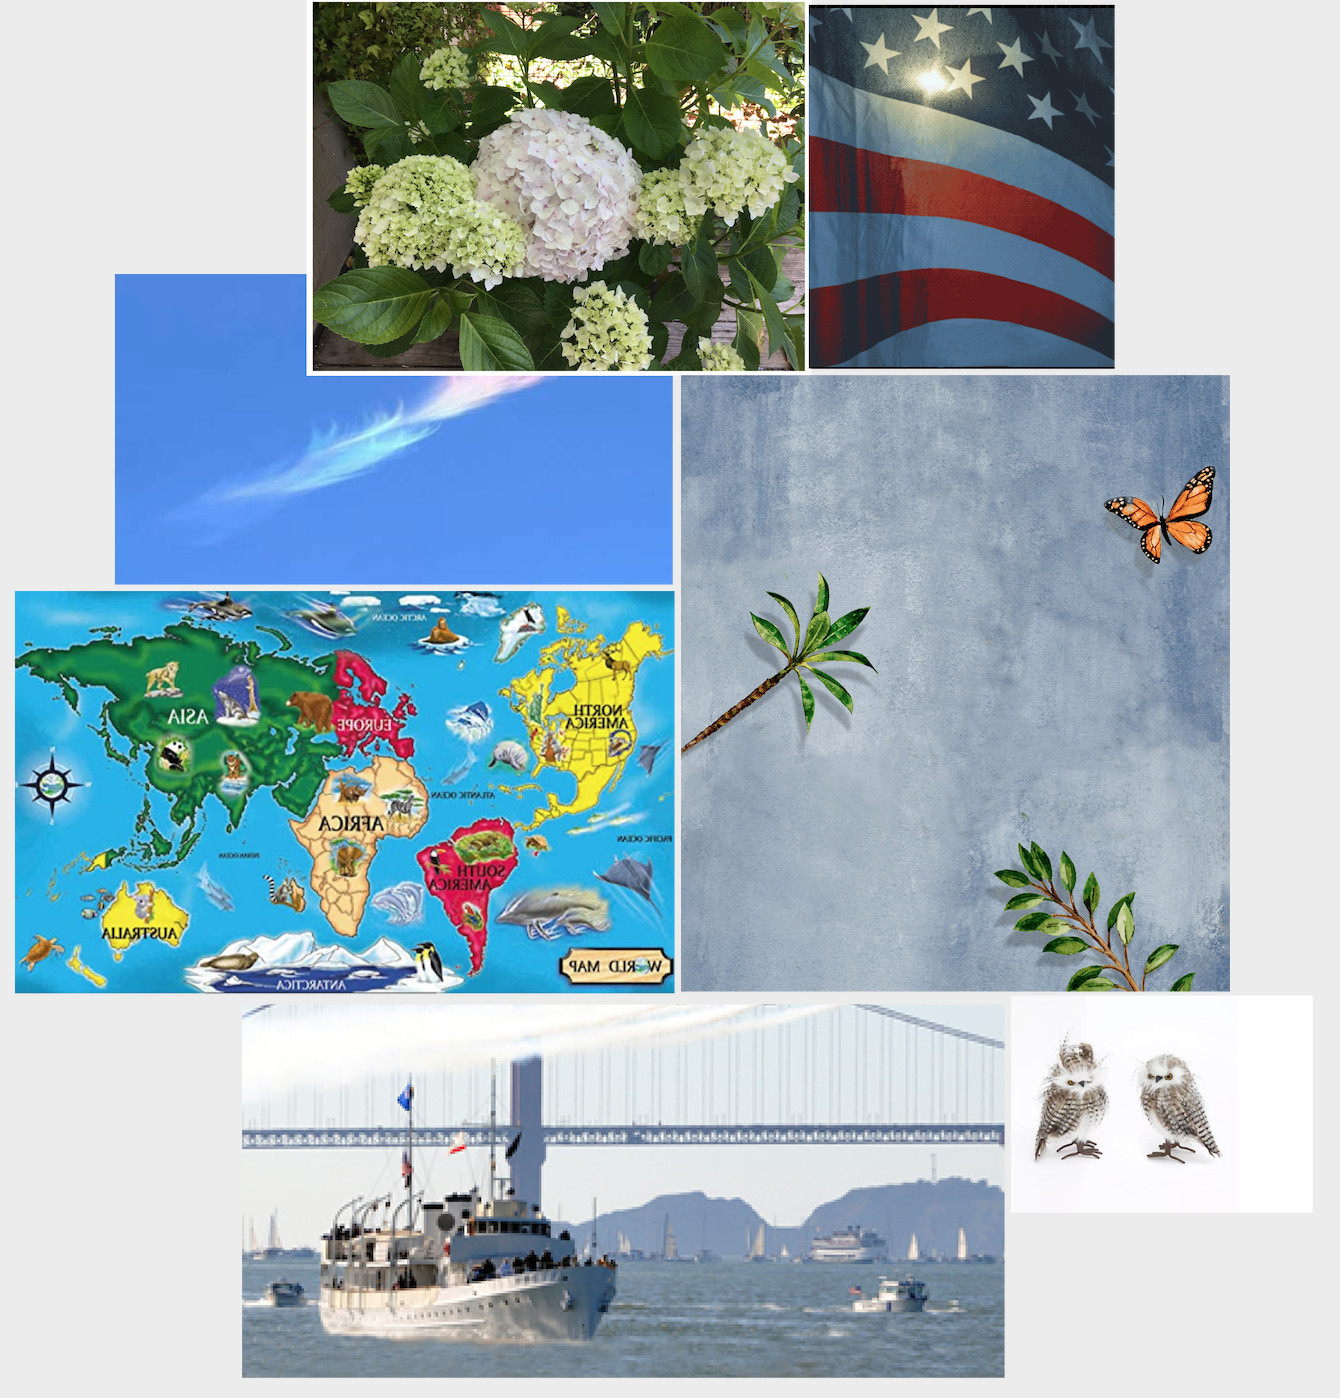 Preview app with a blank transparency screen ready for photo insertion
 -
Copy and Paste Photos: Open the first photo you want to print in a new Preview window. Go to
Edit > Copy. Then, switch back to your blank transparency screen and go toEdit > Paste. The copied photo will appear on the transparent screen. -
Repeat for the Second Photo: Repeat the copy and paste process for your second photo (and any additional photos you want on the page). Each pasted photo will be added to the same transparent canvas.
-
Position and Resize: Once you have pasted all your photos onto the transparent screen, you can move and resize them as needed. Click and drag a photo to reposition it. To resize, click on one of the handles at the corners of the photo’s bounding box and drag to adjust the size.
-
Print Your Layout: Once you have arranged your photos to your liking, you can print directly from Preview by pressing
Command + P. Adjust print settings as needed, and then click “Print”.
This method gives you precise control over the placement and size of each photo on the page, making it ideal for creating custom layouts.
Method 3: Using Pages App for Advanced Layouts and Collages
For the most advanced layout options, including creating photo collages and precisely arranging multiple photos, Apple’s free Pages app is an excellent tool. Pages provides a word-processing and page layout environment where you can easily insert, resize, and position images.
Here’s how to use Pages to print two photos on one page or create more complex layouts:
-
Open Pages and Create a New Document: Launch the Pages app and create a new blank document.
-
Set Page Size: If you need a specific page size, go to
File > Page Setupand customize the paper size as needed. -
Insert Photos: Drag and drop the photos you want to print directly into your Pages document, or go to
Insert > Chooseand select your image files. -
Resize and Position Photos: In Pages, you can easily resize and move images. Click on an image to select it, then drag the handles at the corners to resize. Drag the image itself to move it around the page. Pages allows for very precise placement and resizing.
-
Arrange Your Photos: Arrange the photos on the page as desired. You can place them side-by-side, one above the other, or create more complex arrangements. Pages offers layout guides to help you align elements precisely.
 Pages app showing a photo collage layout created by dragging and resizing images
 -
Add Text and Other Elements (Optional): Pages allows you to add text boxes, shapes, and other elements to your layout if you want to create a more elaborate design.
-
Print from Pages: Once your layout is complete, print directly from Pages by going to
File > Print(Command + P). Adjust any print settings and click “Print”.
Pages is particularly useful if you want to create more visually appealing layouts, collages, or need to combine photos with text.
Conclusion
Printing two photos on one page on macOS is simple and versatile, thanks to the built-in applications like Photos, Preview, and Pages. Whether you need a quick contact sheet, a flexible manual layout, or an advanced collage, macOS provides the tools you need. Choose the method that best suits your needs and start making the most of your photo prints today!