Printing photos from negatives at home can be a rewarding experience, allowing you to revive cherished memories and create unique prints. dfphoto.net is here to guide you through the process, offering tips and techniques to achieve stunning results. Learn to master home printing with guidance, ensuring your memories are preserved in vibrant detail.
1. Understanding Film Negatives
Film negatives are the foundation of analog photography, capturing a reversed image on a strip of film. Before digital photography became widespread, negatives were the standard way to store photographs. A typical negative appears in a black and white film. When developed, the dark parts of the strip turn white, and the light parts turn black. The parts with other complex colors have multiple layers that appear primarily red.
1.1. What is a Film Negative?
A film negative is a transparent strip or sheet of plastic film that holds a reversed image. The light and dark areas are inverted compared to the final positive image. Think of it as a photographic blueprint waiting to be revealed.
1.2. How Negatives Work
When light passes through a camera lens and strikes the film, it causes a chemical reaction in the light-sensitive emulsion. This reaction creates a latent image, which is then developed into a visible negative.
1.3. Why Negatives Were Important
In the past, negatives were essential for archiving and reproducing photos. They allowed photographers to make multiple prints from a single exposure and to preserve images for future use.
2. The Benefits of Printing From Negatives at Home
Why bother printing from negatives in the digital age? There are several compelling reasons:
- Creative Control: You have complete control over the printing process, from selecting paper types to adjusting contrast and density.
- Archival Quality: Prints made from negatives can last for generations when properly processed and stored.
- Unique Aesthetic: Film photography has a distinctive look that is difficult to replicate with digital methods.
- Personal Connection: There’s a special satisfaction in bringing your own images to life in a tangible form.
2.1. Preserving Memories
Printing photos from negatives is an excellent way to preserve family history and personal memories. These prints become treasured heirlooms that can be passed down through generations.
2.2. Cost-Effectiveness
While there is an initial investment in equipment, printing at home can be more cost-effective in the long run, especially if you print frequently.
2.3. Artistic Expression
Printing from negatives allows for greater artistic expression. You can experiment with different techniques and materials to create unique and personalized prints.
3. Essential Equipment for Printing Photos From Negatives at Home
To embark on your home printing journey, you’ll need a few essential tools:
- Enlarger: Projects the negative onto photographic paper.
- Lens: Focuses the image from the negative onto the paper.
- Timer: Controls the exposure time.
- Easel: Holds the photographic paper flat during exposure.
- Developing Trays: Holds the chemicals for developing, stopping, and fixing the print.
- Chemicals: Developer, stop bath, and fixer.
- Darkroom: A light-tight space where you can develop your prints.
- Safe Light: Provides illumination without exposing the photographic paper.
- Photographic Paper: Light-sensitive paper that captures the image.
- Graduated Cylinders/Beakers: Used for measuring and mixing chemicals.
- Thermometer: To ensure chemicals are at the correct temperature.
- Tongs: Used for handling prints in the chemicals.
- Print Washer: For removing residual chemicals from the prints.
- Drying Rack: To dry the prints after washing.
3.1. Choosing the Right Enlarger
The enlarger is the heart of your darkroom. There are two main types: condenser enlargers and diffusion enlargers.
- Condenser Enlargers: Produce sharper, higher-contrast prints.
- Diffusion Enlargers: Produce softer, lower-contrast prints.
Consider the size of the negatives you’ll be printing and choose an enlarger that can accommodate them.
3.2. Selecting a Lens
The lens is crucial for achieving sharp, well-focused prints. Choose a lens that is designed for use with an enlarger and that matches the format of your negatives.
3.3. Setting Up Your Darkroom
A darkroom doesn’t have to be a large, dedicated space. A small bathroom or closet can be converted into a temporary darkroom. The key is to ensure that the room is completely light-tight.
4. Step-by-Step Guide to Printing Photos From Negatives at Home
Now that you have your equipment, let’s walk through the printing process:
- Prepare Your Darkroom: Ensure the room is completely dark and set up your equipment.
- Mix Your Chemicals: Follow the instructions on the chemical containers to mix the developer, stop bath, and fixer.
- Cut Your Paper: Cut a sheet of photographic paper to the desired size.
- Place the Negative in the Enlarger: Insert the negative into the negative carrier of the enlarger, emulsion side down.
- Focus the Image: Turn on the enlarger and adjust the lens until the image is sharp on the easel.
- Set the Exposure Time: Use a test strip to determine the correct exposure time.
- Expose the Print: Turn off the enlarger, place the paper on the easel, and expose it for the determined time.
- Develop the Print: Immerse the exposed print in the developer for the recommended time.
- Stop the Development: Transfer the print to the stop bath to halt the development process.
- Fix the Print: Place the print in the fixer to make the image permanent.
- Wash the Print: Wash the print thoroughly to remove residual chemicals.
- Dry the Print: Dry the print on a drying rack or in a print dryer.
4.1. Preparing Your Chemicals
Properly mixed chemicals are essential for successful printing. Use distilled water and follow the manufacturer’s instructions carefully.
4.2. Making a Test Strip
A test strip is a piece of photographic paper that is exposed in increments to determine the correct exposure time. Cover the paper with a piece of cardboard and expose a small strip for a few seconds, then move the cardboard to expose another strip, and so on.
4.3. Developing Your Print
The developer brings out the latent image on the exposed paper. Immerse the print in the developer and agitate it gently to ensure even development.
 develop film negatives
4.4. Fixing and Washing
The fixer makes the image permanent and removes any remaining silver halide crystals from the paper. After fixing, wash the print thoroughly to remove any residual chemicals.
4.5. Drying Your Prints
Dry your prints on a drying rack or in a print dryer. Avoid using a hair dryer or other heat source, as this can damage the print.
5. Troubleshooting Common Printing Problems
Even with careful technique, you may encounter some common printing problems:
- Too Dark Prints: Reduce the exposure time.
- Too Light Prints: Increase the exposure time.
- Low Contrast Prints: Use a higher contrast filter or a condenser enlarger.
- High Contrast Prints: Use a lower contrast filter or a diffusion enlarger.
- Dust Spots: Clean your negatives and equipment thoroughly.
- Uneven Development: Ensure proper agitation during development.
5.1. Identifying Exposure Issues
Understanding exposure is crucial for achieving well-printed photos. Overexposure results in dark prints, while underexposure results in light prints.
5.2. Addressing Contrast Problems
Contrast refers to the difference between the light and dark areas of a print. Adjusting contrast can significantly impact the mood and impact of your images.
5.3. Minimizing Dust and Scratches
Dust and scratches can be a nuisance when printing from negatives. Use a soft brush or compressed air to clean your negatives before printing.
6. Advanced Printing Techniques
Once you’ve mastered the basics, you can explore some advanced printing techniques:
- Dodging and Burning: Selectively lightening or darkening areas of the print.
- Split Grade Printing: Using different contrast filters to control different areas of the print.
- Toning: Changing the color of the print using chemical toners.
- Hand Coloring: Adding color to a black and white print using dyes or paints.
6.1. Dodging and Burning for Emphasis
Dodging involves blocking light from reaching certain areas of the print during exposure, making them lighter. Burning involves adding extra exposure to certain areas, making them darker.
6.2. Split Grade Printing for Enhanced Detail
Split grade printing involves using two different contrast filters to expose the print, allowing you to control the highlights and shadows separately.
6.3. Toning for Artistic Effects
Toning involves immersing the print in a chemical solution that changes its color. Common toners include selenium, sepia, and gold.
7. Digital Alternatives for Converting Negatives
If you’re not ready to dive into traditional darkroom printing, there are several digital alternatives for converting negatives to digital photos:
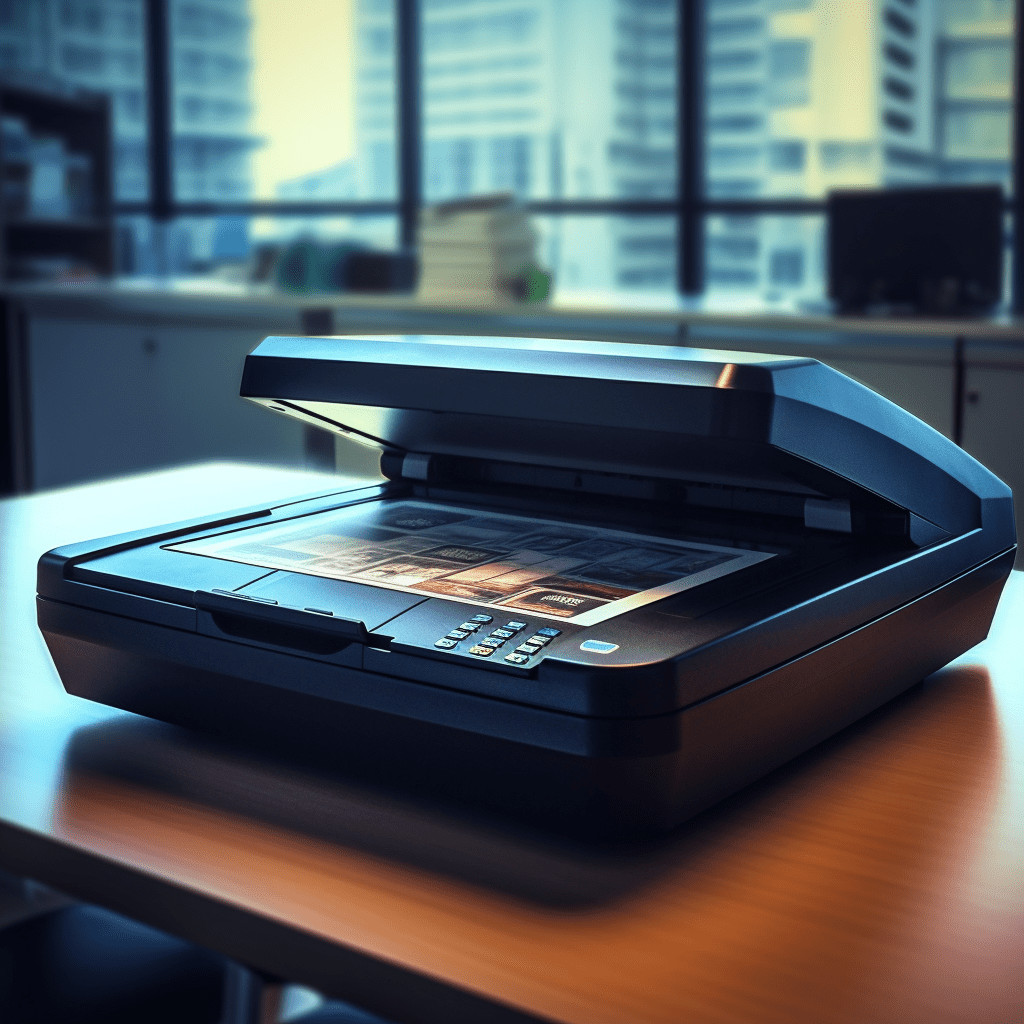
- Flatbed Scanner: Scans negatives and converts them to digital images.
- Slide Scanner: Specialized scanners for slides and negatives.
- Smartphone Apps: Use your phone’s camera to capture and convert negatives.
- Digital Camera Method: Photograph negatives with a digital camera and invert the image in editing software.
7.1. Using a Flatbed Scanner
A flatbed scanner is a versatile tool that can be used to scan a variety of documents and images, including negatives. Many flatbed scanners come with a transparency adapter for scanning film.
7.2. Exploring Dedicated Film Scanners
Dedicated film scanners are designed specifically for scanning slides and negatives. They offer higher resolution and better image quality than flatbed scanners.
7.3. Leveraging Smartphone Technology
Several smartphone apps can be used to convert negatives to digital photos. These apps typically use your phone’s camera to capture the negative and then invert the image.
7.4. The Digital Camera Method
You can also use a digital camera to photograph negatives. Place the negative on a light table or other light source and photograph it with your camera. Then, use photo editing software to invert the image and make any necessary adjustments.
8. Tips for Perfectly Converting Negatives
Whether you’re printing in a darkroom or using digital methods, here are some tips for getting the best results:
- Clean Your Negatives: Use a soft brush or compressed air to remove dust and debris.
- Handle With Care: Avoid touching the surface of the film, as this can leave fingerprints or scratches.
- Use Proper Lighting: Ensure even and consistent lighting when photographing or scanning negatives.
- Adjust Color and Contrast: Use photo editing software to fine-tune the color and contrast of your digital images.
- Scan at High Resolution: Scan your negatives at the highest possible resolution to capture maximum detail.
8.1. Cleaning and Handling Negatives
Proper handling and cleaning are crucial for preserving your negatives and ensuring high-quality prints.
8.2. Optimal Lighting Conditions
Good lighting is essential for both darkroom printing and digital conversion. Ensure even and consistent illumination to avoid shadows and uneven exposure.
8.3. Fine-Tuning Color and Contrast
Use photo editing software to adjust the color and contrast of your digital images. This can help to bring out details and improve the overall look of your photos.
9. What If Your Negatives Are Damaged?
Old negatives can be fragile and prone to damage. If your negatives are scratched, faded, or otherwise damaged, there are several options for restoring them:
- Professional Restoration Services: Companies like MemoryCherish specialize in restoring damaged photos and negatives.
- Digital Repair Tools: Photo editing software like Photoshop has tools for removing scratches, dust, and other imperfections.
- Copy Negatives: If the original negative is too damaged to print, you can create a copy negative from a print.
9.1. Professional Photo Restoration Services
Professional photo restoration services can repair even the most severely damaged negatives. These services use specialized techniques and equipment to bring your old photos back to life.
9.2. Digital Repair Techniques
Photo editing software like Photoshop has a variety of tools for repairing damaged photos. These tools can be used to remove scratches, dust, and other imperfections.
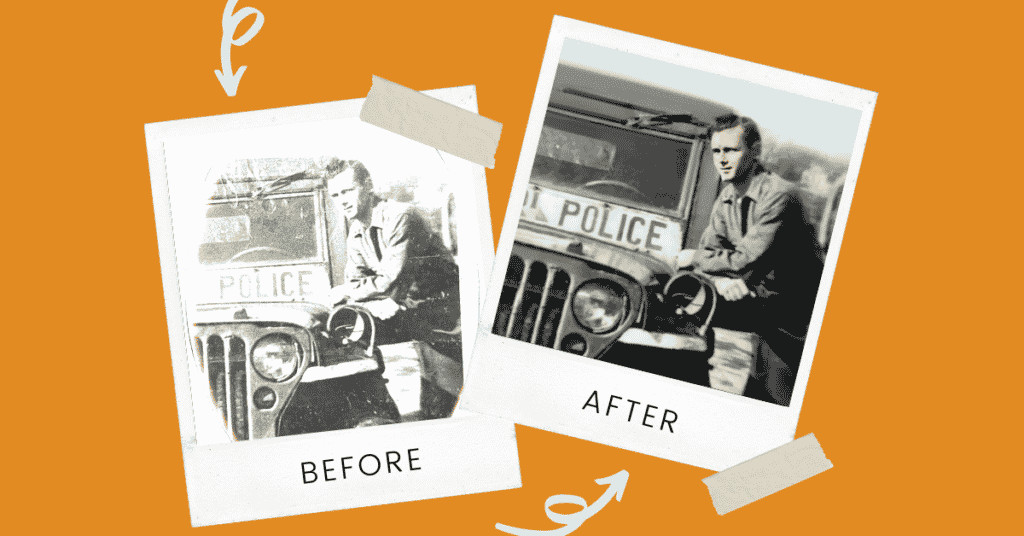 photo restoration
9.3. Creating Copy Negatives
If the original negative is too damaged to print, you can create a copy negative from a print. This involves photographing the print with a camera and then inverting the image to create a new negative.
10. Sharing and Preserving Your Printed Photos
Once you’ve printed your photos, it’s important to share and preserve them properly:
- Archival Storage: Store your prints in acid-free sleeves or albums to protect them from damage.
- Digital Backup: Scan your prints and store them digitally for safekeeping.
- Share With Family and Friends: Share your prints with loved ones and create lasting memories.
- Display Your Work: Frame and display your favorite prints to enjoy them every day.
10.1. Archival Storage Solutions
Archival storage solutions, such as acid-free sleeves and albums, are essential for protecting your prints from damage and deterioration.
10.2. Creating Digital Backups
Scanning your prints and storing them digitally is a great way to ensure that your photos are preserved for future generations.
10.3. Sharing Your Memories
Share your prints with family and friends and create lasting memories. Photos are meant to be shared and enjoyed.
FAQ: Printing Photos From Negatives at Home
1. What is the best way to print photos from negatives at home?
The best way depends on your budget and desired quality. Darkroom printing offers the most control, while digital methods are more convenient.
2. Do I need a darkroom to print photos from negatives?
Yes, a darkroom is essential for traditional darkroom printing. However, you can use digital methods to convert negatives without a darkroom.
3. What equipment do I need for darkroom printing?
You’ll need an enlarger, lens, timer, easel, developing trays, chemicals, a safe light, and photographic paper.
4. How do I choose the right enlarger?
Consider the size of the negatives you’ll be printing and choose an enlarger that can accommodate them. Condenser enlargers produce sharper prints, while diffusion enlargers produce softer prints.
5. How do I determine the correct exposure time?
Use a test strip to determine the correct exposure time. Expose the paper in increments and choose the exposure that produces the best results.
6. What are some common printing problems?
Common printing problems include prints that are too dark or too light, low or high contrast, and dust spots.
7. How do I fix damaged negatives?
You can try professional restoration services or use digital repair tools in photo editing software.
8. How do I store my prints to preserve them?
Store your prints in acid-free sleeves or albums to protect them from damage.
9. Can I use my smartphone to convert negatives to digital photos?
Yes, several smartphone apps can be used to convert negatives to digital photos.
10. Is printing from negatives worth the effort?
Yes, printing from negatives can be a rewarding experience that allows you to revive cherished memories and create unique prints.
Printing photos from negatives at home is a rewarding way to connect with the past and create tangible memories. Whether you choose traditional darkroom techniques or digital methods, the process allows for creative control and archival quality. For those in the Santa Fe area, consider visiting local photography resources or connecting with the Santa Fe University of Art and Design’s Photography Department for further guidance and inspiration. According to research from the Santa Fe University of Art and Design’s Photography Department, in July 2025, mastering these techniques provides invaluable skills for preserving photographic history. Embrace the art of film, explore dfphoto.net for inspiration and guidance, and bring your memories to life.
Ready to start your photographic journey? Visit dfphoto.net today! Explore our guides, discover stunning photography, and connect with a vibrant community of photographers in the USA. Let dfphoto.net be your resource for all things photography! Address: 1600 St Michael’s Dr, Santa Fe, NM 87505, United States. Phone: +1 (505) 471-6001. Website: dfphoto.net.