Printing photos at home can seem daunting, especially with the numerous printer and paper choices available. This guide simplifies the process, providing a step-by-step approach to achieving high-quality prints from the comfort of your home.
Choosing the Right Photo Printer
The first step is selecting a dedicated photo printer. Epson and Canon offer excellent options in their photography lineups. Prioritize printers with high resolution and a wide range of ink colors beyond CMYK for accurate color reproduction. Consider your desired print sizes; standard printers handle up to 8.5×14 inches, while wide-format printers accommodate larger dimensions. A photo printer is an investment, so factor in future printing needs.
 A Canon PRO-300 photo printer sits on a shelf.
Selecting the Perfect Photo Paper
Paper choice significantly impacts print quality. Consider the finish: glossy, luster, or matte. Glossy offers vibrant colors and high contrast but is prone to reflections and blemishes. Luster provides a subtle sheen with good color saturation and handles reflections better. Matte paper lacks shine, resembling art paper, and excels at hiding imperfections.
Reputable brands like Epson, Kodak, Canon, Hahnemühle, and Canson offer diverse paper options. Epson Ultra Premium Luster is a popular choice, balancing gloss, weight, color accuracy, and cost-effectiveness. Experiment to find the best paper for each image.
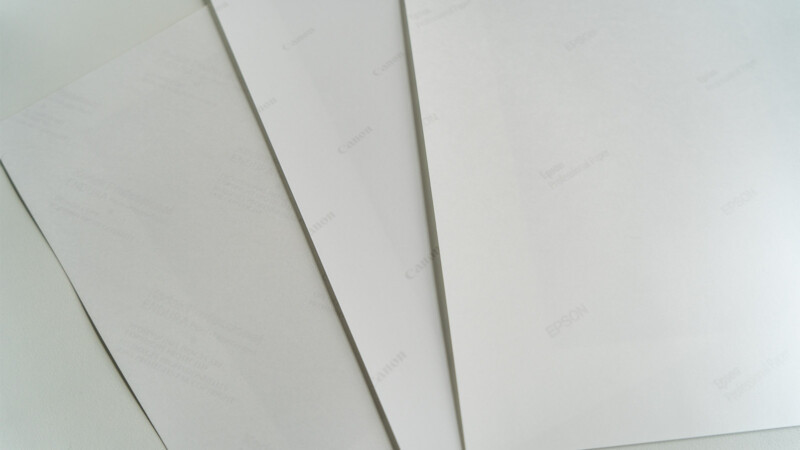 Three types of photo paper sit on a desk with the back text showing.
Calibrating Your Monitor for Accurate Colors
Before printing, calibrate your monitor to ensure accurate color representation. Calibration tools simplify this process, preventing unexpected color discrepancies in your prints.
Preparing Your Photos for Printing
Flatten layered images in your editing software to avoid unexpected color shifts during printing. Save both layered and flattened versions.
Choose the appropriate color space – sRGB or Adobe RGB – depending on your printer. Converting color space in Photoshop automatically flattens layers.
Resize your image to the desired print dimensions at 300 dpi for optimal print quality.
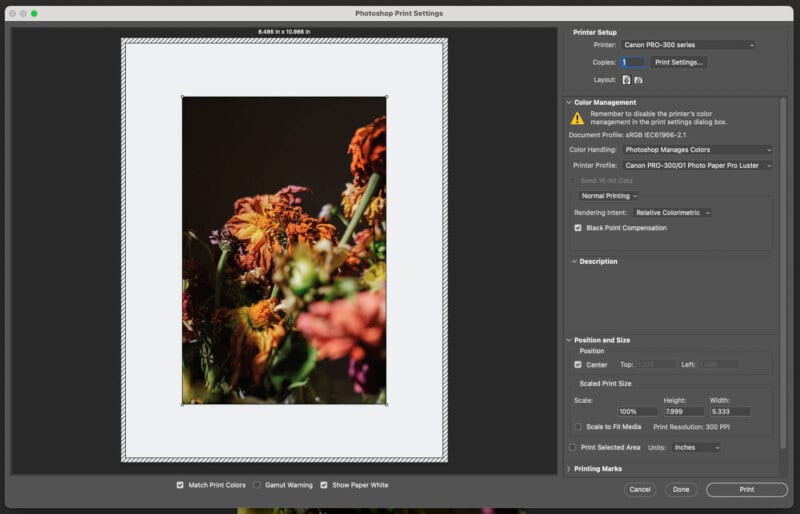 A screenshot of the Photoshop print settings menu.
Understanding Print Settings
Print directly from editing software like Photoshop or Lightroom for greater control over settings.
Choose between letting Photoshop or your printer manage colors. “Photoshop Manages Colors” offers better accuracy, especially with third-party paper.
Select the correct ICC profile for your paper to ensure accurate color reproduction. Using the wrong profile will lead to significant color inaccuracies.
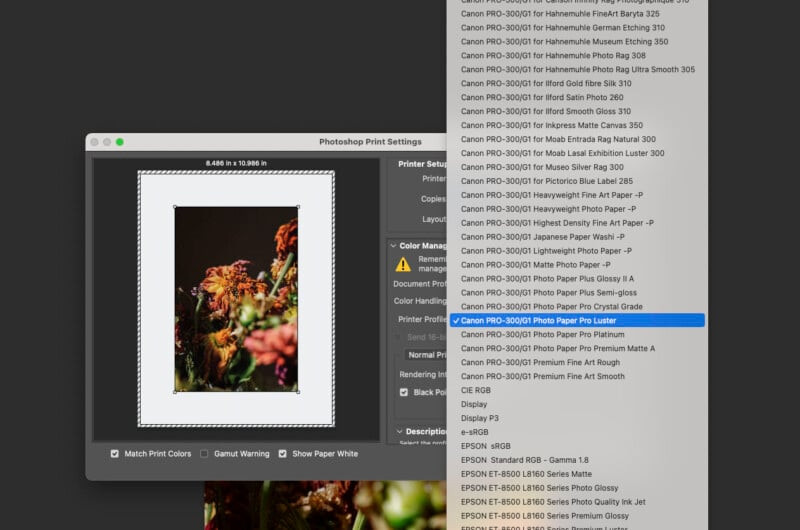 A screenshot shows the printer settings and ICC profiles in Photoshop.
Consider optional settings like Rendering Intent and Black Point Compensation. Relative Colorimetric is the default for accurate color conversion, while Perceptual prioritizes natural-looking colors. Black Point Compensation preserves shadow detail.
Loading Photo Paper Correctly
Load paper with the correct printing side facing up, as indicated by your printer’s instructions. The printing side has a special coating to absorb ink. Printing on the wrong side results in ink pooling and smudging.
Embracing Trial and Error in Photo Printing
Achieving perfect prints often involves experimentation. Don’t be discouraged by initial challenges. Patience and a willingness to adjust settings and try different papers are key to mastering home photo printing. The reward of holding tangible prints of your work makes the effort worthwhile.