Printing multiple photos on a single page is a great way to save paper, create contact sheets, or even design custom photo layouts and collages. If you’re a Mac user, you have several built-in tools at your disposal to achieve this easily. This guide will walk you through different methods to print multiple photos on one page using your Mac’s native applications.
Method 1: Utilizing the Photos App for Contact Sheets
The simplest way to print multiple photos on one page is by using the Photos app’s built-in “Contact Sheet” option. This is ideal for quickly creating a grid of images, perfect for previews or archival purposes.
Here’s how to do it:
-
Open Photos App and Select Images: Launch the Photos application on your Mac and select the photos you wish to print together. You can do this by holding the Command key while clicking on each image, or by using Shift to select a range of photos.
-
Initiate Print Command: Once you have selected your photos, press
Command + Pto open the print dialog. -
Choose Contact Sheet Layout: In the print dialog, look for the layout options. You should see “Contact Sheet” as one of the choices. Select it.
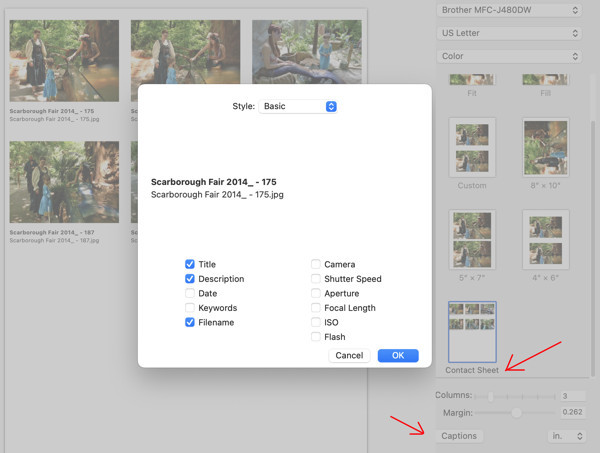 Print dialog in Photos app showing Contact Sheet layout
 -
Adjust Columns for Layout: You can customize the number of photos per row by adjusting the “Columns” setting. Increasing the number of columns will reduce the size of each photo and fit more onto the page. For standard US letter paper, 3 columns offer a good balance.
-
Customize Information (Optional): You can choose to include titles, dates, and other metadata under each photo by checking the relevant boxes in the print dialog.
-
Print or Save as PDF: Click “Print” to send the job to your printer. Alternatively, to save a digital copy of your contact sheet, click the “PDF” dropdown menu in the lower-left corner and choose “Save as PDF”.
This method is quick and straightforward for basic contact sheets directly from your photo library.
Method 2: Creating Custom Layouts with Preview
For more flexibility in arranging your photos and creating a custom layout, the Preview app offers a handy workaround. This method allows you to manually position and resize images on a single page.
Follow these steps:
-
Create a Blank Canvas in Preview: Open any photo in Preview, then go to
Edit > Select AllandEdit > Delete. This will leave you with a blank, transparent screen in Preview. -
Copy and Paste Photos: Open the photos you want to combine in separate Preview windows. For each photo, do
Edit > Copy. Then, go back to your blank transparency screen and doEdit > Paste. The copied photo will appear on the transparent screen.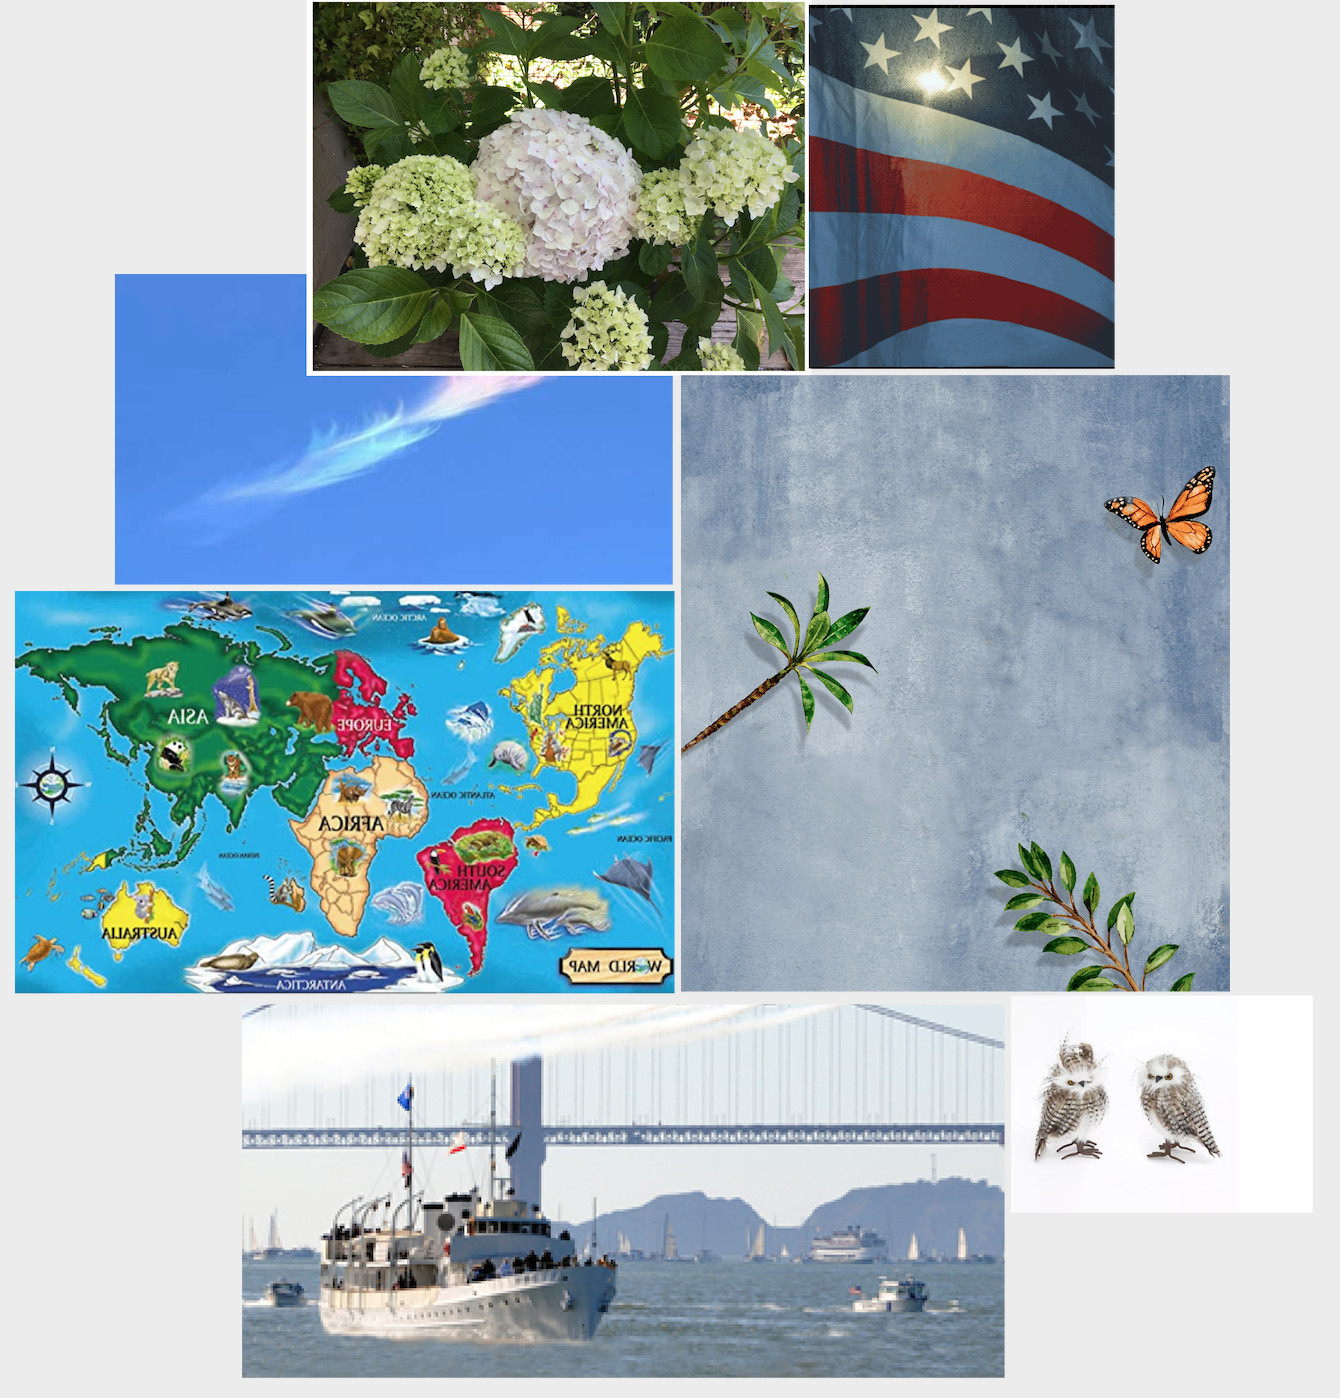 Preview app with a photo pasted onto a transparent background
 -
Position and Resize Photos: Once pasted, you can drag the photo to position it and use the handles at the corners to resize it as needed. Repeat the copy and paste process for all the photos you want to include on the page, arranging them to your liking.
-
Print Your Custom Layout: Once you are satisfied with your layout, press
Command + Pto print directly from Preview. You can also save this layout as a PDF using the PDF options in the print dialog.
Preview provides a basic but effective way to create more personalized arrangements of photos on a single page without needing extra software.
Method 3: Designing Photo Collages with Pages
For the most control over layout and design, Apple’s free word processing application, Pages, is an excellent choice. Pages allows you to create visually appealing photo collages with precise control over image placement and sizing.
Here’s how to use Pages for photo layouts:
-
Open Pages and Choose a Blank Document: Launch Pages and create a new blank document.
-
Adjust Page Size (Optional): If you need a specific print size, go to
File > Page Setupand customize the paper size. For large collages, you can even define custom sizes. -
Insert Photos: Drag and drop photos directly from your Finder or Photos app into your Pages document. Alternatively, use
Media > Choose...from the toolbar to insert images.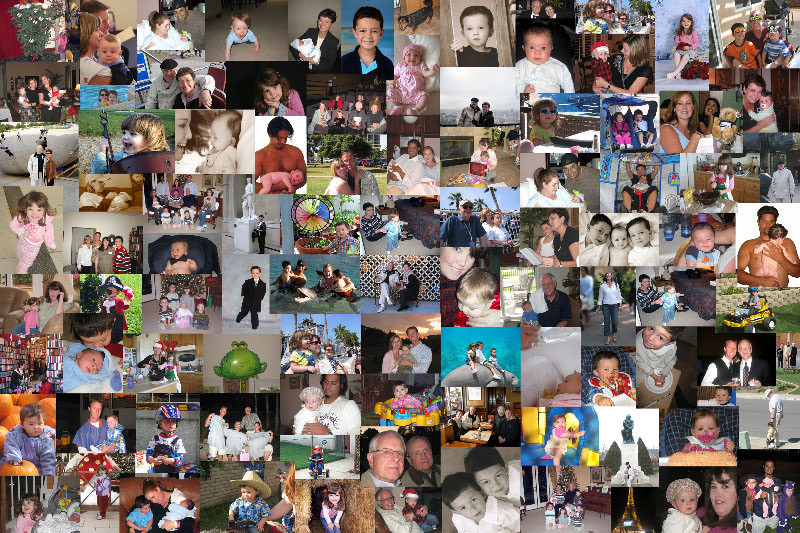 Pages app showing multiple photos arranged as a collage
 -
Resize and Arrange Photos: Click on a photo to select it. Drag the handles to resize and move the photo around the page. Pages offers guides to help you align photos and maintain even spacing.
-
Add Text and Shapes (Optional): Pages allows you to add text boxes, shapes, and other design elements to enhance your photo layout.
-
Print or Export as PDF: Once your collage is complete, press
Command + Pto print. For sharing or professional printing, you can export your layout as a PDF by going toFile > Export To > PDF....
Pages offers the most versatile and design-rich method for printing multiple photos on one page, ideal for creating photo collages, posters, or any custom photo layouts.
Conclusion
Printing multiple photos on one page on your Mac is a straightforward process, thanks to the built-in applications like Photos, Preview, and Pages. Whether you need a simple contact sheet, a custom arrangement, or a detailed photo collage, macOS provides the tools to get the job done efficiently. Experiment with these methods to find the best approach for your specific printing needs and unleash your creativity with your photos.
