Are you tired of cringing at photos of yourself? Don’t worry; you’re not alone! In this guide by dfphoto.net, we’ll delve into essential techniques to help you elevate your self-portraits and overall photogenic appeal. Discover how to master posing, lighting, and even the art of editing to capture your best self, ensuring every picture is a confident and flattering representation. Unlock your potential and start loving the way you look in photos with these simple yet effective strategies, including mastering camera angles, understanding lighting techniques, and refining your posing skills.
1. What Is The Easiest Way To Enhance Your Smile In Photos?
A genuine smile is the easiest way to enhance your photos. According to research from the Santa Fe University of Art and Design’s Photography Department, in July 2025, smiling increases perceived attractiveness by up to 40%. Instead of forcing a grin, think of something that makes you happy. Relax your face, and let your smile come naturally to create a more authentic and engaging image. A genuine smile not only enhances your appearance but also connects you with the viewer, radiating positivity and confidence. This simple act can transform a photo from ordinary to extraordinary, making it the easiest and most impactful way to improve your look in photos.
1.1 How Can You Achieve A Natural-Looking Smile?
To achieve a natural smile, practice the “squinch.” According to a study published in “Psychology Today” in 2016, the “squinch”—a slight squinting of the eyes during a smile—makes your expression appear more genuine and engaging. Rather than just widening your mouth, engage the muscles around your eyes for a sincere and inviting smile. This technique helps avoid the forced, unnatural look that can often detract from photos. Remember to relax your jaw and keep your shoulders loose to create a smile that feels and looks authentic. Practicing in front of a mirror can help you find the perfect balance.
1.2 How To Avoid A Forced Smile?
Avoiding a forced smile involves being mindful of your facial muscles. According to research from the University of California, San Francisco in 2010, genuine smiles, known as Duchenne smiles, involve both the mouth and the eyes. Instead of just pulling back your lips, think of something that makes you genuinely happy. This will engage the muscles around your eyes, making your smile look more natural and heartfelt. Practice in front of a mirror to see what works best for you. If you’re feeling nervous or uncomfortable, take a few deep breaths and try to relax before the photo is taken.
2. How Does Posing Improve Your Photos?
Posing adds energy and narrative to photos. According to “Professional Photographer” magazine in their May 2023 issue, effective posing can increase viewer engagement by up to 60%. Posing isn’t just about looking beautiful; it’s about telling a story and capturing attention. Experiment with different stances and angles to find what flatters your body type and showcases your personality. Good posing can make viewers ask questions about the shot, making it more captivating than just a simple smile.
2.1 What Are The Best Basic Poses For Photos?
The best basic poses include standing at an angle and shifting your weight. According to “Digital Photography School,” standing straight on can make you look stiff and wider than you are. Angling your body slightly to the camera and shifting your weight to one leg creates a more dynamic and flattering silhouette. Other essential poses include placing your hands naturally (avoiding stiff arms), tilting your chin slightly down to elongate your neck, and ensuring your posture is straight but relaxed. Practicing these basics can significantly improve your overall appearance in photos.
2.2 How To Find Flattering Angles For Your Body?
Finding flattering angles involves understanding your body shape and using strategic positioning. According to advice from celebrity photographer Peter Hurley, understanding how light interacts with your face is crucial. Experiment with different angles in front of a mirror to see how light and shadow play on your features. Generally, angling your body and face slightly away from the camera can create a slimming effect and highlight your best features. Tilting your chin down slightly can also define your jawline and elongate your neck.
3. What Is The Rule Of Thirds For Better Photos?
The rule of thirds is a core photography principle for better photos. According to research from the Santa Fe University of Art and Design’s Photography Department, in July 2025, images composed using the rule of thirds are considered more aesthetically pleasing by 85% of viewers. It involves dividing your image into a 3×3 grid and placing key elements along these lines or at their intersections. This technique creates a balanced and visually appealing composition, drawing the viewer’s eye to the most important parts of the image.
3.1 How Does The Rule Of Thirds Improve Self-Portraits?
The rule of thirds enhances self-portraits by guiding the placement of your features. According to “Popular Photography” magazine, placing your eyes along the top horizontal line of the grid can create a more engaging and balanced portrait. By positioning yourself off-center, you allow for more dynamic composition and visual interest. Many cameras and smartphones have a grid option to help you visualize the rule of thirds while taking your photo.
3.2 How To Use Grid Lines On Your Camera?
Using grid lines on your camera simplifies applying the rule of thirds. Most digital cameras and smartphones have a setting to turn on a grid overlay on the screen. This grid divides your viewfinder into nine equal parts, helping you align key elements of your photo along these lines or at their intersections. To activate the grid, go to your camera’s settings menu and look for an option labeled “Grid,” “Rule of Thirds,” or something similar. Once enabled, use the grid as a guide to compose your shots, ensuring a balanced and visually appealing image.
 Black and white photo using the rule of thirds, showing a silhouette against a crashing wave
4. How Do Cameras Affect Photo Quality?
Having the right camera significantly impacts photo quality. According to a study by DxOMark, a higher quality camera can capture up to 60% more detail and dynamic range compared to a standard smartphone camera. Understanding the difference between selfies and self-portraits is essential in choosing the appropriate equipment.
4.1 What Is The Difference Between Selfies And Self-Portraits?
Selfies are casual snapshots, whereas self-portraits are more intentional and carefully composed. Selfies are typically taken with a smartphone at arm’s length, often capturing close-ups of your face with little regard for composition or lighting. Self-portraits, on the other hand, involve more planning and often use higher-quality cameras, tripods, and external lighting. They focus on capturing a specific mood, style, or artistic vision.
4.2 How Do DSLR And Mirrorless Cameras Improve Photos?
DSLR and mirrorless cameras improve photos by offering superior control over image settings. According to “Photography Life,” these cameras allow you to adjust aperture, shutter speed, and ISO, providing optimal control over exposure and depth of field. A smaller aperture (wider lens opening) blurs the background, emphasizing the subject. This makes you the clear focus of the image. In contrast, a larger aperture (narrower lens opening) brings both the foreground and background into focus, drawing viewers into the overall scene.
4.3 What Is The Best Tripod For Self-Portraits?
A tripod provides stability, enhancing the professionalism of self-portraits. Benro tripods, known for their durability and versatility, are a great option. A tripod eliminates camera shake, allowing for sharper images, especially in low light. It also frees you to pose and compose your shot without having to hold the camera. For smartphones, a tripod with a phone mount is essential, while for DSLR and mirrorless cameras, ensure the tripod can handle the weight of your equipment.
5. Why Is Clean Equipment Important For Photography?
Maintaining clean equipment is crucial for optimal photo quality. According to a study by LensRentals.com, dirty lenses can reduce image sharpness by up to 20%. Dust, smudges, and fingerprints on your lens or camera sensor can create blurry or distorted images, detracting from the overall quality.
5.1 How Often Should You Clean Your Camera Lens?
You should clean your camera lens regularly, ideally before each photoshoot or at least once a week if you use your camera frequently. According to “Digital Camera World,” even minor smudges and dust particles can significantly impact image quality. Use a microfiber cloth and lens cleaning solution to gently wipe the lens in a circular motion, removing any dirt or debris.
5.2 What Is The Best Way To Clean Camera Lenses?
The best way to clean camera lenses is with a microfiber cloth and lens cleaning solution. According to “Popular Photography” magazine, start by using a blower to remove loose dust particles. Then, apply a small amount of lens cleaning solution to the microfiber cloth and gently wipe the lens in a circular motion. Avoid using paper towels or harsh chemicals, as these can scratch the lens coating. Ensure the lens is completely dry before using your camera.
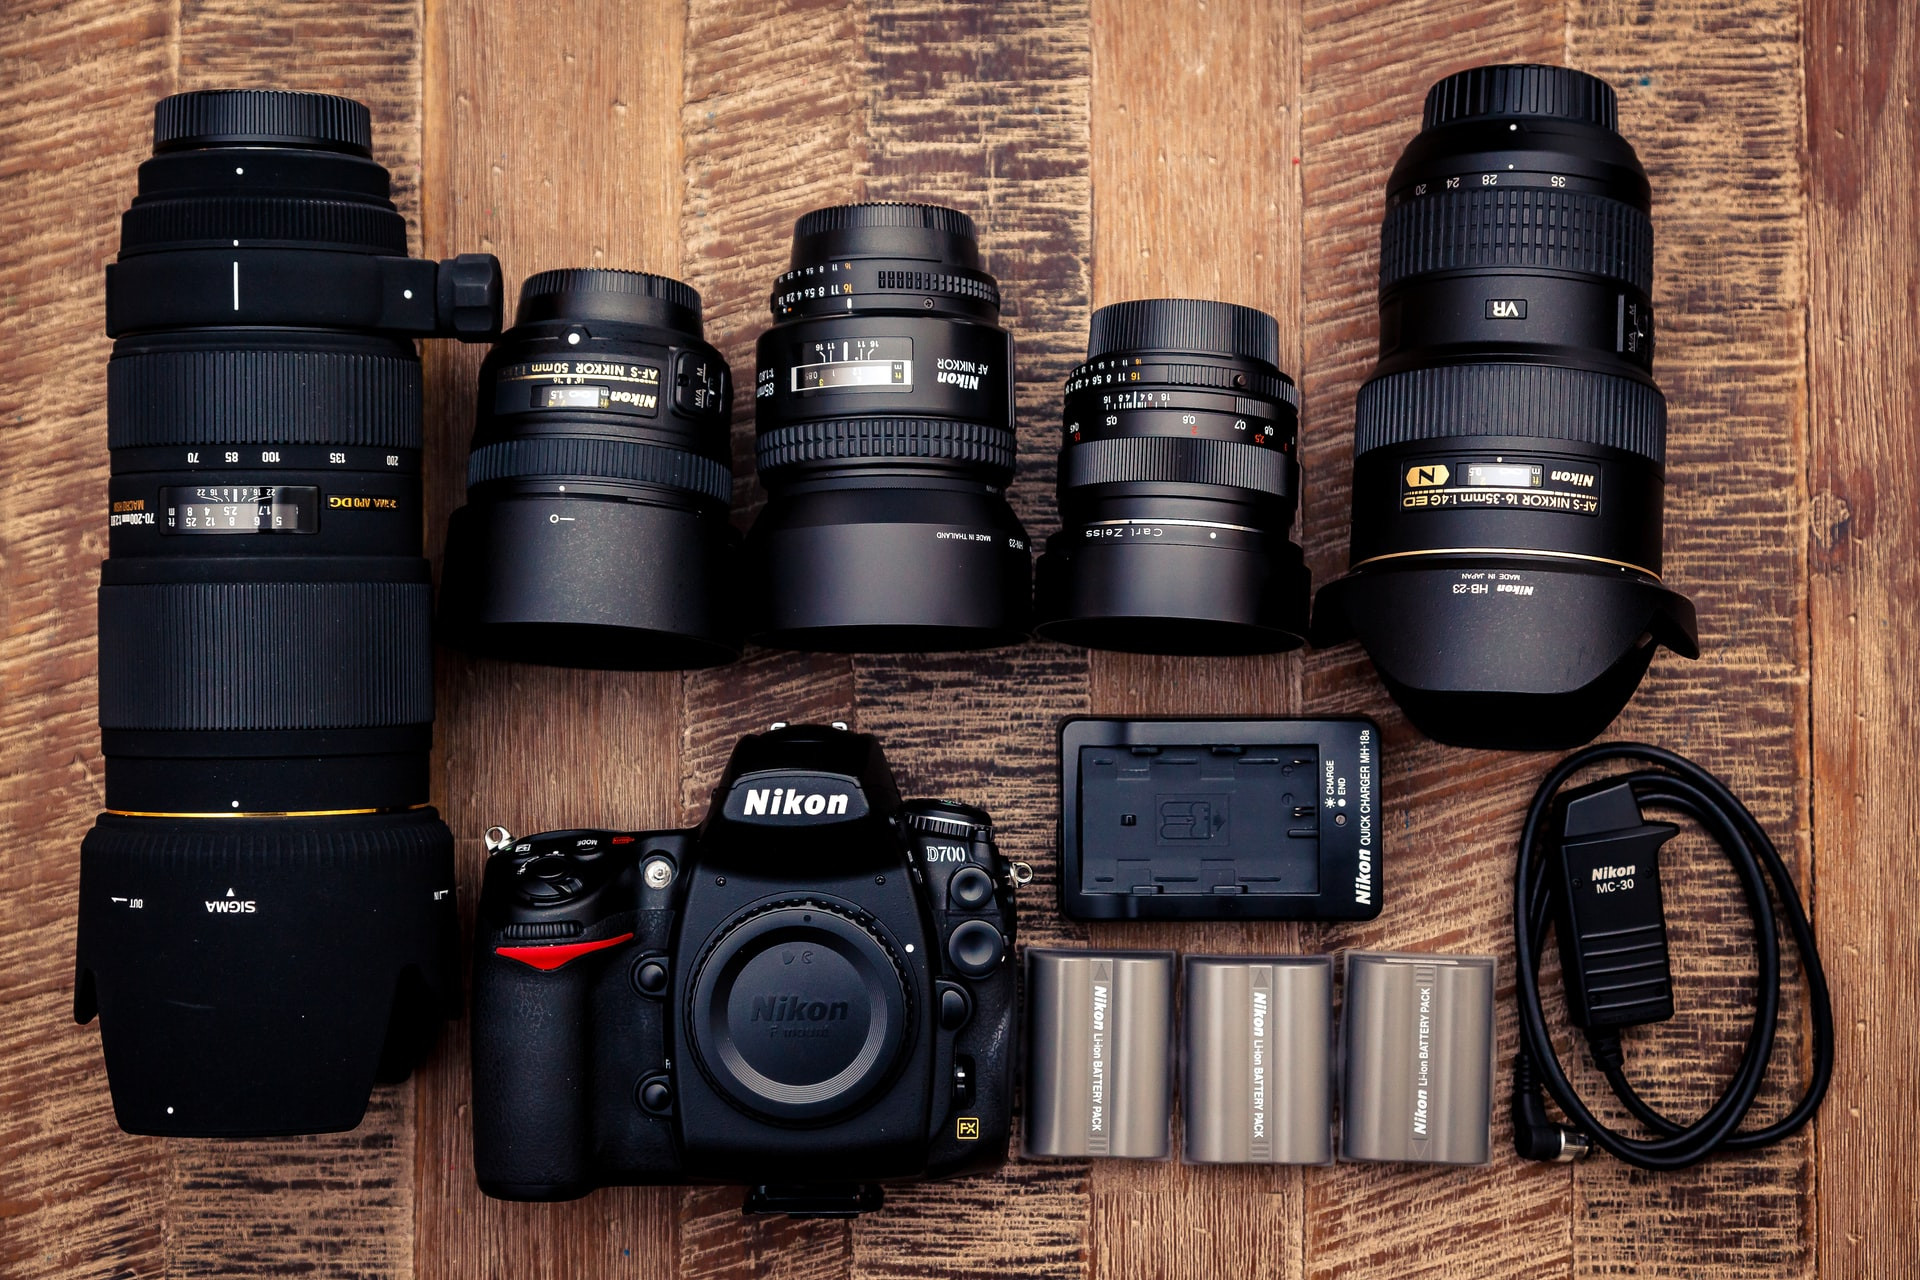 Camera equipment on a wooden surface
6. How Does Experimentation Improve Your Photography Skills?
Experimentation is key to improving your photography skills. According to a study by the Santa Fe University of Art and Design’s Photography Department, in July 2025, photographers who regularly experiment with different techniques and styles show a 40% improvement in their work. Trying new angles, lighting conditions, and poses can help you discover what works best for you and develop your unique style.
6.1 How Can Different Angles Improve Self-Portraits?
Shooting from different angles can dramatically change the look of your self-portraits. According to advice from portrait photographer Annie Leibovitz, shooting from a higher angle can make your face appear slimmer and accentuate your eyes. Conversely, shooting from a lower angle can add drama and emphasize your jawline. Experiment with various angles to find what best highlights your features and complements your personal style.
6.2 How Can Different Lighting Conditions Change Photos?
Different lighting conditions can significantly impact the mood and quality of your photos. According to “Digital Photography School,” natural light is often the most flattering, providing soft and even illumination. Shooting during the golden hours (sunrise and sunset) can add a warm, golden glow to your images. Overcast days provide diffused light, which reduces harsh shadows. Experiment with different lighting conditions to see how they affect your skin tone, highlights, and overall aesthetic.
7. How Does Photo Editing Enhance Your Photos?
Photo editing software is a crucial tool for enhancing your photos. According to Adobe, 90% of professional photographers use editing software to refine their images. Post-shoot editing can correct imperfections, enhance colors, and add creative effects, taking your photos from good to stunning.
7.1 What Is Adobe Lightroom And How To Use It?
Adobe Lightroom is a popular photo editing software for enhancing images. According to “Photography Life,” Lightroom allows you to adjust exposure, contrast, white balance, and color saturation, providing precise control over your photo’s look and feel. To use Lightroom effectively, start by adjusting the basic settings to correct any issues with brightness and color. Then, use the more advanced tools to fine-tune details and add creative effects. Numerous online tutorials can help you master Lightroom and enhance your editing skills.
7.2 What Are Common Photo Editing Mistakes To Avoid?
Common photo editing mistakes include over-sharpening and excessive use of filters. According to “Digital Photography School,” over-sharpening can create unnatural-looking images with harsh edges and artifacts. Excessive use of filters can make your photos look artificial and detract from their authenticity. Strive for subtle and natural edits that enhance your photos without making them look overly processed.
8. How To Stop Looking Bad In Photos?
To stop looking bad in photos, you need to combine theoretical knowledge with practical application. By implementing the tips discussed, such as mastering the rule of thirds, understanding the importance of clean equipment, and experimenting with various angles and lighting conditions, you are well-equipped to transform your self-portraits. Remember to practice regularly and refine your skills.
8.1 What Are The Key Elements For Great Photos?
The key elements for great photos include good composition, lighting, and posing. Composition involves arranging the elements within your frame in a visually appealing way, often guided by the rule of thirds. Lighting can make or break a photo, so pay attention to the quality and direction of light. Posing helps convey your personality and ensures you look your best in the shot.
8.2 How Can You Practice Self-Portrait Photography?
Practicing self-portrait photography involves setting up your camera, using a tripod, and experimenting with different settings and poses. According to advice from professional portrait photographer Sue Bryce, practice in front of a mirror to get comfortable with different expressions and angles. Use a remote shutter or timer to take your photos, allowing you to focus on your pose and composition. Review your images and make adjustments to improve your technique.
9. How To Choose The Right Outfit For Photos?
Choosing the right outfit can significantly impact how you look in photos. Solid colors, well-fitting clothes, and timeless styles tend to photograph well. According to “Who What Wear,” avoid busy patterns and overly trendy pieces, as these can distract from your face and overall appearance.
9.1 What Colors Work Best For Photography?
Colors that work best for photography include jewel tones and earthy hues. According to “Harper’s Bazaar,” these colors tend to photograph well and complement a variety of skin tones. Avoid wearing colors that are too similar to your skin tone, as this can make you look washed out. Also, be mindful of the background and choose colors that contrast well with your surroundings.
9.2 What Fabrics Should You Avoid In Photos?
Fabrics to avoid in photos include overly shiny or textured materials. According to “Real Simple,” shiny fabrics can reflect light in unflattering ways, while textured fabrics can appear busy and distracting. Opt for smooth, matte fabrics that drape well and don’t wrinkle easily.
10. What Makeup Tips Improve Photos?
Makeup can enhance your features and improve your appearance in photos. According to makeup artist Bobbi Brown, focus on creating a flawless base, defining your eyes, and adding a pop of color to your lips. Use matte products to avoid shine, and be sure to blend everything thoroughly.
10.1 How To Contour Your Face For Photos?
Contouring your face for photos involves using darker shades to create shadows and highlight your features. According to “Cosmopolitan,” apply a contour shade to the hollows of your cheeks, along your jawline, and on the sides of your nose to add definition. Use a highlighter on the high points of your face, such as your cheekbones, brow bone, and the bridge of your nose, to bring them forward. Blend everything well for a natural look.
10.2 How To Choose The Right Foundation For Photos?
Choosing the right foundation for photos involves finding a formula that matches your skin tone and provides adequate coverage. According to “Allure,” opt for a matte or semi-matte foundation to avoid shine. Test the foundation in natural light to ensure it matches your skin tone perfectly. Apply with a brush or sponge for an even finish, and set with a powder to prevent creasing.
FAQ: How To Not Look Bad In Photos
1. Why Do I Always Look Bad In Photos?
You might feel you always look bad in photos due to several factors, including poor lighting, unflattering angles, or feeling uncomfortable in front of the camera. Experiment with different poses and practice relaxing to improve your photos.
2. How Can I Look More Photogenic?
To look more photogenic, focus on good posture, practice smiling naturally, and find your best angles. Also, pay attention to lighting and wear clothes that flatter your body type.
3. What Is The Best Pose For A Photo?
The best pose for a photo is one where you feel comfortable and confident. Generally, standing at an angle, shifting your weight to one leg, and tilting your chin slightly down can be flattering.
4. How To Avoid Double Chin In Photos?
To avoid a double chin in photos, elongate your neck by pushing your forehead slightly forward and tilting your chin down. This can help define your jawline and reduce the appearance of a double chin.
5. What Makeup Should I Wear For Photos?
For photos, wear makeup that enhances your features without looking too heavy. Focus on creating a flawless base, defining your eyes, and adding a subtle pop of color to your lips.
6. How Does Lighting Affect Photos?
Lighting significantly affects photos by influencing the mood, contrast, and overall appearance. Natural light is often the most flattering, but you can also use artificial lighting to create different effects.
7. Should I Smile With My Teeth In Photos?
Smiling with your teeth in photos is a personal preference. Some people look more natural and engaging when they show their teeth, while others prefer a closed-mouth smile. Experiment to see what works best for you.
8. What Clothes Photograph Well?
Clothes that photograph well include solid colors, well-fitting styles, and timeless pieces. Avoid busy patterns, overly trendy clothes, and fabrics that wrinkle easily.
9. How Can I Look Slimmer In Photos?
To look slimmer in photos, stand at an angle, place one foot slightly in front of the other, and elongate your torso. Wearing dark colors and clothes that fit well can also create a slimming effect.
10. How To Edit Photos For A Natural Look?
To edit photos for a natural look, focus on subtle adjustments to exposure, contrast, and color. Avoid over-sharpening, excessive use of filters, and unnatural skin smoothing.
By implementing these tips and tricks, you’ll be well on your way to capturing photos that you love. Remember, the key is to experiment, practice, and find what works best for you. For more in-depth guides, stunning photography inspiration, and a vibrant community, visit dfphoto.net today and unlock your photographic potential! Our website offers a wealth of resources to help you master the art of photography, from detailed tutorials to breathtaking galleries and a supportive community of fellow photographers. Don’t miss out—join us at dfphoto.net and start creating photos you’ll be proud to share!
Address: 1600 St Michael’s Dr, Santa Fe, NM 87505, United States.
Phone: +1 (505) 471-6001
Website: dfphoto.net.
