Transferring your precious photos from your computer to Google Photos is a smart move for safekeeping and easy access from any device. Whether you’re switching devices, backing up your memories, or simply want to organize your digital life, Google Photos offers a seamless solution. This guide will walk you through the simple steps to move your photos to Google Photos from your computer, ensuring your memories are secure and readily available whenever you need them.
Google Photos is a fantastic service that not only backs up your images but also helps you organize, share, and even enhance them. Moving your photos from your computer allows you to free up valuable storage space, protect against data loss, and enjoy the convenience of accessing your photo library from your phone, tablet, or any web browser.
The easiest method to transfer your photos involves using the Google Backup and Sync application. This handy tool simplifies the process and automatically keeps your chosen folders synced with your Google Photos account. Here’s how to do it:
Step 1: Download and Install Backup and Sync
First, you’ll need to download the “Backup and Sync” application from Google. Simply navigate to the Google Photos website and look for the “Backup and Sync” option, or directly search for “Google Backup and Sync download” in your web browser. Once you locate it, download the application compatible with your operating system (Windows or macOS).
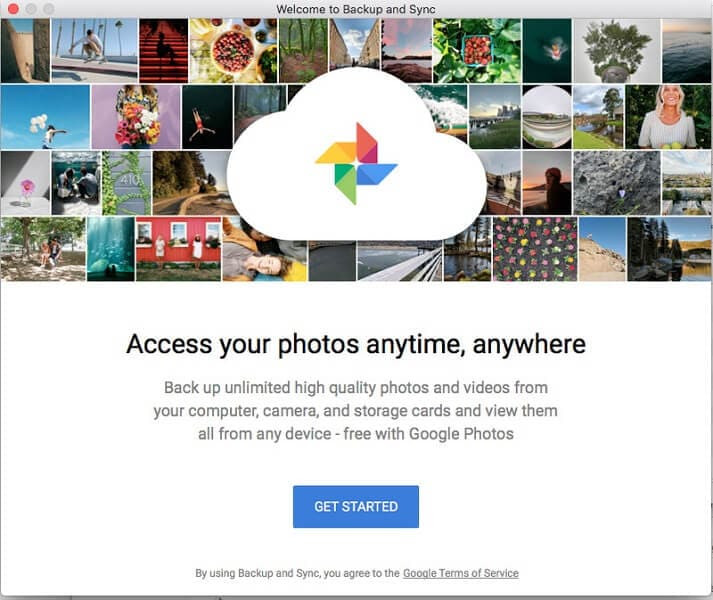 Google Backup and Sync Download Page
After downloading, run the installer and follow the on-screen instructions to install Backup and Sync on your computer. The installation process is straightforward and should only take a few minutes.
Step 2: Sign in to Your Google Account
Once installed, launch the Backup and Sync application. You will be prompted to sign in with your Google account username and password. Ensure you use the same Google account where you want to store your photos in Google Photos.
 Google Backup and Sync Sign In
After successfully logging in, Backup and Sync will guide you through a brief setup process.
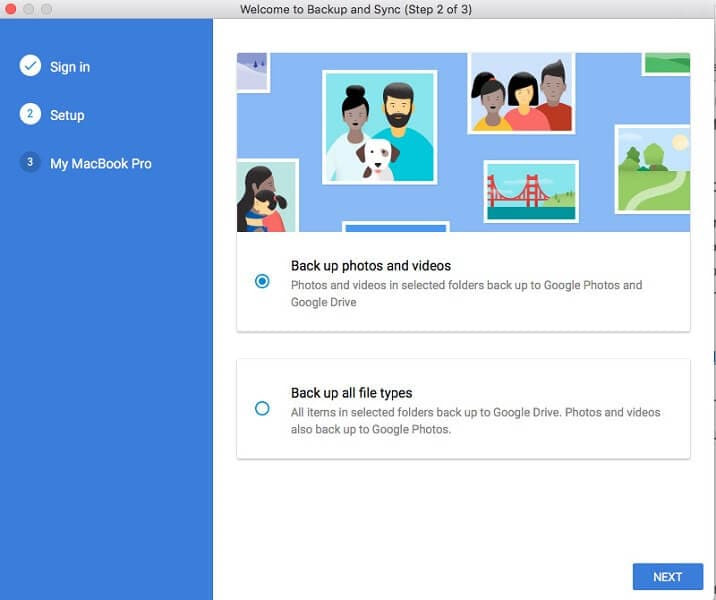
Step 3: Choose Your Backup Preferences
During the setup, you’ll be asked to choose what you want to back up. Select “Back up photos and videos.” While there is an option to “Back up all file types,” sticking to photos and videos will streamline the process for this specific task. Click “Next” to proceed.
Step 4: Select Folders to Backup to Google Photos
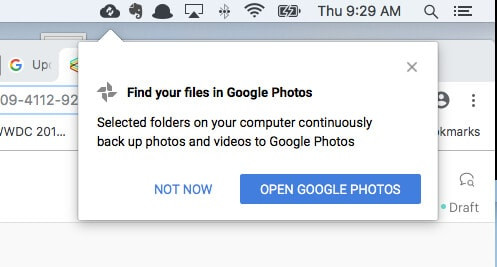
Now, it’s time to choose the folders on your computer that contain the photos you want to move to Google Photos. Click “Choose folder” and navigate to the location of your photo folders. You can select multiple folders if your photos are stored in different locations.
Within this step, you also have the option to choose the upload quality. You can select between “High quality” (formerly known as “Storage Saver”) or “Original quality”. “High quality” offers unlimited free storage, compressing your photos slightly while still maintaining excellent visual quality for most users. “Original quality” uploads your photos in their original resolution, counting against your Google account storage quota. Choose the option that best suits your storage needs and photo quality preferences.
Step 5: Start the Backup and Sync Process
Once you have selected your folders and chosen your upload quality, click the “Start” button. Backup and Sync will begin automatically backing up the photos from the selected folders to Google Photos in the background.
 Google Backup and Sync Start Backup
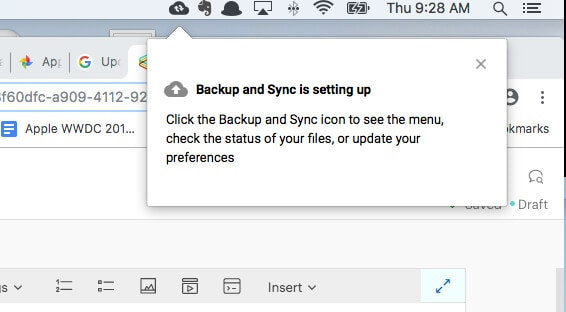
The time it takes to complete the backup will depend on the size of your photo library and your internet upload speed. You can monitor the progress of the backup through the Backup and Sync icon in your system tray (bottom right corner on Windows, top right corner on macOS).
Step 6: Access Your Photos in Google Photos
After the backup process is complete, you will receive a notification. Your photos are now safely moved to Google Photos and accessible from any device where you are logged into your Google account.
 Google Backup and Sync Backup Complete
To view your uploaded photos, simply open your web browser and go to the Google Photos website (photos.google.com) or open the Google Photos app on your smartphone or tablet. Sign in with your Google account, and you will find all your transferred photos neatly organized and ready to enjoy, share, and edit.
Moving photos to Google Photos from your computer is a straightforward process with Google Backup and Sync. By following these simple steps, you can ensure your photos are backed up, secure, and accessible wherever you go.