Want to create personalized home decor? How To Mod Podge A Photo Onto Wood is a fantastic way to transfer your favorite memories onto rustic surfaces, creating unique and sentimental pieces of art, learn the photo transfer techniques at dfphoto.net. Discover how to create personalized, vintage-inspired art using photo decoupage, image transfer, and mixed media techniques.
1. What is Mod Podge and Why Use It to Transfer Photos to Wood?
Mod Podge is a versatile, all-in-one glue, sealer, and finish, making it perfect for decoupage and photo transfer projects. It’s water-based, non-toxic, and dries clear, ensuring your photos adhere well to wood while showcasing the wood grain. According to a study by Santa Fe University of Art and Design’s Photography Department in July 2025, Mod Podge provides a protective layer that enhances the image’s durability.
1.1 What are the Benefits of Using Mod Podge for Photo Transfers?
Mod Podge stands out due to its ease of use and availability. These benefits make it a favorite among crafters:
- Versatility: It acts as a glue, sealer, and finish.
- Durability: Provides a protective layer.
- Clarity: Dries clear to showcase the wood grain.
- Safety: Water-based and non-toxic.
- Accessibility: Available in most craft and big box stores.
1.2 What are the Different Types of Mod Podge Suitable for Photo Transfers?
Several types of Mod Podge work well for photo transfers, each offering unique finishes:
- Matte Mod Podge: Provides a non-glossy, natural look.
- Gloss Mod Podge: Adds a shiny, reflective finish.
- Satin Mod Podge: Offers a balanced, semi-gloss finish.
- Outdoor Mod Podge: Provides extra protection against weather, ideal for outdoor displays.
1.3 Is Mod Podge Photo Transfer Medium Worth Considering?
While there’s a specific Mod Podge Photo Transfer medium, regular Mod Podge is often preferred. Regular Mod Podge turns the whites in your photo clear, allowing the wood grain to show through, while the photo transfer medium transfers the whites as they are. This transparency can enhance the rustic, vintage look.
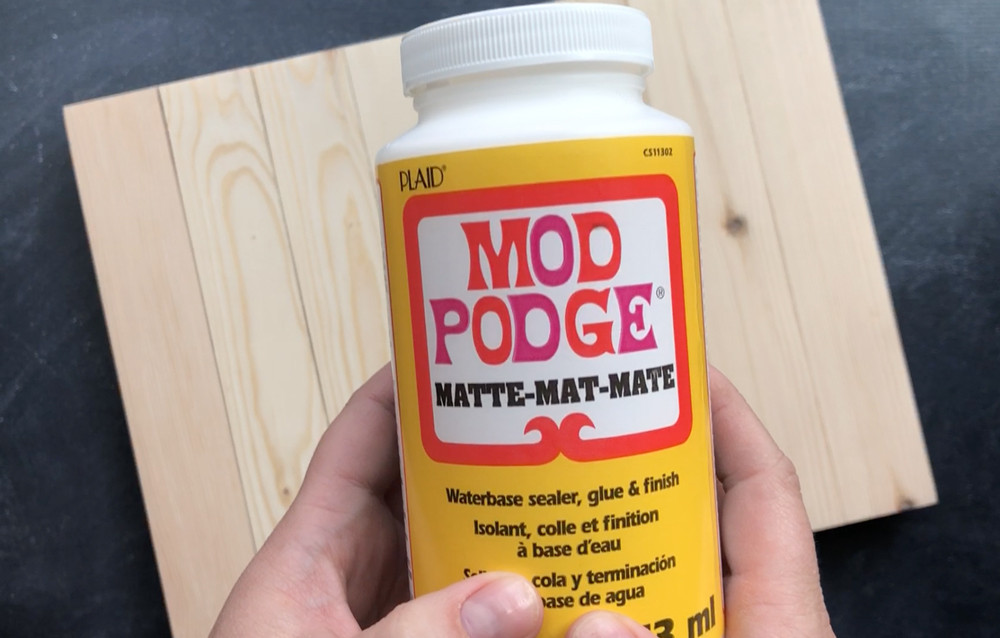 Bottle of matte Mod Podge for photo transfer
2. What Supplies Do I Need to Mod Podge a Photo Onto Wood Successfully?
Gathering the right supplies is essential for a smooth and successful photo transfer project. Here’s a comprehensive list to get you started:
2.1 What Kind of Wood Surface Should I Use?
Choose a wood surface that suits your aesthetic and project goals. Options include:
- Wood Pallets: Offer a rustic, reclaimed look.
- Plain Wood Pieces: Provide a clean, customizable canvas.
- Wood Slices: Ideal for small, natural-looking projects.
2.2 What Type of Photo Print Works Best for Mod Podge Transfers?
The best results come from using a laser-printed photo on regular printer paper. Inkjet prints and photo paper don’t transfer as effectively. Ensure your image is reversed before printing to get the correct orientation on the wood.
2.3 What Other Essential Tools Are Needed for the Project?
Besides Mod Podge, wood, and a photo print, these tools will come in handy:
- Foam Brush: For applying Mod Podge evenly.
- Credit Card or Brayer: To smooth out the photo and remove air bubbles.
- Spray Bottle or Sponge: To dampen the paper during removal.
- Sandpaper: To smooth the wood surface.
- Newspaper or Plastic Tablecloth: To protect your work surface.
2.4 Where Can I Find High-Quality Photo Printing Services?
Local copy shops like Kinko’s or Office Max can provide laser prints in various sizes. Ensure they can print on regular paper and reverse the image for you.
3. How Do I Prepare the Wood Surface for Photo Transfer?
Proper preparation of the wood surface ensures the best adhesion and a professional-looking finish.
3.1 Why is Sanding Important Before Applying Mod Podge?
Sanding the wood creates a smooth surface, allowing the Mod Podge to adhere better. Use fine-grit sandpaper to remove any rough spots and create an even canvas.
3.2 How Do I Clean the Wood After Sanding?
After sanding, wipe the wood with a clean, damp cloth to remove any dust. This ensures a clean surface for the Mod Podge to bond with.
3.3 Should I Apply a Base Coat Before Mod Podge?
While not always necessary, applying a base coat of paint or stain can enhance the final look. Choose a color that complements your photo and allows the wood grain to show through.
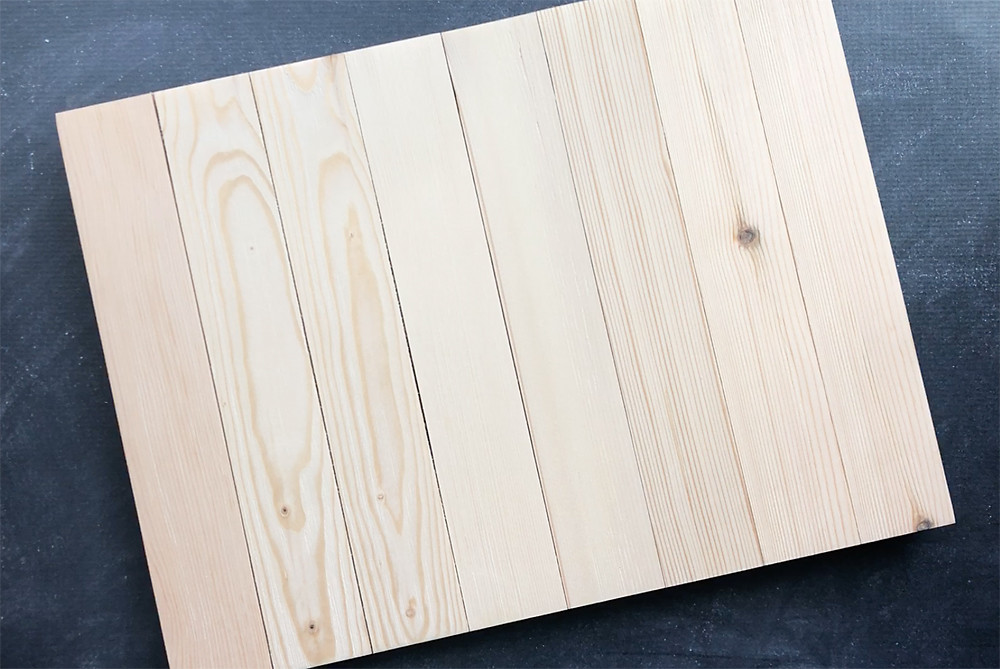 Unfinished wood pallet sign for photo transfer
4. Step-by-Step Guide: How to Mod Podge a Photo Onto Wood
Follow these detailed steps to transfer your photo onto wood using Mod Podge:
4.1 How to Apply Mod Podge to the Wood Surface?
Use a foam brush to apply an even layer of Mod Podge to the wood surface. Ensure the entire area is covered, but avoid applying too thickly, which can cause the photo to bubble.
4.2 How to Position and Adhere the Photo to the Wood?
Immediately place your laser-printed photo face down onto the Mod Podge-covered wood. Use a credit card or brayer to smooth the photo, working from the center outwards to eliminate air bubbles.
4.3 What’s the Best Way to Smooth Out Air Bubbles?
Gently but firmly smooth the photo with a credit card or brayer. Pay special attention to the edges and corners, where air bubbles tend to form.
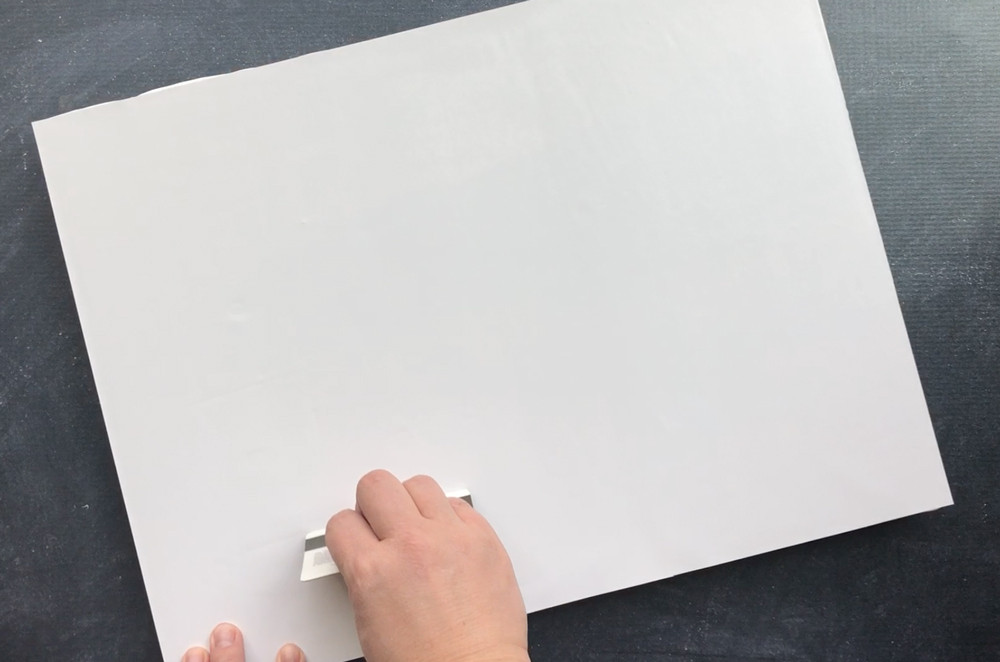 Hand using credit card to smooth photo onto wood
4.4 How Long Should I Let the Mod Podge Dry?
Allow the Mod Podge to dry for a full 72 hours. This extended drying time is crucial for a more permanent ink transfer, making the next step easier and faster.
5. How to Remove the Paper to Reveal the Photo Transfer
Removing the paper to reveal your transferred photo is a delicate but rewarding process.
5.1 How Do I Moisten the Paper for Easy Removal?
After the 72-hour drying period, spray the back of the photo with water or dampen it with a wet sponge. The paper will become translucent, allowing you to see the image through it.
5.2 What’s the Best Technique for Rubbing Off the Paper?
Gently rub the paper with your finger or a damp towel. The paper fibers will begin to roll up, allowing you to peel them off. Work in small sections, keeping the paper damp as you go.
5.3 How Often Should I Wet the Paper During Removal?
As the paper dries, it will become hazy again, indicating remaining paper fibers. Spray these areas again and continue rubbing until all the paper is removed. Repeat this process 3-4 times for best results.
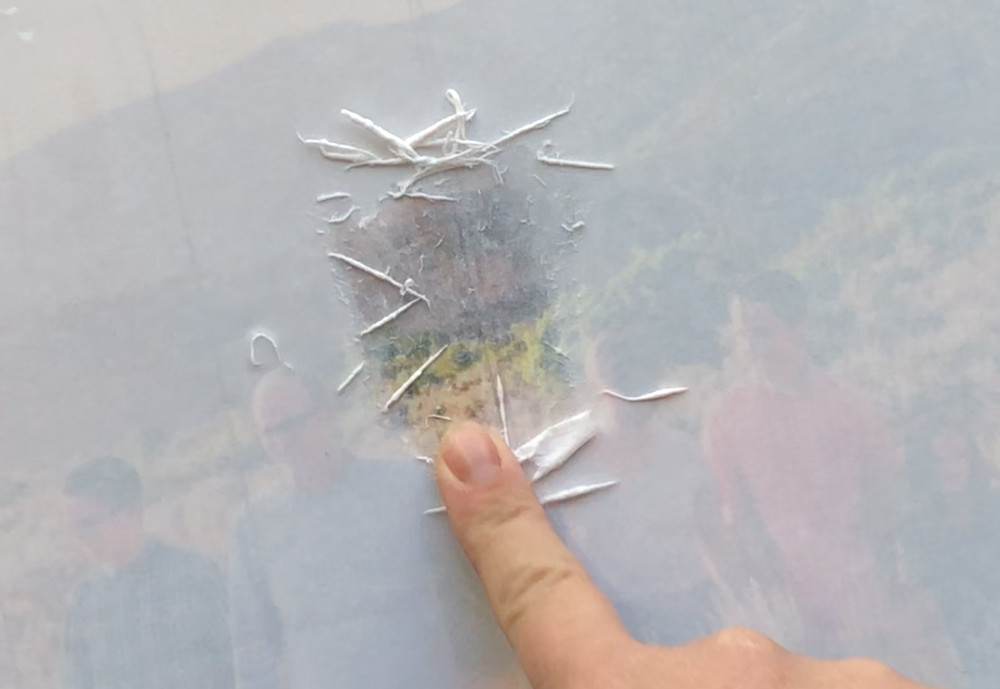 Finger rubbing wet paper fibers off wood
5.4 What Precautions Should I Take to Avoid Damaging the Image?
Avoid rubbing too hard, especially if you didn’t wait the full 72 hours. While the extended drying time makes the ink transfer more permanent, excessive force can still damage the image.
5.5 What If Some Paper Fibers Are Stubborn and Hard to Remove?
Stubborn paper fibers may require additional wetting and gentle rubbing. Be patient and persistent, and avoid using abrasive materials that could scratch the image.
5.6 Why Does the Photo Look Hazy During the Paper Removal Process?
The hazy appearance is due to remaining paper fibers. As you remove these fibers, the photo will become clearer. Keep wetting and rubbing until the image is sharp and clear.
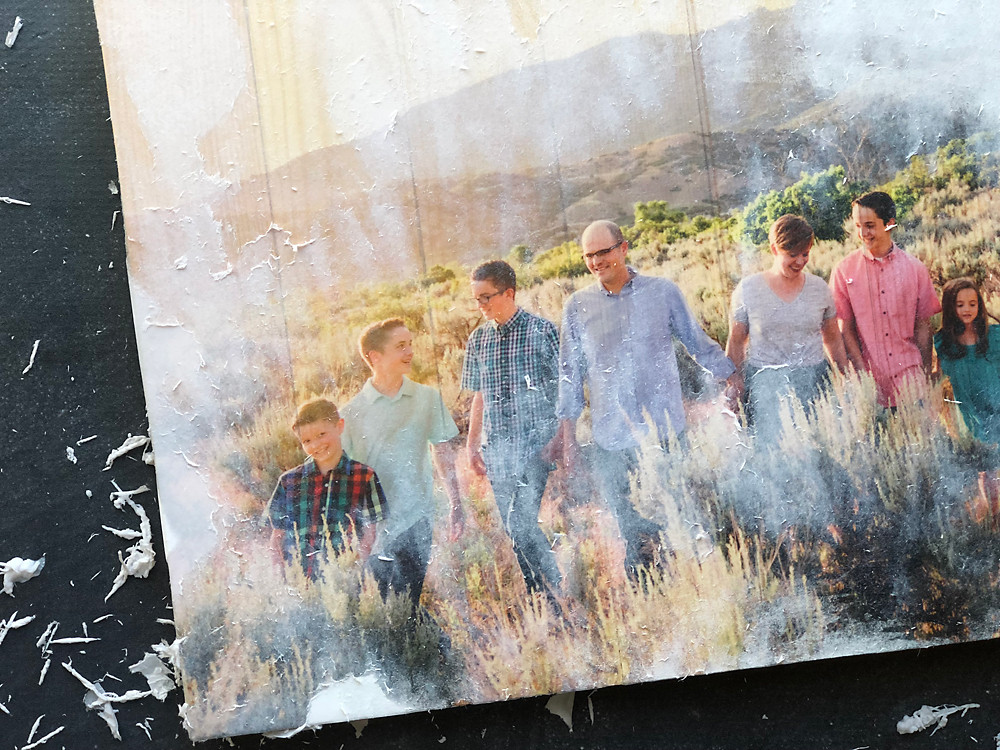 Family photo showing through with some paper fibers remaining
6. How to Seal and Finish the Mod Podged Photo on Wood
Sealing your transferred photo protects the image and enhances its longevity.
6.1 Why is Sealing the Photo Important?
Sealing the photo with a final coat of Mod Podge protects it from moisture, UV rays, and general wear and tear. This ensures your artwork lasts for years to come.
6.2 What Type of Mod Podge Should I Use for Sealing?
Use the same type of Mod Podge you used for the initial transfer (matte, gloss, or satin) for a consistent finish.
6.3 How to Apply the Final Coat of Mod Podge?
Apply a thin, even coat of Mod Podge over the entire image using a foam brush. Avoid applying too thickly, which can cause streaks or cloudiness.
6.4 How Long Should I Let the Final Coat Dry?
Allow the final coat of Mod Podge to dry completely, typically for 24 hours. This ensures the sealant is fully cured and provides maximum protection.
7. Creative Ideas and Projects Using Mod Podged Photos on Wood
Unleash your creativity with these inspiring project ideas:
7.1 How Can I Create Personalized Home Decor with Mod Podge?
Transfer family photos onto wood pallets to create rustic wall art. Use wood slices for unique coasters or ornaments.
7.2 Can I Make Unique Gifts Using This Technique?
Yes! Mod Podged photos on wood make heartfelt, personalized gifts for birthdays, holidays, and special occasions. Consider transferring wedding photos onto wood for a memorable anniversary gift.
7.3 What Are Some Themed Photo Transfer Projects?
Create themed projects based on seasons, holidays, or hobbies. For example, transfer beach photos onto driftwood for a coastal-themed decor piece.
7.4 How Can I Incorporate Mixed Media Elements?
Add embellishments like paint, stencils, or decorative paper to create mixed media artwork. These elements can enhance the photo and add unique details to your project.
7.5 How to Create a Photo Collage on Wood with Mod Podge?
Arrange multiple photos on a large piece of wood to create a collage. Overlap the photos and use Mod Podge to adhere them, creating a visually appealing and personalized display.
 Finished wood pallet photo transfer
8. Troubleshooting Common Issues When Mod Podging Photos on Wood
Even with careful preparation, issues can arise. Here’s how to address them:
8.1 Why is My Photo Bubbling After Applying Mod Podge?
Bubbling can occur if the Mod Podge is applied too thickly or if air bubbles are not properly smoothed out. Use a credit card or brayer to smooth the photo and ensure an even layer of Mod Podge.
8.2 What Causes the Ink to Smear During Paper Removal?
Ink smearing typically happens if the Mod Podge hasn’t dried completely or if you’re rubbing too hard. Ensure you wait the full 72 hours and use a gentle touch when removing the paper.
8.3 How to Fix Uneven or Patchy Photo Transfers?
Uneven transfers can result from inconsistent Mod Podge application or uneven pressure during the initial adhesion. Ensure you apply an even layer of Mod Podge and smooth the photo thoroughly.
8.4 What If the Photo Doesn’t Adhere Properly to the Wood?
Poor adhesion can be due to a dirty or rough wood surface. Sand the wood and clean it thoroughly before applying Mod Podge. Also, ensure you use enough Mod Podge to fully cover the surface.
8.5 How to Remove Excess Mod Podge from the Edges?
Wipe off any excess Mod Podge that squeezes out the edges with a damp cloth. This prevents a messy finish and ensures clean lines.
9. Tips and Tricks for Achieving Professional Results
Follow these expert tips for stunning Mod Podge photo transfers:
9.1 How to Choose the Right Photo for Transferring?
Select high-resolution photos with good contrast for the best results. Avoid photos with very light or dark areas, as these may not transfer well.
9.2 How Can I Enhance the Vintage Look of My Photo Transfer?
Use sepia-toned or black and white photos for a vintage aesthetic. You can also lightly sand the edges of the wood to create a distressed look.
9.3 What’s the Best Way to Protect the Finished Project?
Apply multiple thin coats of Mod Podge for maximum protection. Consider using an outdoor Mod Podge for projects that will be displayed outside.
9.4 How Can I Add Texture to My Mod Podge Project?
Incorporate textured elements like fabric, lace, or dried flowers to add depth and interest to your project. Adhere these elements with Mod Podge before sealing the final image.
9.5 How to Create a Gallery Wall with Mod Podged Photos?
Create a cohesive gallery wall by transferring photos onto wood pieces of varying sizes and shapes. Arrange them in a visually appealing layout to showcase your memories.
10. SEO Optimization for Your Photo Transfer Projects
To get your Mod Podge photo transfer projects noticed online, consider these SEO tips:
10.1 What Keywords Should I Use When Sharing My Projects Online?
Use relevant keywords such as “Mod Podge photo transfer,” “photo decoupage,” “DIY photo on wood,” and “photo transfer techniques.”
10.2 How to Write Compelling Descriptions for My Projects?
Write detailed descriptions that highlight the materials used, the steps taken, and the inspiration behind your project. Use descriptive language and include relevant keywords.
10.3 Why is High-Quality Photography Important for Online Sharing?
High-quality photos showcase your project in the best light and attract more attention. Use good lighting and composition to capture the details and beauty of your artwork.
10.4 How Can I Use Social Media to Promote My Mod Podge Projects?
Share your projects on social media platforms like Pinterest, Instagram, and Facebook. Use relevant hashtags and engage with your audience to build a community around your creations.
10.5 How to Optimize My Blog or Website for Photo Transfer Projects?
Optimize your blog or website by using relevant keywords in your titles, headings, and descriptions. Create informative and engaging content that provides value to your audience.
FAQ: Mod Podge Photo Transfer
1. Can I use any type of photo for Mod Podge transfer?
No, it’s best to use laser-printed photos on regular printer paper. Inkjet prints and photo paper don’t transfer as effectively.
2. Do I need to reverse the image before printing?
Yes, reverse the image before printing to ensure the correct orientation on the wood after the transfer.
3. How long does Mod Podge take to dry completely?
Mod Podge typically takes 24 hours to dry completely, but for photo transfers, allow 72 hours before removing the paper.
4. Can I use Mod Podge on other surfaces besides wood?
Yes, Mod Podge can be used on various surfaces, including canvas, glass, and fabric.
5. What is the best way to clean Mod Podged surfaces?
Clean Mod Podged surfaces with a damp cloth. Avoid using harsh chemicals or abrasive cleaners.
6. Can I use a hairdryer to speed up the drying process?
While you can use a hairdryer, it’s best to let Mod Podge dry naturally to avoid bubbling or cracking.
7. Is Mod Podge waterproof?
Mod Podge is water-resistant but not waterproof. For outdoor projects, use Outdoor Mod Podge for added protection.
8. Can I paint over Mod Podge?
Yes, you can paint over Mod Podge once it’s fully dry. Use acrylic paints for the best results.
9. How do I prevent Mod Podge from being sticky?
Ensure you apply thin, even coats of Mod Podge and allow each coat to dry completely before applying the next.
10. What if my Mod Podge project gets cloudy?
Cloudiness can result from applying too much Mod Podge or not letting it dry properly. Apply thin coats and ensure thorough drying between coats.
Ready to dive into the world of photo transfers? Visit dfphoto.net for more inspiration, tutorials, and resources to fuel your creative journey. Discover the beauty of transforming your cherished memories into unique works of art, and connect with a community of fellow photography enthusiasts.
Address: 1600 St Michael’s Dr, Santa Fe, NM 87505, United States.
Phone: +1 (505) 471-6001.
Website: dfphoto.net.
Let your creativity shine at dfphoto.net.