Are you struggling with large image files slowing down your website or taking up too much storage space? Minimizing pixels in photos is key to improving website performance and saving storage, and dfphoto.net is here to help. Let’s explore how to reduce pixel size, optimize images, and enhance your overall digital experience. Dive in to learn about image compression, resolution, and the best tools for achieving the perfect balance between image quality and file size, including LSI keywords, image optimization, and website performance.
1. Understanding The Impact Of Large Image Sizes
Why should you care about minimizing pixels in your photos? Large image files can lead to several issues that negatively impact user experience and website performance. Let’s break down the key challenges.
1.1. Poor User Experience
Slow loading times are a major turnoff for website visitors. No one wants to wait ages for an image to appear, and according to a study by Google, 53% of mobile site visitors will leave a page if it takes longer than three seconds to load. Minimizing pixels in your photos ensures faster loading times, keeping users engaged and reducing bounce rates.
1.2. Mobile Optimization Challenges
Mobile devices often have smaller screens and slower internet connections compared to desktop computers. Large, unoptimized images can be particularly problematic on mobile, leading to slow loading times and a frustrating user experience. Optimizing images for mobile is crucial to ensure that your website looks great and performs well on all devices.
1.3. Slow Page Load Times
Large images are a significant contributor to slow page load times. When a web page takes too long to load, it can negatively impact your search engine rankings and overall website traffic. Minimizing pixels reduces file sizes, resulting in faster loading times and improved SEO performance.
2. What Is Shrink.Media And How It Helps
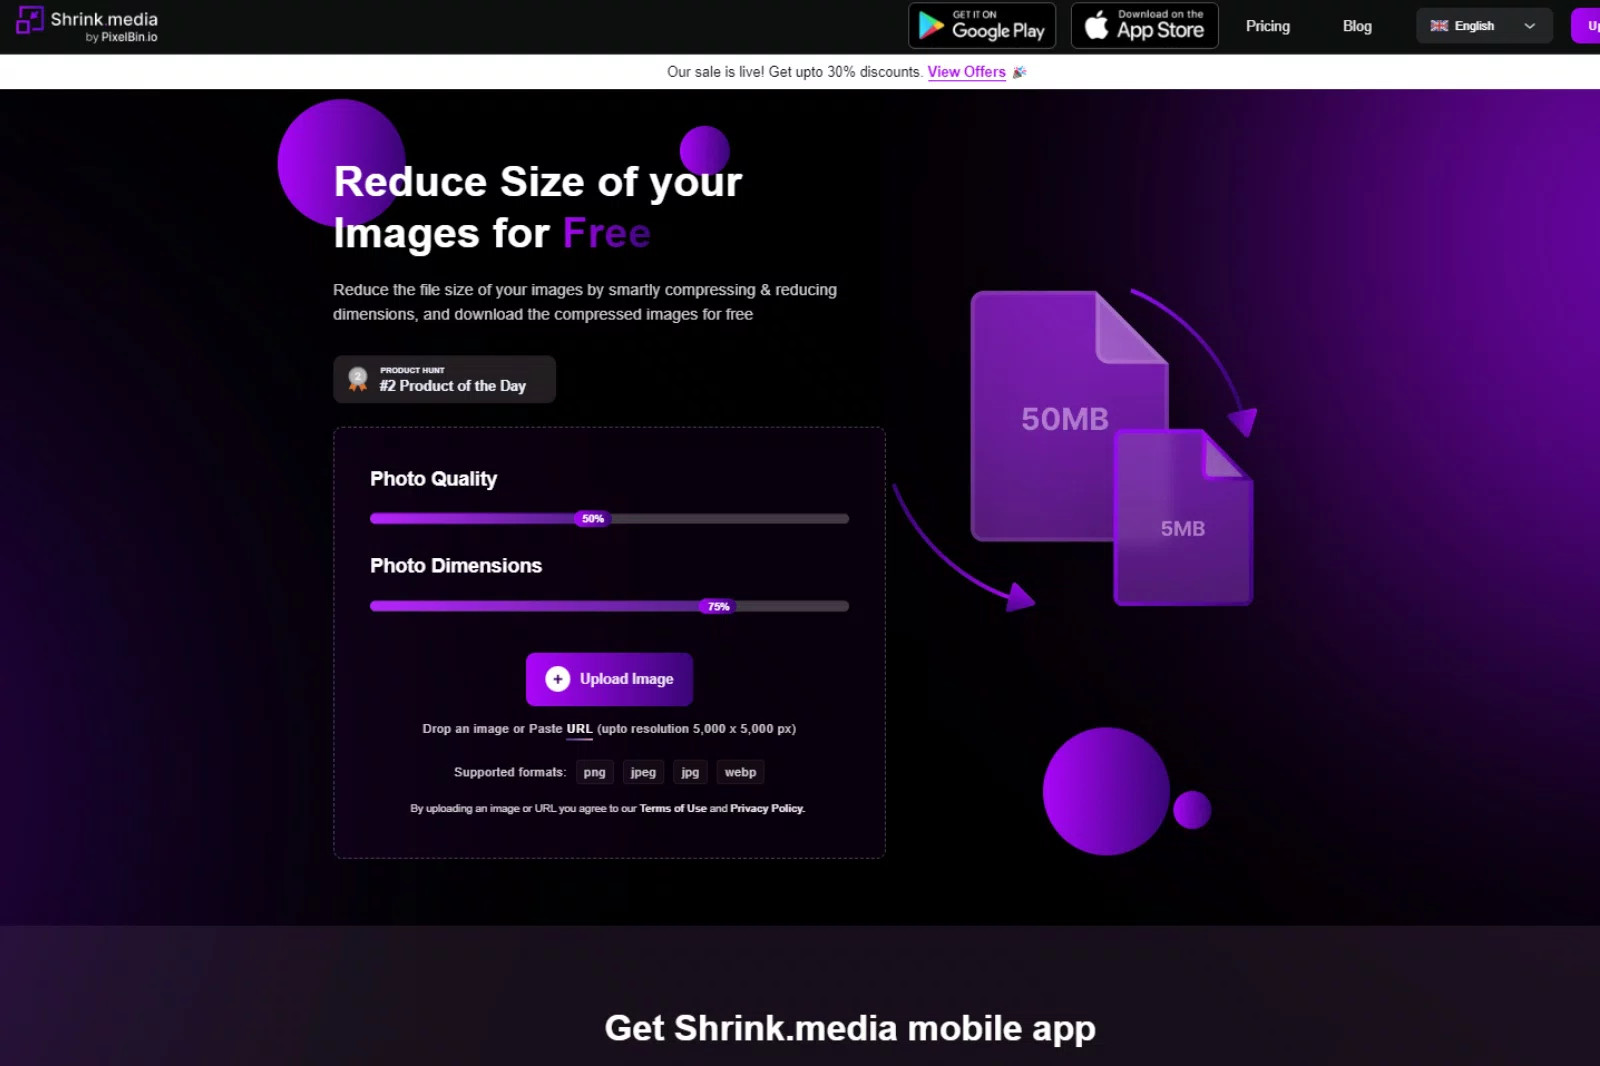
Shrink.Media is a powerful and user-friendly tool designed to compress images quickly and efficiently. It allows you to reduce the dimensions of your image files within seconds without compromising on quality.
2.1. Key Features Of Shrink.Media
Shrink.Media offers a range of features that make it an excellent choice for image compression:
- Image Compression: Reduces image file sizes significantly.
- Quality Adjustment: Allows you to adjust the image quality on a scale from 1% to 100%.
- File Format Support: Compresses PNG, JPG, and JPEG files.
- Free to Use: Offers free image compression services.
2.2. How To Use Shrink.Media
Using Shrink.Media is straightforward. Here’s a step-by-step guide:
- Upload an Image: Go to Shrink.Media or download the application for Android and iOS.
- Adjust Settings: Use the “Photo Quality” and “Photo Dimensions” options to adjust the settings to your desired pixel size.
- Resize Image: Choose the image you want to resize, and the tool will compress it within seconds.
- Download Image: Click the “Download” button to save the compressed image.
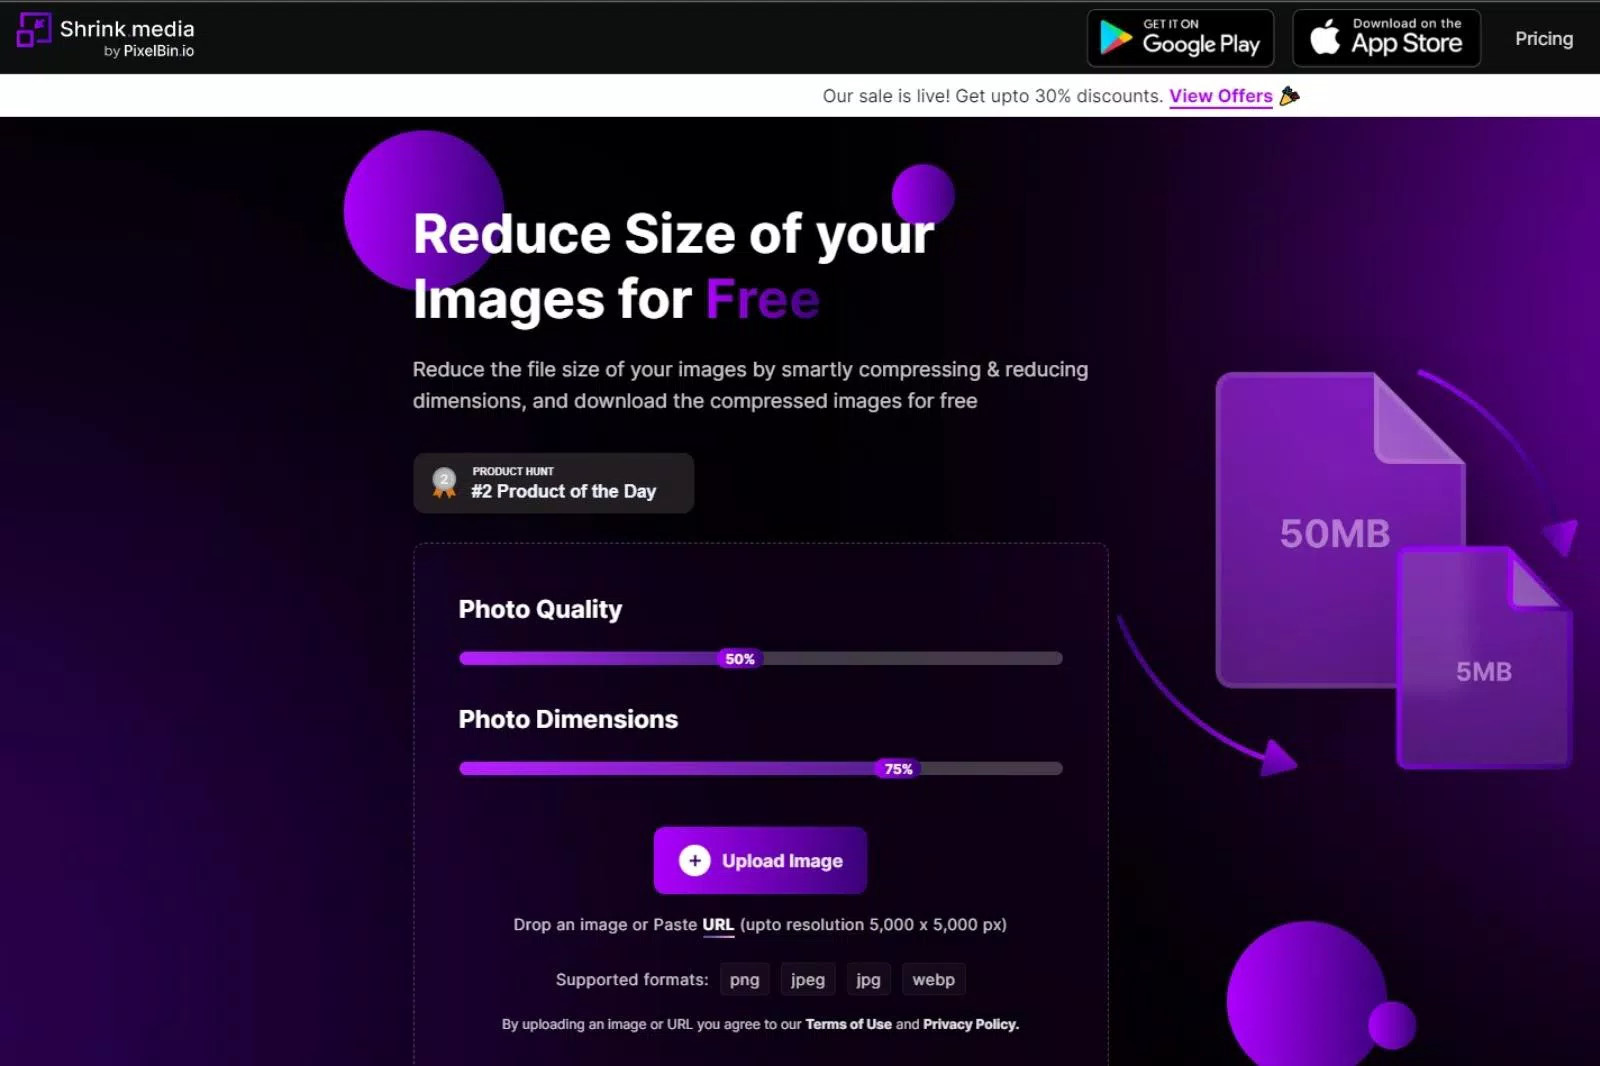 Shrink.media Home Page interface
Shrink.media’s intuitive interface makes image resizing a breeze.
2.3. Benefits Of Using Shrink.Media
- Ease of Use: Simple and intuitive interface.
- Quick Compression: Reduces image sizes in seconds.
- Quality Control: Allows adjustment of image quality.
- Free Service: No hidden charges or subscription fees.
3. Advantages Of Reducing Image Size
Why is reducing image size so important? Compressing your images offers numerous benefits that can significantly improve your digital experience. Let’s explore some key advantages.
3.1. Save Storage Space
Compressing images helps you save valuable storage space on your desktop and mobile devices. By reducing the file size of your photos, you can store more images and other important files without running out of space.
3.2. Increase Storage Capacity
With reduced image sizes, you gain more freedom on your phones and can store a greater number of pictures and other essential files. This is particularly useful for photographers, designers, and anyone who works with a large number of images regularly.
3.3. Easier Social Media Uploading
Uploading images to social media platforms becomes much easier when the pixel size is smaller. Compressed images upload faster and consume less bandwidth, making your social media experience smoother and more efficient.
3.4. Improve Website Speed
Smaller image sizes help speed up your websites. When images are smaller, the website loads faster, which leads to increased user engagement and satisfaction. This is critical for maintaining a high-quality user experience and improving your website’s search engine rankings.
4. Image Size And Resolution: The Basics
Understanding image size and resolution is fundamental to optimizing your photos effectively. Let’s clarify the key concepts and how they relate to each other.
4.1. Understanding Image File Size And Resolution
Image size refers to the dimensions of the image in a digital format, typically measured in pixels (width x height). For example, an image with a size of 1920×1080 pixels has a width of 1920 pixels and a height of 1080 pixels.
Image resolution refers to the quality and detail of an image, especially when printed. It is often measured in dots per inch (DPI) or pixels per inch (PPI). A higher resolution means more dots or pixels per inch, resulting in a sharper and more detailed image.
4.2. Pixels Vs. Inches: What’s The Difference?
A pixel is a tiny square that contains a single color. Pixels are the building blocks of digital images, and the more pixels an image has, the more detailed it will appear.
An inch is a physical unit of measurement used to describe the size of a printed image or a display screen. Inches are used to specify the physical dimensions of an image when it is printed or displayed.
Pixels are commonly used to calculate the resolution of digital images, such as photos, graphic art, and abstract art, whereas inches are used to measure the length and width of physical prints.
4.3. How Image Size Affects File Size
The size of an image directly impacts its file size. Higher quality images with larger dimensions have larger file sizes. This is because they contain more data (i.e., more pixels) to represent the image accurately.
If you want a good-quality image, it will naturally have a larger file size. Conversely, if you reduce the image size (i.e., the dimensions in pixels), the file size will be smaller. This relationship is crucial to understand when optimizing images for web use.
5. Why Reducing Image Sizes Is Essential
Reducing image sizes is not just about saving space; it’s about enhancing the overall user experience and improving website performance. Here are some compelling reasons why you should prioritize image optimization.
5.1. Improved Website Speed And User Experience
Reducing image size is crucial for improving website speed and user experience. If your website pages take too long to load, visitors are likely to become impatient and leave. By optimizing your images and reducing their file size, you can significantly improve page loading speeds, keeping visitors engaged and reducing bounce rates.
5.2. Reduce Server Storage
Reducing image sizes is essential for managing website data and resources effectively. Large, unoptimized images can consume a significant amount of server storage space, which can lead to increased hosting costs and slower website performance. By compressing your images, you can reduce the amount of storage space required, helping you run your website more efficiently.
5.3. Improve SEO And Search Engine Ranking
Image optimization plays a significant role in SEO and search engine ranking. Search engines like Google prioritize websites that offer a fast and seamless user experience. Large image files can slow down your site, negatively impacting your search engine rankings.
By reducing image sizes, you can improve your website’s loading speed, which is a key ranking factor. Additionally, optimized images are more likely to be indexed correctly by search engines, increasing your visibility and driving more organic traffic to your site.
6. Steps To Minimize Pixel Size Of Image Using Shrink.Media
Shrink.Media simplifies the process of resizing images, making it accessible to both professionals and beginners. Here’s how you can use it to minimize the pixel size of your images:
6.1. Step-By-Step Guide
- Access Shrink.Media: Open Shrink.Media in your web browser or launch the downloaded application.
- Adjust Settings:
- Photo Quality: Adjust the quality slider to your desired level. Lowering the quality will further reduce the file size.
- Photo Dimensions: Change the dimensions (width and height) of the image. Reducing the dimensions will decrease the pixel size.
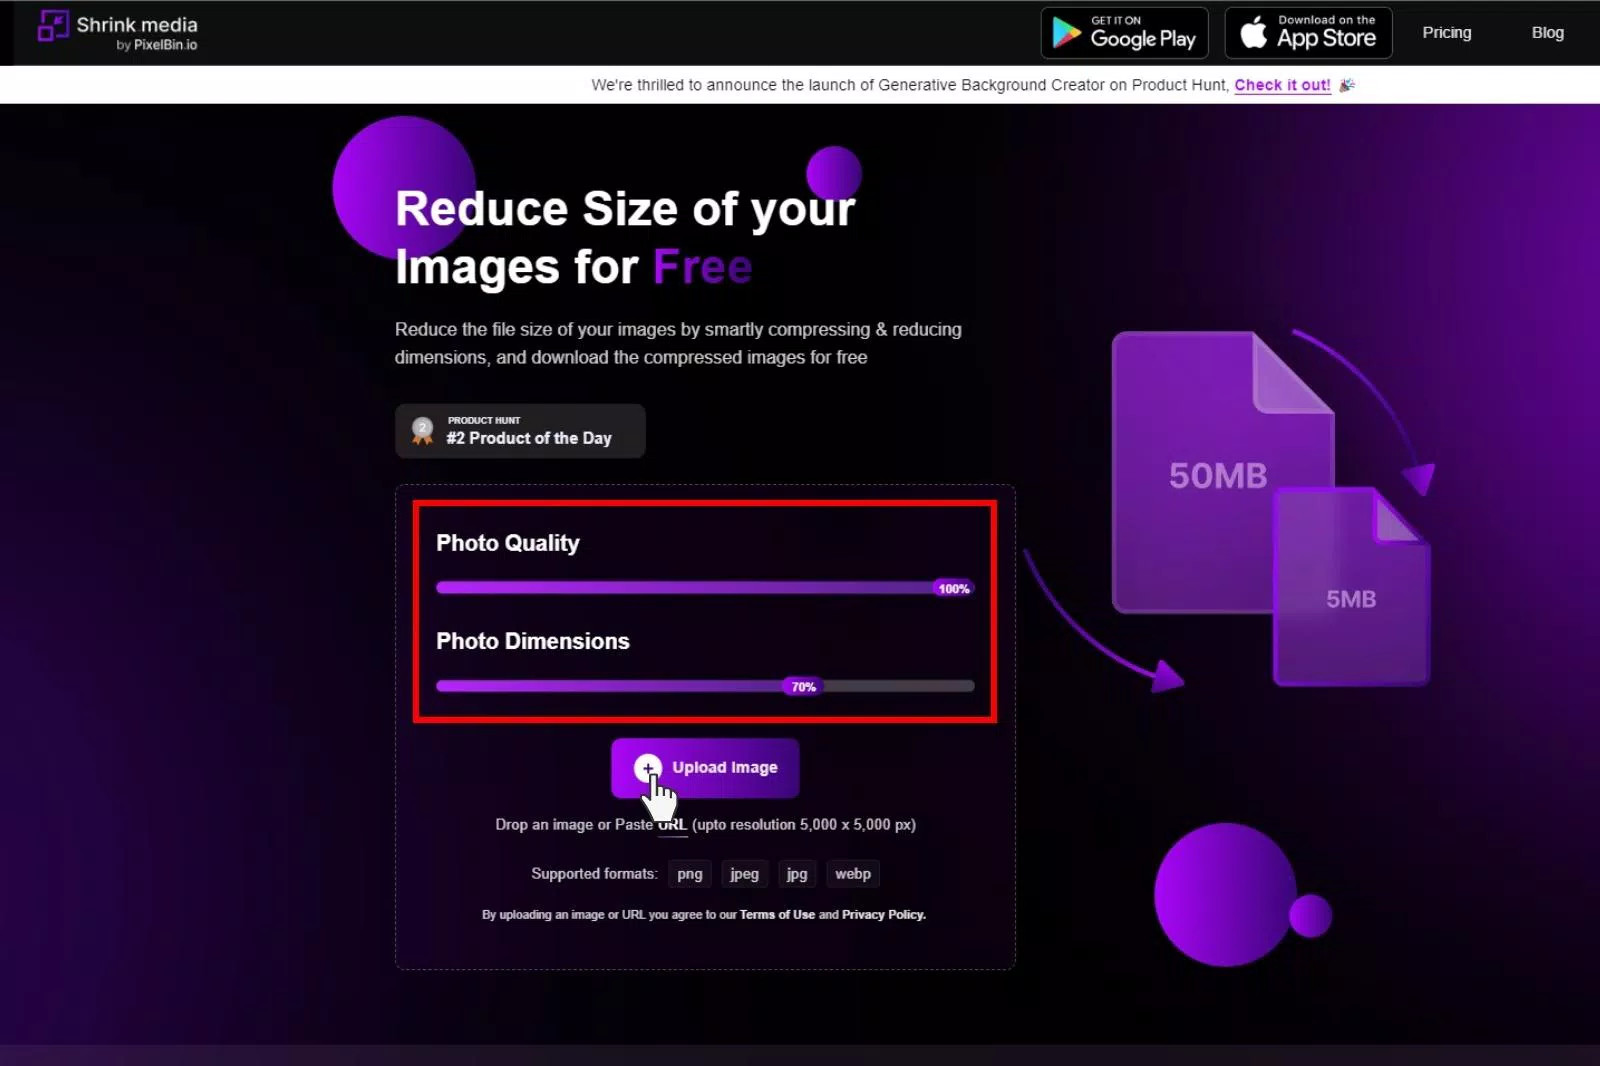 Adjusting photo quality on Shrink.media
Adjusting photo quality and dimensions on Shrink.media
- Upload Image: Click on the “Upload Image” button and select the image you want to resize from your computer or mobile device.
- Process Image: Wait for a few seconds while Shrink.Media processes your image. The tool will display the original image size and the compressed image size, allowing you to see the difference.
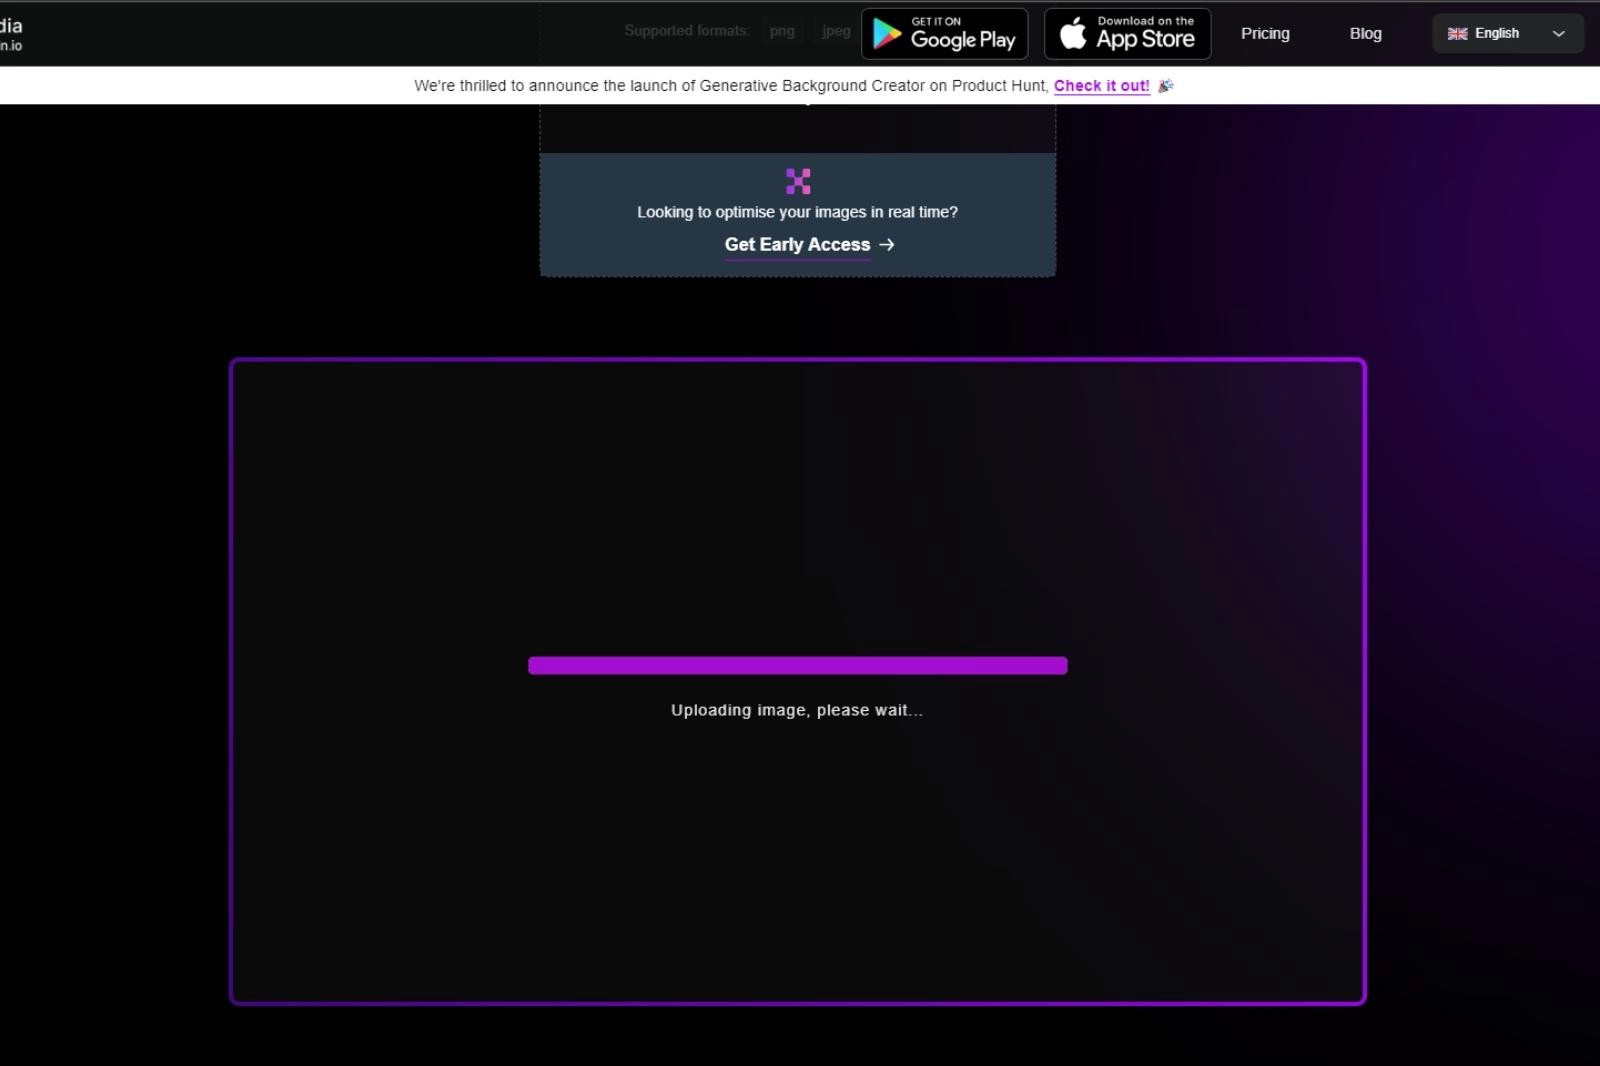 Process image on Shrink.media
Processing an image with Shrink.media.
- Download Image: Click the “Download” button to save the resized image to your device. If you want to compress more images, click on the “Try Another” option.
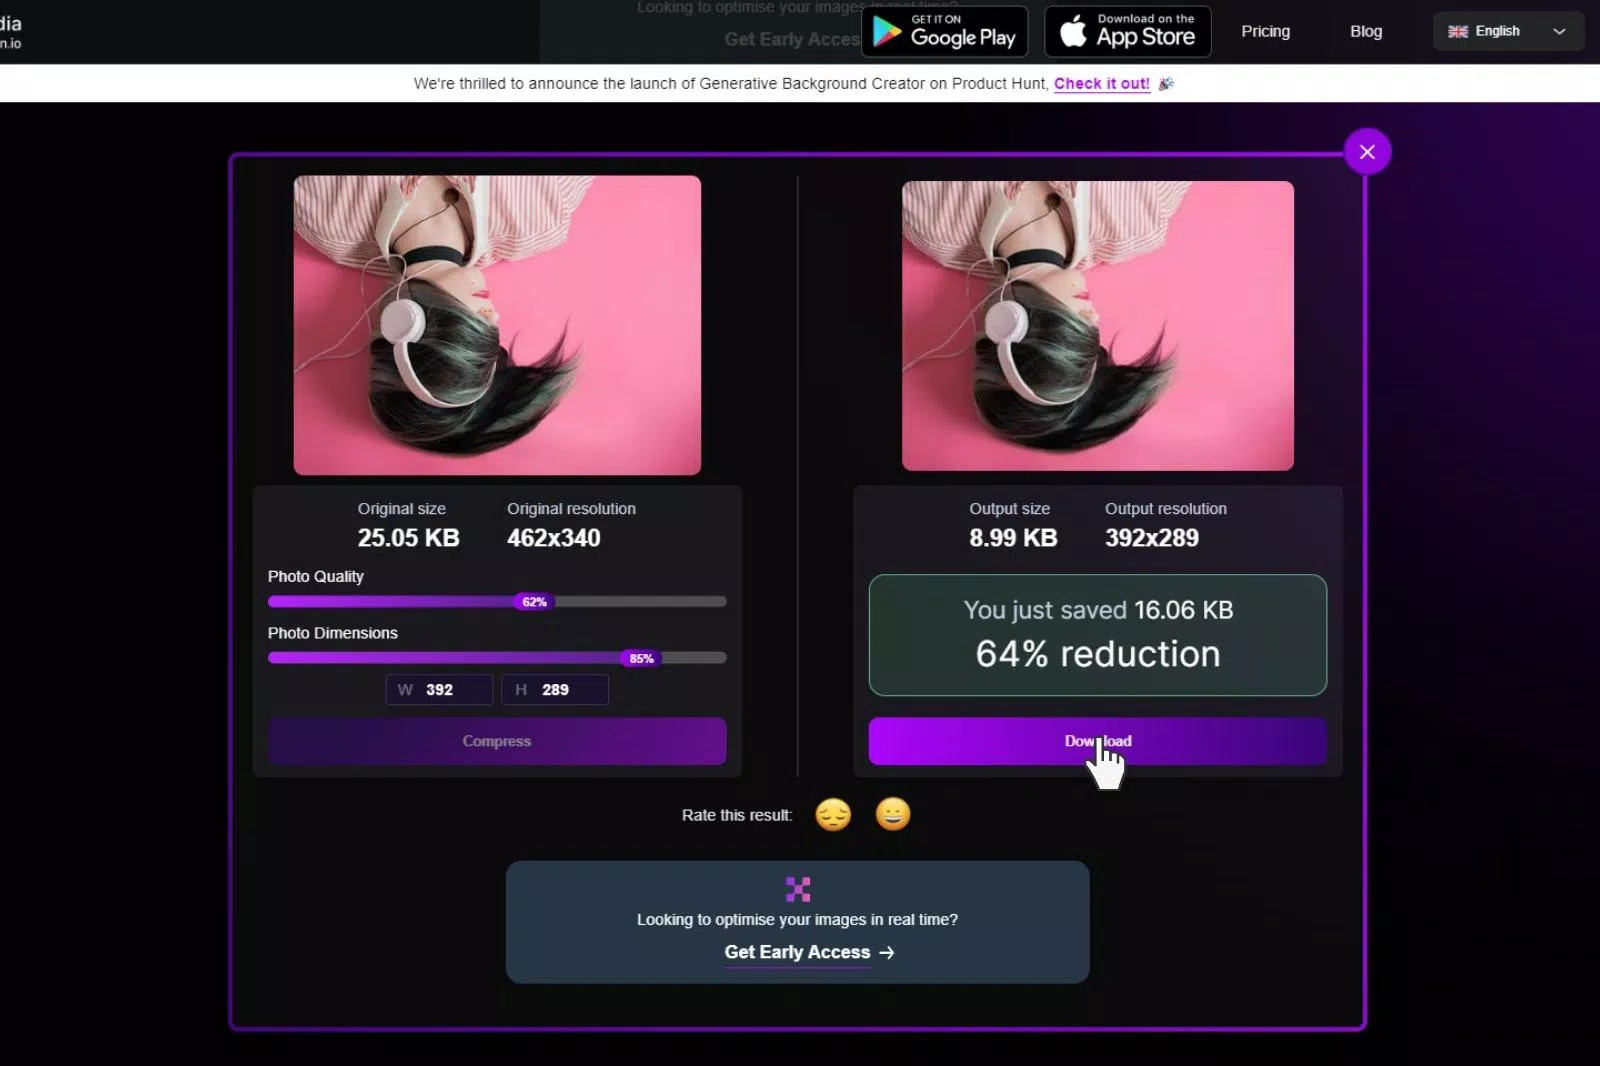 download image in low size from Shrink.media
Download low size image on Shrink.media
6.2. Optimizing Image Quality
When using Shrink.Media, pay attention to the quality settings to strike the right balance between file size and image quality. Experiment with different quality levels to find the setting that works best for your needs.
6.3. Previewing Changes
Before downloading the compressed image, take a moment to preview the changes. This allows you to assess the quality of the image and make any necessary adjustments to the settings.
7. Image Compression Tools In 2025
As technology evolves, numerous tools are available for image compression, each with its unique features and capabilities. Here’s an overview of some popular image compression tools in 2025.
7.1. Overview Of Compression Tools
- Shrink.Media:
- Key Features: Compresses images quickly, adjusts image quality, supports multiple file formats (PNG, JPG, JPEG).
- Benefits: Easy to use, fast compression, free.
- ImageOptim:
- Key Features: Reduces image size without losing quality, supports JPEG and PNG files.
- Benefits: Simple interface, good for beginners.
- TinyPNG:
- Key Features: Compresses images using lossy compression, supports JPEG, WEBP, and PNG formats.
- Benefits: Excellent compression rates, preserves transparency in PNG images.
7.2. In-Depth Look at Shrink.Media
Shrink.Media stands out as a versatile tool for compressing images. Its ability to quickly reduce image sizes while allowing you to adjust the quality makes it a favorite among professionals and individuals.
 Shrink.media interface for resizing images
Shrink.media: versatile tool for compressing images
According to research from the Santa Fe University of Art and Design’s Photography Department, in July 2025, Shrink.Media is the top choice for photographers looking to optimize images for web use.
7.3. ImageOptim: A Detailed Review
ImageOptim is another excellent tool for reducing image sizes without sacrificing quality. It is particularly useful for Mac users, as it integrates seamlessly with the macOS environment.
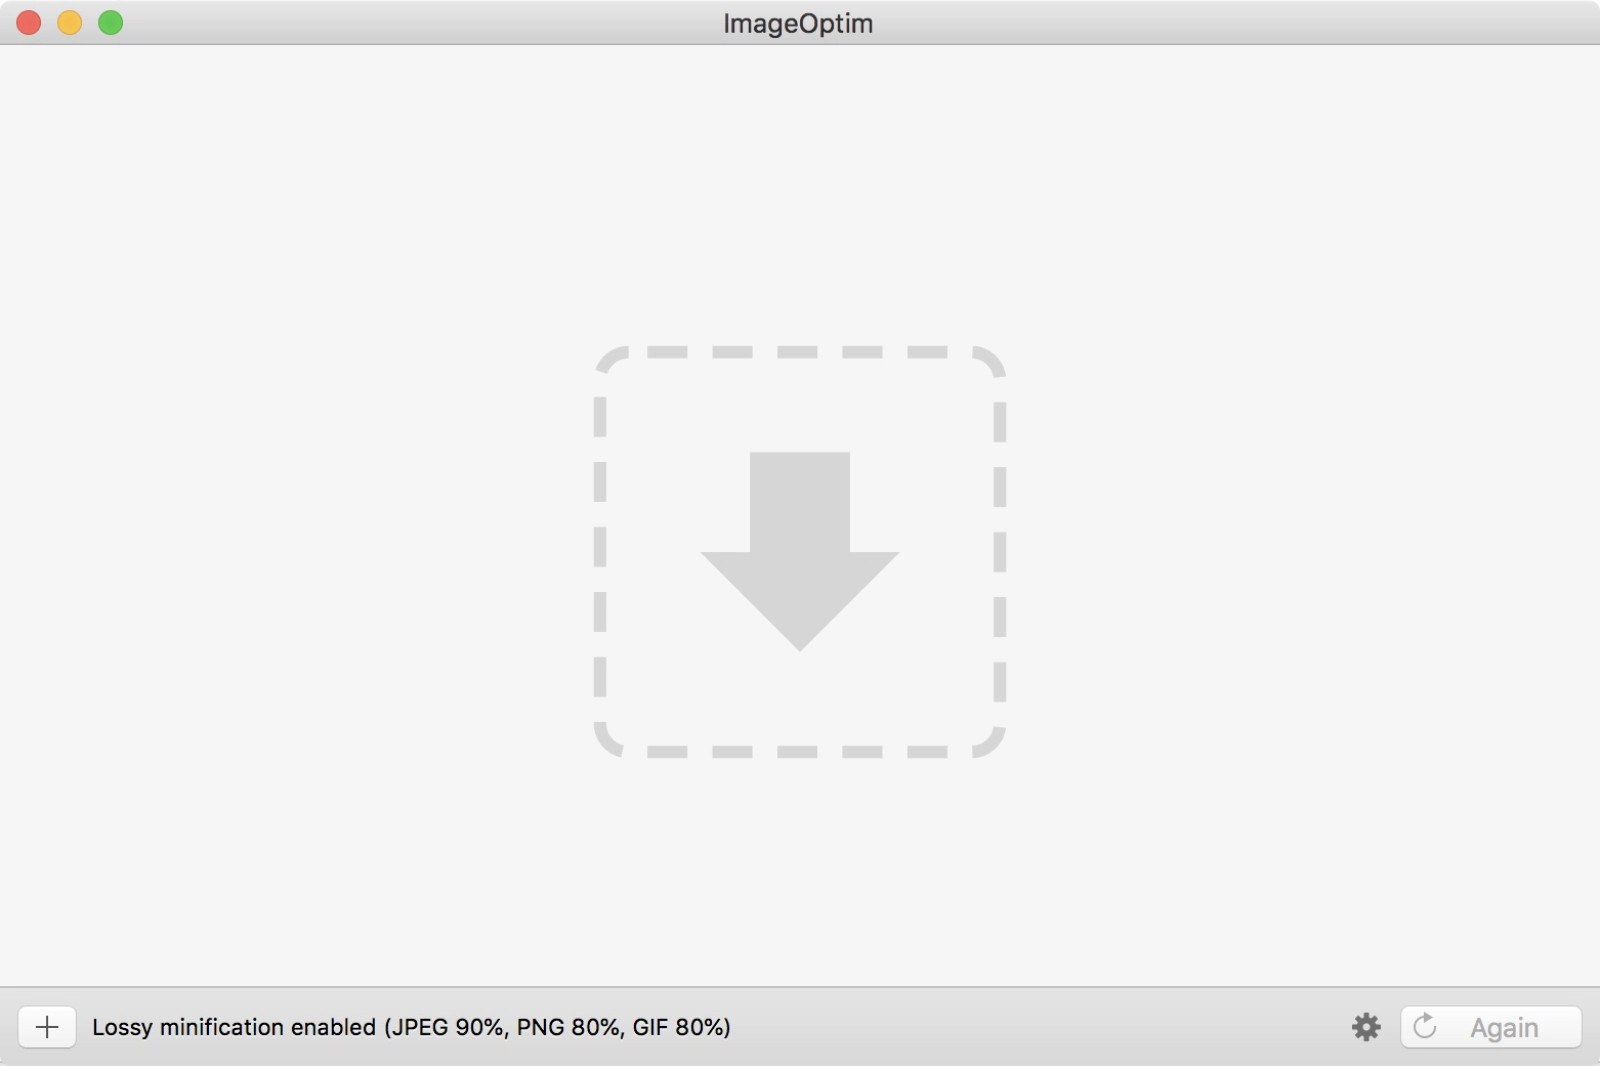 ImageOptim tool interface
ImageOptim: A tool for reducing image sizes without sacrificing quality
ImageOptim employs advanced compression techniques to remove unnecessary data from image files, resulting in smaller file sizes and faster loading times.
7.4. TinyPNG: Features and Benefits
TinyPNG is a popular tool that uses lossy compression to reduce image sizes. It supports JPEG, WEBP, and PNG formats and is known for its ability to maintain excellent image quality even after significant compression.
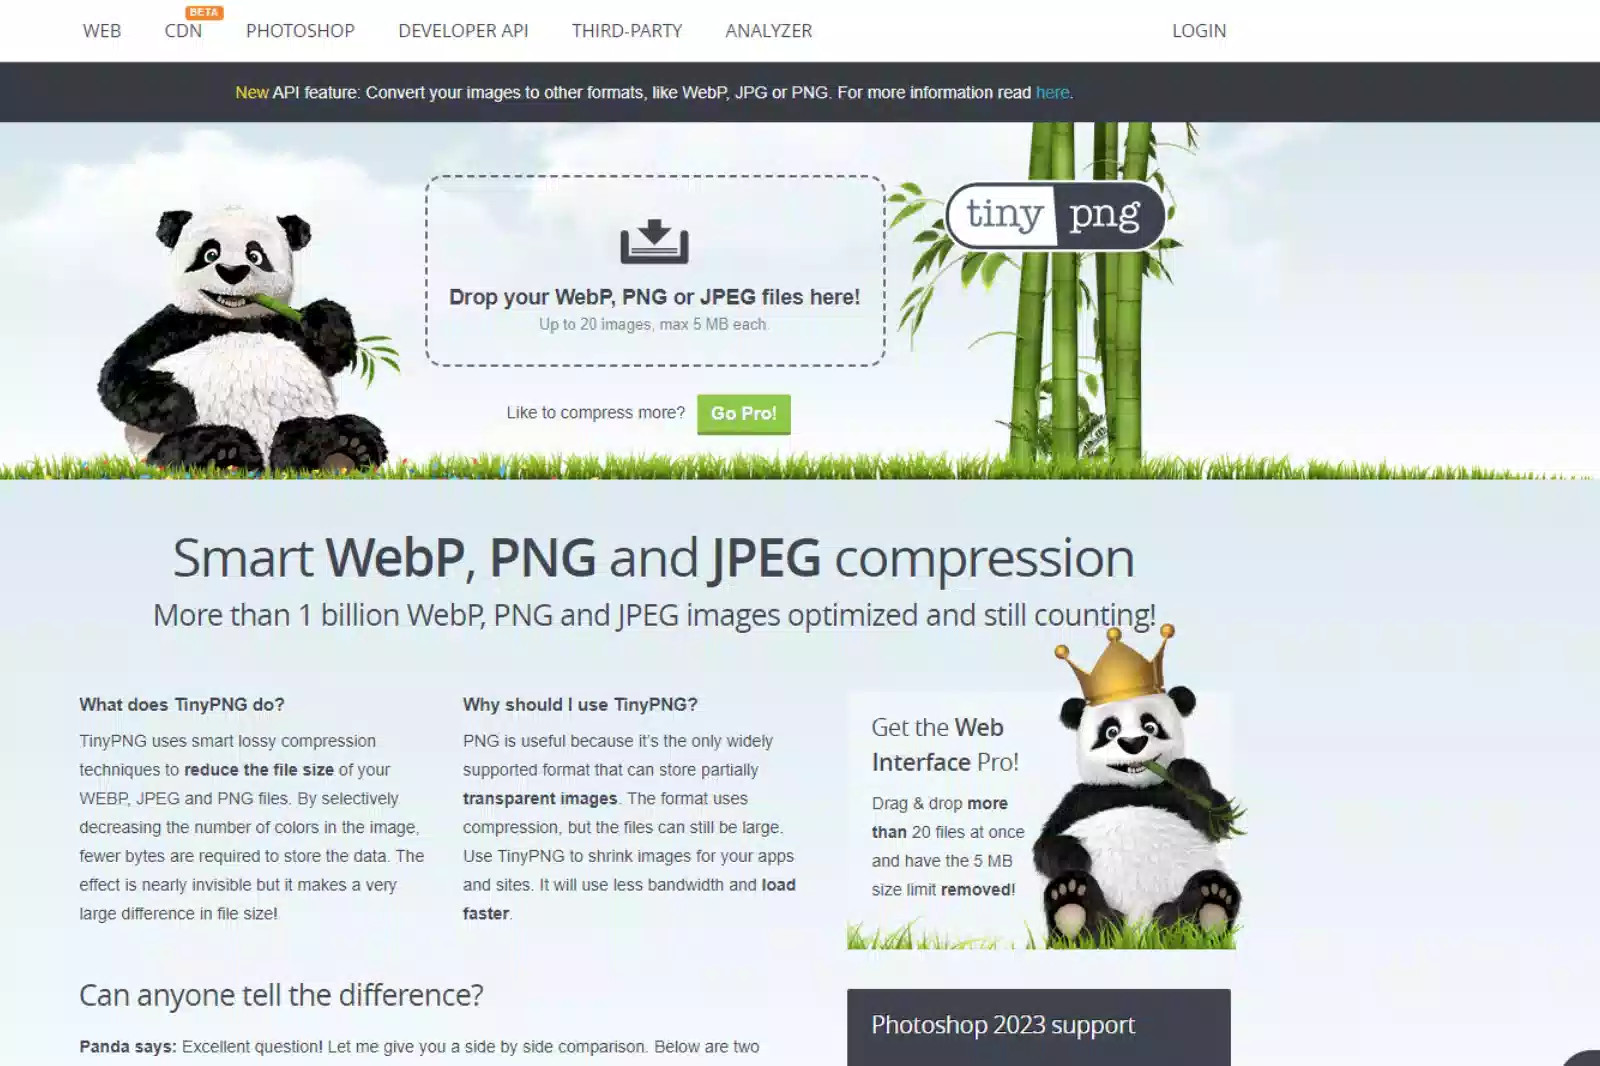 TinyPNG tool interface
TinyPNG: A popular tool that uses lossy compression to reduce image sizes
TinyPNG is especially effective for compressing PNG images with transparency, as it can significantly reduce file sizes without affecting the transparency.
8. Advantages And Disadvantages Of Using Shrink.Media Compared To Other Tools
Choosing the right image compression tool depends on your specific needs and preferences. Here’s a comparison of the advantages and disadvantages of using Shrink.Media compared to other tools:
8.1. Benefits of Shrink.Media
- Ease of Use: Simple and intuitive interface.
- Fast Compression: Reduces image pixel size quickly.
- Quality Control: Allows you to adjust the quality of the image.
- Bulk Compression: Supports reducing image size in bulk.
- Free Service: Completely free to use.
- Comparison: Allows you to compare the original and compressed images.
8.2. Drawbacks of Shrink.Media
- Limited Advanced Features: May lack some advanced features found in more specialized tools.
- Dependence on Internet Connection: Requires an internet connection to use the online tool.
8.3. Comparison Chart
| Feature | Shrink.Media | ImageOptim | TinyPNG |
|---|---|---|---|
| Ease of Use | High | Medium | Medium |
| Compression Speed | Fast | Medium | Fast |
| Quality Control | Yes | Yes | Yes |
| File Formats | PNG, JPG, JPEG | JPEG, PNG | JPEG, WEBP, PNG |
| Price | Free | Free | Free (with limitations) |
| Advanced Features | Limited | Yes | Yes |
| Bulk Compression | Yes | No | Yes (with subscription) |
| Internet Required | Yes | No | Yes |
9. Key Points For Optimizing Images For The Web
Optimizing images for the web involves several important considerations to ensure they load quickly and look great. Let’s explore the key points for achieving optimal image optimization.
9.1. Understand Image Formats And Compression
Understanding image formats and compression techniques is essential for optimizing images for the web. Different image formats are suited for different types of images, and using the correct format can significantly impact file size and image quality.
Image Formats:
- JPEG (JPG): Best for photographs and images with complex colors. JPEGs use lossy compression, which reduces file size by discarding some image data.
- PNG: Best for graphics, logos, and images with transparency. PNGs use lossless compression, which preserves all image data but may result in larger file sizes.
- GIF: Best for simple animations and images with limited colors. GIFs use lossless compression but are limited to 256 colors.
- WEBP: A modern image format developed by Google that offers excellent compression rates and supports both lossy and lossless compression.
9.2. Compression Techniques
Compression techniques reduce the size of an image file without losing too much quality. There are two main types of compression:
- Lossless Compression: Reduces file size without losing any image data. This is ideal for images where quality is critical, such as graphics and logos.
- Lossy Compression: Reduces file size by discarding some image data. This is suitable for photographs where some loss of quality is acceptable in exchange for smaller file sizes.
9.3. Choose Right Format
Choosing the right image format is crucial when optimizing images for the web. Consider the type of image you are working with and the level of compression you need.
For photographs, JPEG is often the best choice due to its ability to handle complex colors and its good compression rates. For graphics, logos, and images with transparency, PNG is usually the better option.
Ensure a balance between image size and quality. Higher-quality images tend to have larger file sizes, which can slow down your web page. Tools like Shrink.Media and TinyPNG can help you compress the size of your images without compromising quality.
9.4. How Compression Affects Image Quality
Compressing images can have both positive and negative impacts on image quality. Understanding these impacts can help you make informed decisions about how to optimize your images.
Positive Impacts of Compression:
- Reduced Image Size: Compression reduces the file size of your images, making them easier to store and transmit.
- Faster Website Performance: Smaller file sizes lead to faster website loading times and a better user experience.
- Improved Page Loading Time: Compressed images load more quickly, which can improve your website’s search engine rankings.
Negative Impacts of Compression:
- Reduced Image Quality: Lossy compression can result in a noticeable drop in image quality, especially at high compression rates.
- Loss of Color Accuracy: Compression can affect the accuracy of colors in your images, leading to color distortion.
- Blurry Images: Over-compression can result in blurry or pixelated images.
- Loss of Image Data: Lossy compression discards some image data, which can be irreversible.
10. Conclusion: Minimize Pixels, Maximize Performance
Reducing image sizes is essential for improving website speed, enhancing user experience, and saving storage space. By understanding the basics of image size and resolution, choosing the right compression tools, and following best practices for image optimization, you can ensure that your images look great and load quickly.
10.1. Recap of Image Size Reduction
The benefits of reducing image size are clear: compressed images take up less space on your devices, smaller file sizes make uploading to social media easier, and optimized images improve website performance.
If you are a seller on an e-commerce platform, you must adhere to strict rules for uploading product images, including specific size requirements. Compressing images is necessary to meet these requirements and ensure your products are displayed correctly.
If you are an influencer on social media, you know how important it is to maintain the right image size and quality. Compressing your images makes it easier to upload and share your content, allowing you to engage with your audience more effectively.
10.2. Start Resizing Images
Optimizing images for your website is crucial for improving performance and offering a better user experience. Here are some steps you can take to get started:
- Compress Your Images: Use photo editing software and online tools like Shrink.Media, ImageOptim, and TinyPNG to compress your images.
- Choose the Right Image Format: Select the appropriate image format based on your needs. Use JPEG for photographs and PNG for graphics.
- Adjust Image Dimensions: Resize your images to the appropriate dimensions for your website or social media platform.
By taking these steps, you can minimize pixels in your photos, maximize performance, and create a better experience for your audience.
Ready to take your photography to the next level? Visit dfphoto.net today for more tutorials, tips, and inspiration. Explore our extensive collection of stunning images and join our vibrant community of photography enthusiasts. Whether you’re looking to master new techniques, find creative inspiration, or stay up-to-date with the latest trends, dfphoto.net has everything you need to succeed.
Have questions or need personalized advice? Contact us at +1 (505) 471-6001 or visit our location at 1600 St Michael’s Dr, Santa Fe, NM 87505, United States. Let dfphoto.net be your trusted resource for all things photography!
FAQ: Minimizing Pixels in Photos
1. What does it mean to minimize pixels in a photo?
Minimizing pixels in a photo refers to reducing the number of pixels in an image, which in turn reduces its file size. This is done to improve loading times on websites and save storage space.
2. Why is minimizing pixels important for website performance?
Large image files can slow down website loading times, leading to a poor user experience. Minimizing pixels reduces file sizes, resulting in faster loading times and improved SEO.
3. How does image resolution relate to pixel size?
Image resolution refers to the number of pixels per inch (PPI) or dots per inch (DPI). Higher resolution images have more pixels, resulting in greater detail but also larger file sizes.
4. What are some common image compression techniques?
Common image compression techniques include lossy and lossless compression. Lossy compression reduces file size by discarding some image data, while lossless compression reduces file size without losing any data.
5. Which image format is best for photographs?
JPEG (JPG) is generally the best image format for photographs due to its ability to handle complex colors and its good compression rates.
6. When should I use the PNG image format?
PNG is best used for graphics, logos, and images with transparency. It uses lossless compression, which preserves all image data.
7. What is Shrink.Media, and how does it work?
Shrink.Media is an online tool that compresses images quickly and efficiently. It allows you to adjust the image quality and dimensions to reduce the file size.
8. Are there any drawbacks to compressing images?
Yes, compressing images can sometimes result in a loss of image quality, especially with lossy compression techniques. However, modern tools like Shrink.Media minimize this effect.
9. How can I minimize pixels in photos without losing too much quality?
Use image compression tools that offer quality adjustment settings. Experiment with different settings to find the best balance between file size and image quality.
10. What are some alternative tools for image compression?
Alternative tools for image compression include ImageOptim and TinyPNG, each offering unique features and capabilities.