Making your own photo coasters is a fantastic way to personalize your living space and showcase your favorite memories. At dfphoto.net, we provide you the resources and inspiration you need to master this fun and rewarding project. Learn the best techniques for photo printing, image transfer, and sealing your coasters for lasting beauty and durability.
1. Why Should I Learn How to Make Your Own Photo Coasters?
You should learn How To Make Your Own Photo coasters because it allows for personalization, creates unique gifts, and protects furniture. Photo coasters are more than just functional; they are a canvas for your creativity.
1.1 Personalization
Photo coasters allow you to infuse your personality into your home decor. Rather than settling for generic, store-bought coasters, you can select images that resonate with you, such as:
- Family photos
- Pet portraits
- Travel snapshots
- Abstract art
- Motivational quotes
This level of personalization transforms everyday objects into cherished keepsakes.
1.2 Unique Gifts
Handmade photo coasters make thoughtful and unique gifts for any occasion. Whether it’s a birthday, holiday, or housewarming, a set of personalized coasters shows that you put time and effort into creating something special. Consider tailoring the photos to the recipient’s interests or memories you share.
1.3 Furniture Protection
Beyond their aesthetic appeal, photo coasters serve a practical purpose by protecting your furniture from unsightly water rings and heat damage. By using durable materials and proper sealing techniques, you can ensure that your coasters will withstand daily use and keep your surfaces looking pristine.
1.4 Cost-Effectiveness
Creating your own photo coasters can be more economical than purchasing them, especially if you need multiple sets. The materials required are relatively inexpensive, and you can often find them at local craft stores or online retailers like dfphoto.net.
1.5 Creative Outlet
DIY projects like photo coasters offer a creative outlet and a chance to learn new skills. From selecting and editing photos to applying Mod Podge and sealing the finished product, each step of the process allows you to express your artistic side and experiment with different techniques.
1.6 Conversation Starters
Personalized photo coasters can be great conversation starters when you have guests over. They offer a glimpse into your life and interests, sparking stories and discussions.
1.7 Sentimental Value
Photo coasters can hold significant sentimental value, especially if they feature photos of loved ones, memorable events, or special places. Every time you use them, you’ll be reminded of those precious moments, making your daily life a little brighter.
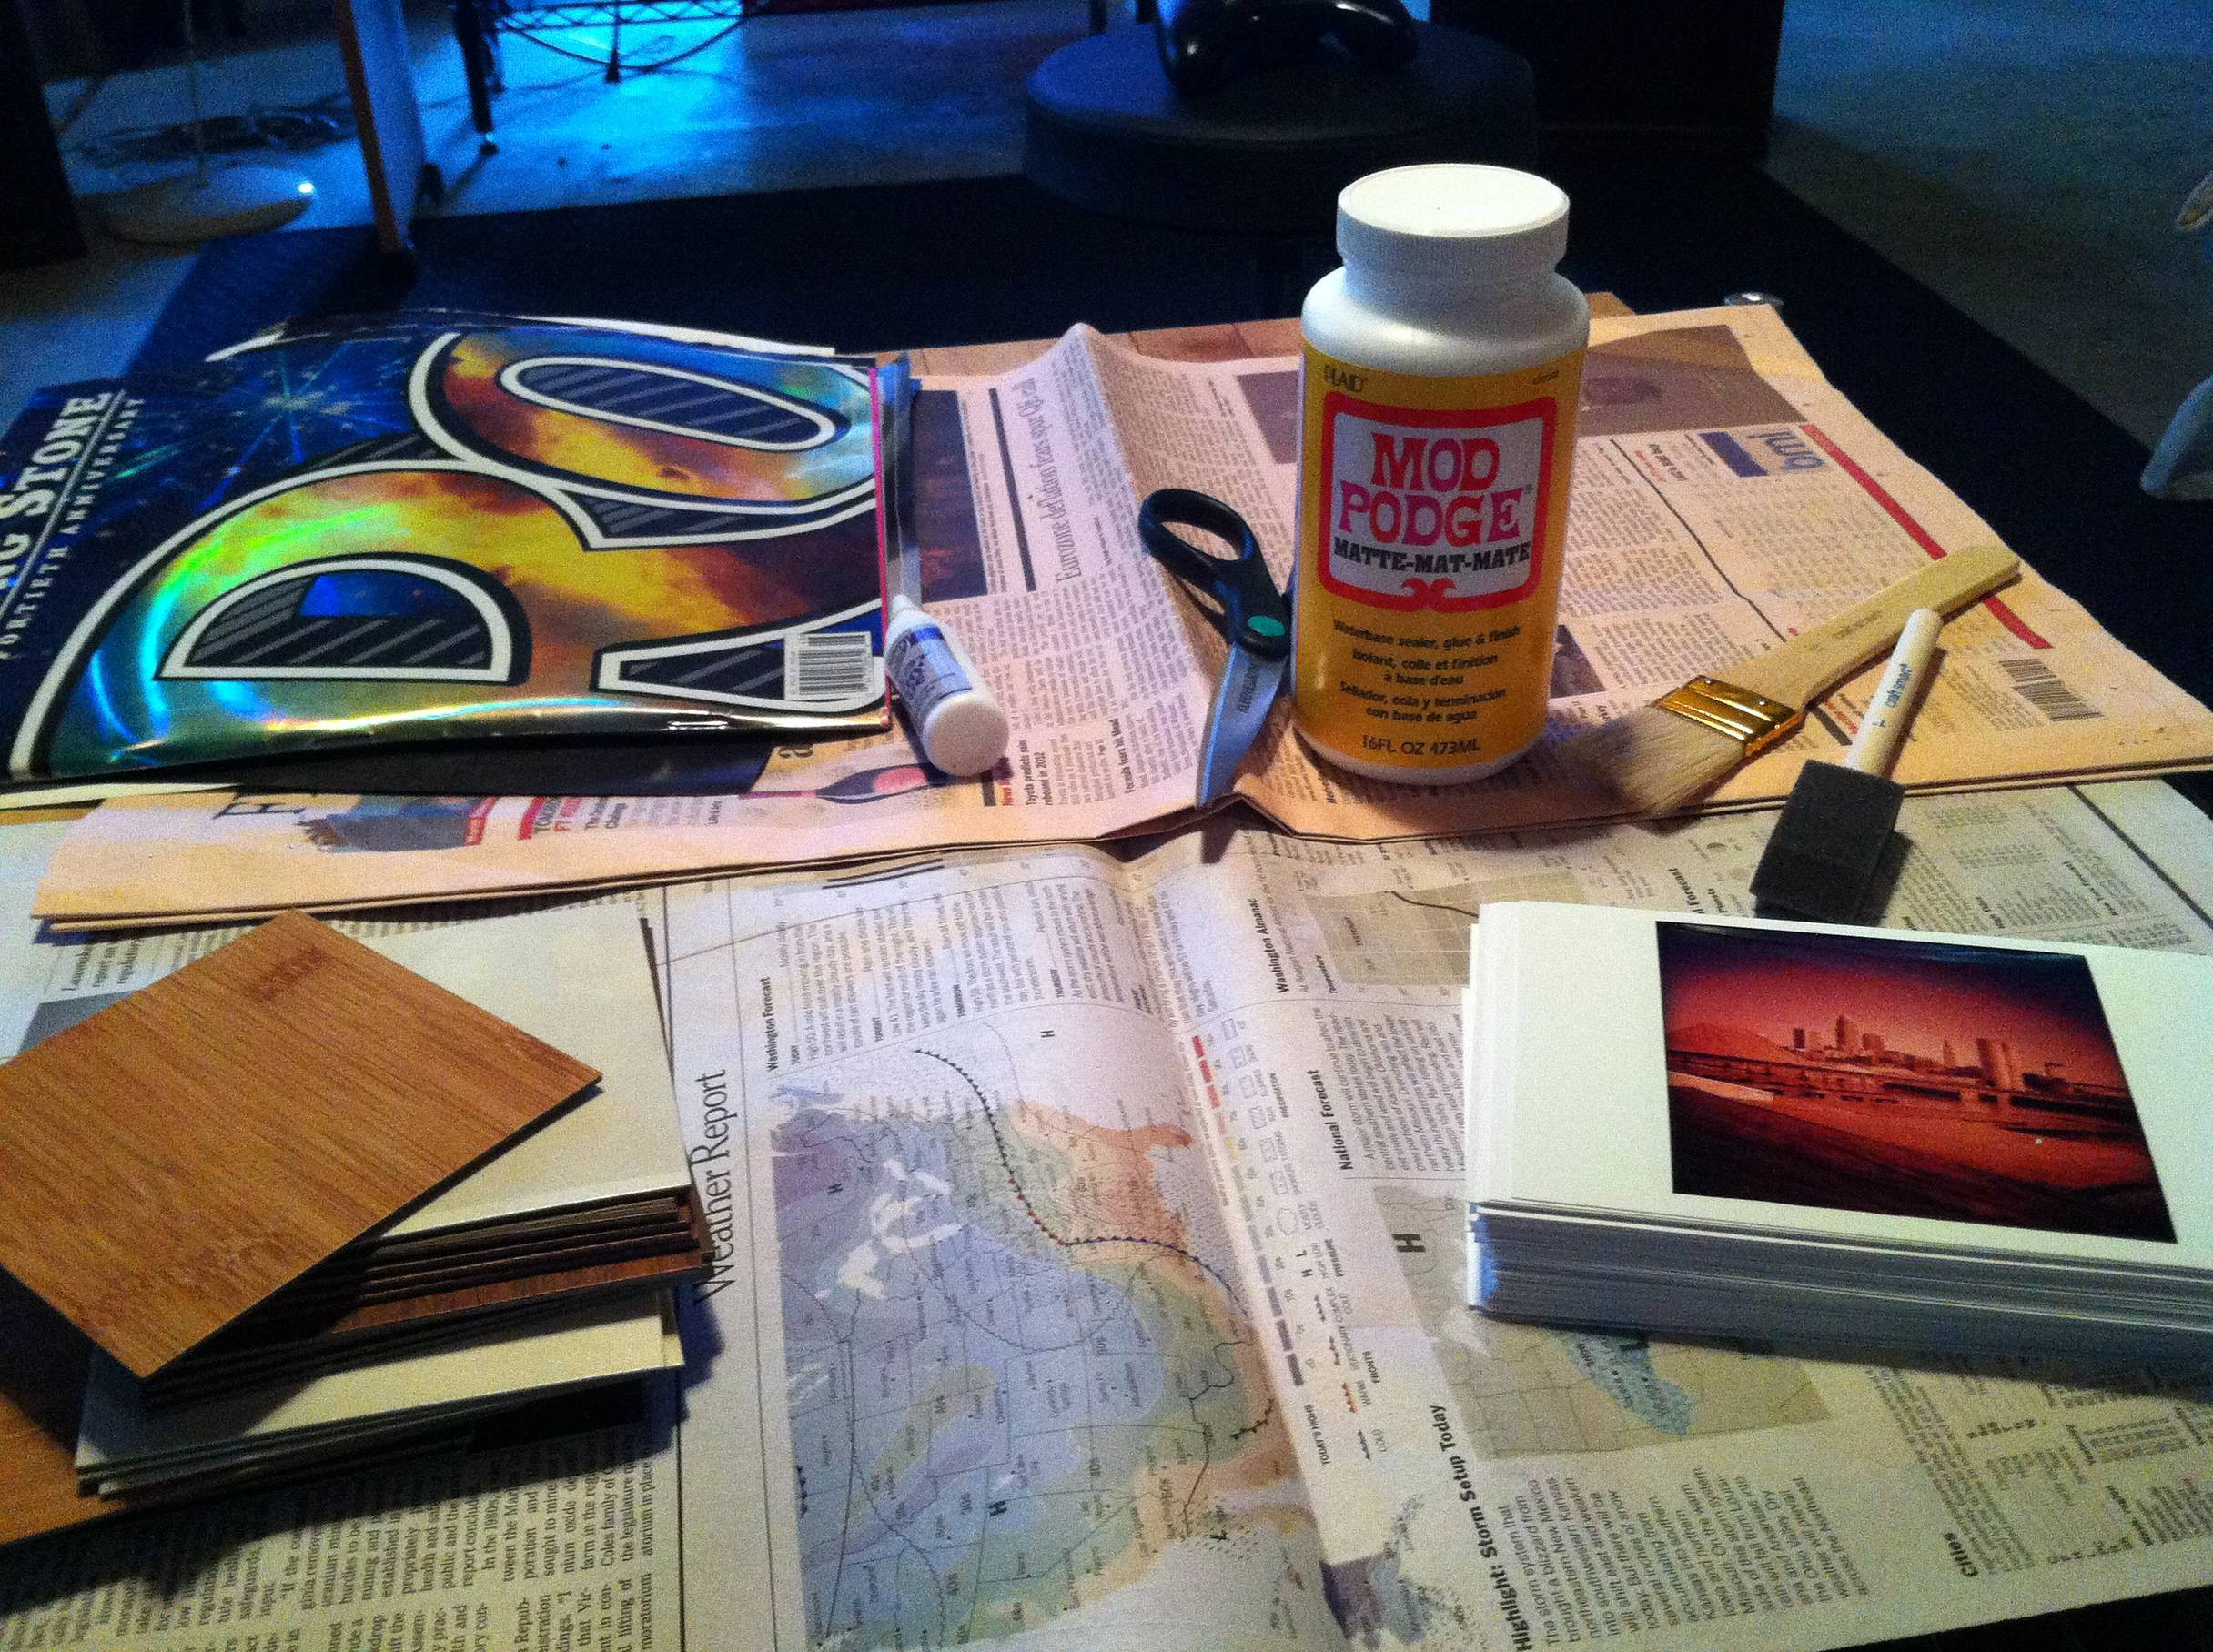
2. What Supplies Do I Need to Make My Own Photo Coasters?
Gather square photo prints, ceramic or tile coasters, Mod Podge, a sponge brush, sealant, felt pads, scissors, and a ruler to make your own photo coasters. Having the right supplies ensures a smooth and successful crafting experience.
2.1 Square Photo Prints
The foundation of your photo coasters is the images you choose to display. High-quality prints are essential for achieving a professional look.
- Size: Aim for prints that are slightly smaller than your coasters to allow for a clean edge. Common sizes include 3×3 inches or 4×4 inches.
- Paper: Opt for matte or semi-gloss photo paper for the best results. Matte paper provides a non-reflective surface that enhances the details of your images, while semi-gloss offers a subtle sheen that adds vibrancy.
- Printing Options: You can print your photos at home using a photo printer or order prints from online services. Services like Shutterfly or Snapfish offer affordable and convenient options for printing square photos.
 Selection of square photo prints
2.2 Ceramic or Tile Coasters
The base of your photo coasters can be made from a variety of materials, but ceramic and tile are popular choices due to their durability, heat resistance, and affordability.
- Size: Standard coaster sizes range from 4×4 inches to 4.25×4.25 inches. Choose a size that accommodates your photo prints with a small border.
- Material: Ceramic tiles are readily available at most hardware stores. You can also use slate or glass tiles for a more upscale look.
- Finish: Opt for plain, unglazed tiles for better adhesion. If you prefer glazed tiles, lightly sand the surface before applying your photos.
Selection of ceramic or tile coasters
2.3 Mod Podge
Mod Podge is an all-in-one glue, sealer, and finish that is ideal for decoupage projects like photo coasters.
- Types: Mod Podge comes in various finishes, including matte, gloss, and satin. Matte provides a non-reflective surface, gloss offers a shiny finish, and satin is a compromise between the two.
- Application: Use Mod Podge to adhere your photos to the coasters and to seal the entire surface for protection.
- Alternatives: If you don’t have Mod Podge, you can use other decoupage glues or clear-drying craft glue.
2.4 Sponge Brush
A sponge brush is essential for applying Mod Podge smoothly and evenly.
- Size: Choose a brush that is wide enough to cover the surface of your coasters quickly and efficiently.
- Material: Foam brushes are inexpensive and disposable, making them a convenient option for Mod Podge application.
- Alternatives: You can also use a soft-bristled paint brush, but be sure to clean it thoroughly after each use.
2.5 Sealant
To protect your photo coasters from moisture and wear, apply a sealant after the Mod Podge has dried.
- Types: Acrylic sealants are popular choices for their durability and water resistance. Look for sealants that are specifically designed for crafts or home decor.
- Application: Apply several thin coats of sealant, allowing each coat to dry completely before applying the next.
- Alternatives: You can also use polyurethane or epoxy resin for a more durable finish, but these options require more specialized equipment and techniques.
2.6 Felt Pads
Adding felt pads to the bottom of your photo coasters will prevent them from scratching your furniture.
- Shape: Choose felt pads that are round, square, or rectangular to match the shape of your coasters.
- Adhesive: Self-adhesive felt pads are the easiest to use, but you can also use glue to attach plain felt pads.
- Alternatives: Cork pads are another option for protecting your furniture, but they may not be as durable as felt.
2.7 Scissors
Sharp scissors are essential for trimming your photo prints and felt pads to the correct size.
- Types: Craft scissors or utility scissors will work well for this project.
- Safety: Always use caution when handling scissors and keep them out of reach of children.
2.8 Ruler
A ruler will help you measure and cut your photo prints and felt pads accurately.
- Types: A metal ruler or a clear plastic ruler is ideal for crafting projects.
- Accuracy: Use a ruler with clear markings to ensure precise measurements.
3. How Do I Prepare Photos for Photo Coasters?
To prepare photos, select high-resolution images, crop them to a square format, and print them in the correct size to fit your coasters. Proper preparation ensures your photos look their best.
3.1 Select High-Resolution Images
The quality of your photo coasters depends on the resolution of the images you use. High-resolution images will produce sharp, detailed prints, while low-resolution images may appear blurry or pixelated.
- Resolution: Aim for images with a resolution of at least 300 DPI (dots per inch). This will ensure that your prints look crisp and clear.
- File Format: Use JPEG or PNG files for your photos. These formats are widely compatible and offer good image quality.
- Image Source: Choose photos from your digital camera, smartphone, or online sources. Be sure to respect copyright laws when using images from the internet.
3.2 Crop Photos to a Square Format
Since most coasters are square, you’ll need to crop your photos to fit this shape.
- Aspect Ratio: Use photo editing software or online tools to crop your images to a 1:1 aspect ratio. This will ensure that your photos are perfectly square.
- Composition: When cropping your photos, pay attention to the composition. Make sure that the main subject of your image is centered and that the cropped area includes all the important details.
 Cropping a photo to a square format
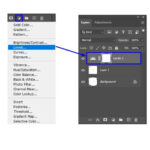
3.3 Edit Photos (Optional)
Before printing your photos, you may want to edit them to enhance their appearance.
- Brightness and Contrast: Adjust the brightness and contrast of your photos to make them more vibrant and eye-catching.
- Color Correction: Correct any color imbalances in your photos to ensure that they look natural.
- Filters: Experiment with different filters to add a unique style to your photos.
- Software: Use photo editing software like Adobe Photoshop, GIMP, or online tools like Canva to edit your images.
3.4 Resize Photos to Fit Coasters
To print your photos at the correct size, you’ll need to resize them to match the dimensions of your coasters.
- Measurement: Measure the diameter or side length of your coasters.
- Resizing: Use photo editing software or online tools to resize your photos to the correct dimensions.
- Test Print: Print a test photo on plain paper to ensure that the size is accurate before printing on photo paper.
3.5 Print Photos on Photo Paper
Once you’ve selected, cropped, edited, and resized your photos, you’re ready to print them on photo paper.
- Paper Type: Choose matte or semi-gloss photo paper for the best results.
- Printer Settings: Adjust your printer settings to print at the highest quality.
- Printing: Print your photos and allow them to dry completely before handling them.
4. What is the Best Way to Adhere Photos to Coasters?
The best way to adhere photos to coasters is by using Mod Podge. Apply a thin, even layer to both the coaster and the back of the photo, then press firmly and smooth out any air bubbles.
4.1 Prepare the Coasters
Before applying your photos, make sure that your coasters are clean and dry.
- Cleaning: Wipe the surface of the coasters with a damp cloth to remove any dust or debris.
- Drying: Allow the coasters to dry completely before proceeding to the next step.
- Sanding: If you’re using glazed tiles, lightly sand the surface to improve adhesion.
Preparing the coasters by cleaning them
4.2 Apply Mod Podge to the Coasters
Use a sponge brush to apply a thin, even layer of Mod Podge to the surface of the coasters.
- Coverage: Make sure that the entire surface is covered with Mod Podge.
- Thickness: Avoid applying too much Mod Podge, as this can cause the photos to wrinkle or bubble.
- Evenness: Use smooth, even strokes to ensure that the Mod Podge is applied uniformly.
Applying Mod Podge to the coasters
4.3 Apply Mod Podge to the Back of the Photos
Apply a thin, even layer of Mod Podge to the back of your photo prints.
- Coverage: Make sure that the entire back of the photo is covered with Mod Podge.
- Thickness: Avoid applying too much Mod Podge, as this can cause the photos to wrinkle or bubble.
- Evenness: Use smooth, even strokes to ensure that the Mod Podge is applied uniformly.
 Applying Mod Podge to the back of the photos
4.4 Position the Photos on the Coasters
Carefully position your photo prints on the coasters, making sure that they are centered and aligned correctly.
- Alignment: Use a ruler to ensure that the photos are straight and evenly spaced on the coasters.
- Centering: Center the photos on the coasters to create a balanced and visually appealing design.
- Adjustment: If necessary, gently adjust the position of the photos before the Mod Podge dries.
4.5 Press the Photos onto the Coasters
Press the photos firmly onto the coasters, starting from the center and working your way outwards.
- Pressure: Apply even pressure to ensure that the photos adhere properly to the coasters.
- Smoothing: Use your fingers or a soft cloth to smooth out any air bubbles or wrinkles.
Pressing the photos onto the coasters
4.6 Allow the Mod Podge to Dry
Allow the Mod Podge to dry completely before proceeding to the next step.
- Time: Refer to the Mod Podge label for drying times. Generally, it takes about 20-30 minutes for the Mod Podge to dry.
- Environment: Allow the coasters to dry in a well-ventilated area.
- Patience: Avoid handling the coasters until the Mod Podge is completely dry.
Allowing the Mod Podge to dry
5. How Many Layers of Mod Podge Should I Use?
You should use at least three layers of Mod Podge for photo coasters. This ensures adequate sealing and protection against moisture and wear.
5.1 First Layer
The first layer of Mod Podge seals the photo to the coaster, ensuring that it adheres properly and protects the image from damage.
- Application: Apply a thin, even layer of Mod Podge over the entire surface of the coaster, including the photo.
- Coverage: Make sure that the entire surface is covered with Mod Podge.
- Drying: Allow the Mod Podge to dry completely before proceeding to the next layer.
Applying the first layer of Mod Podge
5.2 Second Layer
The second layer of Mod Podge provides additional protection and durability.
- Application: Apply another thin, even layer of Mod Podge over the entire surface of the coaster.
- Coverage: Make sure that the entire surface is covered with Mod Podge.
- Drying: Allow the Mod Podge to dry completely before proceeding to the next layer.
Applying the second layer of Mod Podge
5.3 Third Layer
The third layer of Mod Podge seals the coaster and provides a smooth, glossy finish.
- Application: Apply a final thin, even layer of Mod Podge over the entire surface of the coaster.
- Coverage: Make sure that the entire surface is covered with Mod Podge.
- Drying: Allow the Mod Podge to dry completely before proceeding to the next step.
Applying the third layer of Mod Podge
5.4 Additional Layers (Optional)
If you want even more protection and durability, you can apply additional layers of Mod Podge.
- Number of Layers: Apply as many layers as you like, allowing each layer to dry completely before applying the next.
- Sanding: If you apply more than three layers of Mod Podge, you may want to lightly sand the surface between layers to ensure a smooth finish.
Applying additional layers of Mod Podge
6. What Type of Sealant is Best for Photo Coasters?
Acrylic sealant is the best type for photo coasters because it provides a durable, water-resistant finish that protects the photos from moisture and wear.
6.1 Acrylic Sealant
Acrylic sealants are water-based, non-toxic, and easy to apply. They provide a clear, durable finish that protects your photo coasters from moisture, scratches, and UV damage.
- Application: Apply several thin coats of acrylic sealant, allowing each coat to dry completely before applying the next.
- Finish: Acrylic sealants are available in matte, gloss, and satin finishes. Choose the finish that best suits your preferences.
- Brands: Popular brands of acrylic sealant include Krylon, Mod Podge, and Rust-Oleum.
6.2 Polyurethane Sealant
Polyurethane sealants are oil-based and provide a very durable, water-resistant finish. However, they can be more difficult to apply and may yellow over time.
- Application: Apply several thin coats of polyurethane sealant, allowing each coat to dry completely before applying the next.
- Finish: Polyurethane sealants are available in matte, gloss, and satin finishes.
- Ventilation: Use polyurethane sealants in a well-ventilated area, as they can release harmful fumes.
6.3 Epoxy Resin
Epoxy resin provides a very durable, glossy finish that is resistant to water, heat, and chemicals. However, it can be more expensive and difficult to apply than acrylic or polyurethane sealants.
- Application: Mix the epoxy resin according to the manufacturer’s instructions and pour it over the surface of the coasters.
- Leveling: Use a heat gun or toothpick to remove any air bubbles and ensure that the resin is evenly distributed.
- Curing: Allow the epoxy resin to cure completely before using the coasters.
6.4 Application Tips
Regardless of the type of sealant you choose, follow these tips for best results:
- Cleanliness: Make sure that the coasters are clean and dry before applying the sealant.
- Thin Coats: Apply several thin coats of sealant, rather than one thick coat. This will prevent drips and ensure a smooth, even finish.
- Drying Time: Allow each coat of sealant to dry completely before applying the next.
- Ventilation: Use sealants in a well-ventilated area to avoid inhaling harmful fumes.
Sealing the coasters with acrylic sealant
7. How Do I Attach Felt Pads to Photo Coasters?
To attach felt pads, flip the coasters over, apply adhesive to the back of the felt pads, and press them firmly onto each corner of the coaster.
7.1 Select Felt Pads
Choose felt pads that are the appropriate size and shape for your coasters.
- Size: The felt pads should be slightly smaller than the corners of your coasters.
- Shape: Choose round, square, or rectangular felt pads to match the shape of your coasters.
- Adhesive: Self-adhesive felt pads are the easiest to use, but you can also use glue to attach plain felt pads.
7.2 Clean the Bottom of the Coasters
Make sure that the bottom of the coasters is clean and dry before attaching the felt pads.
- Cleaning: Wipe the bottom of the coasters with a damp cloth to remove any dust or debris.
- Drying: Allow the bottom of the coasters to dry completely before proceeding to the next step.
7.3 Apply Adhesive
If you’re using self-adhesive felt pads, peel off the backing and press the pads onto the corners of the coasters. If you’re using plain felt pads, apply a small amount of glue to the back of each pad.
- Glue Type: Use craft glue or tacky glue to attach the felt pads to the coasters.
- Amount: Apply just enough glue to hold the felt pads in place. Avoid using too much glue, as this can cause it to squeeze out around the edges.
Attaching felt pads to the coasters
7.4 Position the Felt Pads
Position the felt pads on the corners of the coasters, making sure that they are evenly spaced and aligned correctly.
- Placement: Place the felt pads as close to the edges of the coasters as possible, without overlapping.
- Alignment: Use a ruler to ensure that the felt pads are straight and evenly spaced on the coasters.
7.5 Press the Felt Pads onto the Coasters
Press the felt pads firmly onto the coasters, holding them in place for a few seconds to allow the adhesive to set.
- Pressure: Apply even pressure to ensure that the felt pads adhere properly to the coasters.
- Setting Time: Allow the glue to dry completely before using the coasters.
Pressing the felt pads onto the coasters
8. How Can I Personalize My Photo Coasters?
You can personalize your photo coasters by adding monograms, quotes, decorative paper, or using different shapes and materials.
8.1 Monograms
Adding monograms to your photo coasters is a great way to personalize them and make them unique.
- Font: Choose a font that reflects your personal style.
- Placement: Position the monogram in the center of the coaster or in one of the corners.
- Technique: Use stencils, stamps, or freehand painting to add the monogram to your coasters.
8.2 Quotes
Adding quotes to your photo coasters can make them more meaningful and inspirational.
- Quote Selection: Choose quotes that resonate with you or the recipient of the coasters.
- Font: Choose a font that is easy to read and complements the style of the quote.
- Placement: Position the quote in the center of the coaster or around the edges.
8.3 Decorative Paper
Using decorative paper is a fun and easy way to add color and pattern to your photo coasters.
- Paper Selection: Choose decorative paper that complements the style of your photos.
- Cutting: Cut the paper to the same size as your coasters.
- Adhesion: Use Mod Podge to adhere the paper to the coasters.
8.4 Different Shapes and Materials
Experimenting with different shapes and materials can add a unique touch to your photo coasters.
- Shapes: Use square, round, or hexagonal coasters.
- Materials: Use ceramic, glass, wood, or slate coasters.
- Combinations: Combine different shapes and materials to create a unique set of coasters.
Personalizing the coasters with different shapes and materials
8.5 Embellishments
Adding embellishments like glitter, beads, or rhinestones can add sparkle and texture to your photo coasters.
- Glitter: Sprinkle glitter over the wet Mod Podge and allow it to dry completely.
- Beads: Glue beads around the edges of the coasters or in decorative patterns.
- Rhinestones: Glue rhinestones to the coasters to add sparkle and shine.
9. How Do I Care for and Maintain My Photo Coasters?
Care for your photo coasters by wiping them clean with a damp cloth, avoiding abrasive cleaners, and storing them properly to prevent damage.
9.1 Cleaning
To clean your photo coasters, simply wipe them with a damp cloth.
- Frequency: Clean your coasters after each use to prevent stains and buildup.
- Technique: Use a soft cloth to avoid scratching the surface of the coasters.
- Water: Use lukewarm water to dampen the cloth. Avoid using hot water, as this can damage the sealant.
9.2 Avoiding Abrasive Cleaners
Avoid using abrasive cleaners, as they can scratch the surface of the coasters and damage the photos.
- Cleaners to Avoid: Do not use scouring pads, steel wool, or harsh chemicals.
- Alternatives: Use mild soap and water to clean your coasters.
9.3 Protecting from Heat
While photo coasters are designed to protect your furniture from heat, it’s still important to avoid placing extremely hot items on them.
- Temperature: Avoid placing pots or pans directly from the stove on your photo coasters.
- Protection: Use trivets or hot pads for extremely hot items.
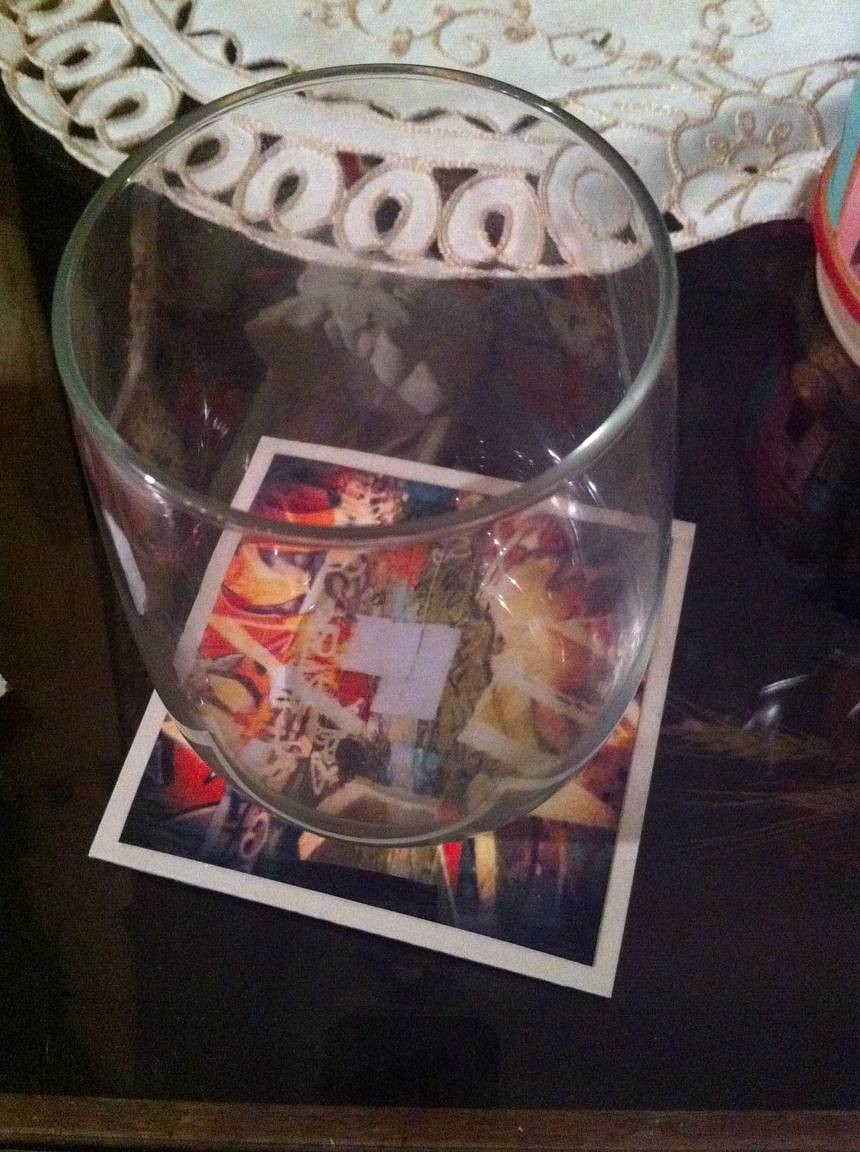
9.4 Storing Properly
Store your photo coasters in a cool, dry place to prevent damage.
- Stacking: Avoid stacking your coasters directly on top of each other, as this can scratch the surface.
- Storage Containers: Use storage containers or coaster holders to protect your coasters from dust and damage.
Storing the coasters properly
9.5 Repairing Damage
If your photo coasters become damaged, you can often repair them with a few simple steps.
- Scratches: Use a scratch remover to buff out minor scratches.
- Water Damage: Allow the coasters to dry completely and then apply a new coat of sealant.
- Photo Replacement: If the photo is damaged beyond repair, you can replace it with a new print.
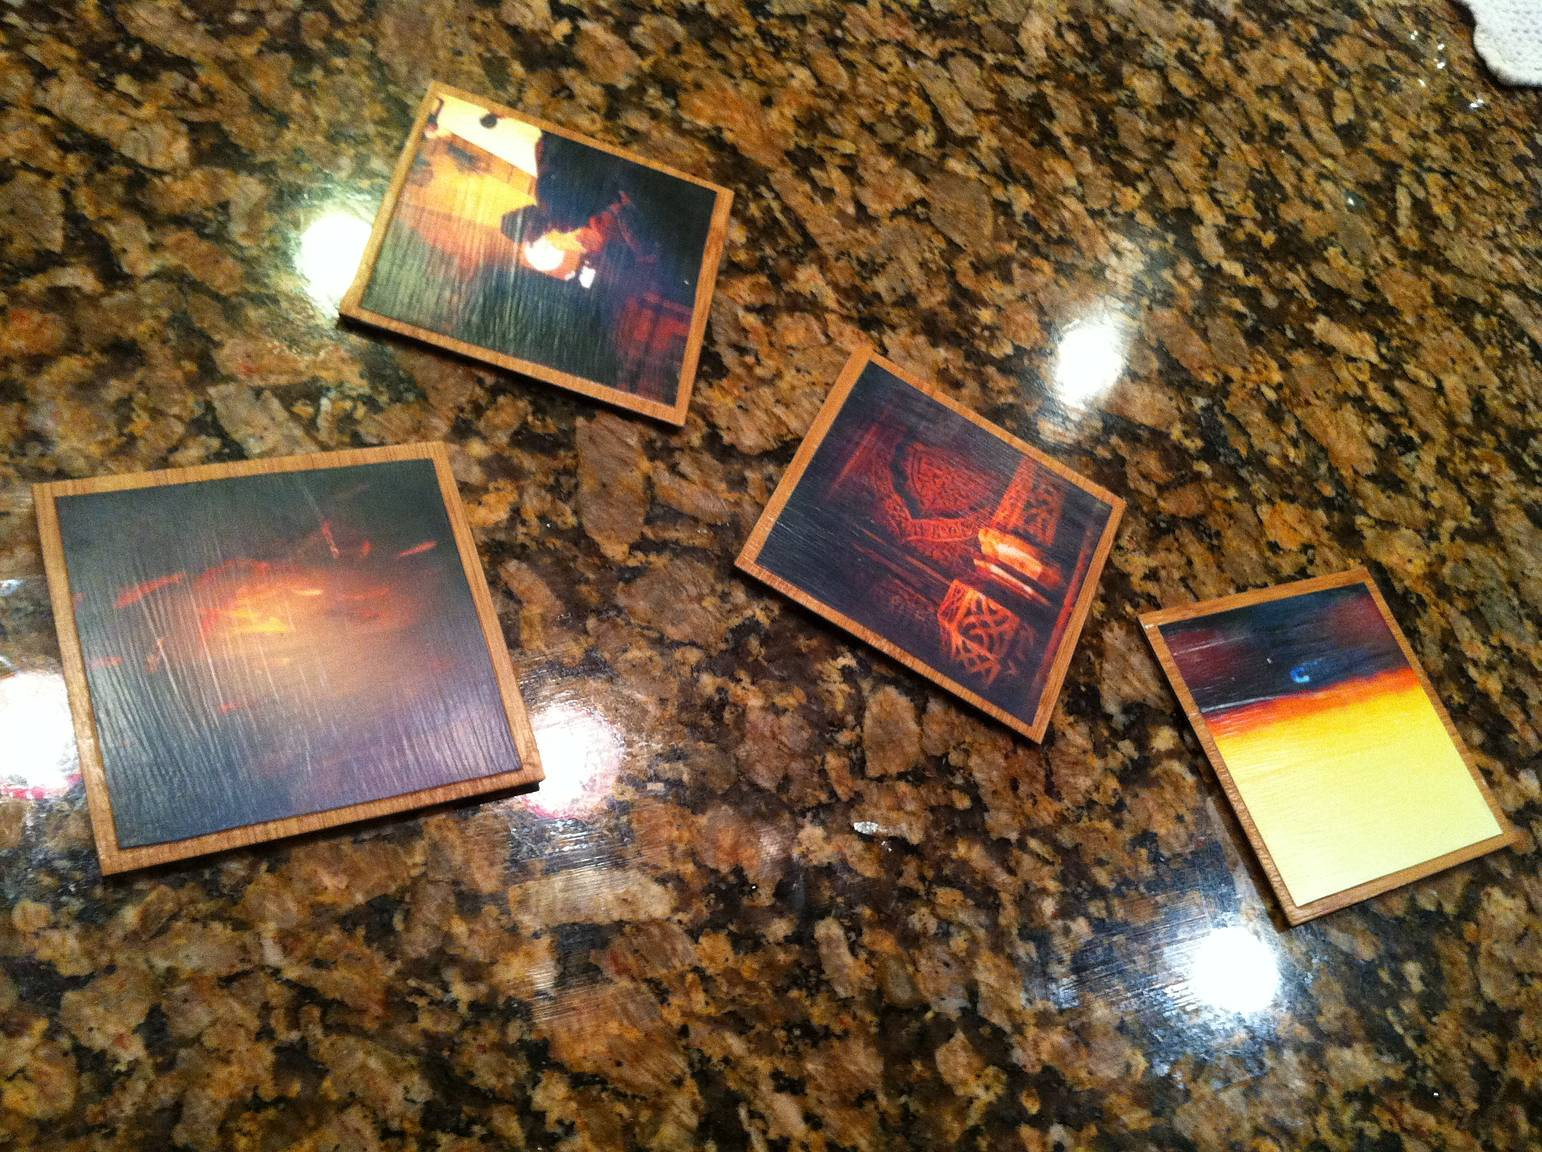
10. What Are Some Creative Ideas for Photo Coasters?
Creative ideas include using vacation photos, pet portraits, holiday themes, family milestones, and personalized designs. These options make your photo coasters unique and meaningful.
10.1 Vacation Photos
Showcase your favorite travel memories with vacation-themed photo coasters.
- Landscapes: Use photos of stunning landscapes to create a sense of wanderlust.
- Cityscapes: Use photos of iconic cityscapes to capture the energy of urban life.
- Beach Scenes: Use photos of sandy beaches and crystal-clear waters to evoke a sense of relaxation.
 Photo coasters featuring vacation photos
10.2 Pet Portraits
Celebrate your furry friends with pet portrait photo coasters.
- Close-Ups: Use close-up photos of your pets to capture their unique personalities.
- Action Shots: Use action shots of your pets playing or running to capture their energy and spirit.
- Funny Faces: Use photos of your pets making funny faces to bring a smile to your face.
10.3 Holiday Themes
Create festive photo coasters for every holiday season.
- Christmas: Use photos of Christmas trees, ornaments, or family gatherings to create a holiday-themed set.
- Halloween: Use photos of pumpkins, costumes, or spooky decorations to create a Halloween-themed set.
- Thanksgiving: Use photos of fall foliage, harvest decorations, or family feasts to create a Thanksgiving-themed set.
10.4 Family Milestones
Commemorate special family milestones with photo coasters.
- Weddings: Use photos from your wedding day to create a romantic and sentimental set.
- Birthdays: Use photos from birthday parties to celebrate special milestones.
- Graduations: Use photos from graduation ceremonies to commemorate academic achievements.
10.5 Personalized Designs
Create personalized photo coasters with custom designs and artwork.
- Monograms: Use monograms to personalize your coasters with your initials.
- Quotes: Use inspirational quotes or personal mantras to add meaning to your coasters.
- Artwork: Use your own artwork or designs to create unique and original coasters.
FAQ: Making Your Own Photo Coasters
1. What is the best size for photos on coasters?
The best size is slightly smaller than your coaster; 3×3 inches for 4×4 inch coasters is ideal.
2. Can I use regular paper instead of photo paper?
Photo paper is best for durability and image quality; regular paper may fade or warp.
3. How do I prevent bubbles when applying photos?
Smooth from the center outwards with a soft cloth to eliminate air bubbles.
4. What if Mod Podge gets cloudy?
Ensure each coat dries completely; excessive thickness can cause cloudiness.
5. How can I make coasters heat-resistant?
Use a heat-resistant sealant like epoxy resin for better protection.
6. Can I use dishwashers to clean photo coasters?
Hand wash only; dishwashers can damage the sealant and photos.
7. How often should I reseal my coasters?
Reseal every 1-2 years, or as needed, to maintain protection and appearance.
8. What is the best adhesive for felt pads?
Self-adhesive pads or strong craft glue work well for felt pads.
9. Can I sell my handmade photo coasters?
Yes, if you own the rights to the photos and designs.
10. Where can I find inspiration for designs?
Explore online platforms like Pinterest and dfphoto.net for creative ideas and tutorials.
Ready to create your own unique photo coasters? Visit dfphoto.net for more inspiration, tutorials, and a vibrant community of photography enthusiasts! Explore various photography techniques, discover beautiful images, and connect with fellow photographers. Don’t miss out – elevate your photography skills and find new creative outlets today!
Address: 1600 St Michael’s Dr, Santa Fe, NM 87505, United States.
Phone: +1 (505) 471-6001.
Website: dfphoto.net.