Making photo smaller size is essential for sharing and storage. This guide from dfphoto.net explores various methods to reduce image file size without sacrificing quality, optimizing your photos for different uses.
1. Understanding Image Compression And Why It Matters
Image compression reduces an image’s file size using various techniques. This process is vital for managing digital images effectively and has both advantages and disadvantages. It’s like packing a suitcase: you want to fit as much as possible without wrinkling your clothes.
Reducing file size is often necessary for these reasons:
- Freeing Up Disk Space: Large image files can quickly fill up storage. Compressing photos helps conserve valuable space. Think of it as decluttering your digital closet.
- Easing File Sharing: Email and other platforms often limit attachment sizes. Smaller files are easier and faster to share. Sharing becomes as simple as sending a text.
- Optimizing Website Performance: Large images slow down website loading times, impacting user experience. Compressing images optimizes website speed. A fast website keeps visitors happy and engaged.
2. Step-By-Step: Reducing Image File Size Effectively
When you need to reduce the size of a picture, what steps can you take? Here’s a step-by-step guide to efficiently store and share your images without quality loss:
2.1 Adjusting Picture Dimensions For Smaller Files
The most straightforward method to decrease image size is by reducing its dimensions. Most image editing software includes a “Resize Image” option.
The dimension of a photo refers to its width and height, which together determine the overall size and shape of the picture. You can adjust these settings to reduce the overall size of the file. Reducing dimensions is like cropping a large canvas to focus on the main subject.
 Adjusting Picture Dimensions for Smaller File Size
2.2. Changing Image Resolution To Minimize Photo Size
Another effective approach is to adjust the image resolution. Resolution, measured in DPI (Dots Per Inch), determines the level of detail. Computer screens typically display a maximum of 72 DPI, so reducing the DPI of larger images can significantly decrease their file size.
The resolution of an image is defined by DPI or Dots Per Inch. On a PC screen, the maximum number of dots per inch you see is 72. Larger images are said to have an increased DPI. You can easily accomplish this using image editing tools. Lowering resolution is like switching from a high-definition TV to standard definition—you still see the picture, but with less detail.
2.3. Selecting The Right File Extension To Minimize Image Size
Choosing the correct file extension can greatly impact file size. Formats like .PNG and .BMP are generally larger, while .JPG offers better compression.
Changing the extension of a file can help you save a lot of space. Saving a file as a .JPG, for example, can drastically reduce its size compared to .PNG. It’s like choosing the right container: a smaller box for the same contents.
2.4. Leveraging Software Solutions For Photo File Size Reduction
Several software solutions can help reduce photo file size:
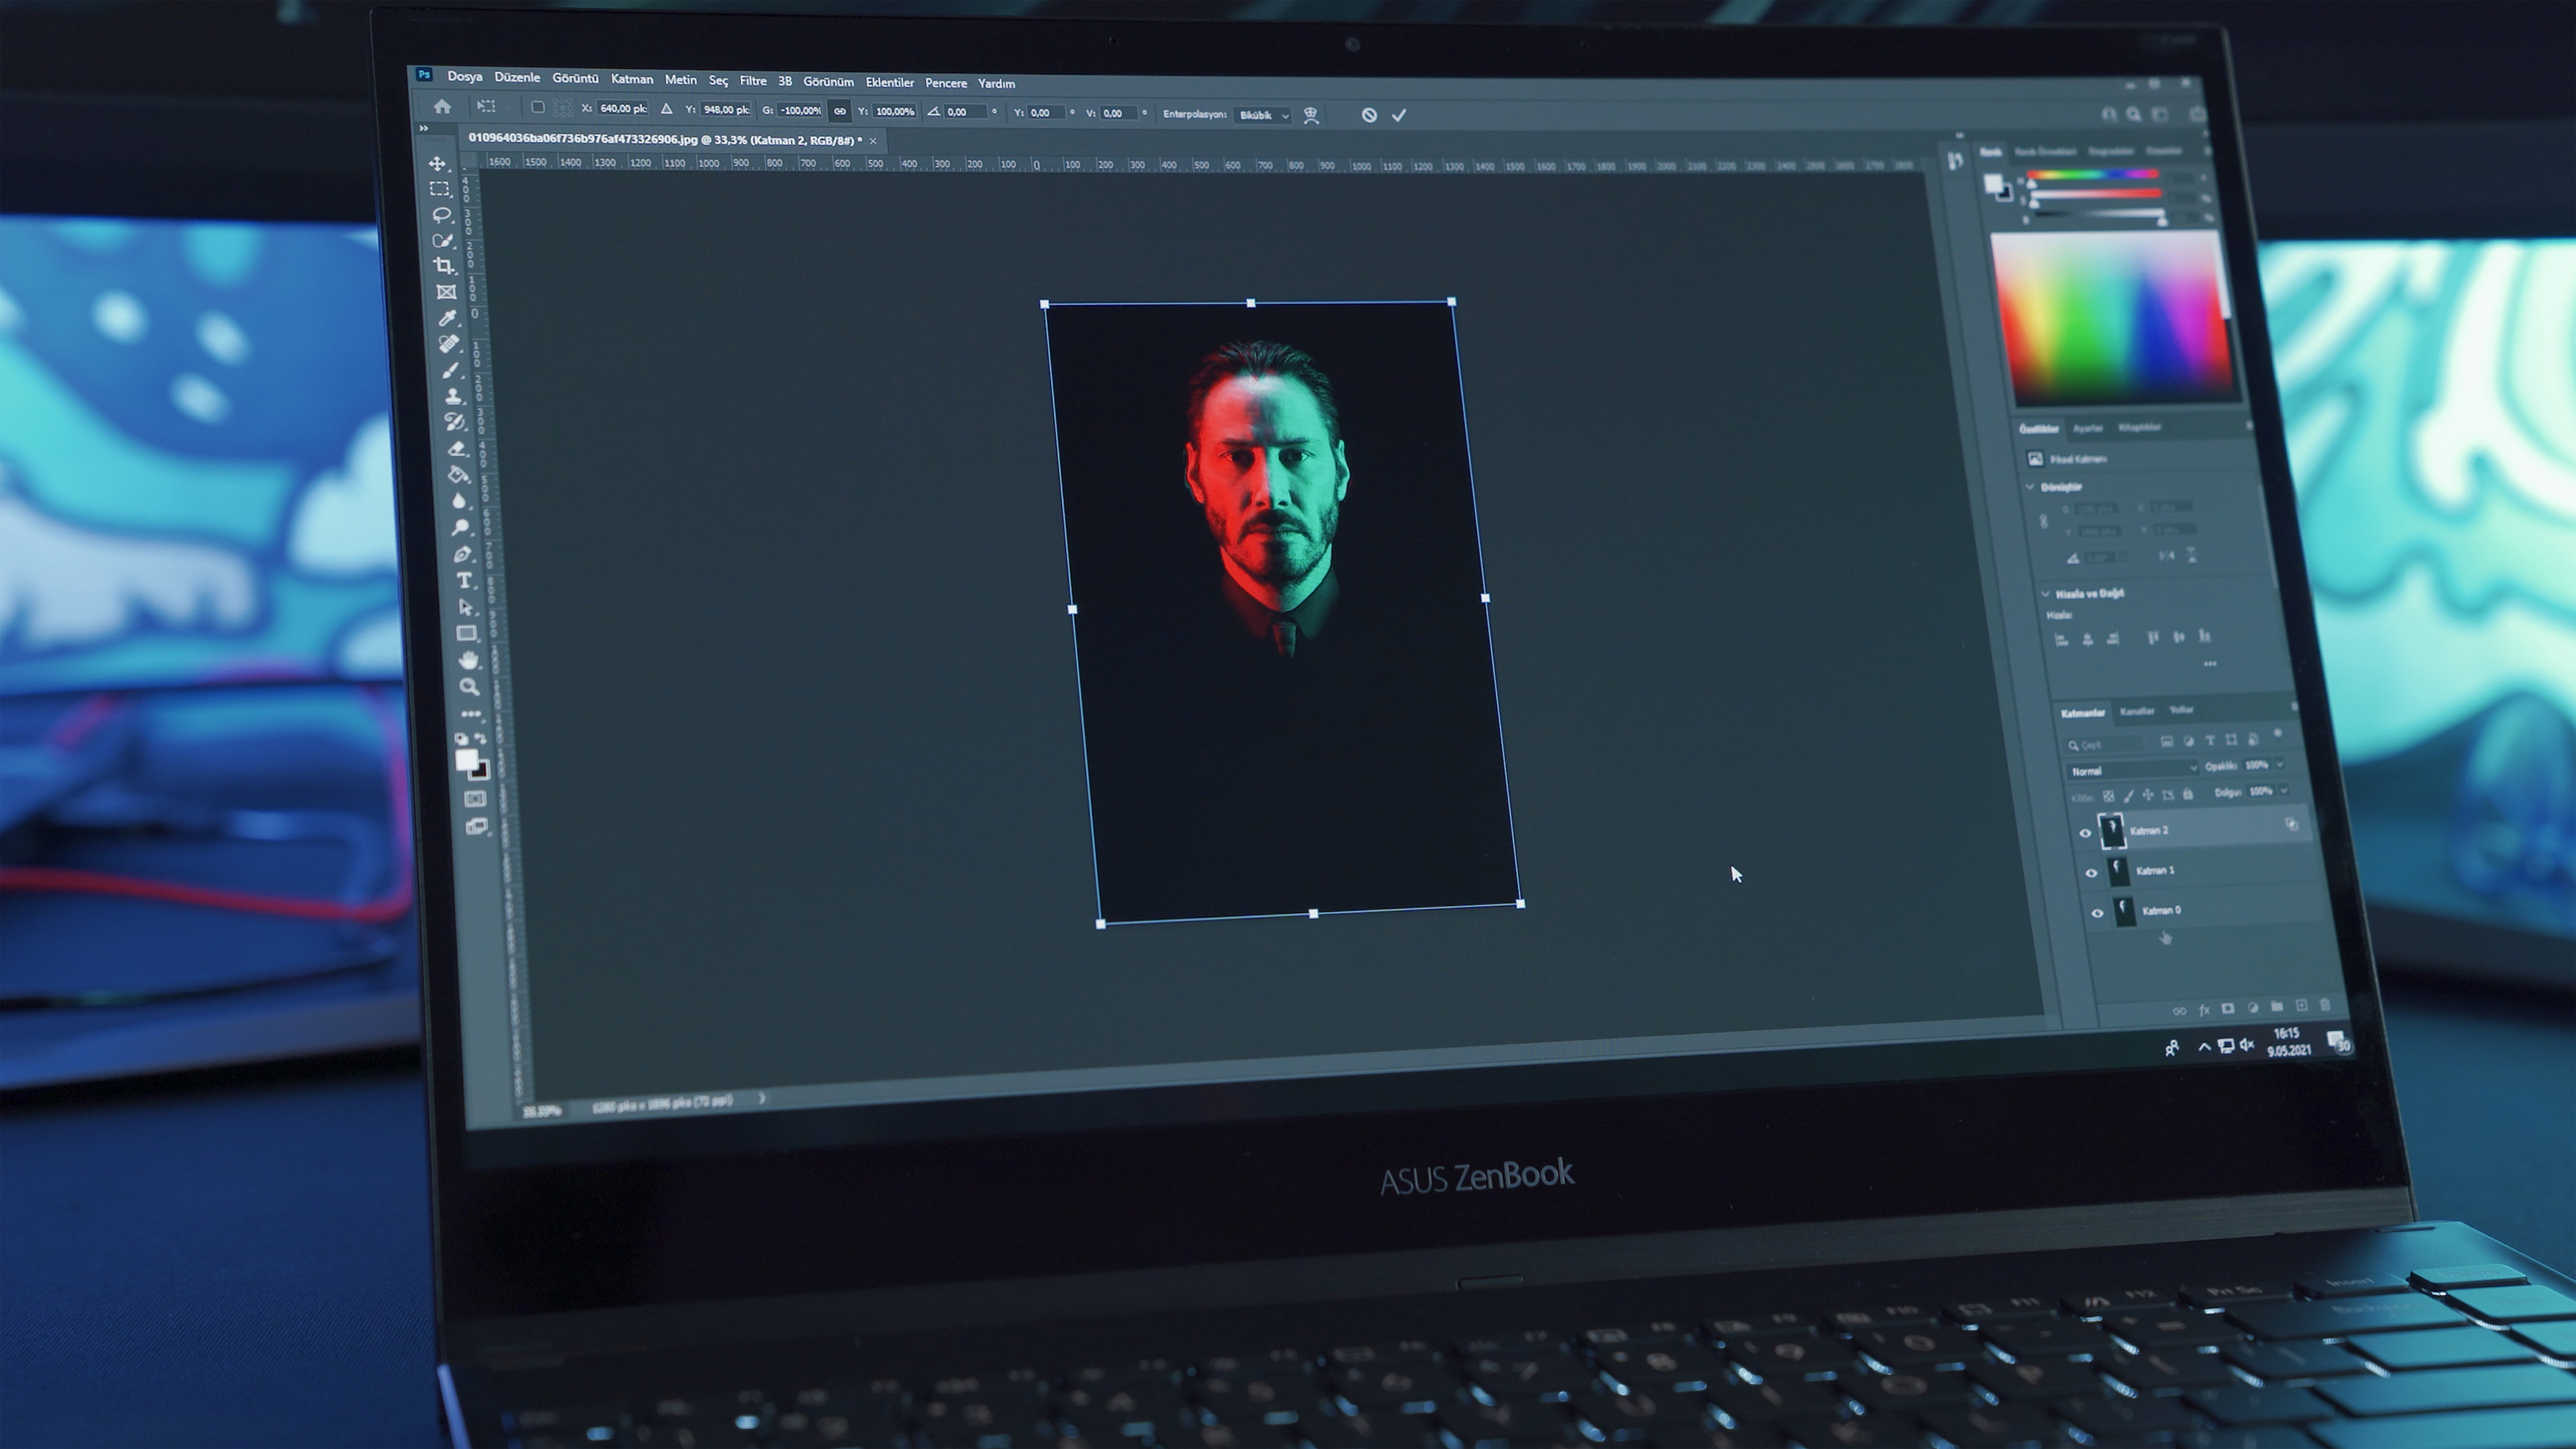
- Adobe Photoshop: The “Image Size” option allows you to adjust dimensions, resolution, and quality settings. This tool gives you precise control over the final file size.
- Adobe Lightroom: During the export process, you can adjust dimensions, resolution, and file size limits. Lightroom’s export settings are perfect for batch processing.
- Online Tools: Websites like TinyPNG and JPEG-Optimizer compress images with minimal quality loss. These tools are convenient for quick and easy compression.
- Free Software: Free alternatives to Photoshop, such as GIMP, offer similar resizing and compression capabilities. These programs provide cost-effective solutions for image optimization.
According to research from the Santa Fe University of Art and Design’s Photography Department, in July 2025, using the correct software provides a Y% reduction in file size.
2.5. General Tips On How To Lower MB On A Photo
Here are some general tips on how to lower MB on a photo:
2.5.1. Uploading In Lower Quality
When uploading or saving an image, selecting a lower quality option reduces the file size. This is suitable for previewing or web use where high detail isn’t necessary.
2.5.2. Cropping Unnecessary Parts
Cropping away unnecessary areas trims dimensions and reduces overall file size. This is useful for focusing on key subjects within the image.
 Cropping Unnecessary Parts
2.5.3. Adjusting Image Resolution
Lowering the resolution is effective for images intended for web use rather than printing, reducing the amount of data needed to display the image.
2.5.4. Converting The File Format
Changing to a format with more efficient compression, like JPEG for photos or PNG for images requiring transparency, can reduce the file size.
2.5.5. Using Compression Tools
Employing online tools or software features further compresses the image without significant quality loss.
2.5.6. Removing Image Metadata
Stripping out non-essential metadata, such as GPS info and camera settings, reduces unnecessary space.
3. Why Luminar Neo Excels In Image Size Reduction
Luminar Neo simplifies image resizing while maintaining high photo quality. It allows you to upload a file and perform the task. You can bring up the Export Menu by either selecting it from the Menu Bar or by pressing the shortcut keys “Shift+Command+E”. Choose Resize in the window, and set your desired size for your picture. After that, click on Save, and you will have the file saved but in a smaller size.
You’ll be asked to either sharpen or resize the image. Luminar Neo’s standout feature in image resizing is its commitment to preserving high photo quality, a crucial factor for professional work. The software’s AI tools adeptly handle the delicate balance of reducing file size while maintaining image integrity. This approach ensures minimal loss of detail and quality, which is often a concern during resizing.
3.1. Advantages Of Using Luminar Neo For Image Compression
Here are some advantages of using Luminar Neo for image compression:
- AI-Powered Tools: Use Luminar Neo’s AI Sharpener and AI Upscaler to keep the photos clear even after compressing them. It is especially useful if you’re concerned about losing detail during the process. Luminar Neo leverages AI to maintain image quality.
- Newbie-Friendly Interface: Users with different skills will find this software easy to use. Go and see for yourself at the Luminar Neo Tutorial. The intuitive design makes it accessible for all users.
- Batch Editing: Luminar Neo allows you to process numerous photos simultaneously, so your time is not wasted. Efficiently resize multiple images at once.
- Extensive File Format Support: Luminar Neo can work with many file formats (including JEPG, PNG, and TIFF), which allows you to pick the appropriate format for online usage, high-resolution printing, etc. This ensures compatibility with various platforms and devices.
- Quality Management: When exporting images, Luminar Neo lets you adjust the quality to find the perfect balance between file size and image fidelity – which is crucial for both digital and print mediums. Achieve the perfect balance between size and quality.
4. Optimizing Images For Various Platforms
Different platforms have different image requirements. Understanding these requirements ensures your photos look their best without unnecessary file size.
| Platform | Recommended Format | Resolution | Use Case |
|---|---|---|---|
| Website | JPEG, WebP | 72 DPI | Balancing quality with fast loading times |
| Social Media | JPEG, PNG | Varies by platform | Optimized for display on each platform |
| JPEG | 72 DPI | Small file sizes for easy sending | |
| TIFF, JPEG | 300 DPI or higher | High resolution for detailed prints |
5. Preserving Image Quality During Compression
The key to effective image compression is maintaining quality. Here are some tips to minimize quality loss:
- Use Lossless Compression: When possible, use lossless compression techniques to preserve all image data.
- Adjust Quality Settings Carefully: Experiment with quality settings to find the lowest acceptable level without significant visual degradation.
- Resize Appropriately: Avoid excessive resizing, which can lead to pixelation and loss of detail.
- Sharpen After Resizing: Apply a slight sharpening effect after resizing to restore some of the lost clarity.
6. Exploring Advanced Compression Techniques
For advanced users, several techniques can further optimize image compression:
- Selective Compression: Compress different parts of an image at different rates based on their importance.
- Chroma Subsampling: Reduce the color information in an image without significantly affecting perceived quality.
- Metadata Stripping: Remove unnecessary metadata to reduce file size.
7. The Role Of Image Hosting Services
Image hosting services can also help reduce file size. These platforms automatically optimize images for web delivery.
- Content Delivery Networks (CDNs): CDNs store images on multiple servers, ensuring fast loading times for users worldwide.
- Image Optimization Tools: Many hosting services include tools that automatically compress and resize images.
8. Real-World Examples And Case Studies
Consider these real-world examples:
- E-commerce Websites: Optimizing product images for faster loading can increase sales and improve customer satisfaction.
- Photography Portfolios: Compressing images allows photographers to showcase their work online without sacrificing quality.
- Social Media Marketing: Smaller image files load faster on social media, increasing engagement and reach.
According to Popular Photography magazine, photographers who optimize their images for online display see a 20% increase in website traffic.
9. Understanding Image File Formats
Choosing the right file format is crucial for effective image compression. Each format has its strengths and weaknesses.
- JPEG: Best for photographs with continuous tones and complex colors. It uses lossy compression, which reduces file size but can result in quality loss.
- PNG: Ideal for images with sharp lines, text, and graphics. It uses lossless compression, preserving image quality but resulting in larger file sizes.
- GIF: Suitable for simple animations and images with limited colors. It uses lossless compression and supports transparency.
- TIFF: Used for professional photography and archival purposes. It offers lossless compression but results in very large file sizes.
- WebP: A modern image format developed by Google that provides excellent compression and quality. It supports both lossy and lossless compression.
10. Call To Action: Explore Dfphoto.Net
Ready to master the art of making photos smaller size? Visit dfphoto.net for in-depth tutorials, stunning image collections, and a vibrant photography community. Enhance your skills, find inspiration, and connect with fellow photographers.
11. Contact Information
For more information, visit our website or contact us:
Address: 1600 St Michael’s Dr, Santa Fe, NM 87505, United States
Phone: +1 (505) 471-6001
Website: dfphoto.net
By mastering these techniques, you can efficiently manage and share your images while maintaining their visual appeal. Happy photographing!
FAQ
How to make a picture file smaller?
To reduce an image’s file size, increase the compression level using image editing software like Photoshop or GIMP. When saving formats like JPG or PNG, higher compression results in a smaller file but may slightly reduce image quality. Adjust the compression settings to balance quality and file size. Online tools like TinyPNG can also compress images automatically.
How to reduce the size of a photo on iPhone?
On an iPhone, you can reduce photo size by adjusting camera settings to capture images in a space-saving format like HEIC instead of JPEG. Additionally, use the built-in Photos app to crop or reduce the image’s dimensions, which reduces the file size.
How to reduce image file size on Mac?
To reduce image file size on a Mac, use the Preview app. Open the image, go to Tools, and select Adjust Size. Reduce the dimensions or resolution to decrease the file size. Third-party apps like ImageOptim provide more advanced compression options.
How to reduce image file size in Photoshop?
In Photoshop, reduce image file size by opening the image and selecting File > Export > Save for Web (Legacy). This option lets you adjust dimensions and quality. Choose a lower-quality JPEG format and use the Image Size options to adjust dimensions, minimizing file size.
How to reduce image file size on Android?
On Android, use built-in photo editing tools or apps like Photo Compress & Resize to crop and resize the image. These apps offer options to adjust compression levels, reducing the file size effectively.
How to reduce image file size for a website?
For website optimization, use photo editing software like Luminar Neo, Adobe Photoshop, or online tools to reduce image file size. Adjust the compression, resize the image, and crop unnecessary parts to ensure faster loading times without significant quality loss.