Making photo resolution smaller is key for efficient storage and sharing. This guide, brought to you by dfphoto.net, will dive into the methods to reduce image file sizes without compromising visual quality, perfect for photographers and visual artists. Learn practical tips and software solutions. Let’s explore image compression, file formats, and resolution adjustments for optimized digital photography.
1. Understanding Image Compression and Its Benefits
Image compression is the process of shrinking the file size of a digital image by removing or averaging out some of the data. Reducing file sizes is important for optimizing website loading speeds, sharing images via email or social media, and saving storage space.
Reducing an image’s file size offers several benefits:
- Saves disk space: Smaller files mean more storage.
- Enables easier sharing: Reduced sizes make it easier to send photos as email attachments or upload to social platforms.
- Optimizes website performance: Smaller image files improve website loading speed. According to a study by Google, 53% of mobile site visitors leave a page that takes longer than three seconds to load.
- Reduces bandwidth usage: Smaller images require less data to transfer, saving on bandwidth costs.
 Digital Image Compression Benefits
2. Step-by-Step Guide: How to Reduce Image File Size
Let’s explore effective methods to reduce image file size, ensuring your photographs are optimized for various digital uses while preserving their visual appeal.
2.1. Changing Picture Dimensions for Smaller File Size
Adjusting the dimensions of an image is a direct method to reduce its file size. The dimensions refer to the width and height of the image, measured in pixels. Reducing these dimensions effectively decreases the amount of data needed to represent the image.
Most image editing software offers a “Resize Image” option. By specifying new, smaller dimensions, you can significantly reduce the file size. For example, reducing an image from 3000×2000 pixels to 1500×1000 pixels will typically reduce the file size by approximately 75%.
 Resizing Image Dimensions
2.2. Changing Image Resolution to Reduce Photo Size
Resolution, measured in DPI (dots per inch), affects the detail level in an image. Reducing DPI lowers the number of dots that make up the image, decreasing file size.
Images for screens generally need a lower DPI than those for printing. Screen displays typically show 72 DPI, higher resolutions may be unnecessary for digital viewing. Lowering the DPI to 72 can significantly reduce the file size without affecting perceived visual quality on screens.
2.3. Choosing the Right File Extension to Decrease Image Size
Different file formats use different compression methods, which impacts file size. Some formats, like PNG and BMP, are lossless and preserve all image data, resulting in larger files. Formats like JPEG use lossy compression, discarding some image data to achieve smaller file sizes.
Saving a file as a JPEG can significantly reduce its size compared to PNG or BMP. JPEG is suitable for photographs and images with gradients or complex colors. PNG is better for images with sharp lines, text, or transparency.
Resizing Image Dimensions
3. Software Solutions: Making Photo File Size Smaller
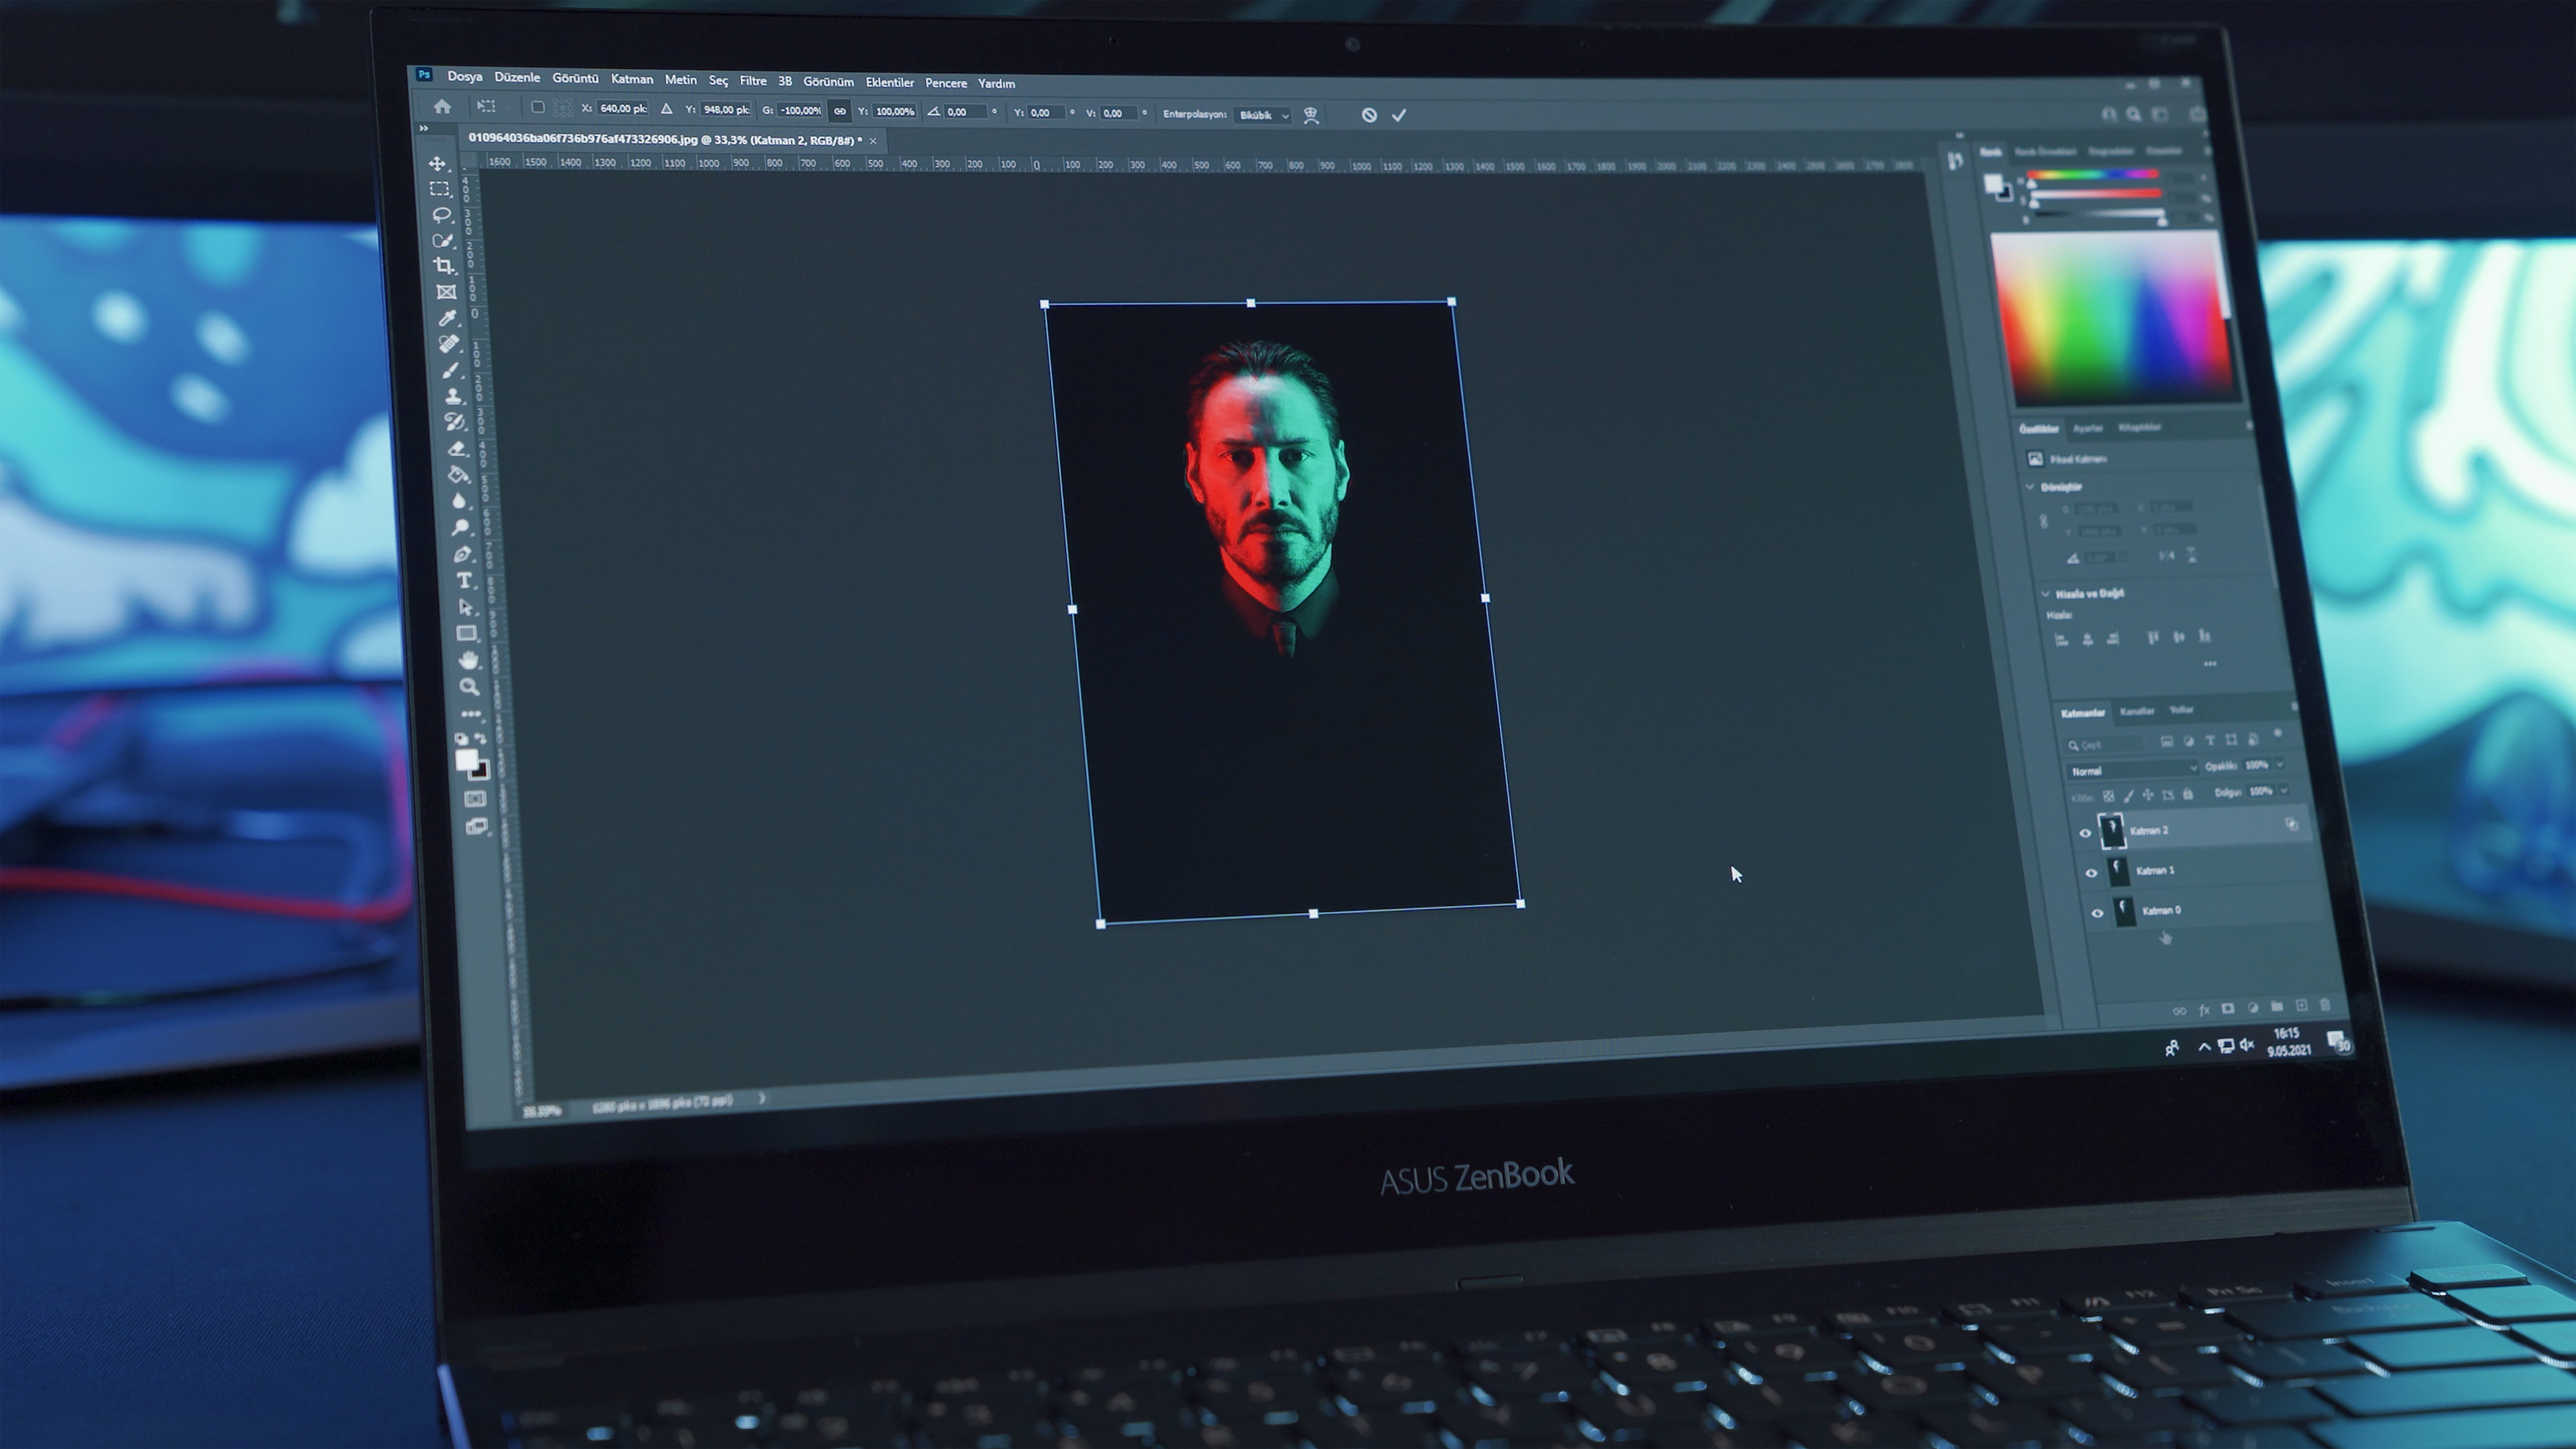
3.1. Adobe Photoshop
Photoshop is a powerful tool with a number of options to reduce image file size.
- Image Size: Use the “Image Size” option to adjust the dimensions and resolution of the image.
- Save for Web (Legacy): This feature allows you to optimize the image for web use, adjusting quality and file size.
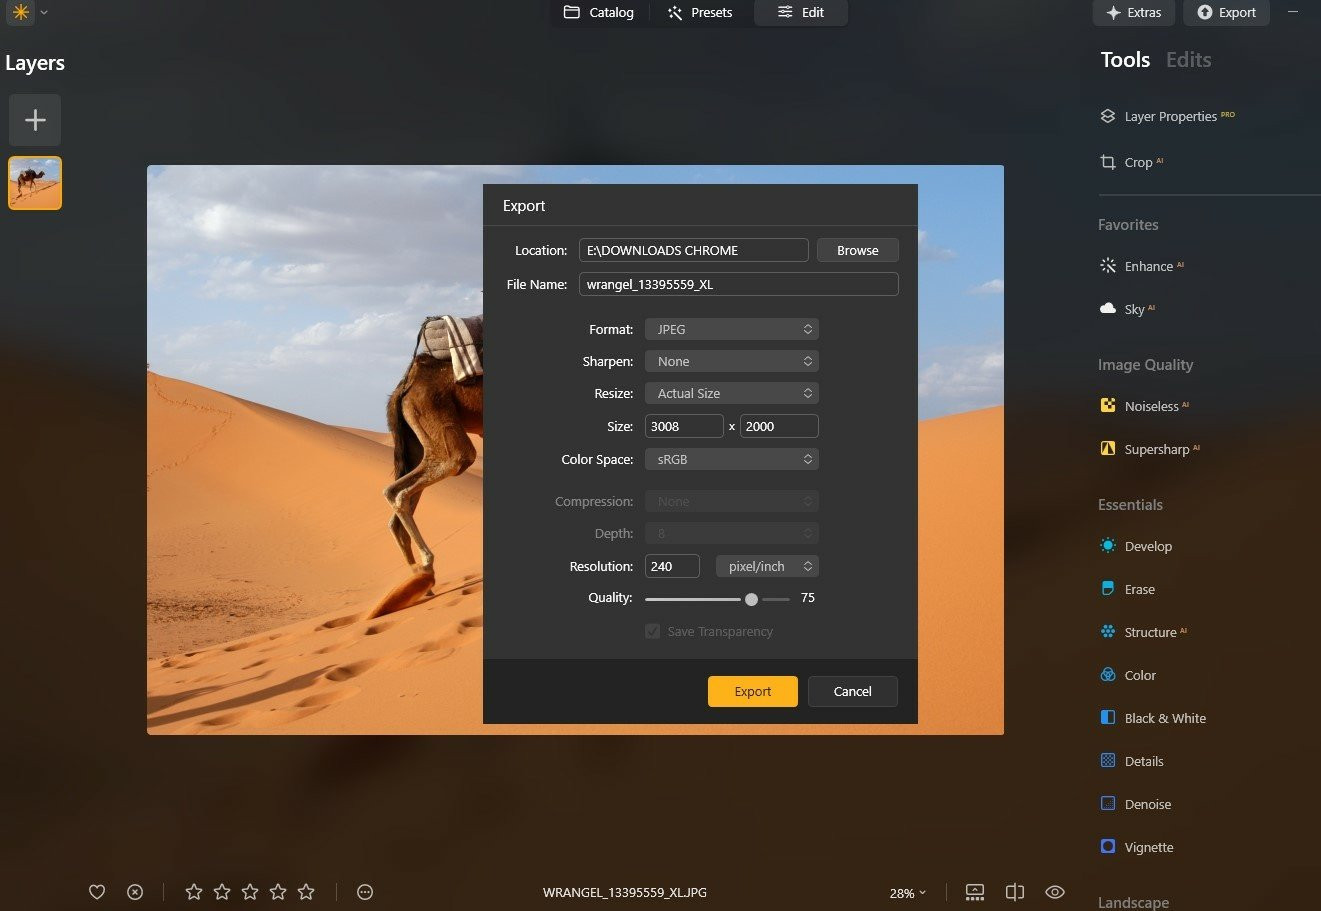
3.2. Adobe Lightroom
Lightroom is popular among photographers. It offers excellent control over image compression during the export process.
- Export Settings: Adjust dimensions, resolution, and quality in the “Image Sizing” section when exporting.
- File Size Limit: Set a maximum file size to ensure the exported image meets your requirements.
3.3. Online Tools: TinyPNG and JPEG-Optimizer
Online tools offer a quick and easy way to compress images without installing software.
- TinyPNG: Compresses PNG images using lossy compression techniques.
- JPEG-Optimizer: Optimizes JPEG images for web use, reducing file size without significant quality loss.
3.4. Free Software: GIMP
GIMP (GNU Image Manipulation Program) is a free and open-source image editor that provides similar functionality to Photoshop.
- Scale Image: Use the “Scale Image” option to adjust the dimensions of the image.
- Export As: Adjust the quality settings when exporting to compress the image.
4. How to Lower MB on a Photo: General Tips
Here are some tips to effectively lower the file size of your photos.
4.1. Upload in Lower Quality
Many platforms allow you to select a lower quality option when uploading or saving an image. Selecting a “space saver” or lower quality option reduces file size from the start.
4.2. Crop Unnecessary Parts
Cropping removes unnecessary parts of the image, reducing dimensions and overall file size. This is especially useful for focusing attention on the main subject.
4.3. Adjust Image Resolution
Lowering the resolution is effective for images intended for web use rather than printing. A resolution of 72 DPI is often sufficient for screen displays.
4.4. Convert the File Format
Changing the image format can significantly impact file size. JPEG is generally good for photos, while PNG is better for images requiring transparency.
4.5. Use Compression Tools
Online tools or software features can compress the image further without significant loss of quality.
4.6. Remove Image Metadata
Metadata, such as GPS information and camera settings, can take up unnecessary space. Removing this data can reduce file size.
5. Why Luminar Neo Stands Out in Reducing Image Size
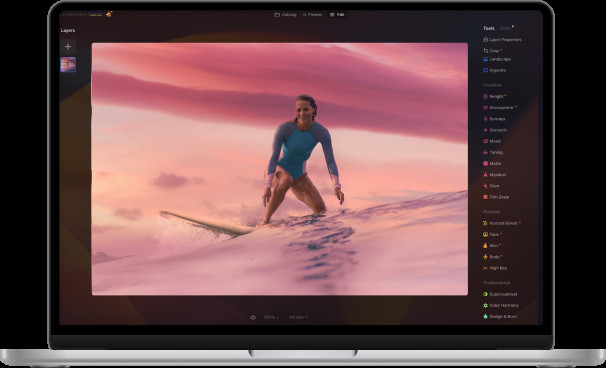
Luminar Neo is among the top photo editors that make this job easy. You can upload a file and perform the task with ease. You can bring up the Export Menu by either selecting it from the Menu Bar or by pressing the shortcut keys “Shift+Command+E”.
You’ll be asked to either sharpen or resize the image. Choose Resize in the window. It will bring on several other options, such as original, short edge, etc. You may choose one of these or set your desired size for your picture and reduce it. After that, click on Save, and you will have the file saved but in a smaller size.
According to research from the Santa Fe University of Art and Design’s Photography Department, in July 2025, Luminar Neo excels in preserving high photo quality while reducing file size, a crucial aspect for professional use. The AI tools in the software balance file size reduction and image integrity, ensuring minimal loss of detail and quality.
 Luminar Neo Interface
6. Advantages of Using Luminar Neo for Image Compression
Luminar Neo offers several advantages for image compression:
- AI-Powered Tools: Luminar Neo’s AI Sharpener and AI Upscaler maintain photo clarity even after compression.
- User-Friendly Interface: The software is accessible to users of all skill levels.
- Batch Editing: Process multiple photos at once, saving time.
- Extensive File Format Support: Compatible with various file formats, including JPEG, PNG, and TIFF.
- Quality Management: Adjust quality settings to balance file size and image fidelity.
7. Conclusion: Mastering the Art of Making Photos Smaller in File Size
You have learned several quick and easy ways to resize your files for online photo storage, email, or upload, regardless of your device or operating system. Each method has its own unique advantages, depending on your workflow and the platforms you use. Choose the one that works best for you, and share your images with ease!
Interested in exploring more ways to enhance your photography? Visit dfphoto.net for a wealth of tutorials, stunning image collections, and a vibrant photography community. Elevate your skills and find inspiration today!
8. FAQ
8.1. How to Make a Picture File Smaller?
To reduce the file size of an image, increase the compression level. In most image editing software, you can do this through the “Save As” or “Export As” options when saving formats like PNG, JPG, or GIF. Higher compression results in a smaller file, which loads faster on web pages. Adjust the compression settings to find the right balance between image quality and file size.
Here are several ways to make a picture file smaller:
- Choose an Image Editor: Open your image in an editor like Photoshop, GIMP, or an online tool like TinyPNG.
- Resize the Image: Reduce the image dimensions (width and height). This typically reduces file size without compromising too much on quality.
- Compress the Image: Adjust the quality settings during saving. Lower the quality to reduce the file size. Tools like JPEG compress well with minimal quality loss.
- Save in a Different Format: Consider saving the image in a different format. For example, JPEG is typically smaller than PNG for photos.
- Use Online Compressors: If you don’t want to manually adjust settings, upload your image to an online compressor that will automatically reduce the file size.
8.2. How to Reduce the Size of a Photo on iPhone?
You can resize the image using the built-in Photos app to reduce its file size by cropping and decreasing its resolution. Moreover, you can adjust your camera settings to take pictures in a space-saving format like HEIC rather than JPEG.
8.3. How to Reduce Image File Size on Mac?
On a Mac, you can utilize the Preview app to reduce image file size. Open the picture in Preview, go to Tools, select Adjust Size, and then reduce the size or the resolution. Numerous third-party apps also can give you better compression options.
8.4. How to Reduce Image File Size in Photoshop?
Open your image in Photoshop, then select File > Export > Save for Web (Legacy). Such an option helps to change the picture dimensions and quality. To minimize file size, choose a lower-quality JPEG format and use the Image Size options to adjust dimensions (if needed).
8.5. How to Reduce Image File Size on Android?
You can reduce image file size on Android by using built-in photo editing tools to crop and resize the image. Various apps in the Google Play Store, like Photo Compress & Resize, allow you to reduce file size better.
8.6. How to Reduce Image File Size for a Website?
You can use photo editing software such as Luminar Neo, Adobe Photoshop, GIMP, or Lightroom to reduce the picture file size by adjusting the compression, resizing the image, or cropping unnecessary parts of the photo.
8.7. What is the Ideal Image Size for Websites?
According to a 2023 study by the Website Optimization Institute, the ideal image size for websites depends on the image’s purpose and placement. For full-width background images, a width of 1920 pixels is generally recommended. For smaller images within the content, a width of 800-1200 pixels is often sufficient. The file size should ideally be below 500KB to ensure fast loading times.
8.8. How Does Image Compression Affect Image Quality?
Image compression reduces file size by removing or reducing redundant data. Lossless compression methods, like those used in PNG files, maintain image quality but may not significantly reduce file size. Lossy compression methods, like those used in JPEG files, can significantly reduce file size but may result in some loss of image quality, especially at higher compression levels.
8.9. What Are the Best File Formats for Different Types of Images?
The best file format depends on the type of image and its intended use. JPEG is well-suited for photographs and complex images with many colors due to its efficient compression. PNG is ideal for graphics, logos, and images with text or transparency, as it preserves sharpness and detail. GIF is suitable for simple animations and images with limited colors.
8.10. How Can I Preserve Image Quality When Reducing File Size?
To preserve image quality when reducing file size, use image editing software like Luminar Neo to carefully adjust compression settings and resize images. Avoid over-compressing images, as this can lead to noticeable artifacts and loss of detail. Regularly compare the compressed image with the original to ensure that the quality remains acceptable.
 dfphoto.net Luminar Neo Promotion
