Creating a captivating Facebook cover photo is crucial for making a strong first impression, whether for your personal profile or business page. It’s prime real estate to showcase your personality, brand, or current promotions. While professional design software can be powerful, it’s not always accessible or user-friendly for quick updates. That’s where Picmonkey shines. This incredibly easy-to-use and often free online tool allows anyone, regardless of their design skills, to create eye-catching Facebook cover photo collages in minutes.
As a photographer, I’m no stranger to advanced editing software. Yet, when I need to quickly whip up a visually appealing graphic for social media, especially when I’m on the go, Picmonkey is my go-to platform. Its intuitive interface and pre-designed templates make the process seamless and enjoyable. Recently, I wanted to refresh my Facebook cover photo to reflect the current season and decided to use Picmonkey to create a vibrant photo collage. The experience was so smooth and satisfying that I’m excited to share the step-by-step process with you. Let’s dive into how you can easily create your own stunning Facebook cover photo collage using Picmonkey.
Step-by-Step Guide to Creating Your Facebook Cover Photo Collage
Here’s a simple guide to help you create a personalized and engaging Facebook cover photo collage using Picmonkey:
1. Gather Your Chosen Photos
Before you start designing, curate the photos you want to feature in your collage. Think about the story you want to tell with your cover photo. Are you showcasing recent travel adventures, highlighting your favorite products, or simply expressing your personal style? For my seasonal cover photo, I decided to use a collection of my favorite outdoor shots from the past few months. Organize these images in a dedicated folder on your computer for easy access.
2. Navigate to Picmonkey and Start a Collage
Open your web browser and go to Picmonkey.com. On the Picmonkey homepage, you’ll find several options. Click on the “Create a Collage” button to begin your design journey.
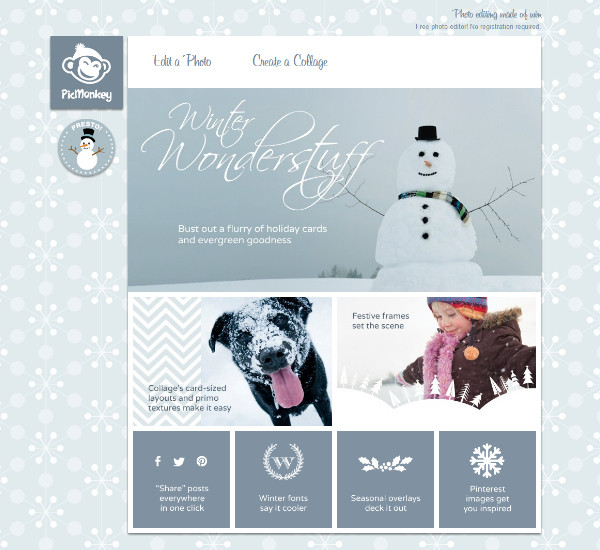 Picmonkey homepage showcasing the 'Create a Collage' button
3. Upload Your Photos to Picmonkey
Once you are in the collage maker interface, look for the “Open Photos” option on the left-hand side panel. Click on it and select all the images you prepared in step one from your computer folder. Picmonkey will upload these photos and make them ready for your collage.
4. Select a Facebook Cover Layout Template
Now it’s time to choose a layout for your collage. On the left sidebar, click on the second icon from the top, which represents layouts. You will see a variety of pre-designed collage templates. Scroll down until you find the section labeled “FB Cover.” Picmonkey offers templates specifically sized for Facebook cover photos, making your job easier. Browse through the options and select one that suits the number of photos you want to include and the overall design you envision. For a more dynamic look with multiple images, templates like “Square Deal” or similar grid-based layouts work exceptionally well, even if they aren’t specifically under the “FB Cover” category.
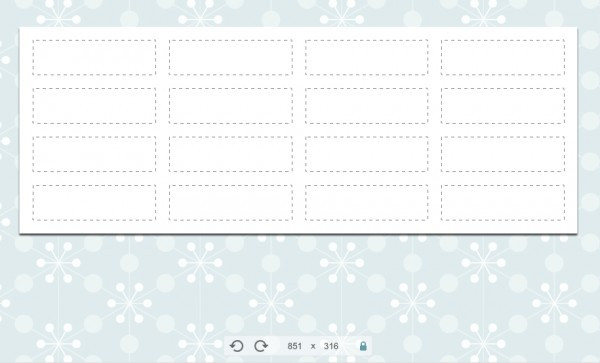
5. Adjust the Collage Size to Facebook Cover Dimensions
Facebook cover photos have specific dimension requirements to ensure they display correctly on both desktop and mobile. The ideal size is 820 pixels wide by 312 pixels tall for desktop. If you chose a layout outside the “FB Cover” presets, you might need to resize it. In Picmonkey, resizing is straightforward. Simply look for the “Resize” option, usually located in the top toolbar or within the “Edits” panel. Enter “820” for width and “312” for height. Picmonkey will automatically adjust your collage to these dimensions. A slight pixel difference won’t drastically affect the outcome, so don’t worry if it’s not exact.
 Picmonkey resize tool interface showing width and height adjustments for Facebook cover photo
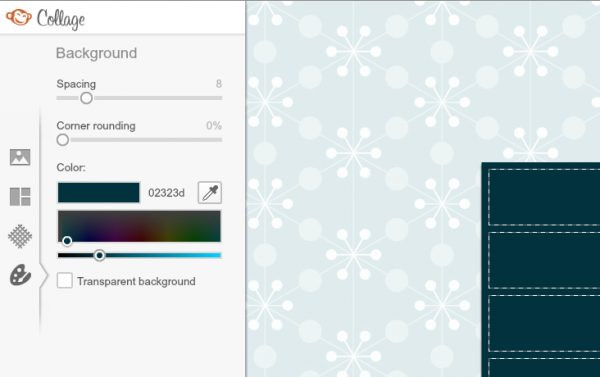
6. Customize the Background and Spacing
To further personalize your collage, you can modify the background and spacing between photos. Click on the artist palette icon on the far left toolbar. This opens the “Background” settings. Here, you can adjust the “Spacing” slider to increase or decrease the gaps between your images. You can also choose a background color that complements your photos or brand. Picmonkey offers a color picker tool or allows you to input hex codes for precise color selection.
 Picmonkey background settings panel displaying spacing and color options
7. Experiment with Textures (Optional)
For an added layer of visual interest, Picmonkey provides a range of textures. These can be subtle overlays or more pronounced patterns to enhance the aesthetic of your collage. Explore the texture options by clicking on the “Textures” tab (often represented by a fabric-like icon). You can drag and drop textures onto individual cells within your collage or apply them to the entire background. Experiment with different textures and adjust their intensity using the blend modes and opacity settings until you achieve the desired effect.
8. Fine-tune Your Layout
Picmonkey allows you to easily adjust the layout even after you’ve selected a template. Hover over the lines separating the photos in your collage, and you’ll see handles appear. Click and drag these handles to resize rows and columns, making certain photos more prominent or creating a more balanced composition. Play around with different arrangements until you are happy with the visual flow of your collage.
9. Populate Your Collage with Photos
Now it’s time to fill your chosen layout with your images. Go back to the “Photos” tab on the left sidebar. You can manually drag and drop each photo into the desired cell in your collage. Alternatively, for quicker placement, you can use the “Autofill” button located above your workspace. Picmonkey will automatically distribute your uploaded photos into the collage cells. Don’t worry if the initial placement isn’t perfect; you can always rearrange the photos by dragging them to different cells or swapping their positions.
10. Save Your Collage Design
Once you’re satisfied with the layout and photo placement, it’s a good idea to save your work. Click the “Save” button, usually found at the top of the Picmonkey interface. Give your project a descriptive name and choose your preferred file format (JPG is generally suitable for Facebook cover photos). Saving regularly ensures you don’t lose your progress.
11. Add Text and Embellishments for Extra Flair
To make your Facebook cover photo collage even more impactful, consider adding text and decorative elements. Return to the Picmonkey homepage or click “Edit a Photo” and open the collage you just saved. Now you’re in the Picmonkey editor, where you can add text, graphics, and filters.
To add text, click on the “Tt” icon on the left sidebar, which represents the “Text” tool. Click “Add text” and a text box will appear on your image. Type your desired message – this could be your name, website, a seasonal greeting, or a call to action. Picmonkey offers a wide variety of fonts, including seasonal and decorative options. Customize the font, size, color, and placement of your text to complement your photos and overall design.
For embellishments, click on the “Overlays” icon (often a shape or a themed icon like a snowflake for winter themes, represented by the “P” icon in the original text, likely an older interface version). Explore the available categories of graphics, such as banners, shapes, or seasonal decorations. Select elements that enhance your cover photo and drag them onto your design. You can adjust their size, color, opacity, and rotation to seamlessly integrate them into your collage.
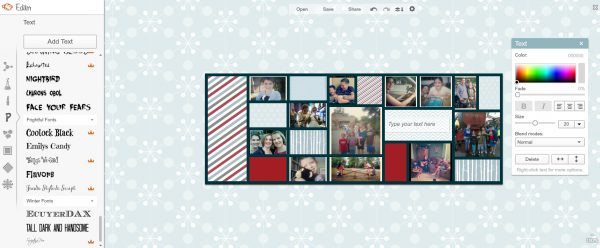 Picmonkey text and graphics editor interface showing text box and embellishment options
12. Final Save and Upload to Facebook
After adding text and embellishments, take one last look at your Facebook cover photo collage and make any final adjustments. Once you’re completely happy with your design, save it again. Now, it’s time to upload your stunning new cover photo to your Facebook profile or page. Go to your Facebook page, hover over your current cover photo, and click “Update Cover Photo.” Choose “Upload Photo” and select the saved image from your computer. Facebook will allow you to reposition the image if needed. Once you’re satisfied with the preview, click “Save Changes.”
Congratulations! You’ve successfully created a personalized and eye-catching Facebook cover photo collage using Picmonkey. Enjoy the fresh new look of your Facebook profile or page and get ready for the compliments!
Connect and Explore More with Picmonkey
Picmonkey is a versatile tool with a plethora of features to explore beyond just Facebook cover photos. From basic photo edits to creating social media graphics and marketing materials, Picmonkey offers a user-friendly platform for all your visual content needs. Whether you’re a seasoned designer or just starting out, Picmonkey empowers you to create professional-looking visuals with ease.