Creating stunning silhouette art from your photos is easier than you think! This guide provides a step-by-step tutorial using free software, perfect for beginners. No Photoshop skills are needed to achieve professional-looking results. Learn how to transform your favorite photos into personalized art pieces in minutes.
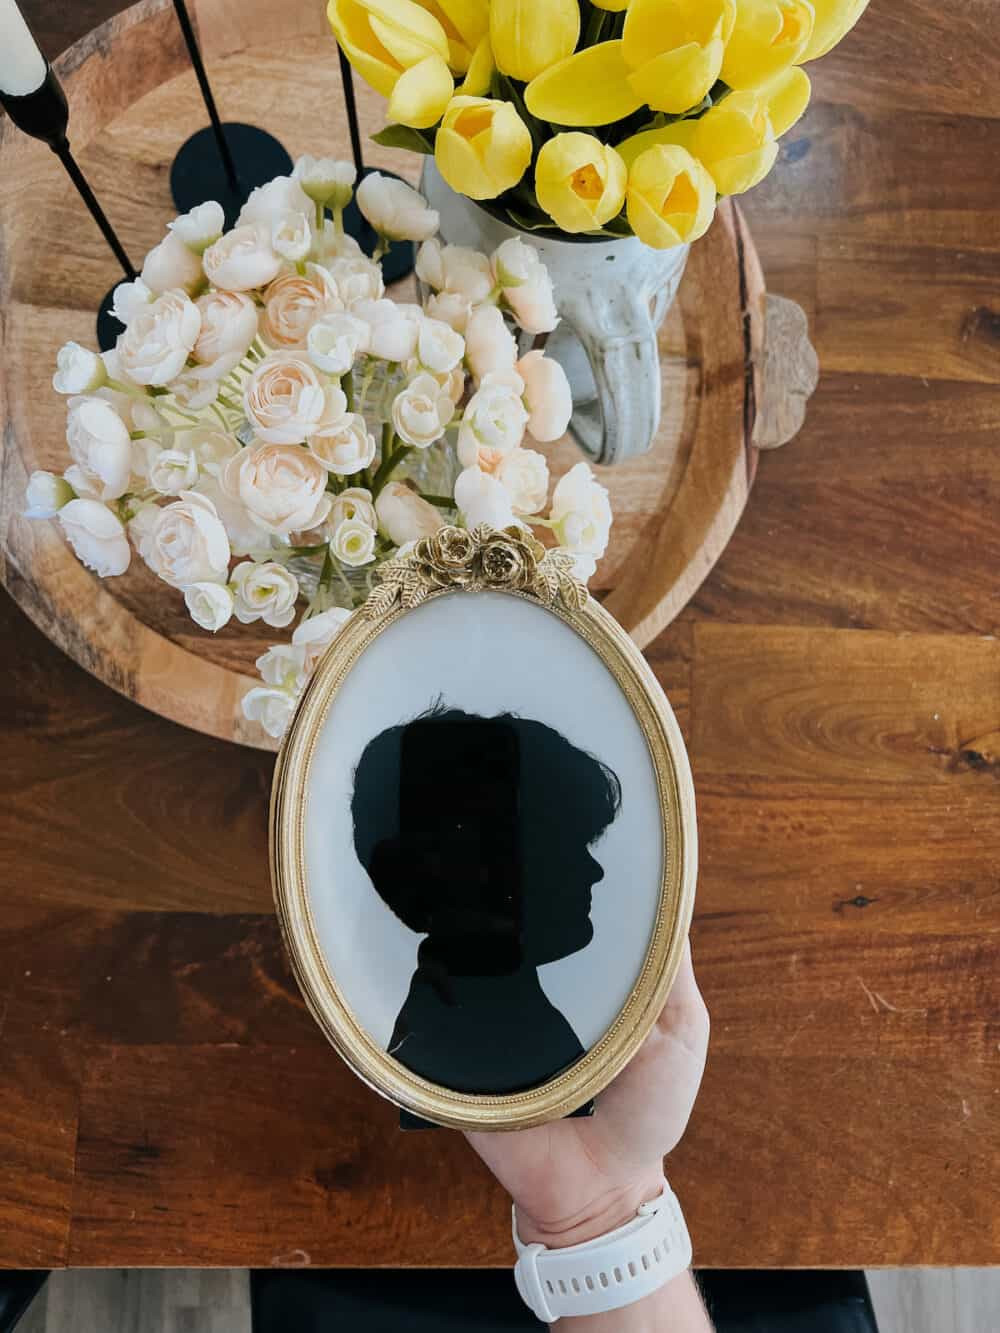 A woman holding two framed silhouette portraits
Understanding Silhouette Art
Silhouette art is a classic and elegant art form that depicts the outline of a subject, usually in solid black against a white background. This striking contrast emphasizes the subject’s profile and distinctive features, creating a timeless and minimalist aesthetic. Traditionally featuring people, especially children, silhouette art can also showcase animals or objects.
Creating Silhouette Art with Canva: A Step-by-Step Tutorial
This tutorial utilizes Canva, a free and user-friendly online design platform, to create digital silhouette art that you can print at home or through a professional printing service.
1. Capture the Perfect Photo
Start with a clear profile photo of your subject against a plain background. A white background simplifies the process, but any solid color will work.
Tips for Taking Great Silhouette Photos:
- Pose: Ensure your subject’s chin is slightly raised for a natural profile. Experiment with different head positions.
- Hair: For long hair, consider a ponytail to prevent it from blending into the silhouette.
- Pets: Use treats to keep pets focused and looking in the desired direction.
- Camera: A smartphone camera is perfectly adequate for this project.
2. Upload Your Photo to Canva
- Go to Canva.com and click “Create a Design”.
- Select “Custom Size” and enter your desired dimensions (e.g., 5″ x 7″).
- Upload your chosen photo using the “Uploads” button.
- Drag the uploaded image onto your blank canvas and resize it to fill the frame.
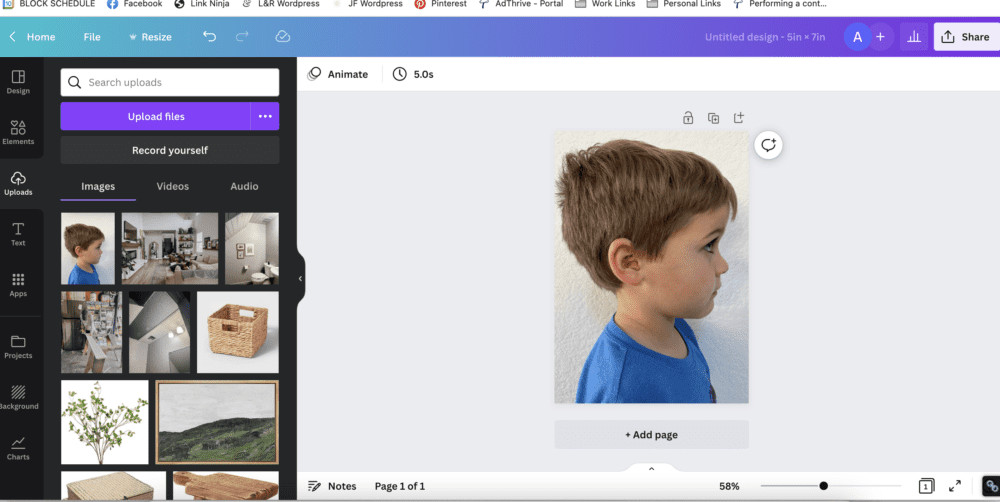 Uploading a photo to Canva and adjusting the size
3. Remove the Background
- Click on your image and select “Edit Image”.
- Choose the “Background Remover” tool. Canva will automatically erase the background.
- Fine-tune the result using the “Erase” and “Restore” tools if necessary.
4. Apply the Duotone Filter
- In the “Edit Image” section, scroll down to “You may also like…”.
- Find and select the “Duotone” filter. Initially, it will apply a colored filter.
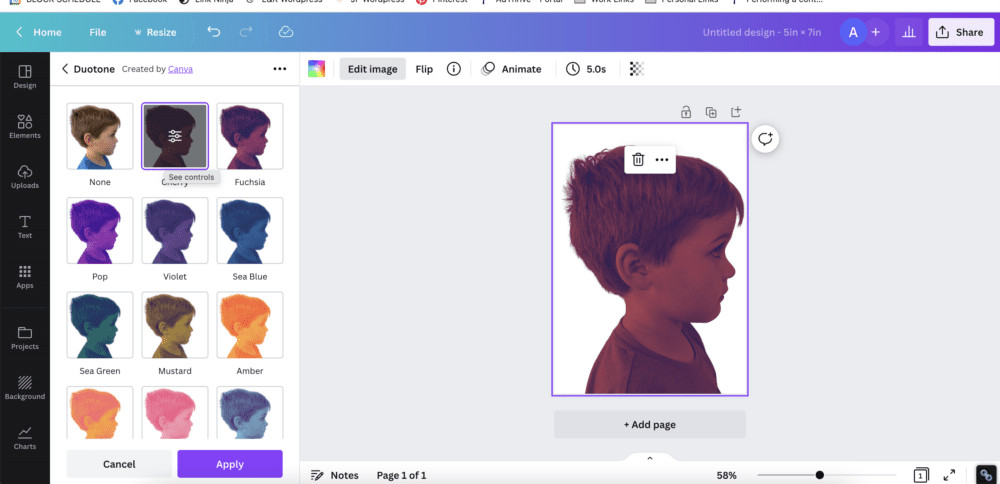 Applying the Duotone filter in Canva
5. Adjust the Duotone Colors
- Click on the color sliders in the Duotone editor.
- Change both the “Highlights” and “Shadows” colors to black (or white if printing on black paper).
6. Download and Print
- Save your image as a high-quality PNG file.
- Print at home or use a professional printing service like Walmart Photo for optimal results. Consider a matte finish for a classic look. You can also subtly adjust the background color in Canva for a less stark white.
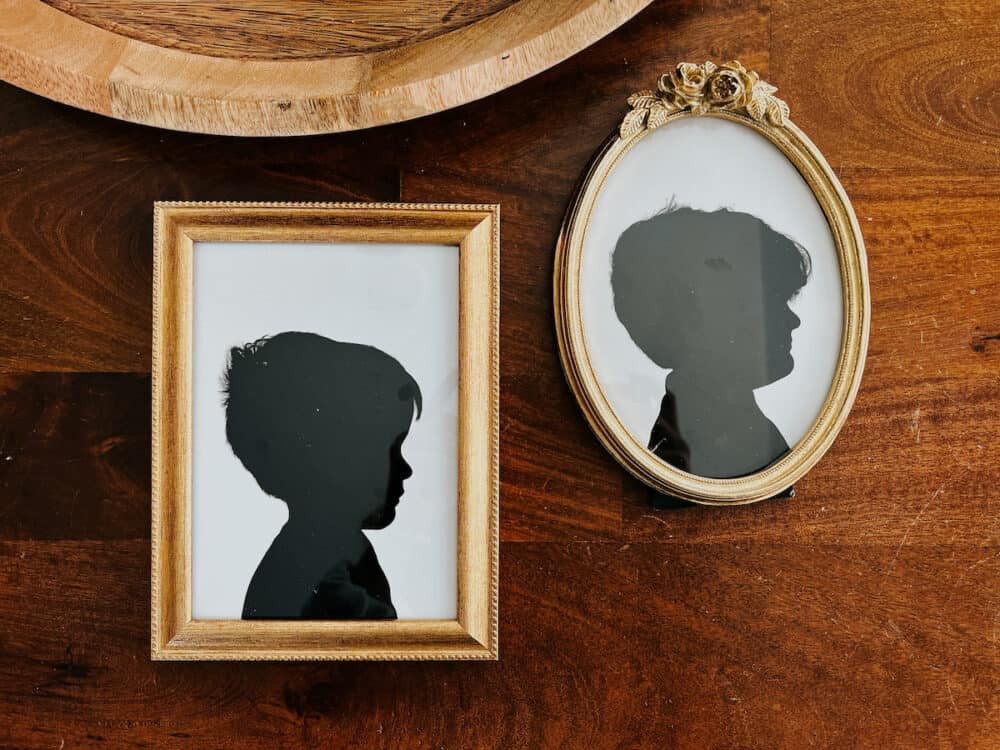 Two finished silhouette art prints
Framing and Displaying Your Silhouette Art
Choose frames that complement your silhouette art and home decor. Simple black or white frames often work best to highlight the minimalist aesthetic.
Making Silhouettes with Children: A Fun Activity
Turn silhouette creation into a hands-on activity for kids! Help them trace a printed profile photo onto black construction paper, cut it out, and glue it to white paper for a personalized masterpiece.
Conclusion
Creating silhouette art from photos is a rewarding and accessible project for all skill levels. Using Canva’s free and intuitive tools, you can transform cherished memories into beautiful and lasting artwork. This personalized art adds a unique touch to any home and makes a thoughtful gift.