Making a photo smaller in size is a common need for photographers and image users alike, whether it’s for freeing up disk space, sharing images easily, or optimizing website performance. At dfphoto.net, we understand the importance of balancing image quality with file size. Let’s explore how to effectively reduce photo size without sacrificing visual appeal.
1. Understanding Image Compression and Its Importance
Image compression is the technique of reducing the file size of an image through various methods. This process is essential in digital image management, offering significant advantages while also presenting a few trade-offs. It’s about finding the right balance to meet your specific needs.
 Landscape photography requiring careful consideration of file size and image quality for optimal storage and online sharing
1.1 Why Is Image Compression Necessary?
There are several compelling reasons why you might need to reduce the size of your image files.
- Freeing Up Disk Space: High-resolution photos can quickly consume storage space on your devices. Compressing images allows you to store more photos without running out of room.
- Easier File Sharing: Large image files can be difficult to share via email or other online platforms, often exceeding attachment size limits. Reducing the file size makes sharing much simpler and faster.
- Website Optimization: Large images can significantly slow down website loading times, impacting user experience and potentially hurting search engine rankings. Optimizing images for the web ensures faster loading and a better browsing experience.
2. Step-by-Step Guide: How to Reduce Image File Size Effectively
Reducing image file size doesn’t have to be complicated. Here’s a detailed guide to help you shrink your photos for various purposes.
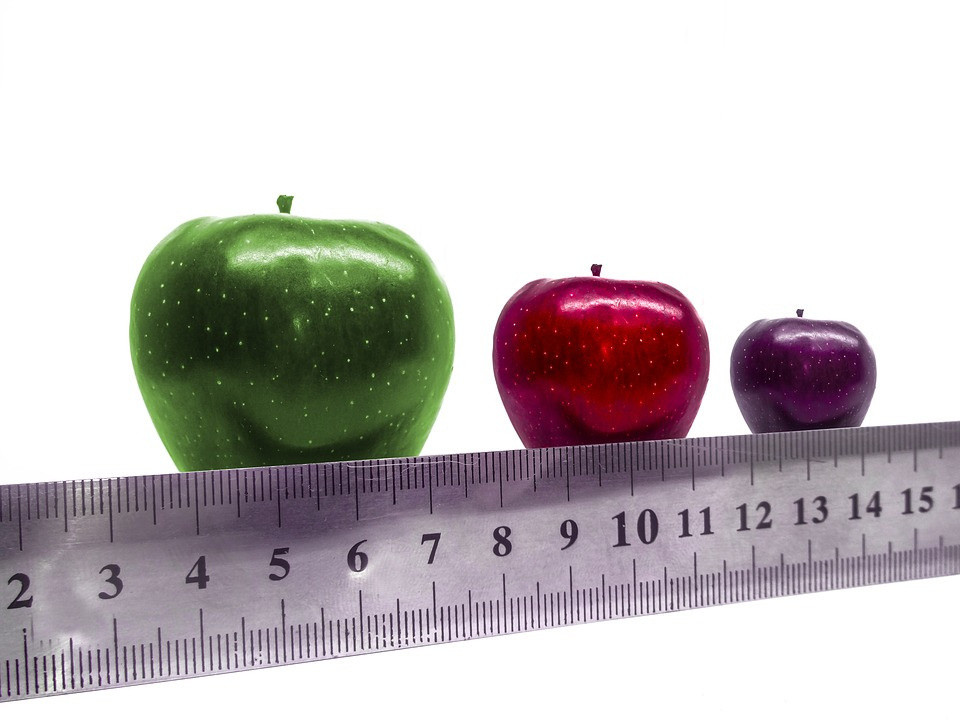
 Various methods for reducing image file size, including resizing, compression, and format conversion, for efficient storage and sharing
2.1 Changing Picture Dimensions for Smaller File Size
One of the most effective ways to reduce image size is by lowering its dimensions (width and height). This can be easily done using image editing software.
2.1.1 How to Resize an Image?
- Open Your Image Editor: Launch your preferred image editing software, such as Adobe Photoshop, GIMP, or Luminar Neo.
- Select “Resize Image”: Look for the “Resize Image” option in the menu bar, usually under the “Image” or “Edit” menu.
- Adjust Dimensions: Enter the new desired width and height for your image. Ensure that the aspect ratio is maintained to avoid distortion.
2.2 Changing Image Resolution to Reduce Photo Size
Another effective method is to reduce the image resolution, measured in DPI (Dots Per Inch). For on-screen viewing, a resolution of 72 DPI is typically sufficient.
2.2.1 Understanding DPI
DPI refers to the number of dots per inch in an image. Higher DPI images contain more detail but also have larger file sizes.
2.2.2 How to Reduce Resolution?
- Open Your Image Editor: Use software like Photoshop or GIMP.
- Find Resolution Settings: Locate the resolution settings, often found in the “Image Size” or “Resize” dialog box.
- Adjust DPI: Lower the DPI to 72 for web use.
2.3 Choosing the Right File Extension to Decrease Image Size
The file format you choose can significantly impact image size. Some formats, like PNG and BMP, are generally larger than others.
2.3.1 JPG vs. PNG
- JPG: Best for photographs and images with many colors. It uses lossy compression, which reduces file size but can also slightly reduce image quality.
- PNG: Ideal for images with transparency, logos, and graphics with text. It uses lossless compression, preserving image quality but resulting in larger file sizes.
2.3.2 How to Change File Format?
- Open the Image: Open your image in an image editor.
- Select “Save As”: Choose the “Save As” option.
- Choose File Format: Select JPG or JPEG as the file format.
2.4 Leveraging Software Solutions: Making Photo File Size Smaller
Various software options are available to help you reduce image file sizes effectively.
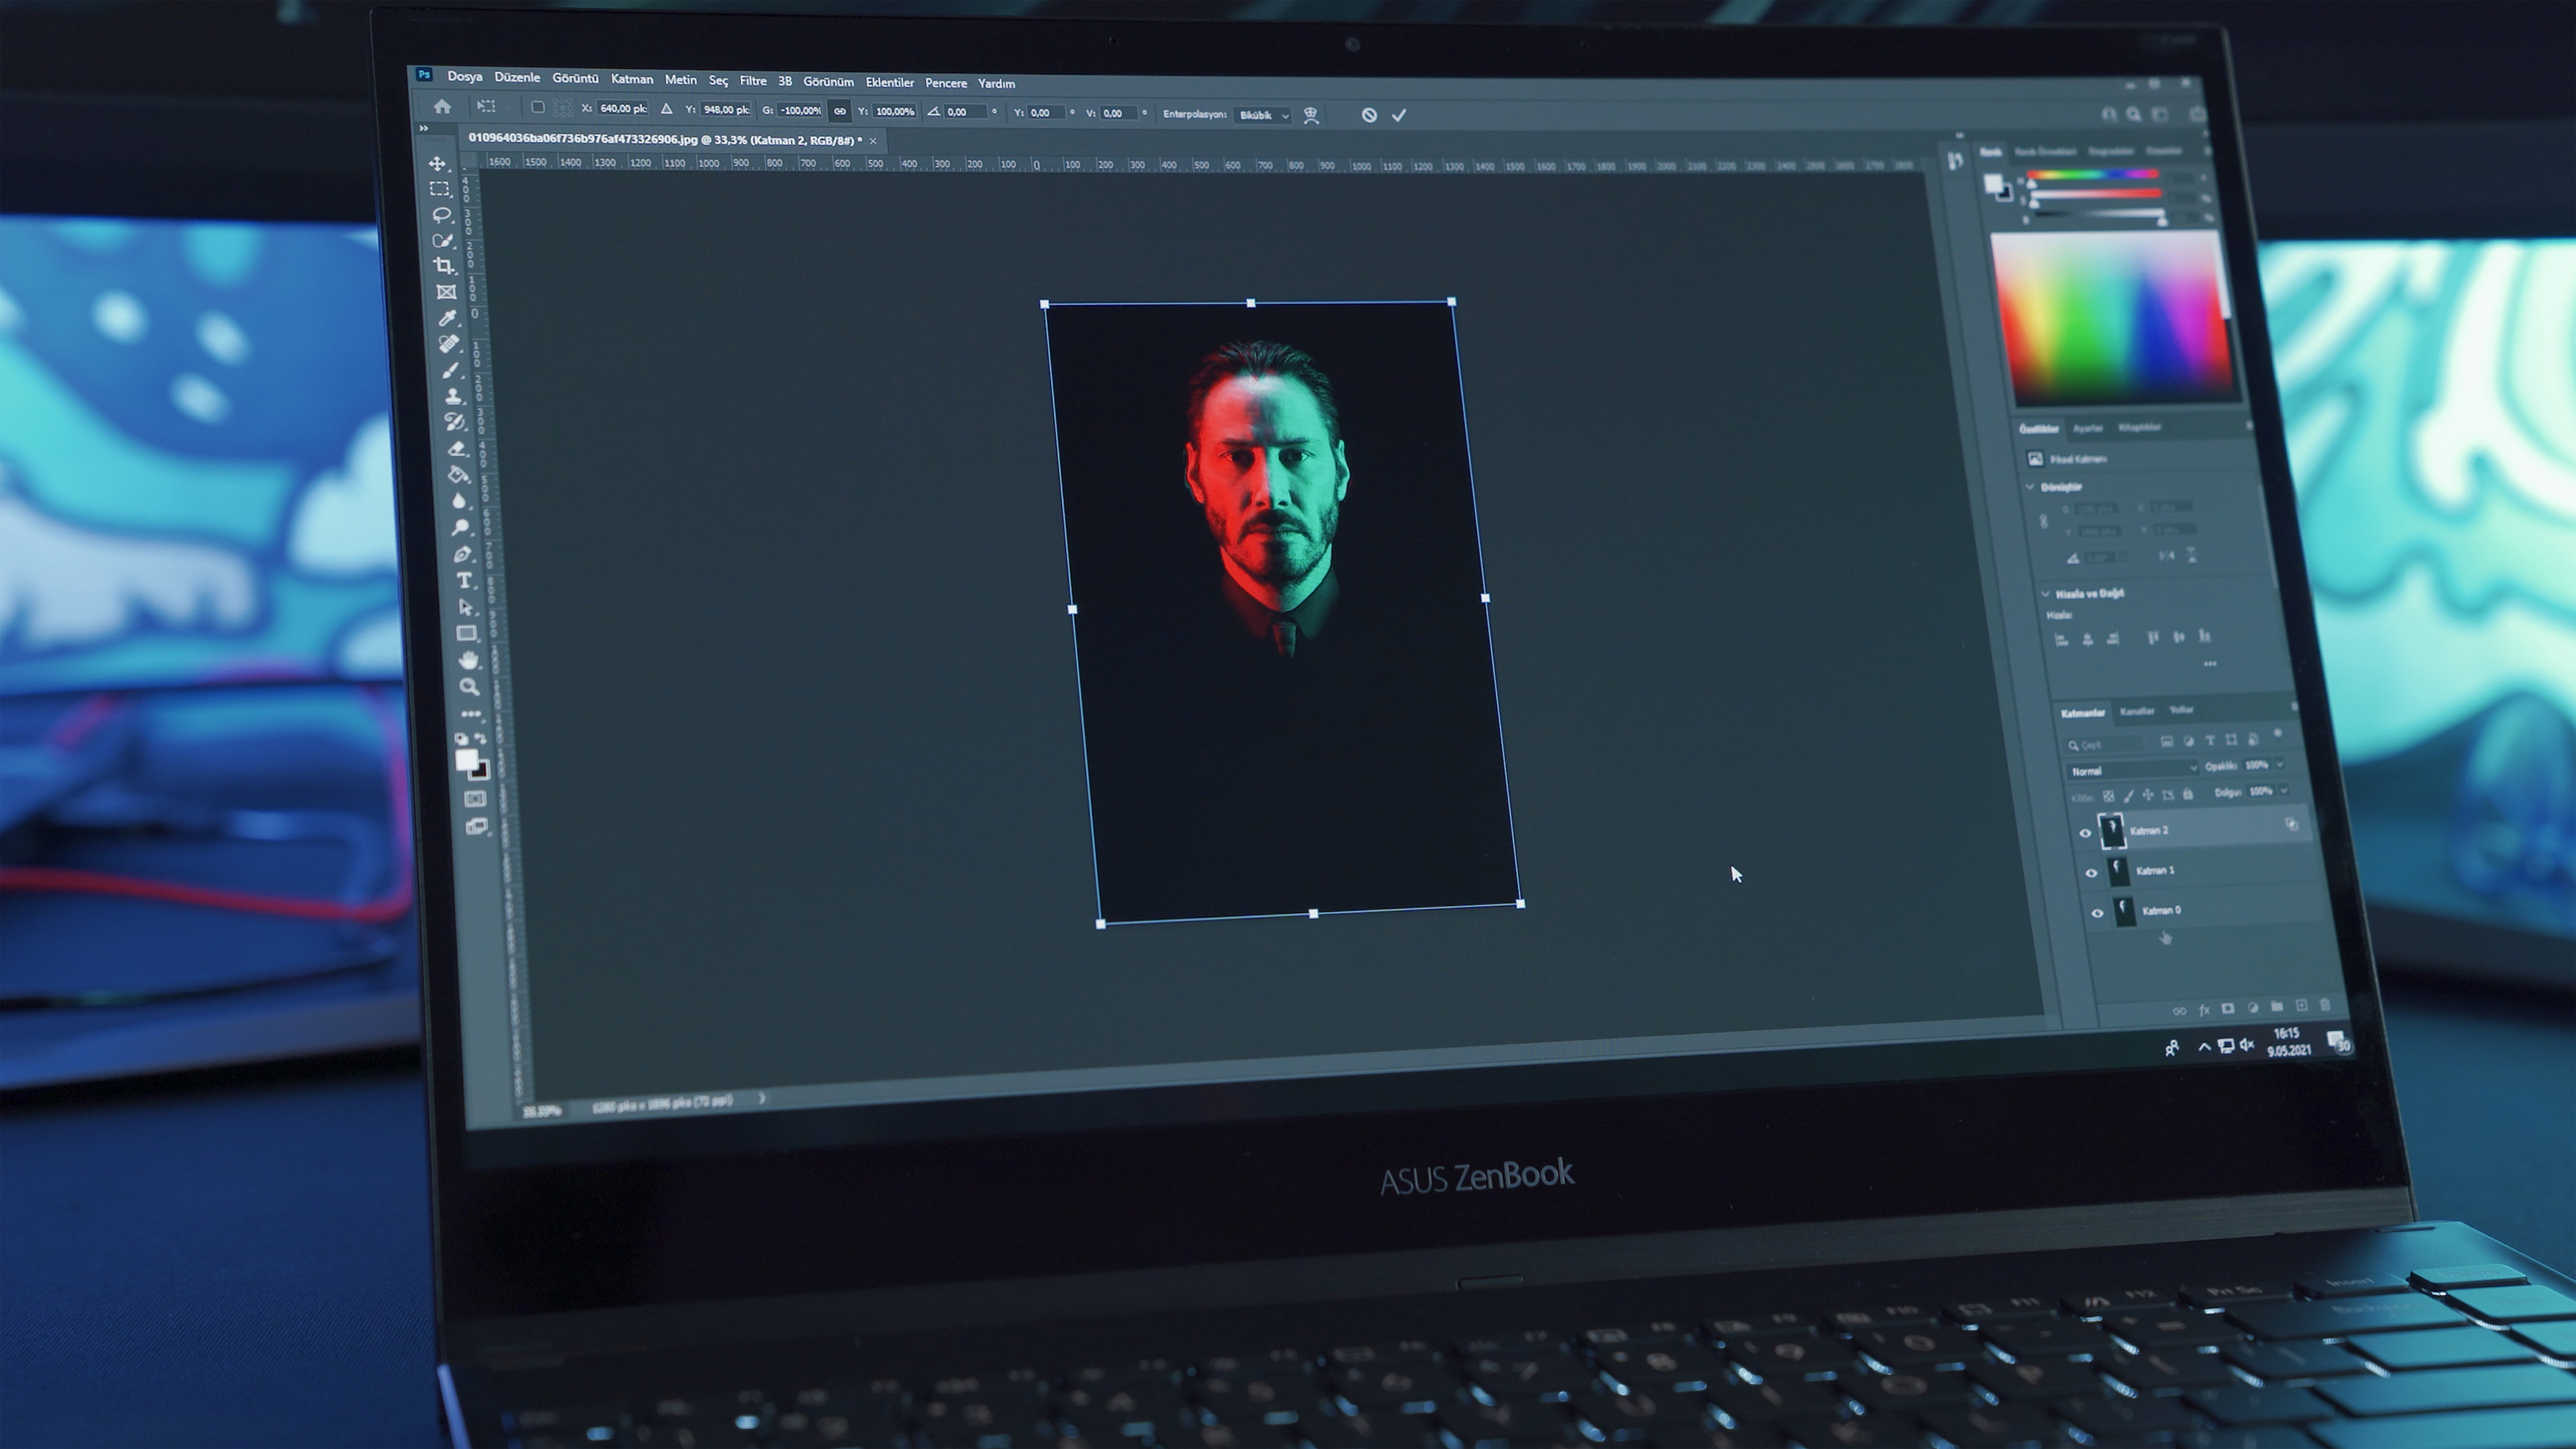 Software solutions for reducing image file size, including Photoshop, Lightroom, and online tools, offering various compression and optimization options
2.4.1 Adobe Photoshop
Photoshop offers advanced features for image compression and optimization.
- Image Size Option: Use the “Image Size” option to adjust dimensions and resolution.
- Save for Web (Legacy): This option allows you to optimize images specifically for web use, reducing file size while maintaining acceptable quality.
2.4.2 Adobe Lightroom
Lightroom is another powerful tool for photographers, offering excellent image compression capabilities.
- Export Settings: During the export process, adjust the dimensions and resolution in the “Image Sizing” section.
- File Size Limit: Set a maximum file size to ensure your images meet specific requirements.
2.4.3 Online Tools: TinyPNG and JPEG-Optimizer
These online tools provide simple and effective image compression without requiring software installation.
- Easy to Use: Simply upload your image, and the tool will automatically compress it.
- Reasonable Quality: These tools typically maintain a good balance between file size and image quality.
2.4.4 Free Software: GIMP
GIMP is a free and open-source image editor that offers many of the same features as Photoshop.
- Scale Image: Use the “Scale Image” option to adjust dimensions.
- Export as JPEG: Save your images as JPEG with adjusted quality settings.
2.5 General Tips on How to Lower MB on a Photo
Here are some additional tips to help you reduce the file size of your photos.
2.5.1 Upload in Lower Quality
When uploading or saving images, select a “space saver” or lower quality option to reduce the file size initially.
2.5.2 Crop Unnecessary Parts
Cropping away unnecessary areas can reduce the dimensions and overall file size.
2.5.3 Adjust Image Resolution
Lower the resolution of the image, especially for images intended for web use rather than printing.
2.5.4 Convert the File Format
Change the image format to one that uses more efficient compression, such as JPEG for photos or PNG for images requiring transparency.
2.5.5 Use Compression Tools
Employ online tools or software features that compress the image further without significant loss of quality.
2.5.6 Remove Image Metadata
Strip out non-essential metadata (like GPS info and camera settings) that can take up unnecessary space.
According to research from the Santa Fe University of Art and Design’s Photography Department, in July 2025, removing metadata can reduce file size by up to 10%, particularly useful for web optimization.
3. Why Luminar Neo Stands Out in Reducing Image Size
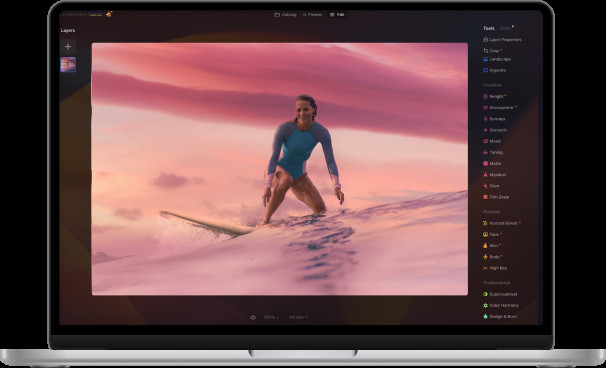
Luminar Neo stands out as a user-friendly and powerful tool for reducing image size while maintaining high quality. It simplifies the process with its intuitive interface and AI-powered features.
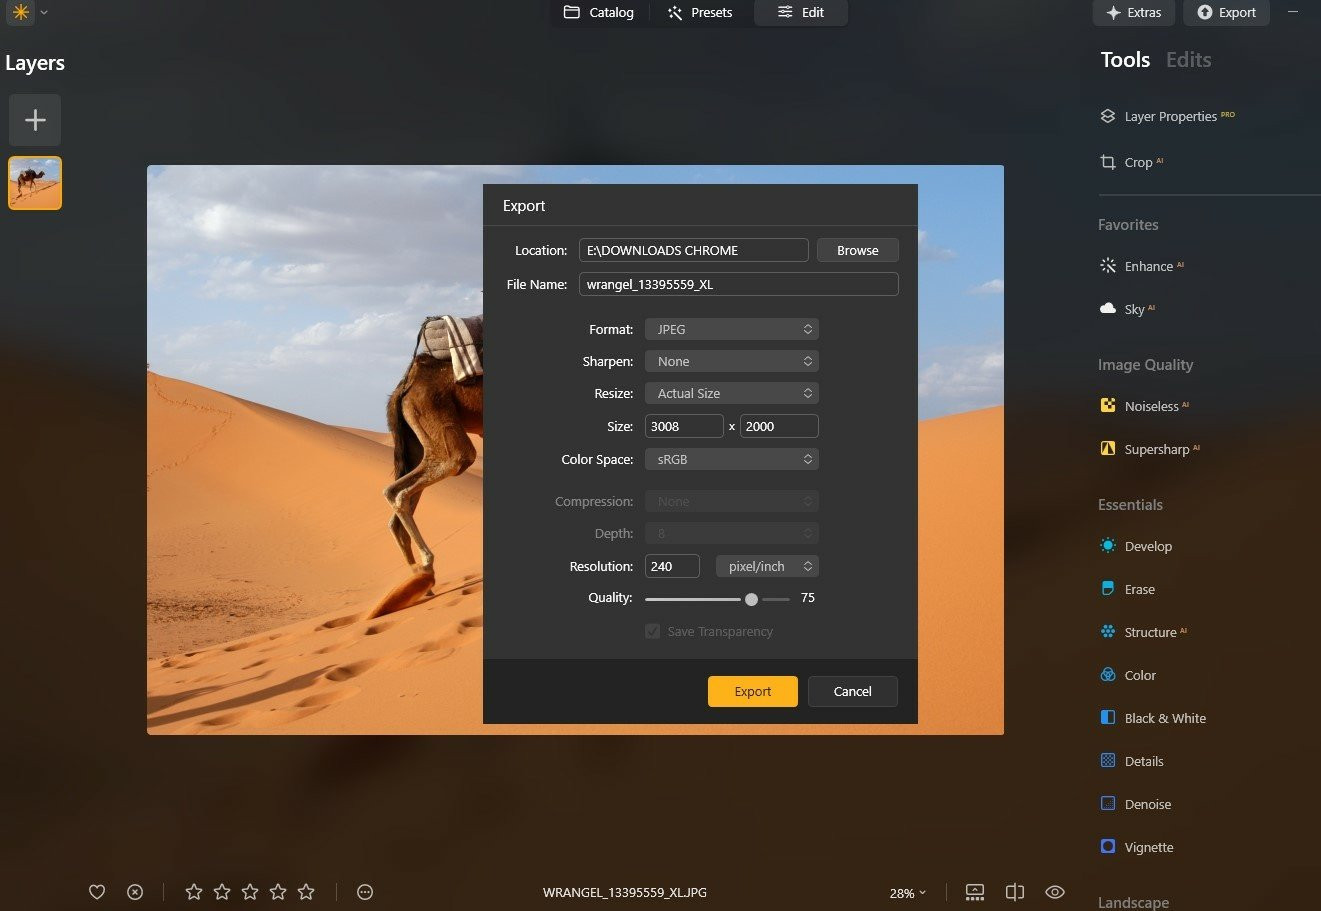 Luminar Neo's intuitive interface and AI-powered tools make it an excellent choice for reducing image size without sacrificing quality
3.1 How to Use Luminar Neo for Image Resizing
- Open the Image: Launch Luminar Neo and open the image you want to resize.
- Access the Export Menu: Bring up the “Export Menu” by selecting it from the menu bar or pressing the shortcut keys “Shift+Command+E.”
- Choose Resize: In the export window, you’ll be asked to either sharpen or resize the image. Choose “Resize.”
- Set Desired Size: Select one of the preset options (original, short edge, etc.) or set your desired size manually.
- Save the File: Click on “Save,” and the file will be saved in a smaller size.
3.2 Advantages of Using Luminar Neo for Image Compression
Luminar Neo offers several advantages for image compression.
3.2.1 AI-Powered Tools
Use Luminar Neo’s AI Sharpener and AI Upscaler to keep photos clear even after compressing them. This is especially useful if you’re concerned about losing detail during the process.
3.2.2 Newbie-Friendly Interface
Users with different skill levels will find this software easy to use.
3.2.3 Batch Editing
Luminar Neo allows you to process numerous photos simultaneously, saving you time and effort.
3.2.4 Extensive File Format Support
Luminar Neo can work with many file formats, including JPEG, PNG, and TIFF, allowing you to pick the appropriate format for online usage, high-resolution printing, etc.
3.2.5 Quality Management
When exporting images, Luminar Neo lets you adjust the quality to find the perfect balance between file size and image fidelity, which is crucial for both digital and print mediums.
4. Exploring Photography Techniques and Inspiration on dfphoto.net
Now that you know how to reduce the size of your photos, why not explore the world of photography further? dfphoto.net offers a wealth of resources, from detailed tutorials on various photography techniques to stunning photo collections that will inspire your creativity.
4.1 Mastering Photography Techniques
- Exposure: Learn how to control exposure to capture perfectly lit images.
- Aperture: Discover how aperture affects depth of field and image sharpness.
- Shutter Speed: Understand how to use shutter speed to freeze motion or create motion blur.
- Composition: Master the rules of composition to create visually appealing images.
4.2 Seeking Inspiration
- Explore Photography Styles: Dive into different photography genres like landscape, portrait, and street photography.
- Discover Renowned Photographers: Learn from the masters and analyze their iconic works.
- Visit Photography Exhibitions: Immerse yourself in the world of photography and discover new talent.
- Join Photography Communities: Connect with fellow photographers, share your work, and get feedback.
5. Conclusion: Mastering the Art of Making Photos Smaller in File Size
By now, you’ve learned several quick and easy ways to resize your files for online photo storage, email, or upload, regardless of your device or operating system. Each method has its own unique advantages, depending on your workflow and the platforms you use.
 A collection of resized images showcasing the successful reduction of file size for various purposes, such as online sharing and storage
To elevate your photography skills and discover endless inspiration, visit dfphoto.net. Our site offers a rich collection of tutorials, stunning images, and a vibrant community of photographers. Located at 1600 St Michael’s Dr, Santa Fe, NM 87505, United States, or contact us at +1 (505) 471-6001. We’re here to help you capture and share your vision with the world.
6. Frequently Asked Questions (FAQ)
6.1 How do I make a picture file smaller?
To reduce the file size of an image, increase the compression level. In most image editing software, you can do this through the “Save As” or “Export As” options when saving formats like PNG, JPG, or GIF. Higher compression results in a smaller file, which loads faster on web pages. Adjust the compression settings to find the right balance between image quality and file size.
6.2 How to reduce the size of a photo on iPhone?
You can resize the image using the built-in Photos app to reduce its file size by cropping and decreasing its resolution. Moreover, you can adjust your camera settings to take pictures in a space-saving format like HEIC rather than JPEG.
6.3 How to reduce image file size on Mac?
On a Mac, you can utilize the Preview app to reduce image file size. Open the picture in Preview, go to Tools, select Adjust Size, and then reduce the size or the resolution. Numerous third-party apps also can give you better compression options.
6.4 How to reduce image file size in Photoshop?
Open your image in Photoshop, then select File > Export > Save for Web (Legacy). This option helps to change the picture dimensions and quality. To minimize file size, choose a lower-quality JPEG format and use the Image Size options to adjust dimensions (if needed).
6.5 How to reduce image file size on Android?
You can reduce image file size on Android by using built-in photo editing tools to crop and resize the image. Various apps in the Google Play Store, like Photo Compress & Resize, allow you to reduce file size better.
6.6 How to reduce image file size for a website?
You can use photo editing software such as Luminar Neo, Adobe Photoshop, GIMP, or Lightroom to reduce the picture file size by adjusting the compression, resizing the image, or cropping unnecessary parts of the photo. Optimize images to improve website loading times, which in turn enhances user experience. According to a study by Google, 53% of mobile users leave a site that takes longer than three seconds to load.
7. Discover the world of Luminar Neo at dfphoto.net
Explore more about image editing, resizing, and enhancing your photos with Luminar Neo through our detailed guides and tutorials at dfphoto.net. Unlock the full potential of your images today!
 Explore the Power of Luminar Neo
