Want to turn your cherished memories into delightful keepsakes? How To Make A Photo Ornament Ball is a simple and creative way to display your favorite pictures. At dfphoto.net, we’ll guide you through the process, ensuring your photo ornament ball becomes a treasured addition to your holiday decor. With personalized photo gifts being increasingly popular, learning this craft provides a unique way to showcase your photography and create memorable holiday ornaments.
1. What Is A Photo Ornament Ball And Why Make One?
A photo ornament ball is a clear, hollow ornament filled with a photograph, often used as a Christmas tree decoration or a personalized gift. Creating a photo ornament ball allows you to showcase your cherished memories in a unique and festive way, transforming ordinary photos into sentimental keepsakes.
1.1. Sentimental Value And Personalization
Photo ornament balls provide deep emotional value and are custom made to evoke warm feelings, creating a personal touch that store-bought ornaments can’t match. According to a study by the American Psychological Association in December 2024, personalized items, like photo ornaments, enhance feelings of connection and happiness during the holiday season.
1.2. Unique Gift Idea
Photo ornaments make great gifts for family and friends, offering a thoughtful and custom present for any occasion. Whether it’s a snapshot from a family vacation or a portrait of a beloved pet, these ornaments capture special moments.
1.3. Creative Display Of Photos
Instead of keeping photos tucked away in albums or digital files, a photo ornament ball allows you to display them creatively. Hanging on a Christmas tree or displayed on a mantel, these ornaments bring your memories to life.
1.4. Preserving Memories
Photo ornament balls help preserve memories by protecting photos from damage and keeping them in a safe, displayable format. Encased in glass or plastic, your photos are shielded from dust, moisture, and fading.
1.5. Holiday Tradition
Making photo ornament balls can become a cherished holiday tradition, with each year bringing new memories and new ornaments. It’s an engaging activity that family members can enjoy together, creating lasting bonds and a sense of togetherness.
2. What Materials Do You Need To Make A Photo Ornament Ball?
Gathering the right materials is the first step in crafting your personalized photo ornament ball. This section provides a detailed list of everything you’ll need to bring your vision to life.
2.1. Clear Glass Or Plastic Ornament Balls
Choose clear glass or plastic ornament balls, selecting the right size for your photos and desired look. According to craft supply retailers in the USA, clear glass bulbs with wider openings make inserting photos easier, enhancing the crafting experience.
2.2. Photos
Select your favorite photos, ensuring they are the correct size and resolution for the ornament ball. Sentimental choices such as family photos or old photos are perfect for creating cherished keepsakes.
2.3. Scissors Or Circle Cutter
Use scissors or a circle cutter for trimming photos, ensuring they fit perfectly inside the ornament. Precision cutting tools can help achieve a neat and professional look.
2.4. Double-Sided Tape Or Glue
Opt for acid-free double-sided tape or glue to secure the photo inside the ornament without damaging it over time. Acid-free adhesives prevent yellowing and degradation of the photo.
2.5. Fishing Line Or Ribbon
Use fishing line or ribbon for hanging the ornament, providing a secure and decorative way to display your creation. Choose colors and materials that complement your overall design.
2.6. Embellishments (Optional)
Consider optional embellishments such as glitter, small charms, or paint to customize your ornament further. These extras can add a personal touch and make your ornament truly unique.
2.7. Soft Brush Or Stick
Employ a soft brush or stick to flatten the photo inside the ornament, avoiding any scratches or dents. Tools with soft tips help smooth out the photo without causing damage.
3. How Do You Prepare Your Photos For A Photo Ornament Ball?
Properly preparing your photos is crucial for creating a beautiful and lasting photo ornament ball. Here’s how to get your photos ready for this special project.
3.1. Selecting The Right Photos
Choose high-resolution photos that evoke positive emotions, ensuring they are clear and vibrant. Family portraits, candid shots, and pictures of special events are excellent choices.
3.2. Resizing And Cropping
Resize and crop your photos to fit the ornament, using photo editing software or online tools for precision. Ensure the main subjects are well-centered and visible within the circular frame.
3.3. Printing Photos
Print your photos on lightweight cardstock or photo paper, ensuring the colors are accurate and the paper is durable. According to Popular Photography magazine, thinner prints tend to flatten more easily inside the ornament.
3.4. Adding Dates And Names
Personalize your photos by adding dates, names, or short messages using photo editing software or handwriting. This adds a personal touch and makes the ornament even more meaningful.
3.5. Creating A Template
Create a template using a drinking glass or circle cutter to ensure accurate and consistent sizing. This template will guide you in trimming your photos to the perfect circular shape.
4. Step-By-Step Guide: How To Make A Photo Ornament Ball
Follow this detailed, step-by-step guide to create your own beautiful photo ornament ball, complete with easy-to-follow instructions and helpful tips.
4.1. Gather Your Supplies
Collect all the necessary materials: clear ornament ball, prepared photo, scissors, double-sided tape, fishing line or ribbon, and a soft brush or stick. Ensure everything is within reach to streamline the process.
4.2. Cut The Photo
Using your template, carefully cut the photo into a circle, ensuring it fits comfortably inside the ornament. Take your time to achieve a clean, precise cut.
4.3. Apply Double-Sided Tape
Apply strips of acid-free double-sided tape to the back of the photo, covering the entire surface to secure it inside the ornament. This prevents the photo from shifting or falling.
4.4. Attach Fishing Line
Cut a length of fishing line, fold it in half, and stick the looped end to the center of the photo, creating a secure hanging loop. Sandwich the fishing line between the photo and a cardstock circle for added durability.
4.5. Roll The Photo
Gently roll the photo into a tube with the image facing outward, making it easier to insert into the ornament. Be careful not to crease or damage the photo during this step.
4.6. Insert The Photo
Carefully insert the rolled photo into the ornament through the opening, ensuring there are no sharp edges that could scratch the photo. If the opening is narrow, gently squeeze the ornament to widen it slightly.
4.7. Flatten The Photo
Use a soft brush or stick to gently flatten the photo inside the ornament, smoothing out any wrinkles or creases. Work slowly and carefully to avoid damaging the photo.
4.8. Secure The Hanging Loop
Thread the ends of the fishing line through the holes in the ornament cap, slip the cap back onto the ornament, and tie off the fishing line securely. Knot the strings multiple times to ensure they will not come undone.
4.9. Add Embellishments (Optional)
If desired, add embellishments such as glitter, small charms, or paint to the outside of the ornament for a personalized touch. Get creative and let your personality shine through.
4.10. Attach Ribbon Or Hanger
Complete your ornament by attaching a decorative ribbon or hanger to the cap, ensuring it is securely fastened. Your photo ornament ball is now ready to display or gift.
5. What Are Some Creative Ideas For Photo Ornament Balls?
Elevate your photo ornament balls with these innovative and creative ideas, adding unique flair and sentimental value to your decorations.
5.1. Family History Ornaments
Create ornaments featuring old family photos, preserving your heritage and sharing your family story. According to genealogy experts, displaying historical photos helps connect generations and keep family traditions alive.
5.2. Pet Photo Ornaments
Showcase your furry friends with adorable pet photo ornaments, capturing their unique personalities and charm. These make perfect gifts for pet lovers and add a heartwarming touch to your tree.
5.3. Vacation Memory Ornaments
Commemorate your favorite trips with vacation memory ornaments, featuring snapshots from your travels. These ornaments evoke fond memories and serve as a reminder of your adventures.
5.4. Baby’s First Christmas Ornaments
Celebrate a baby’s first Christmas with a special photo ornament, capturing this milestone moment. Add the baby’s name and birthdate for an extra personal touch.
5.5. Wedding Photo Ornaments
Relive your special day with wedding photo ornaments, featuring cherished moments from your wedding. These make beautiful keepsakes and thoughtful gifts for newlyweds.
5.6. Themed Ornaments
Design themed ornaments for different holidays or occasions, such as Halloween, Thanksgiving, or birthdays. Use appropriate colors, embellishments, and photos to match the theme.
5.7. Glitter And Snow Ornaments
Add glitter or faux snow inside the ornament for a festive, wintery effect, enhancing the visual appeal of your photo. This creates a magical, eye-catching display.
6. How Can You Personalize Your Photo Ornament Ball?
Personalizing your photo ornament ball makes it even more special and unique. Here are some ideas to add a personal touch.
6.1. Handwrite Messages
Add handwritten messages, names, or dates to the back of the photo or on a separate piece of paper inside the ornament. This adds a heartfelt, personal touch.
6.2. Use Special Embellishments
Incorporate special embellishments such as charms, beads, or small mementos that hold personal significance. These items can represent hobbies, interests, or memorable events.
6.3. Add Glitter Or Paint
Decorate the outside of the ornament with glitter or paint, creating custom designs that reflect your personal style. Use stencils or freehand designs for a unique look.
6.4. Incorporate Fabric Or Ribbon
Add fabric scraps, lace, or ribbon inside the ornament to create texture and visual interest. Choose materials that complement the photo and overall design.
6.5. Create A Collage
Instead of using a single photo, create a collage of multiple smaller photos inside the ornament, showcasing a collection of memories. This allows you to tell a more comprehensive story.
6.6. Use Calligraphy
Use calligraphy to write names, dates, or quotes on the photo or on a separate piece of paper inside the ornament. This adds an elegant, artistic touch.
7. Tips And Tricks For A Perfect Photo Ornament Ball
Achieving the perfect photo ornament ball requires attention to detail and a few helpful tricks. Here are some tips to ensure your project is a success.
7.1. Use High-Quality Photos
Start with high-quality photos for the best results, ensuring they are clear, sharp, and vibrant. Poor quality photos will result in a blurry or pixelated ornament.
7.2. Choose The Right Size Ornament
Select an ornament size that complements your photo, ensuring it fits comfortably inside without being too cramped or too small. Measure your photo and the ornament opening to ensure a good fit.
7.3. Use Acid-Free Materials
Always use acid-free tape and paper to prevent yellowing and degradation of your photos over time. This will help preserve your memories for years to come.
7.4. Flatten Photos Carefully
When flattening the photo inside the ornament, use a soft brush or stick and gentle pressure to avoid scratching or denting the image. Patience is key to achieving a smooth, wrinkle-free finish.
7.5. Secure The Hanging Loop
Ensure the hanging loop is securely attached to the ornament cap, using multiple knots or strong adhesive to prevent it from coming undone. Test the loop before hanging the ornament to ensure it can support the weight.
7.6. Protect The Ornament
Handle the ornament with care to avoid breakage, especially if using glass balls. Store the finished ornaments in a safe place, away from direct sunlight and extreme temperatures.
7.7. Experiment With Different Styles
Don’t be afraid to experiment with different styles and embellishments to create unique and personalized ornaments. Try different colors, textures, and materials to find what works best for you.
8. Common Mistakes To Avoid When Making A Photo Ornament Ball
While making a photo ornament ball is relatively straightforward, there are common mistakes to avoid to ensure a flawless final product.
8.1. Using Low-Resolution Photos
Avoid using low-resolution photos that appear blurry or pixelated when printed. Always use high-resolution images for the best clarity.
8.2. Incorrectly Sized Photos
Be careful not to use photos that are too large or too small for the ornament, as they will either be difficult to insert or look disproportionate. Measure and resize your photos accurately.
8.3. Using Non-Acid-Free Materials
Avoid using non-acid-free tape or paper, as these can cause your photos to yellow and degrade over time. Always opt for acid-free materials.
8.4. Damaging The Photo
Be gentle when rolling and flattening the photo inside the ornament to avoid creases, scratches, or tears. Use a soft brush or stick and apply even pressure.
8.5. Insecure Hanging Loop
Don’t neglect to securely attach the hanging loop, as a loose loop can cause the ornament to fall and break. Use multiple knots and strong adhesive for a secure hold.
8.6. Overcrowding The Ornament
Avoid overcrowding the ornament with too many embellishments, as this can detract from the photo and make the ornament look cluttered. Keep it simple and focus on highlighting the photo.
9. How To Display And Care For Your Photo Ornament Balls
Proper display and care are essential to keep your photo ornament balls looking their best for years to come. Here are some tips to ensure their longevity.
9.1. Hanging On A Christmas Tree
Hang your photo ornament balls on a Christmas tree, spacing them evenly among other ornaments for a balanced look. Avoid placing them near heat sources or sharp objects that could damage them.
9.2. Displaying On A Mantel Or Shelf
Display your photo ornament balls on a mantel or shelf, using ornament stands or decorative bowls to showcase them. Arrange them among other holiday decorations for a festive display.
9.3. Storing Properly
Store your photo ornament balls in a cool, dry place, away from direct sunlight and extreme temperatures. Use padded ornament boxes or containers to protect them from breakage.
9.4. Cleaning Gently
Clean your photo ornament balls gently with a soft, dry cloth to remove dust and fingerprints. Avoid using harsh chemicals or abrasive cleaners that could damage the surface.
9.5. Rotating Display
Rotate your display of photo ornament balls each year to prevent fading and wear. Keep some ornaments in storage while displaying others to prolong their lifespan.
9.6. Inspecting Regularly
Inspect your photo ornament balls regularly for any signs of damage, such as cracks, fading, or loose embellishments. Repair any issues promptly to prevent further deterioration.
10. FAQ About How To Make A Photo Ornament Ball
Here are some frequently asked questions about making photo ornament balls, providing quick answers and helpful tips.
10.1. What kind of photos work best for photo ornament balls?
High-resolution photos printed on lightweight cardstock or photo paper work best, ensuring clarity and durability inside the ornament.
10.2. Can I use photos printed on regular paper?
While you can use photos printed on regular paper, they may not hold up as well over time and can be more prone to wrinkling inside the ornament.
10.3. How do I prevent the photo from yellowing inside the ornament?
Use acid-free tape and paper to prevent yellowing, ensuring your photos remain vibrant and clear for years to come.
10.4. What size ornament ball should I use?
Choose an ornament ball size that complements your photo, typically around 3 inches in diameter, allowing the photo to fit comfortably inside.
10.5. How do I flatten the photo inside the ornament without damaging it?
Use a soft brush or stick and gentle pressure to flatten the photo, working slowly and carefully to avoid creases or scratches.
10.6. Can I add glitter or other embellishments inside the ornament?
Yes, you can add glitter, faux snow, or small charms inside the ornament for a festive touch, but avoid overcrowding it.
10.7. How do I secure the hanging loop to the ornament?
Thread the ends of the fishing line through the holes in the ornament cap and tie them securely, knotting multiple times to ensure it holds.
10.8. What if the photo is too big for the ornament opening?
Gently roll the photo into a tighter tube to fit it through the opening, or consider trimming the photo slightly if necessary.
10.9. How do I clean the ornament without damaging the photo inside?
Use a soft, dry cloth to gently wipe the outside of the ornament, avoiding any harsh chemicals or abrasive cleaners.
10.10. Where can I find supplies for making photo ornament balls?
You can find clear ornament balls, acid-free tape, and other supplies at craft stores, online retailers like Amazon, and local hobby shops.
Creating a photo ornament ball is a delightful way to personalize your holiday decorations and preserve cherished memories. Remember, dfphoto.net is your go-to source for all things photography. Visit dfphoto.net to explore more creative ideas, find expert tips, and connect with a vibrant community of photography enthusiasts. Whether you’re looking for inspiration for your next project or seeking advice on the best equipment, dfphoto.net has everything you need to elevate your skills and passion for photography. Discover stunning photo galleries, in-depth tutorials, and the latest trends in the world of visual arts. Join us and transform your moments into timeless treasures. Address: 1600 St Michael’s Dr, Santa Fe, NM 87505, United States. Phone: +1 (505) 471-6001. Website: dfphoto.net.
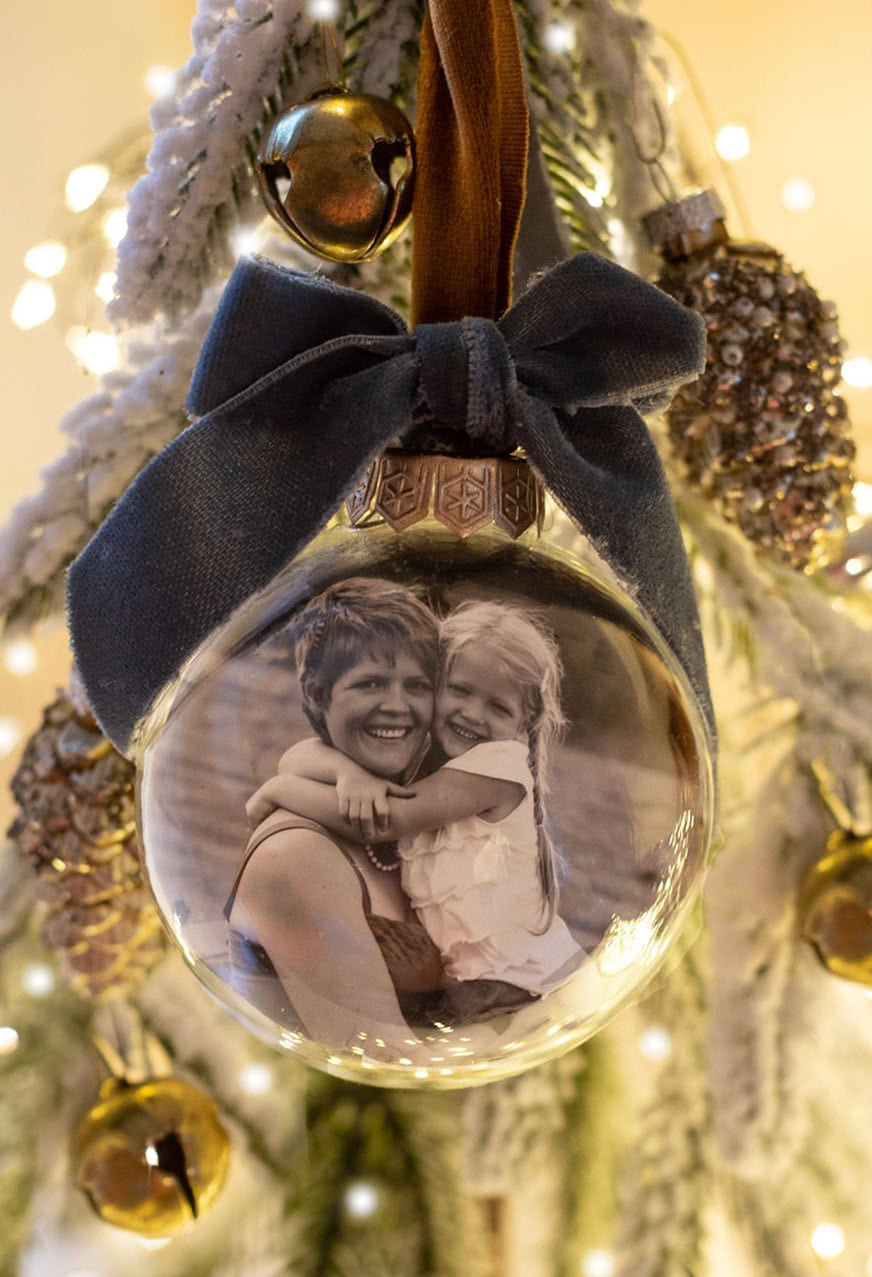
 DIY Glass Photo Ornament, a tutorial featured by top US life and style blog, Fynes Designs:DIY personalized Glass Photo Ornaments. Make the perfect keepsake or gift! | Photo Ornaments by popular Canada DIY blog, Fynes Designs: Pinterest image of a glass photo ornament.
Crafting a personalized DIY glass photo ornament to capture cherished memories.
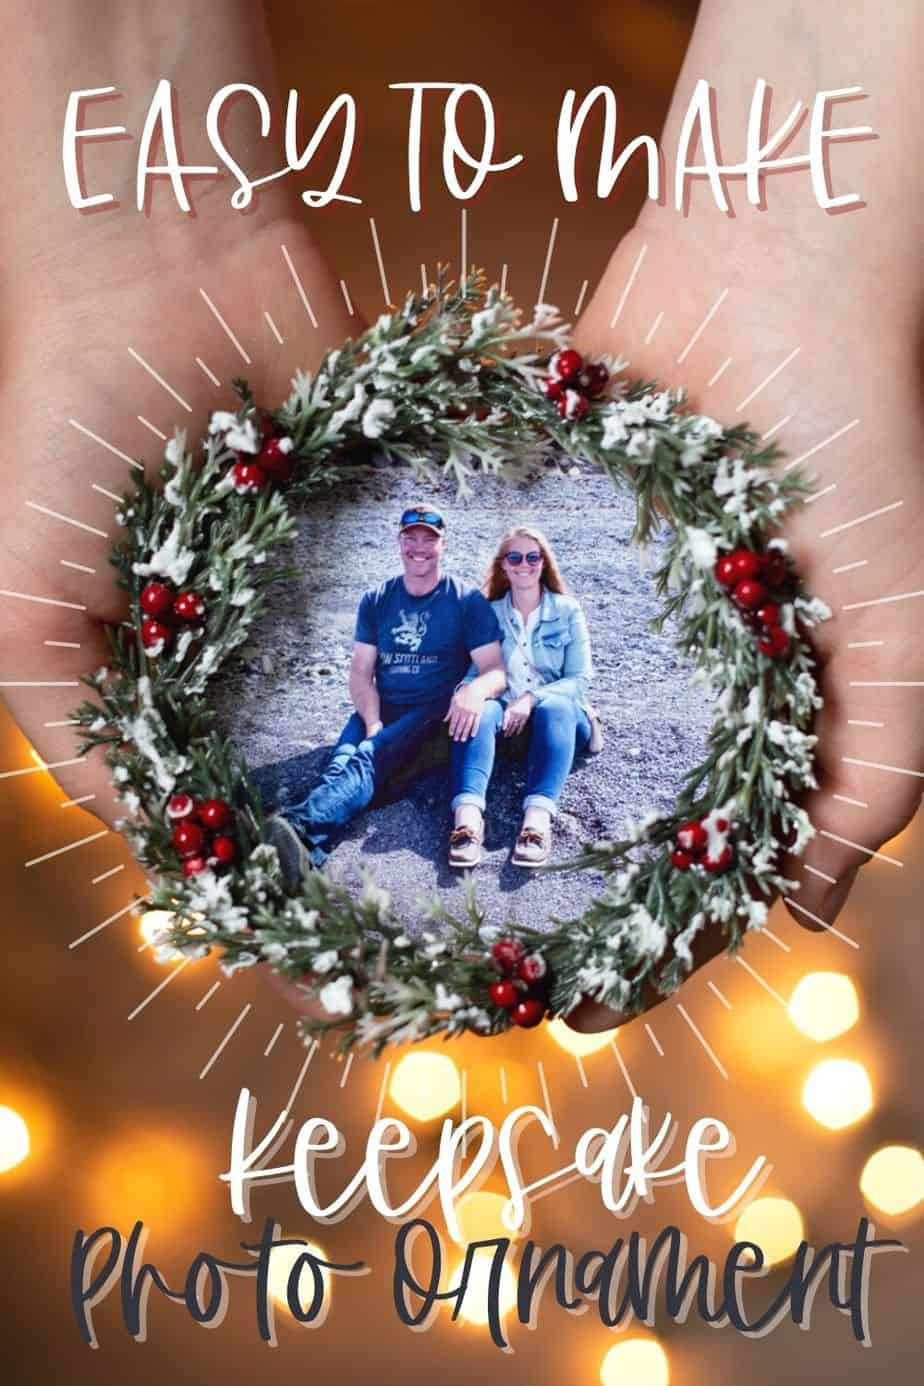
 DIY Glass Photo Ornament, a tutorial featured by top US life and style blog, Fynes Designs:DIY personalized Glass Photo Ornaments. Make the perfect keepsake or gift! | Photo Ornaments by popular Canada DIY blog, Fynes Designs: Pinterest image of a glass photo ornament.
Essential materials for creating your own unique DIY glass photo ornament.
 DIY Glass Photo Ornament, a tutorial featured by top US life and style blog, Fynes Designs:DIY personalized Glass Photo Ornaments. Make the perfect keepsake or gift! |Photo Ornaments by popular Canada DIY blog, Fynes Designs: collage image of a woman making DIY photo ornaments.
A woman crafting personalized DIY photo ornaments for Christmas, adding a unique and sentimental touch.
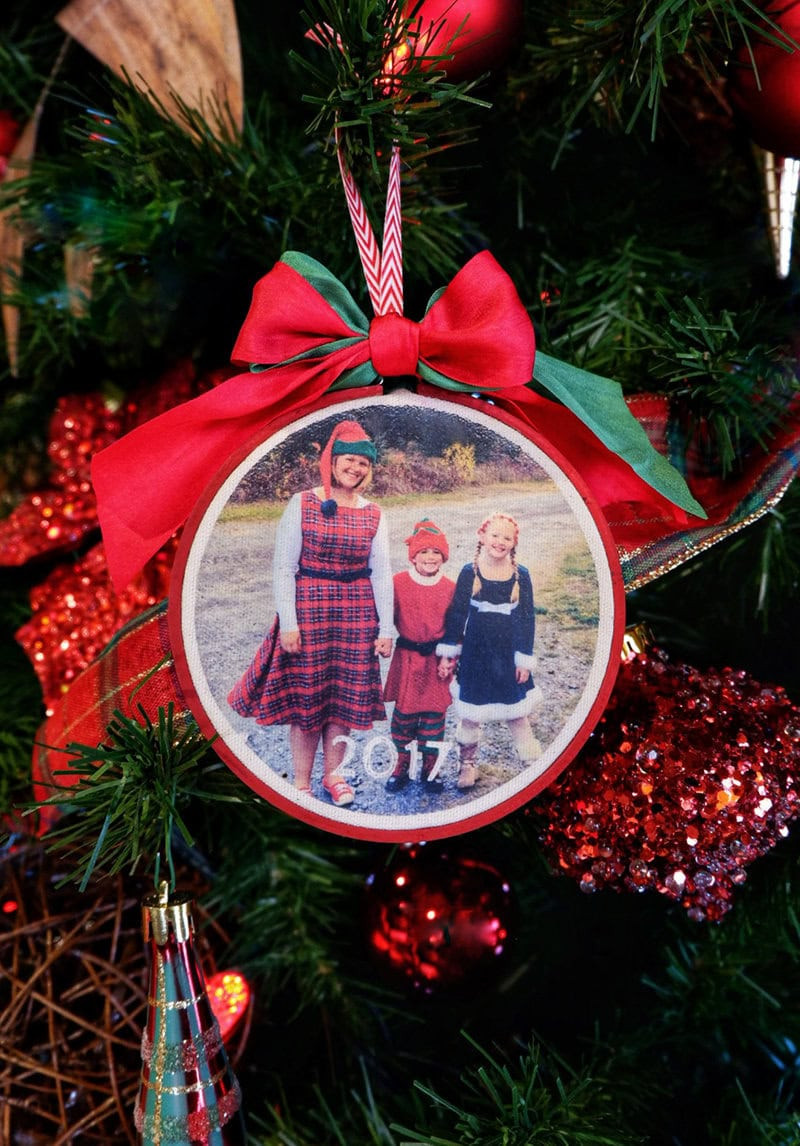
 DIY Glass Photo Ornament, a tutorial featured by top US life and style blog, Fynes Designs: Photo Glass Ornament tutorial, easily done, makes a great #gift or keepsake |Photo Ornaments by popular Canada DIY blog, Fynes Designs: image of DIY photo ornaments.
A completed DIY photo ornament showcasing front and back views, perfect as a personalized gift or keepsake.
 A handcrafted DIY baby’s first Christmas ornament featuring a photo of a baby with Santa Claus, framed inside a clear ornament with festive decorations.
A beautifully handcrafted DIY ornament capturing a baby’s first Christmas with Santa Claus.
 Easy to make photo ornament from an IKEA coaster
An easy-to-make photo ornament creatively crafted from an IKEA coaster.
 Tutorial to create Easy DIY iron on Christmas Photo Ornaments. Step by step instructions.
Step-by-step tutorial for creating easy DIY iron-on Christmas photo ornaments.
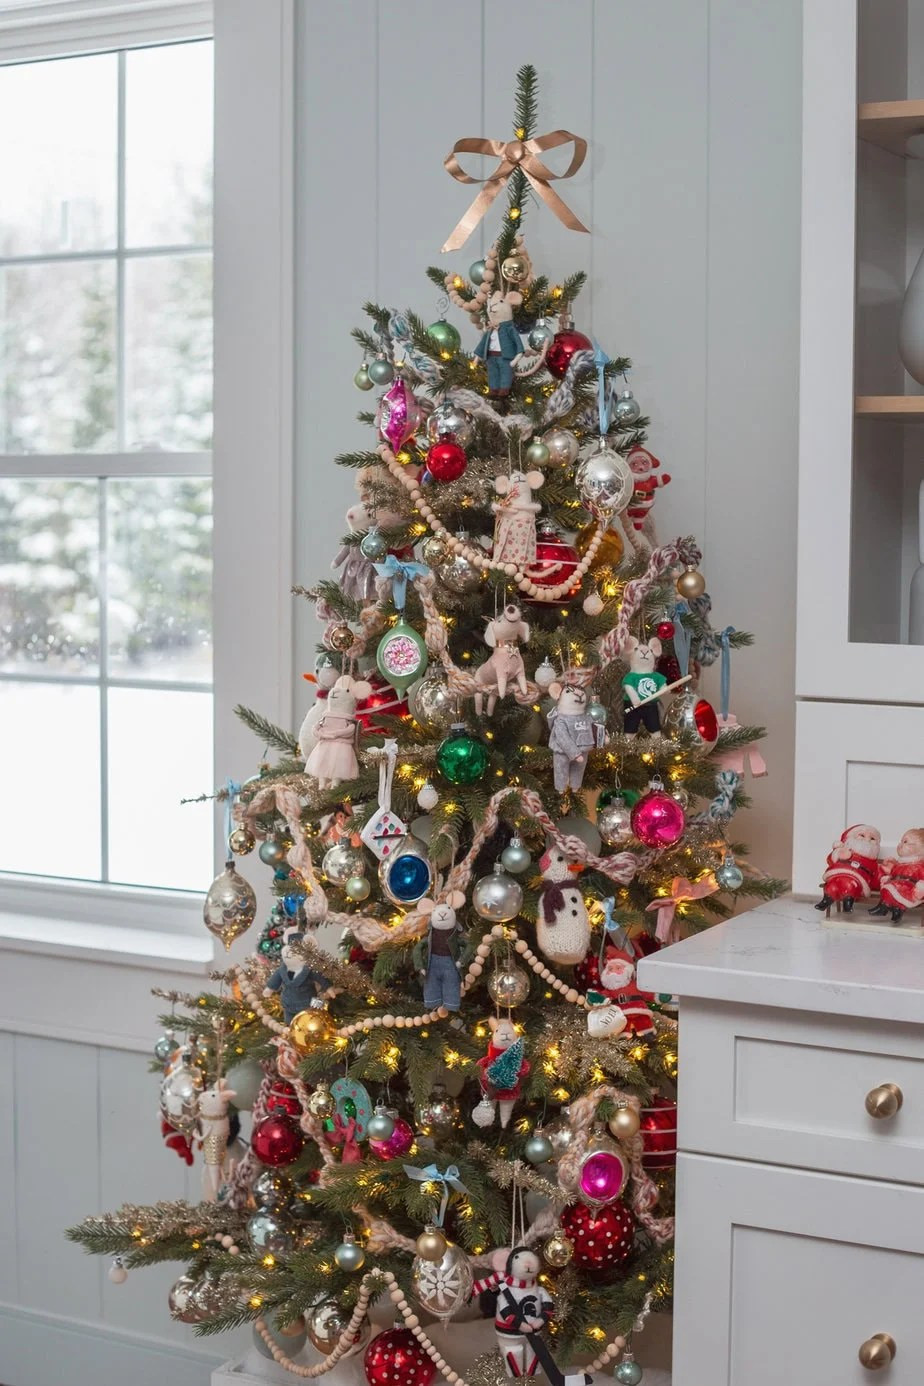 Vintage-inspired Christmas tree featuring colorful ornaments, handmade felt mice, wooden garlands, and twinkling lights, standing in a cozy kitchen corner
A vintage-inspired Christmas tree adorned with handmade ornaments and twinkling lights.
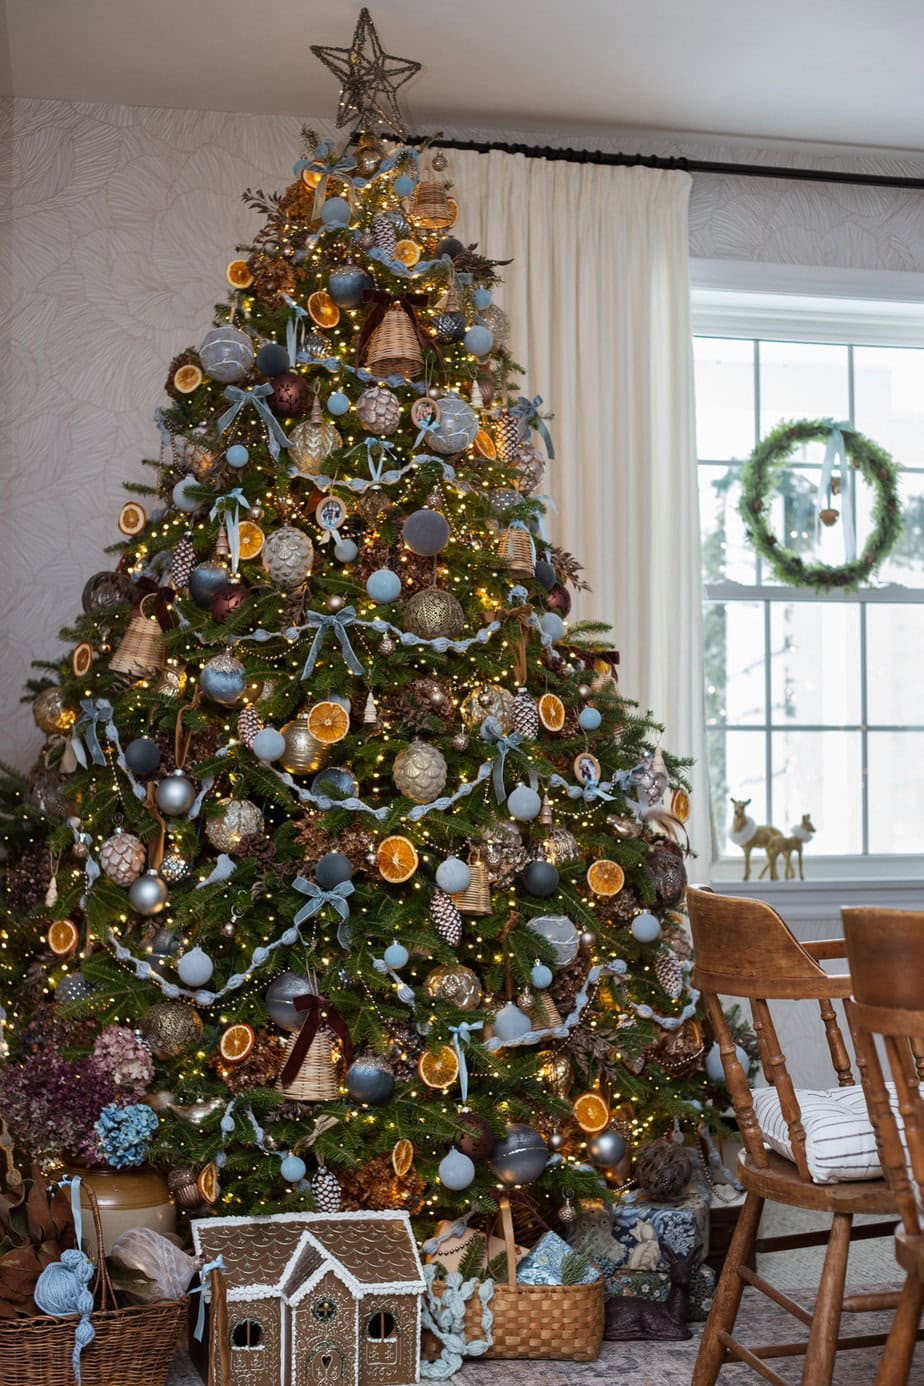 A beautifully decorated Christmas tree adorned with blue and gold ornaments, dried orange slices, ribbons, pinecones, and fairy lights in a cozy dining room. A gingerbread house sits under the tree, surrounded by woven baskets and small decorations. A wreath hangs on the window in the background with natural light illuminating the space. Wooden chairs add warmth to the rustic setting.
An elegantly decorated Christmas tree featuring blue and gold ornaments and natural elements.
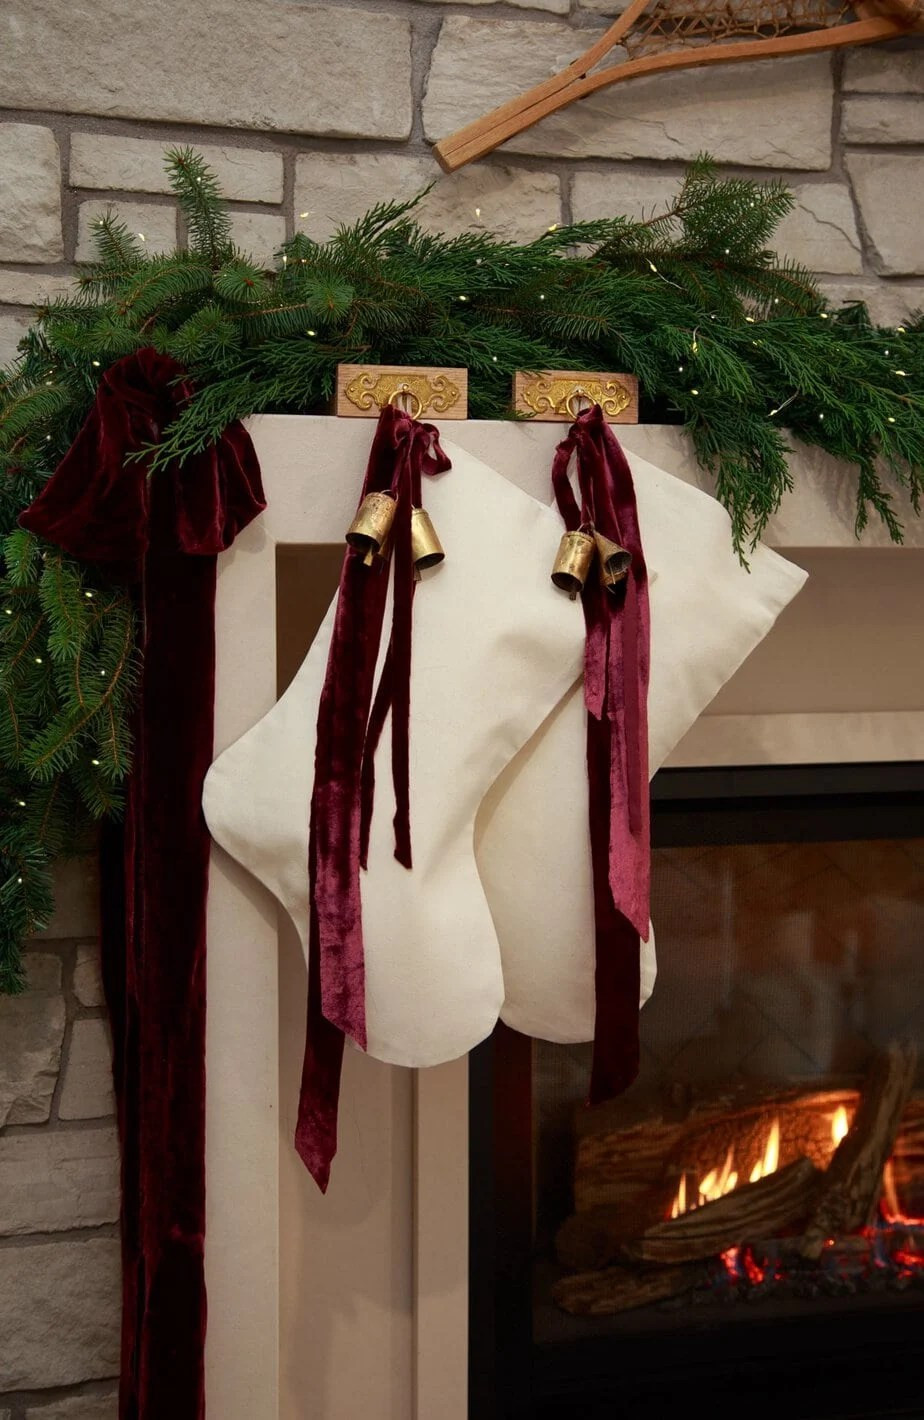 Handmade Christmas stockings made with white linen and burgundy velvet ribbons accents, hanging from gold stocking holders on a mantel decorated with fresh greenery, velvet ribbons, and brass bells.
Handmade Christmas stockings with elegant accents hanging from a decorated mantel.
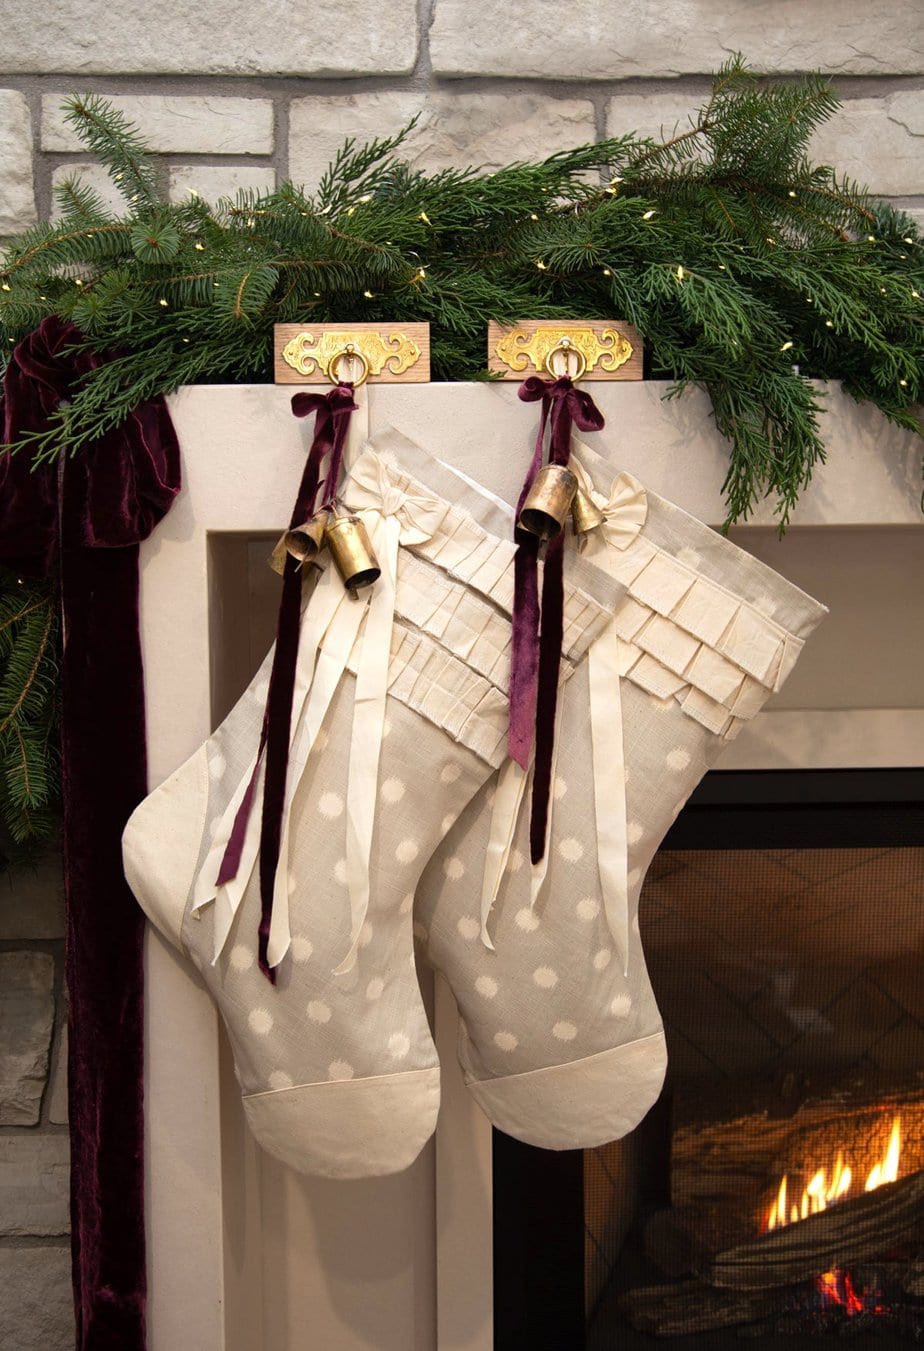 Elegant handmade Christmas stockings with polka dots and layered fabric ruffles, hanging on a mantel adorned with evergreen garland and velvet ribbons, beside a cozy fireplace.
Elegant handmade Christmas stockings hanging on a mantel adorned with evergreen garland and velvet ribbons.
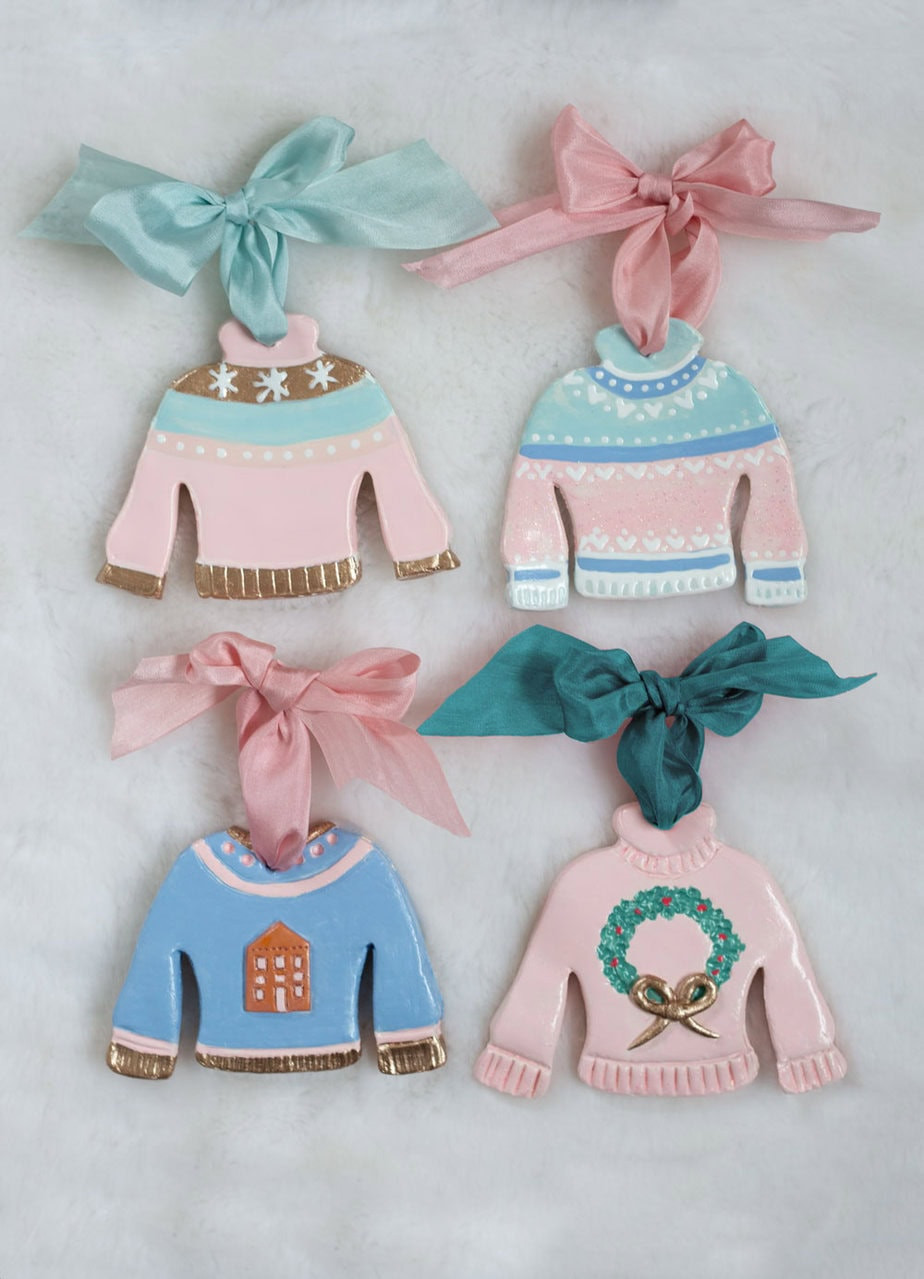 Four pastel-colored sweater-shaped air dry clay ornaments with intricate painted details and tied with pink and teal silk ribbons, displayed on a soft white background.
Pastel-colored sweater-shaped air dry clay ornaments with intricate painted details.
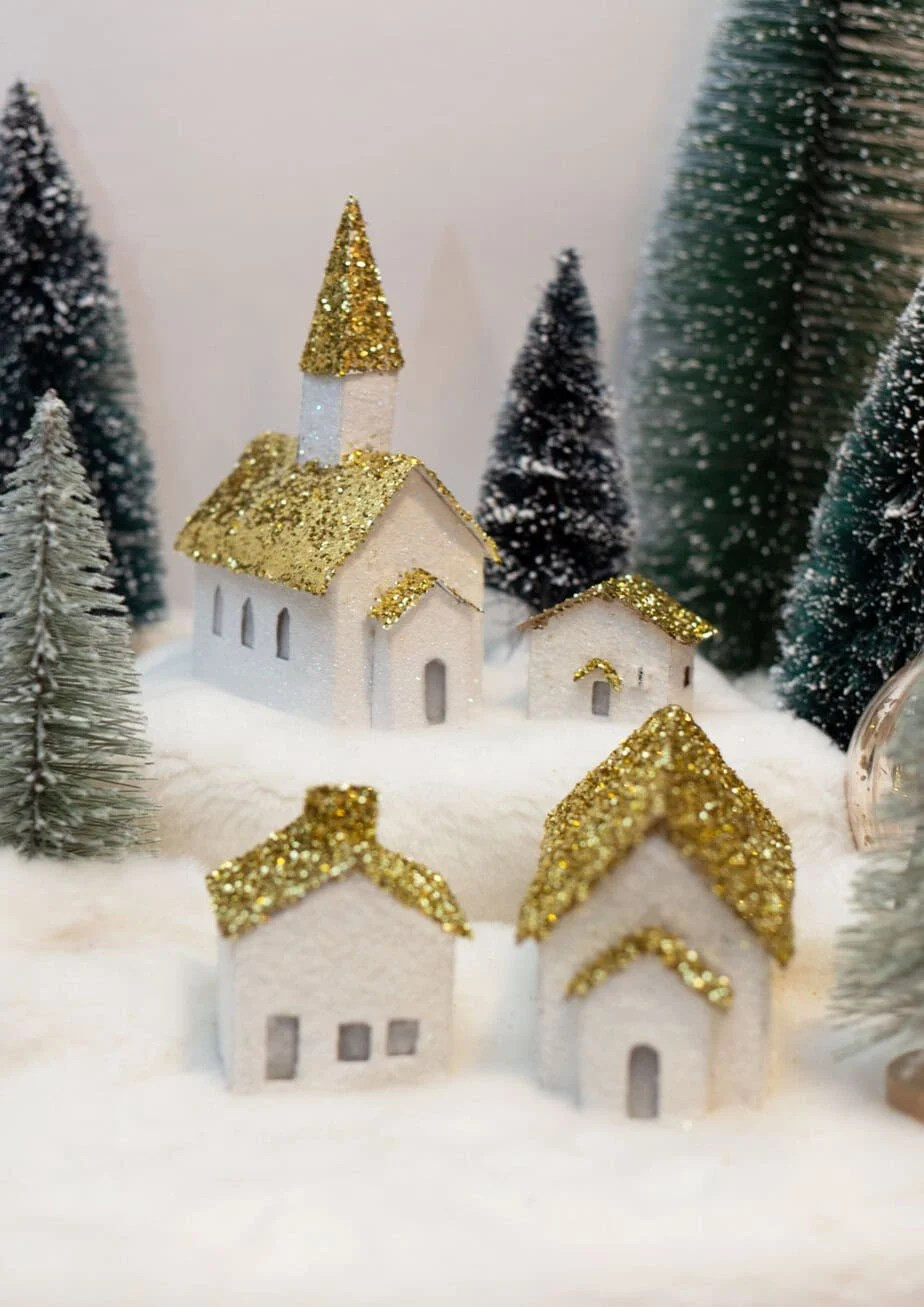 A handcrafted miniature Christmas village scene with white cardboard houses and a church, each topped with a gold-glittered roof. The village is surrounded by small green and frosted bottlebrush trees, set on a snowy white surface.
A handcrafted miniature Christmas village scene with white cardboard houses and gold-glittered roofs.