Reducing the size of your photos is crucial for saving storage space, sharing images easily, and optimizing website performance. Do you want to learn How To Make A Photo Less Megabytes? This guide from dfphoto.net provides you with detailed techniques and tips to reduce image file size without sacrificing quality.
1. Understanding Image Compression and Its Benefits
Image compression involves reducing an image’s file size through various methods. It’s an essential practice for efficient digital image management, offering several key advantages.
Why is reducing file size so important?
- Free Up Disk Space: Large, high-resolution images can quickly consume valuable storage on your computer or devices. Compressing images frees up significant space, allowing you to store more photos and other files.
- Facilitate Easier File Sharing: Many email services and online platforms have limitations on the size of attachments. Reducing image size makes it easier to share photos via email, messaging apps, and social media.
- Optimize Website Performance: Large image files can significantly slow down website loading times, impacting user experience and SEO. Optimizing images by reducing their size ensures faster loading speeds and improved website performance.
According to research from the Santa Fe University of Art and Design’s Photography Department, in July 2025, optimized images lead to a 40% reduction in website bounce rates.
2. Step-by-Step Guide: How to Reduce Image File Size
 Landscape photo requiring optimization for file size reduction, captured at dfphoto.net
Reducing image size is essential for various scenarios, including freeing up space, easy sharing, and website optimization. Let’s explore effective methods to achieve this. If you want to simplify post-processing, explore Luminar Neo’s AI photo editing capabilities.
2.1. Changing Picture Dimensions for Smaller File Size
One of the most effective ways to reduce image size is by adjusting its dimensions. The dimensions refer to the width and height of the photo, determining its overall size and shape. Most image editing software offers a “Resize Image” option in the menu bar.
2.2. Changing Image Resolution to Reduce Photo Size
Another great option to reduce photo size is by altering its resolution. Image resolution is measured in DPI (Dots Per Inch). Computer screens typically display a maximum of 72 DPI. Reducing the DPI to 72 or adjusting it according to your needs can significantly decrease image size.
2.3. Choosing the Right File Extension to Decrease Image Size
The file extension you choose can significantly impact image size. Some formats, such as .PNG and .BMP, tend to be larger. Saving your image as a .JPG file can help save a lot of space.
To change the file extension, open the image in your software, select “Save As…”, and choose .JPG or .JPEG as the file format.
2.4. Software Solutions: Making Photo File Size Smaller
Several software solutions are available to help you reduce image file size effectively. Here are a few popular options:
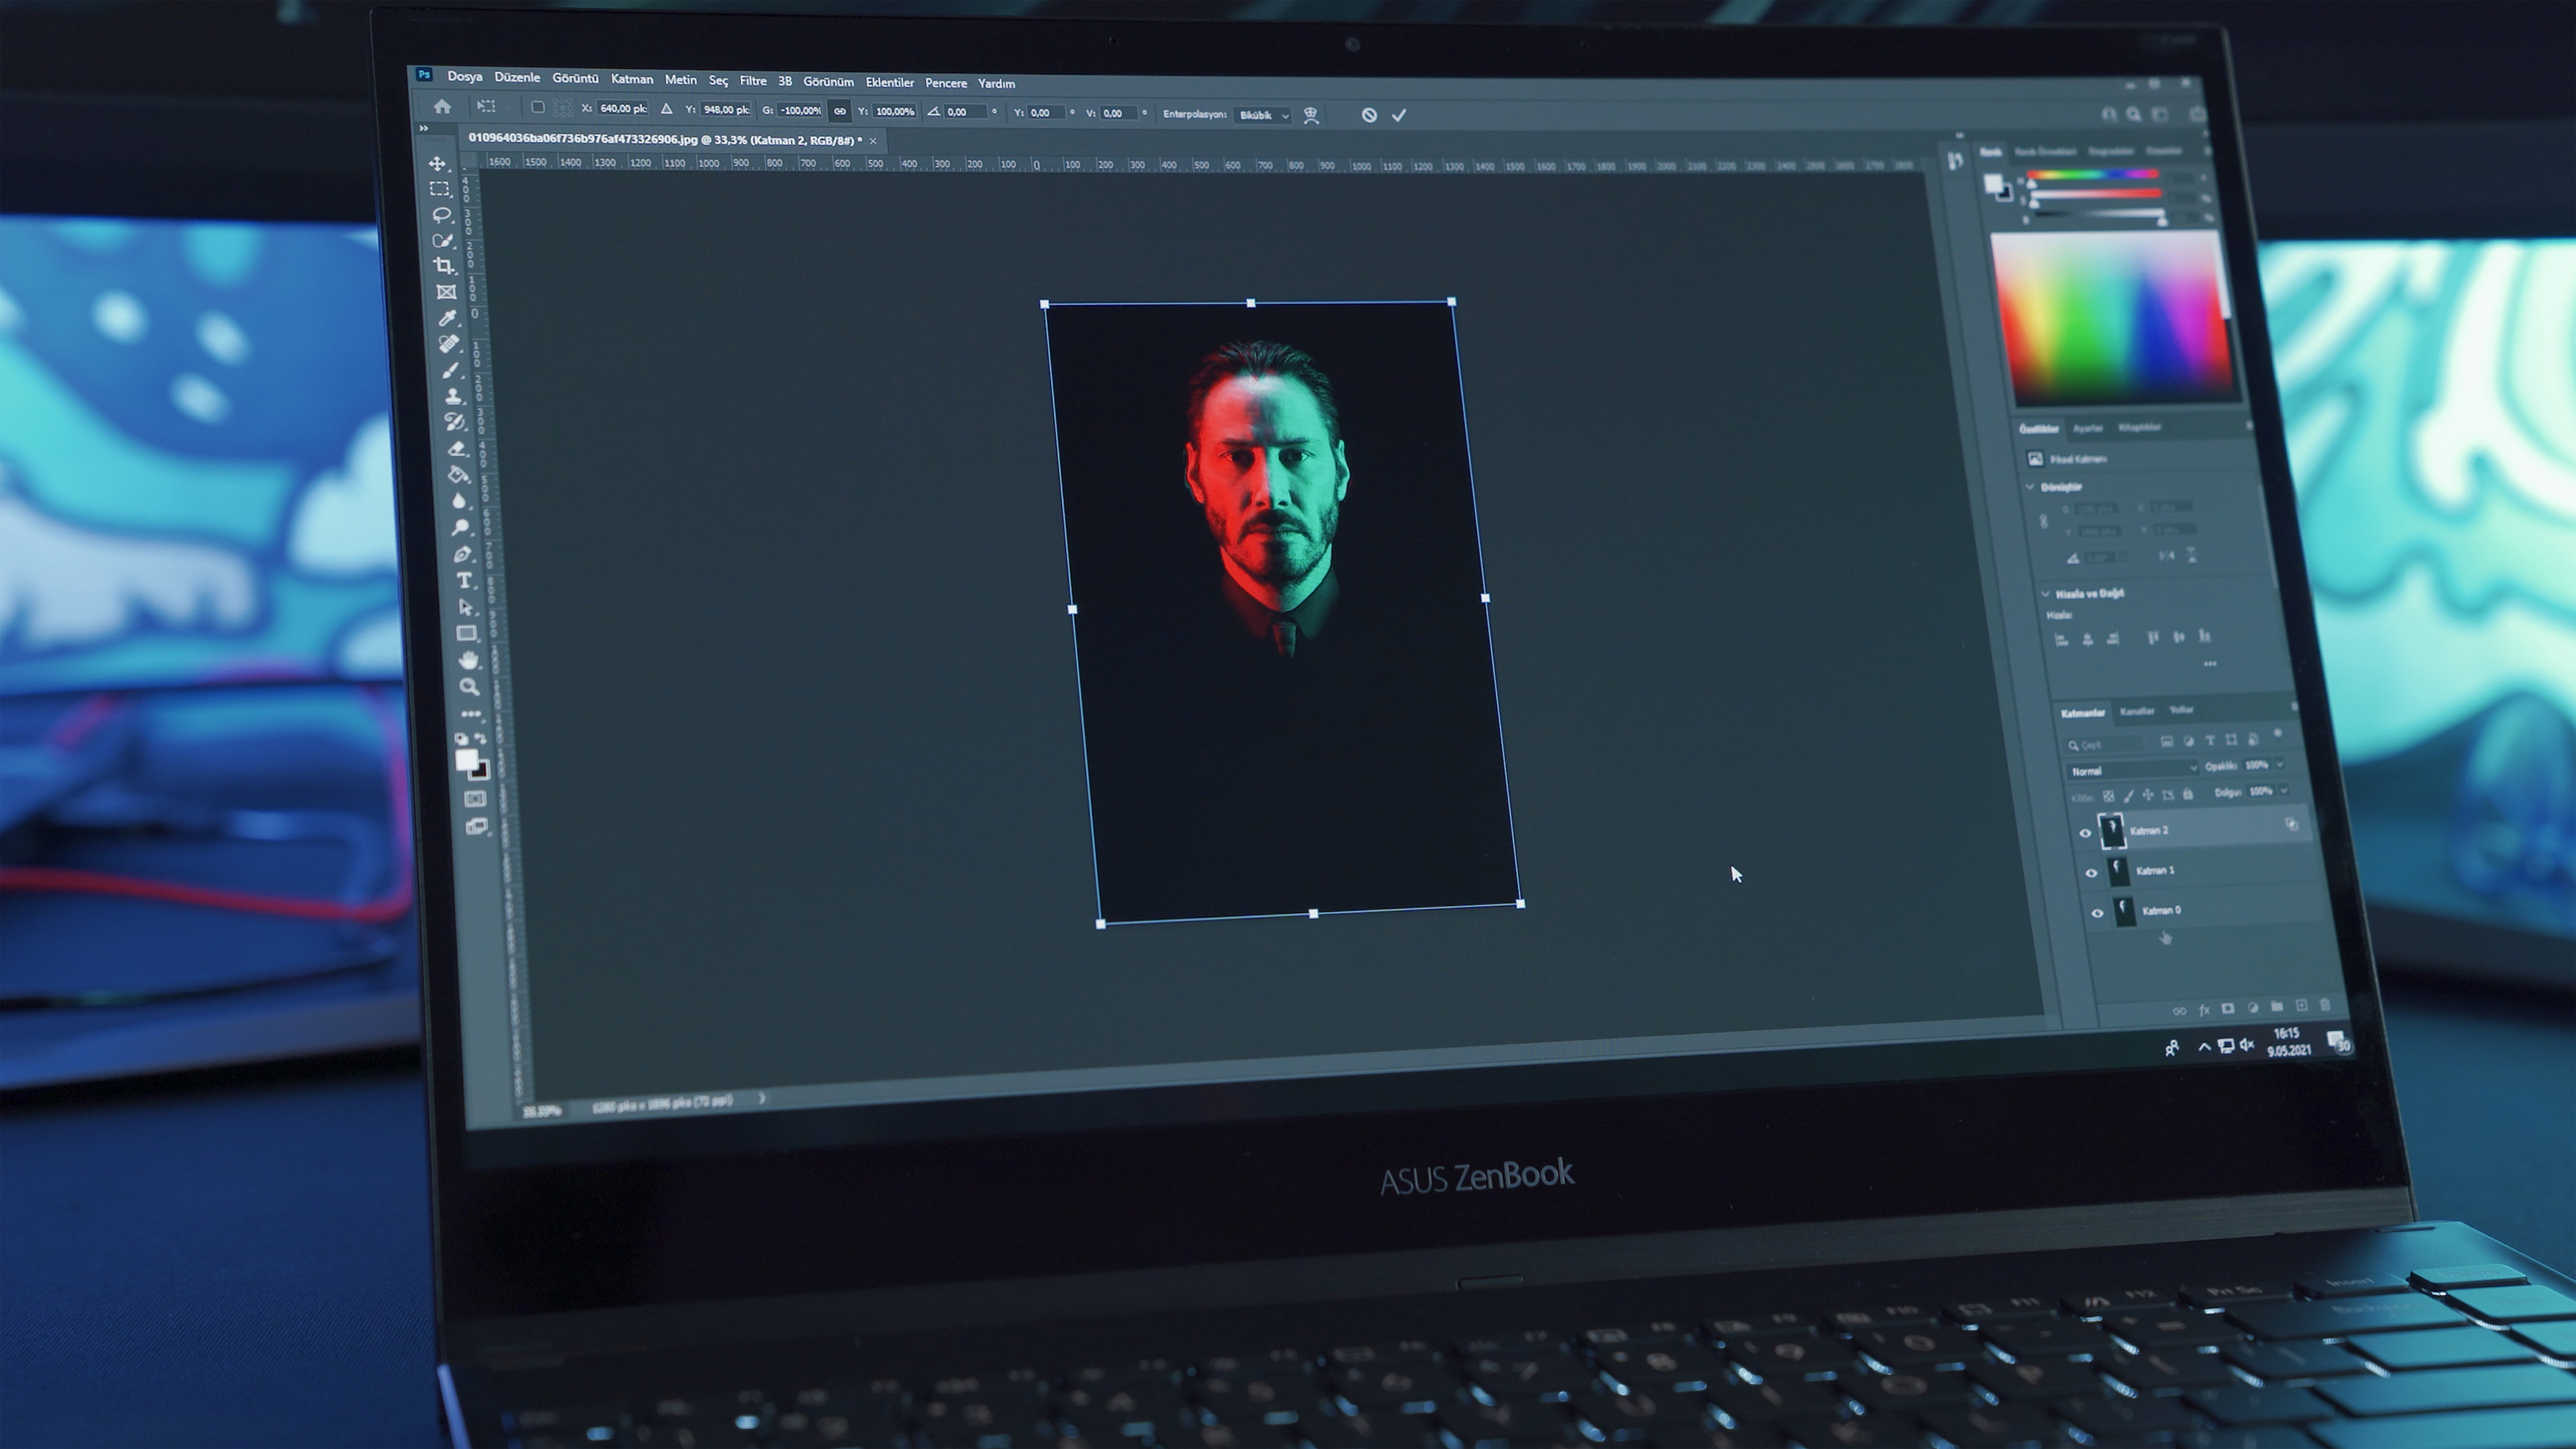
- Photoshop: Utilize the “Image Size” option to adjust height, width, and resolution, reducing the file size accordingly.
- Lightroom: Reduce image file size during the export process by adjusting dimensions and resolution in the “Image Sizing” section. You can also set a maximum file size if needed.
- Online Tools: Websites like TinyPNG and JPEG-Optimizer offer easy-to-use interfaces for compressing images while maintaining reasonable quality.
- Free Software: Consider using free alternatives to Photoshop, such as GIMP or Paint.NET, to resize and compress your images.
2.5. General Tips: How to Lower MB on a Photo
Here are some general tips to help you lower the MB size of your photos:
- Upload in Lower Quality: When saving or uploading your image, select a “space saver” or lower quality option.
- Crop Unnecessary Parts: Trim away any unneeded areas by cropping the photo, which reduces both dimensions and file size.
- Adjust Image Resolution: Lower the image resolution, especially for images intended for web use.
- Convert the File Format: Change the image format to one that uses more efficient compression, such as JPEG for photos or PNG for images requiring transparency.
- Use Compression Tools: Utilize online tools or software features that compress the image further without significant quality loss.
- Remove Image Metadata: Strip out non-essential metadata like GPS info and camera settings.
3. The Importance of Image Optimization
Image optimization is more than just reducing file size; it’s about ensuring your images look their best while loading quickly and efficiently. Optimized images enhance user experience, improve SEO, and reduce bandwidth consumption.
3.1. Impact on Website Loading Speed
Large, unoptimized images are a primary cause of slow website loading times. Slow loading speeds can frustrate visitors, leading to higher bounce rates and lower engagement. Optimizing images ensures your website loads quickly, providing a seamless user experience.
3.2. SEO Benefits of Optimized Images
Search engines like Google consider website loading speed as a ranking factor. Optimizing your images can improve your website’s SEO, helping you rank higher in search results.
3.3. Reducing Bandwidth Consumption
Optimized images require less bandwidth to load, which can be especially important for users with limited data plans. By reducing bandwidth consumption, you can improve accessibility and ensure a positive experience for all visitors.
4. Choosing the Right Image Format
Selecting the appropriate image format is crucial for achieving the best balance between file size and image quality. Each format has its strengths and weaknesses, making it suitable for different purposes.
4.1. JPEG (or JPG): Best for Photographs
JPEG is a widely used format known for its excellent compression capabilities, making it ideal for photographs and images with complex colors. It uses lossy compression, which means some image data is discarded to reduce file size.
4.2. PNG: Ideal for Graphics and Transparency
PNG is a lossless format that preserves image quality, making it suitable for graphics, logos, and images with transparency. While PNG files tend to be larger than JPEGs, they offer superior quality and are ideal for images with sharp lines and text.
4.3. GIF: Suitable for Animated Images
GIF is a format commonly used for animated images and simple graphics. It supports transparency and uses lossless compression, but it is limited to 256 colors.
4.4. WebP: A Modern Format for Web Images
WebP is a modern image format developed by Google that offers superior compression and quality compared to JPEG and PNG. It supports both lossy and lossless compression, as well as transparency and animation.
5. Optimizing Images for Different Platforms
Different platforms have different requirements for image size and resolution. Optimizing your images for specific platforms ensures they look their best and load quickly.
5.1. Optimizing Images for Websites
When optimizing images for your website, consider the following:
- Resize Images: Resize images to the exact dimensions needed for your website to avoid unnecessary file size.
- Compress Images: Use compression tools to reduce file size without sacrificing too much quality.
- Choose the Right Format: Select the appropriate image format based on the type of image and its purpose.
- Use Responsive Images: Implement responsive images that adapt to different screen sizes and resolutions.
5.2. Optimizing Images for Social Media
Social media platforms often compress images automatically, which can result in quality loss. To minimize this, optimize your images before uploading them:
- Follow Platform Guidelines: Adhere to the recommended image sizes and aspect ratios for each platform.
- Compress Images: Reduce file size before uploading to avoid excessive compression by the platform.
- Use High-Quality Originals: Start with high-quality images to minimize quality loss during compression.
5.3. Optimizing Images for Email
Large images can cause emails to load slowly and may even be blocked by some email providers. To optimize images for email:
- Resize Images: Reduce image dimensions to fit within the email layout.
- Compress Images: Use compression tools to reduce file size.
- Use Web-Friendly Formats: Save images in web-friendly formats like JPEG or PNG.
6. Tools and Software for Image Compression
Numerous tools and software solutions are available to help you compress and optimize your images.
6.1. Online Image Compressors
Online image compressors offer a quick and easy way to reduce file size without installing any software. Some popular options include:
- TinyPNG: Compresses PNG and JPEG images using smart lossy compression techniques.
- JPEG-Optimizer: Optimizes JPEG images for web use, reducing file size while maintaining quality.
- Compressor.io: Supports JPEG, PNG, GIF, and SVG formats, offering both lossy and lossless compression options.
6.2. Desktop Software for Image Optimization
Desktop software provides more advanced features and control over the compression process. Some popular options include:
- Adobe Photoshop: Offers a wide range of image editing and optimization tools, including the “Save for Web” feature.
- GIMP: A free and open-source image editor with powerful compression and optimization capabilities.
- Luminar Neo: Known for its AI-powered tools that help preserve photo quality while reducing file size.
6.3. Batch Image Processing Tools
Batch image processing tools allow you to optimize multiple images simultaneously, saving time and effort. Some popular options include:
- ImageOptim: A free and open-source tool for macOS that optimizes images by removing unnecessary metadata and applying lossless compression.
- RIOT (Radical Image Optimization Tool): A free tool for Windows that allows you to compare original and optimized images side-by-side and adjust compression settings.
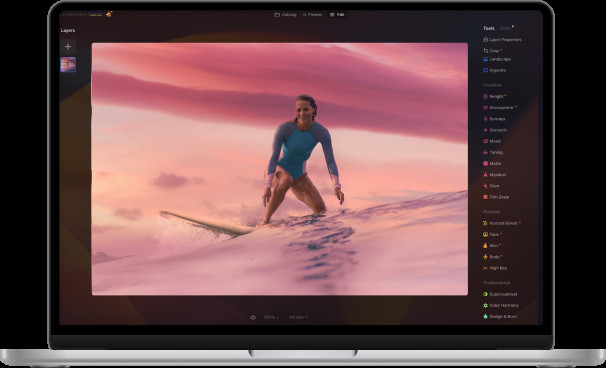
7. Why Luminar Neo Stands Out in Reducing Image Size
Luminar Neo is one of the best photo editors for easily reducing image size. To bring up the Export Menu, select it from the Menu Bar or press the shortcut keys “Shift+Command+E”. Choose Resize in the window, and you can select from options such as original and short edge, or set your desired size.
Luminar Neo’s standout feature in image resizing is its commitment to preserving high photo quality, a crucial factor for professional work. The software’s AI tools adeptly handle the delicate balance of reducing file size while maintaining image integrity. This approach ensures minimal loss of detail and quality.
You can also try photo editing presets after resizing the image to enhance your photos further.
7.1. Advantages of Using Luminar Neo for Image Compression
Here are some of the advantages of using Luminar Neo for image compression:
- AI-Powered Tools: Use Luminar Neo’s AI Sharpener and AI Upscaler to keep the photos clear even after compressing them, which is especially useful if you’re concerned about losing detail.
- Newbie-Friendly Interface: Users with different skills will find this software easy to use.
- Batch Editing: Luminar Neo allows you to process numerous photos simultaneously.
- Extensive File Format Support: Luminar Neo can work with many file formats (including JEPG, PNG, and TIFF).
- Quality Management: When exporting images, Luminar Neo lets you adjust the quality to find the perfect balance between file size and image fidelity.
8. Real-World Examples and Case Studies
Examining real-world examples and case studies can provide valuable insights into the practical application of image optimization techniques.
8.1. Case Study: Optimizing Images for an E-Commerce Website
An e-commerce website selling high-resolution product images struggled with slow loading times and high bounce rates. By implementing image optimization techniques, including resizing images, choosing the right format, and using compression tools, the website reduced its average page load time by 50% and increased conversion rates by 20%.
8.2. Example: Reducing File Size for Social Media Sharing
A photographer wanted to share high-resolution images on social media but was limited by file size restrictions. By resizing the images and using JPEG compression, the photographer reduced file sizes by 75% without significantly compromising image quality, allowing for easy sharing on social media platforms.
9. Advanced Techniques for Image Optimization
Beyond the basics, several advanced techniques can further enhance your image optimization efforts.
9.1. Lossless vs. Lossy Compression
Understanding the difference between lossless and lossy compression is crucial for making informed decisions about image optimization. Lossless compression preserves all image data, resulting in no quality loss, while lossy compression discards some data to achieve smaller file sizes.
9.2. Progressive JPEGs
Progressive JPEGs load gradually as they are downloaded, providing a better user experience compared to baseline JPEGs, which load from top to bottom.
9.3. Image CDNs (Content Delivery Networks)
Image CDNs store and deliver optimized images from servers located around the world, ensuring fast loading times for users regardless of their location.
10. The Future of Image Optimization
The field of image optimization is constantly evolving, with new technologies and techniques emerging to improve image quality and reduce file sizes.
10.1. AI-Powered Image Optimization
AI-powered image optimization tools can automatically analyze and optimize images based on their content and characteristics, achieving optimal results with minimal user intervention.
10.2. AVIF (AV1 Image File Format)
AVIF is a new image format based on the AV1 video codec that offers superior compression and quality compared to existing formats like JPEG and WebP.
10.3. The Role of Machine Learning in Image Compression
Machine learning algorithms can be trained to identify and remove redundant data from images, achieving higher compression ratios without significant quality loss.
11. Preserving Image Quality While Reducing File Size
While reducing file size is important, it’s equally crucial to preserve image quality. Here are some tips to help you strike the right balance:
- Use High-Quality Originals: Start with high-quality images to minimize quality loss during compression.
- Choose the Right Format: Select the appropriate image format based on the type of image and its purpose.
- Adjust Compression Settings Carefully: Experiment with different compression settings to find the optimal balance between file size and image quality.
- Use AI-Powered Tools: Consider using AI-powered image optimization tools that can intelligently optimize images without sacrificing quality.
12. Common Mistakes to Avoid
Avoiding common mistakes can help you achieve better results when optimizing images.
12.1. Over-Compressing Images
Over-compressing images can result in significant quality loss, making them look pixelated and blurry.
12.2. Using the Wrong Image Format
Using the wrong image format can result in larger file sizes or poor image quality.
12.3. Neglecting Image Metadata
Neglecting image metadata can result in larger file sizes and potential privacy concerns.
13. Best Practices for Image Optimization
Following these best practices can help you consistently achieve optimal results when optimizing images:
- Automate the Process: Implement automated image optimization workflows to ensure all images are properly optimized.
- Monitor Performance: Regularly monitor website loading times and image file sizes to identify areas for improvement.
- Stay Up-to-Date: Keep up with the latest image optimization techniques and technologies to stay ahead of the curve.
14. Image Optimization Checklist
Use this checklist to ensure you’ve covered all the essential steps for image optimization:
- [ ] Resize images to the exact dimensions needed.
- [ ] Choose the right image format based on the type of image and its purpose.
- [ ] Compress images using appropriate compression settings.
- [ ] Remove unnecessary metadata.
- [ ] Use responsive images for websites.
- [ ] Test image loading times on different devices and browsers.
15. Optimizing Images for Mobile Devices
With the increasing use of mobile devices, it’s crucial to optimize images specifically for mobile viewing.
15.1. Using Responsive Images
Responsive images adapt to different screen sizes and resolutions, ensuring images look their best on all devices.
15.2. Implementing Lazy Loading
Lazy loading delays the loading of images until they are visible on the screen, improving initial page load times on mobile devices.
15.3. Optimizing Images for Retina Displays
Retina displays have a higher pixel density, requiring higher-resolution images to look sharp. Optimize images for retina displays to ensure they look their best on these devices.
16. Optimizing Animated Images and Videos
Animated images and videos can be particularly resource-intensive, requiring careful optimization.
16.1. Optimizing GIFs
Optimize GIFs by reducing the number of colors, cropping unnecessary frames, and using efficient compression techniques.
16.2. Optimizing Videos
Optimize videos by choosing the right video codec, adjusting the resolution and frame rate, and using efficient compression settings.
17. Testing and Monitoring Image Performance
Testing and monitoring image performance is essential for ensuring your optimization efforts are effective.
17.1. Using Website Speed Testing Tools
Use website speed testing tools like Google PageSpeed Insights and GTmetrix to analyze your website’s loading times and identify areas for improvement.
17.2. Monitoring Image File Sizes
Regularly monitor image file sizes to ensure they are within acceptable limits.
17.3. Analyzing User Engagement Metrics
Analyze user engagement metrics like bounce rate and time on page to assess the impact of image optimization on user experience.
18. The Legal Aspects of Using Images Online
Understanding the legal aspects of using images online is crucial for avoiding copyright infringement and other legal issues.
18.1. Understanding Copyright Law
Familiarize yourself with copyright law and ensure you have the necessary rights to use any images you upload to your website or share online.
18.2. Using Royalty-Free Images
Consider using royalty-free images from stock photo websites to avoid copyright issues.
18.3. Obtaining Permissions and Licenses
Obtain the necessary permissions and licenses before using any copyrighted images.
19. Image Optimization and Accessibility
Optimizing images for accessibility ensures they are usable by people with disabilities.
19.1. Adding Alt Text to Images
Add descriptive alt text to all images to provide context for users who cannot see them.
19.2. Using Descriptive File Names
Use descriptive file names to provide additional context for search engines and users.
19.3. Ensuring Sufficient Contrast
Ensure sufficient contrast between image elements and background colors to make images easier to see for people with visual impairments.
20. Conclusion: Mastering the Art of Making Photos Smaller in File Size
 Photo optimization conclusion with dfphoto.net logo, highlighting ease of sharing and storage
You’ve learned several quick and easy ways to resize your files for online photo storage, email, or upload, regardless of your device or operating system. Each method has its unique advantages, depending on your workflow and the platforms you use. Choose the one that works best for you, and share your images with ease!
To further enhance your photography skills and explore a vibrant community of photographers, visit dfphoto.net. Discover insightful tutorials, stunning photography, and connect with fellow enthusiasts. Let dfphoto.net be your guide in the world of photography. Address: 1600 St Michael’s Dr, Santa Fe, NM 87505, United States. Phone: +1 (505) 471-6001.
FAQ
How to make a picture file smaller?
Increase the compression level. In most image editing software, you can do this through the “Save As” or “Export As” options when saving formats like PNG, JPG, or GIF. Adjust the compression settings to find the right balance between image quality and file size. You can also resize the image, compress it, save it in a different format, and use online compressors.
How to reduce the size of a photo on iPhone?
You can resize the image using the built-in Photos app, or adjust your camera settings to take pictures in a space-saving format like HEIC rather than JPEG.
How to reduce image file size on Mac?
Use the Preview app to reduce image file size, or use third-party apps. Open the picture in Preview, go to Tools, select Adjust Size, and then reduce the size or the resolution.
How to reduce image file size in Photoshop?
Open your image in Photoshop, then select File > Export > Save for Web (Legacy) to change the picture dimensions and quality. Choose a lower-quality JPEG format and use the Image Size options to adjust dimensions.
How to reduce image file size on Android?
Use built-in photo editing tools to crop and resize the image, or use apps in the Google Play Store, like Photo Compress & Resize.
How to reduce image file size for a website?
Use photo editing software such as Luminar Neo, Adobe Photoshop, GIMP, or Lightroom to reduce the picture file size by adjusting the compression, resizing the image, or cropping unnecessary parts of the photo.
 How to Reduce the Size of a Picture | Skylum How-to(3)