Have you ever found yourself with a photo that looks blurry or pixelated when you try to view it on a larger screen or print it? This often happens when you have a low-resolution image. Increasing the resolution can make your photos clearer and more suitable for various uses. This article will guide you through the process of making a photo higher resolution, explaining the methods and what to expect in terms of image quality.
Understanding Image Resolution and Upsampling
Before diving into the methods, it’s important to understand what image resolution means. Resolution refers to the number of pixels in an image, often measured in DPI (dots per inch) or PPI (pixels per inch). A higher resolution image contains more pixels, resulting in finer details and sharper appearance. When we talk about making a photo “higher resolution,” we are essentially aiming to increase the number of pixels, a process known as upsampling or resizing.
It’s crucial to note that upsampling cannot magically create detail that wasn’t there in the original image. Instead, it uses algorithms to guess and add new pixels based on the existing ones. The effectiveness of upsampling and the resulting image quality depend on the original image and the software used.
Methods to Increase Photo Resolution
Several tools and techniques can help you increase the resolution of your photos. Here we’ll explore some common methods:
1. Using Preview on macOS
For Mac users, the built-in Preview application offers a simple way to resize images. While not a professional photo editor, it can be useful for basic upsampling.
Steps:
- Open with Preview: Drag and drop your photo onto the Preview app icon in your Dock, or right-click the image file and select “Open With” > “Preview.”
- Access Adjust Size: In the Preview menu bar, click “Tools,” then select “Adjust Size.”
- Enter Desired Dimensions: In the “Adjust Size” dialog box, you’ll see options to change the dimensions. To increase resolution, you’ll need to input larger values for width and height. You can select a preset size from the “Fit into” dropdown, like “1024 x 768 pixels,” or enter custom dimensions.
- Ensure Correct Settings: Make sure both “Scale proportionally” and “Resample image” checkboxes are checked. “Scale proportionally” maintains the aspect ratio of your image, preventing distortion. “Resample image” is essential for actually adding new pixels and increasing the resolution.
- Save As: After clicking “OK,” and before closing “Preview,” go to “File” in the menu and choose “Save As…“. This will create a new, higher-resolution image file, leaving the original untouched.
- Choose Save Options: In the “Save As” dialog, give your new photo a slightly different name (e.g., add “A” at the end) to distinguish it from the original. Choose “Desktop” as the destination for easy access. Set “Format” to “JPEG” and “Quality” to “Best” for optimal results.
 Comparison of original image quality versus upsampled image quality showing smoother details after upsampling.
 Close-up comparison of image quality before and after upsampling, highlighting the reduction of pixelation.
2. Using Adobe Photoshop
For more advanced control and potentially better results, professional software like Adobe Photoshop offers sophisticated upsampling algorithms.
Steps (General):
- Open Image in Photoshop: Open your photo in Photoshop.
- Access Image Size: Go to “Image” in the menu bar and select “Image Size.”
- Adjust Dimensions: In the “Image Size” dialog, enter your desired width and height in the “Dimensions” section.
- Choose Resampling Method: Photoshop offers various resampling methods in the “Resample” dropdown menu. For upsampling, “Preserve Details (enlargement)” or “Bicubic Smoother (enlargement)” are generally recommended as they are designed to minimize blurring and artifacts when increasing image size. Experiment to see which method works best for your specific image.
- Adjust “Preserve Details” (if applicable): If you choose “Preserve Details,” you might have a “Reduce Noise” slider to control noise introduced during upsampling.
- Click OK and Save: Click “OK” to apply the changes. Then, save your upsampled image using “Save As” to create a new file.
3. Utilizing Online Image Upscaling Tools
Numerous online tools are available that use AI-powered algorithms to upscale images. These can be a quick and convenient option, often producing surprisingly good results.
Examples of Online Tools:
- Waifu2x: Originally designed for anime-style images but works well for photos too.
- Let’s Enhance: Uses AI to upscale and enhance images, offering various enhancement options.
- Upscale.media: A user-friendly tool focused on simple image upscaling.
- Fotor: Offers a range of photo editing tools, including an AI image enlarger.
General Steps for Online Tools:
- Visit the Website: Go to the website of your chosen online upscaling tool.
- Upload Your Image: Usually, there’s a clear button or drag-and-drop area to upload your low-resolution photo.
- Set Upscale Factor (if available): Some tools allow you to specify how much you want to upscale the image (e.g., 2x, 4x).
- Start Processing: Click a button like “Upscale,” “Enhance,” or “Process.”
- Download the Result: Once processed, you’ll typically be able to preview and download the higher-resolution image.
Managing Expectations and Image Quality
While upsampling can make a low-resolution photo larger, it’s crucial to have realistic expectations about image quality. As mentioned earlier, upsampling algorithms are essentially guessing at new pixel information.
Key Considerations:
- Detail Recreation: Upsampling cannot invent details that were not present in the original image. Very blurry or heavily pixelated photos will likely remain somewhat blurry even after upsampling.
- Artifacts and Blurring: Depending on the upscaling method and the extent of upsampling, you might encounter artifacts (unwanted distortions) or excessive blurring in the upsampled image.
- Purpose of Upsampling: Consider why you need a higher resolution. For viewing on screen or small prints, moderate upsampling might suffice. For large prints or professional use, the limitations of upsampling may become more apparent.
Despite these limitations, upsampling can be a valuable technique in certain situations. For example, it can improve the appearance of small web images for screen viewing, or make older, low-resolution photos more presentable.
Consider this scanned genealogy photo. The original image at 634 x 982 pixels exhibits a harsh and pixelated look, especially when viewed at a normal size.
 Original scanned genealogy photo with visible pixelation before upsampling.
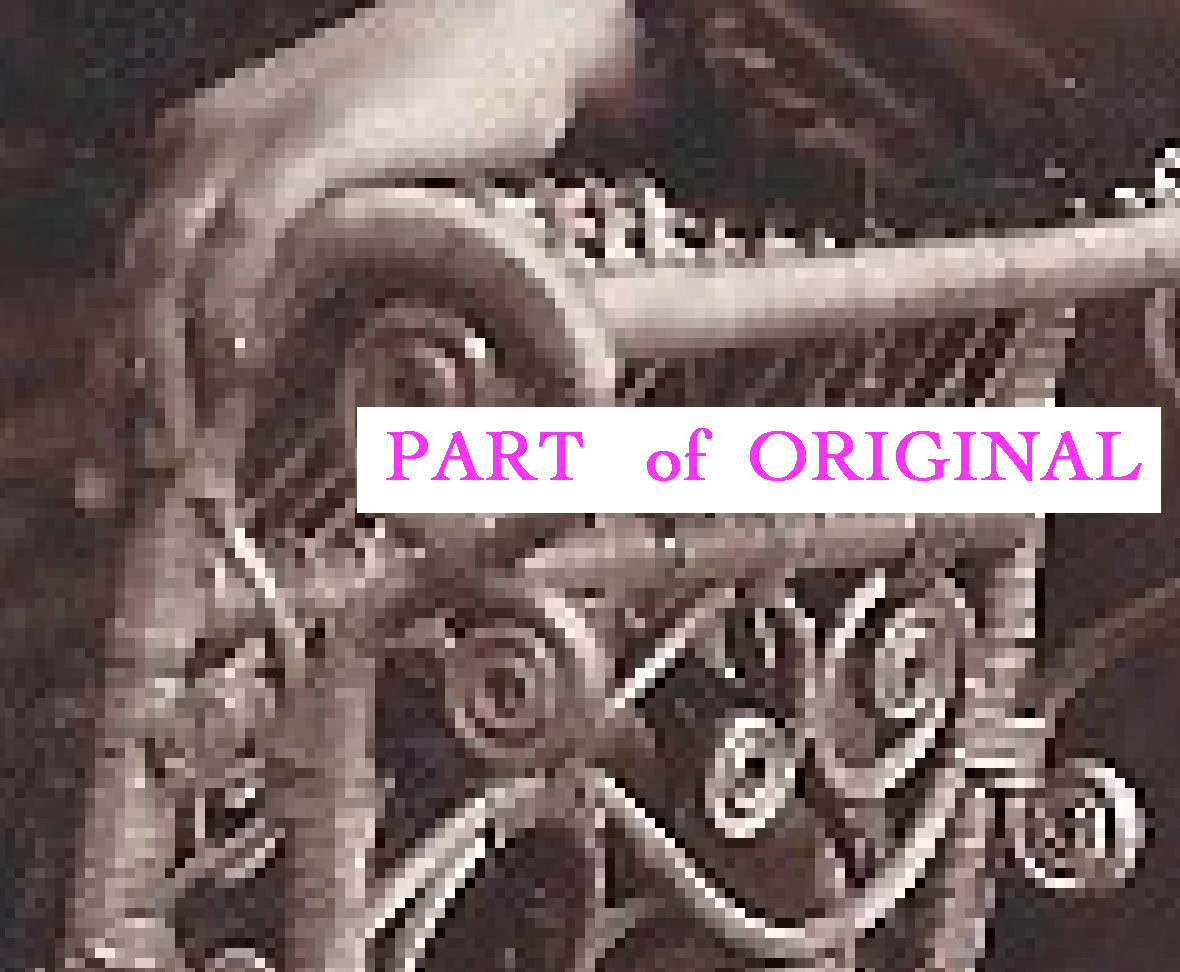
Observe the detail of the original image, highlighting the pixelated edges:
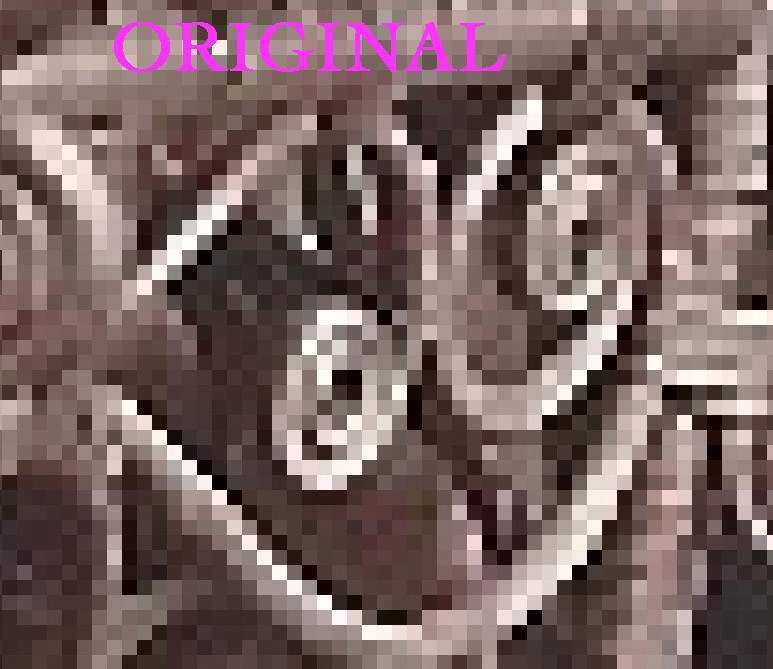 Detail of the original low-resolution genealogy photo showing harsh pixelated edges.
After upsampling by 200% to 1,300 x 2,000 pixels, the same detail appears much smoother:
 Detail of the upsampled genealogy photo demonstrating smoother edges and reduced pixelation.
The overall image becomes significantly smoother and visually more appealing.
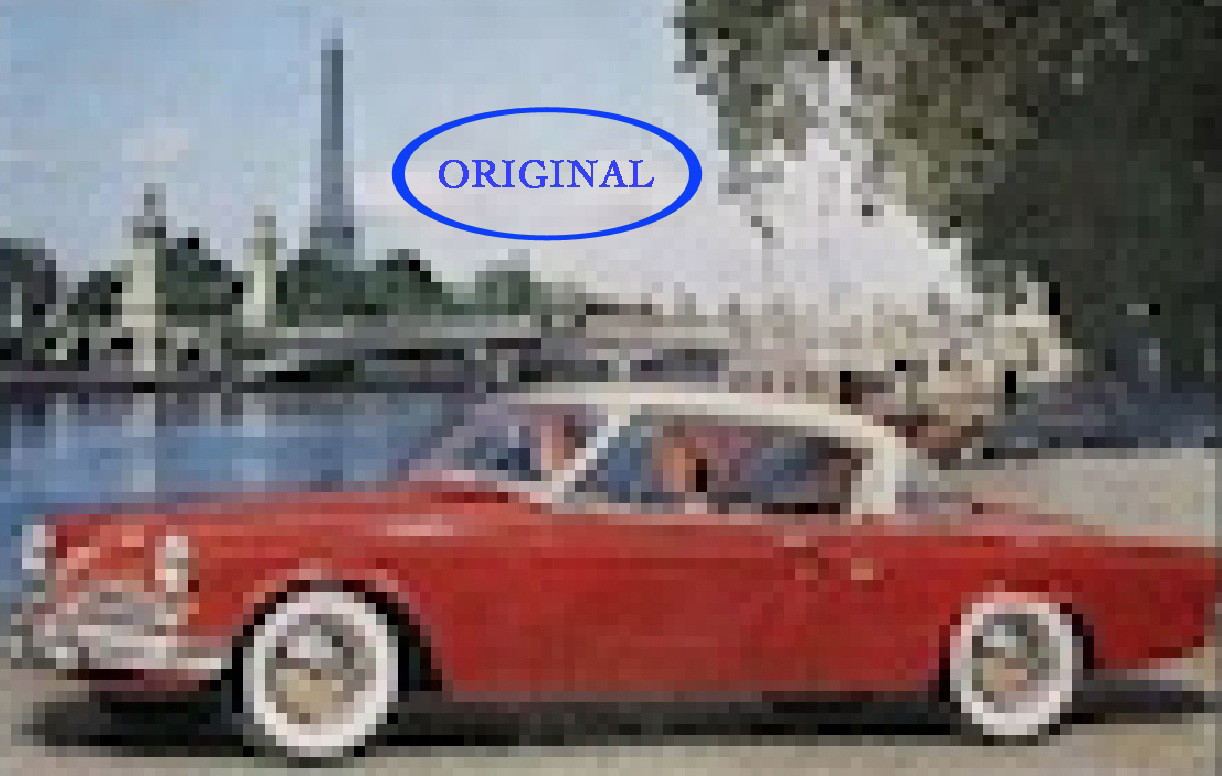
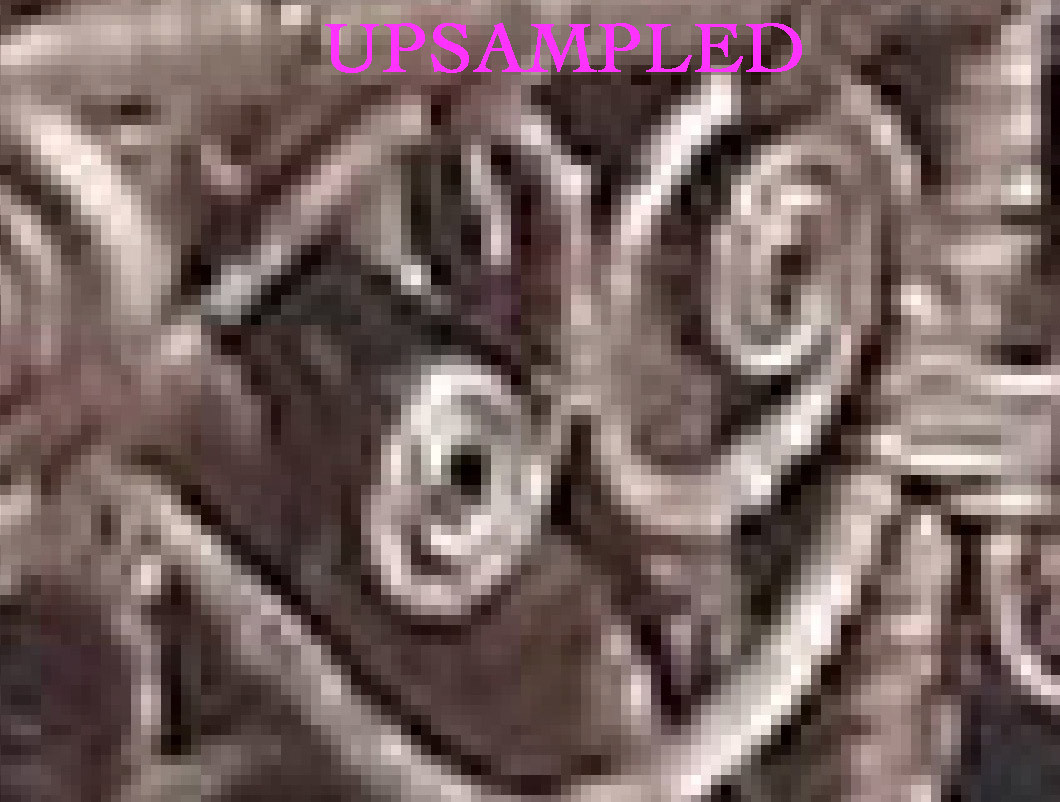
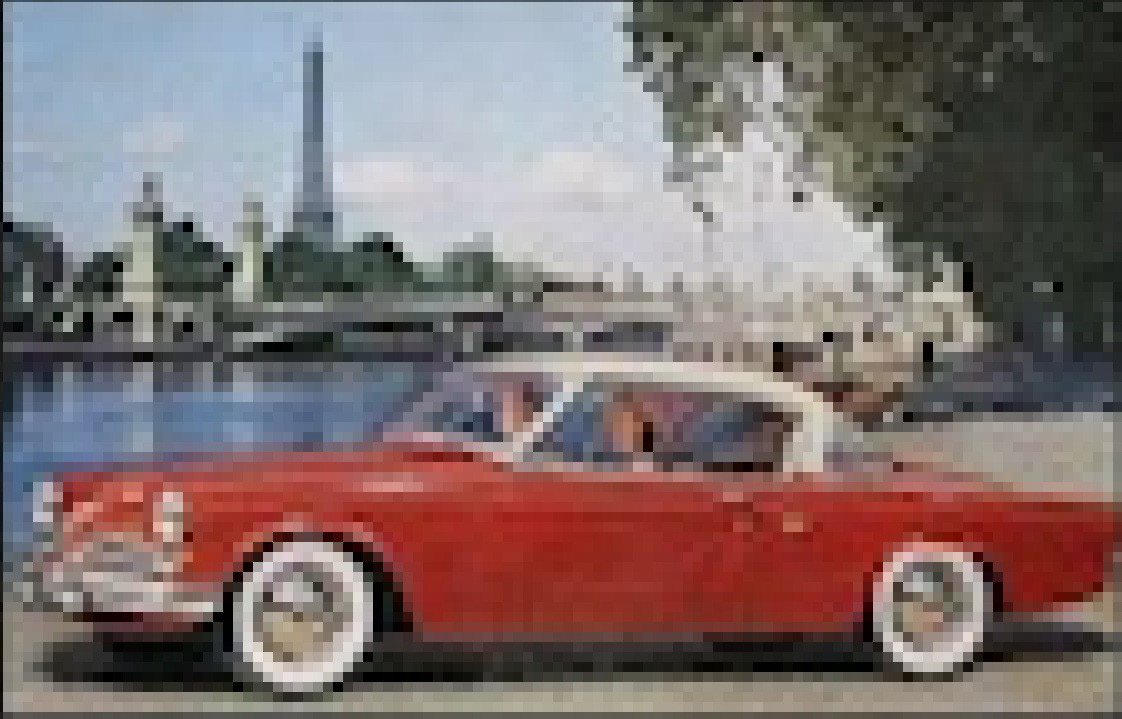
Similarly, consider this small Studebaker ad, originally just 214 pixels wide:
 Example of a very low-resolution web image, a Studebaker ad, before upsampling.
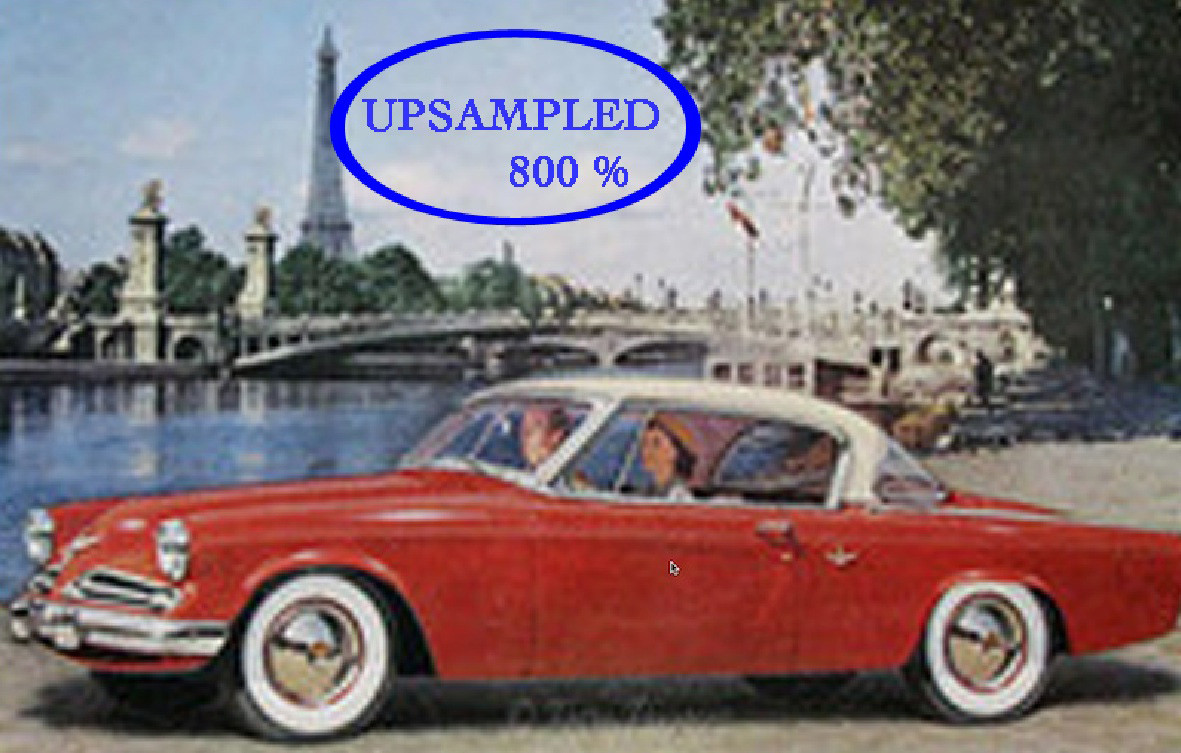
Upsampling it significantly, say by 800%, yields a much more viewable image:
 Upsampled Studebaker ad showing improved visibility and less pixelation compared to the original.
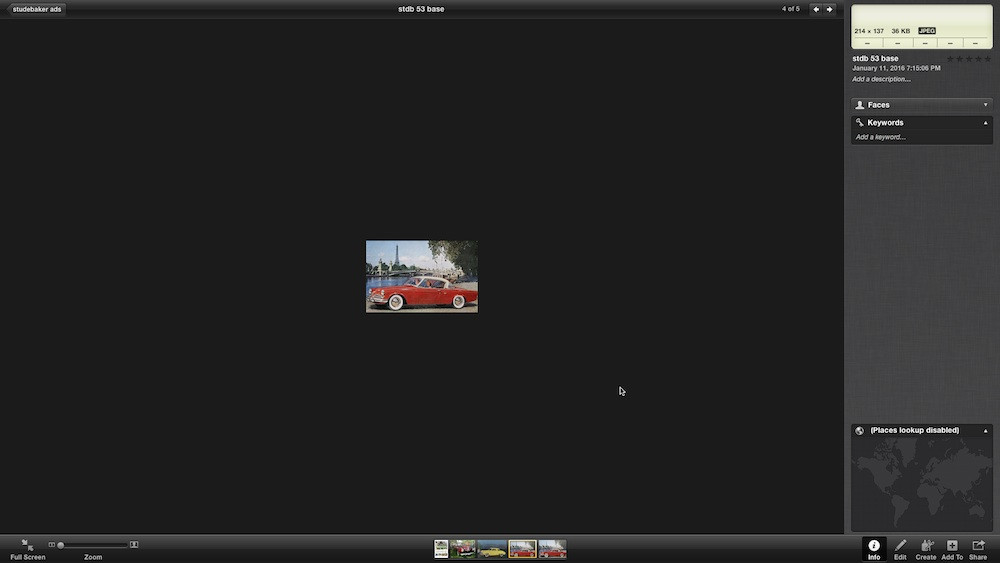
Comparing this to simply zooming in on the original image within Preview demonstrates the benefit of upsampling:
 Zoomed view of the original Studebaker ad demonstrating pixelation when enlarged without upsampling.
Conclusion
Increasing the resolution of a photo is possible through upsampling, and various tools offer different approaches to achieve this. Whether you use Preview, Photoshop, or online AI upscalers, understanding the process and its limitations is key. Upsampling is a useful technique to enhance the visual quality of low-resolution images for certain purposes, but it’s not a magic bullet for restoring lost detail. Experiment with different methods and software to find what works best for your specific needs and images, always keeping in mind the balance between file size, processing time, and desired image quality.