In the digital age, having high-resolution photos is crucial. Whether you’re aiming to print your cherished memories, use images for professional projects, or simply want your photos to look their best on screen, understanding how to increase photo resolution is a valuable skill. This guide will walk you through the process of making your photos higher resolution, even if you’re starting with a low-resolution image.
One common scenario is needing to enlarge a small, low-resolution image to fit a larger display or for printing purposes. You might encounter images online that appear small and pixelated when viewed at full size. While it’s impossible to magically add detail that wasn’t originally captured, there are techniques to increase the pixel dimensions of an image, effectively making it higher resolution and potentially improving its appearance when enlarged.
Let’s explore how you can increase the resolution of your photos using readily available tools. We’ll focus on a simple method using the Preview application, which comes standard on macOS.
Understanding Image Upsizing with Preview
Preview is not just a basic image viewer; it also offers some handy image editing capabilities, including resizing. Here’s how you can use it to upsize your images:
-
Open your photo in Preview: The first step is to open the image you want to make high resolution using the Preview application. You can do this by simply dragging and dropping your photo onto the Preview icon in your Dock or by right-clicking on the image file and selecting “Open with” > “Preview.”
-
Access the Adjust Size tool: Once your image is open in Preview, navigate to the menu bar at the top of your screen. Click on “Tools” and then select “Adjust Size…” from the dropdown menu. This will open the “Adjust Size” dialog box.
-
Input your desired dimensions: In the “Adjust Size” dialog, you’ll see options to modify the image dimensions. You’ll likely see fields for “Width” and “Height” in pixels. To increase the resolution, you need to increase these pixel values.
-
Ensure “Scale proportionally” and “Resample image” are checked: It’s important to make sure that both “Scale proportionally” and “Resample image” checkboxes are selected. “Scale proportionally” ensures that the aspect ratio of your image is maintained, preventing distortion. “Resample image” is the key function that tells Preview to add new pixels to increase the image size.
-
Enter new pixel dimensions: In the “Fit into” field, you can either choose a preset size or manually enter your desired width and height in pixels. For example, you might select a preset like “1024 x 768” or enter custom values to significantly increase the pixel dimensions of your photo.
-
Save a copy of your upsized image: After adjusting the size, click “OK” in the “Adjust Size” dialog. Before closing Preview, go to “File” in the menu bar and select “Save As…”. This is crucial because it creates a new, upsized copy of your photo, leaving the original image untouched.
-
Choose save settings: In the “Save As” dialog, give your new, high-resolution photo a slightly different name (e.g., add an “A” at the end of the filename) to differentiate it from the original. Choose “Desktop” as the destination for easy access. Set the “Format” to “JPEG” and the “Quality” to “Best” to maintain the best possible image quality for the upsized version.
-
Review the upsized image: Once saved, you can find your new, higher-resolution photo on your Desktop. Open it to review the results of the upscaling process.
Upsizing vs. Zooming: Understanding the Difference
It’s essential to understand the difference between upsizing and simply zooming into an image. Zooming in on a low-resolution image merely enlarges the existing pixels, making them more visible and resulting in a pixelated or blurry appearance. Upsizing, on the other hand, involves creating new pixels based on the surrounding existing pixels through a process called interpolation or resampling.
Think of it like this: zooming is like magnifying a small map – you see the same limited detail, just bigger and blurrier. Upsizing is like redrawing the map at a larger scale, attempting to add some smoothness and reduce the jaggedness.
For example, consider a small web image, like a vintage advertisement, that is only 214 pixels wide. If you simply zoom in on this image to fill your screen, it will appear very pixelated.
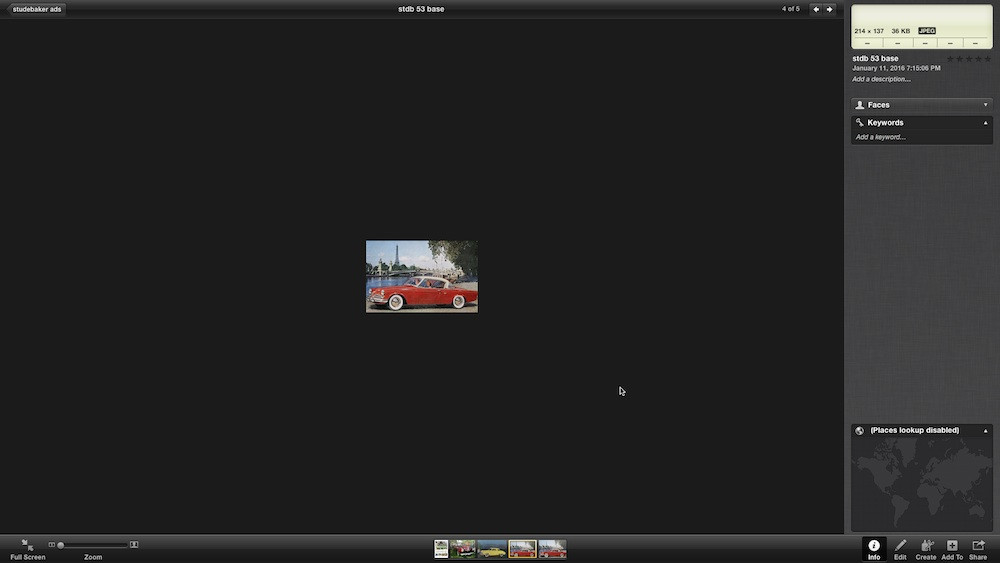 Original small web image of a vintage Studebaker car advertisement, 214 pixels wide, appearing pixelated
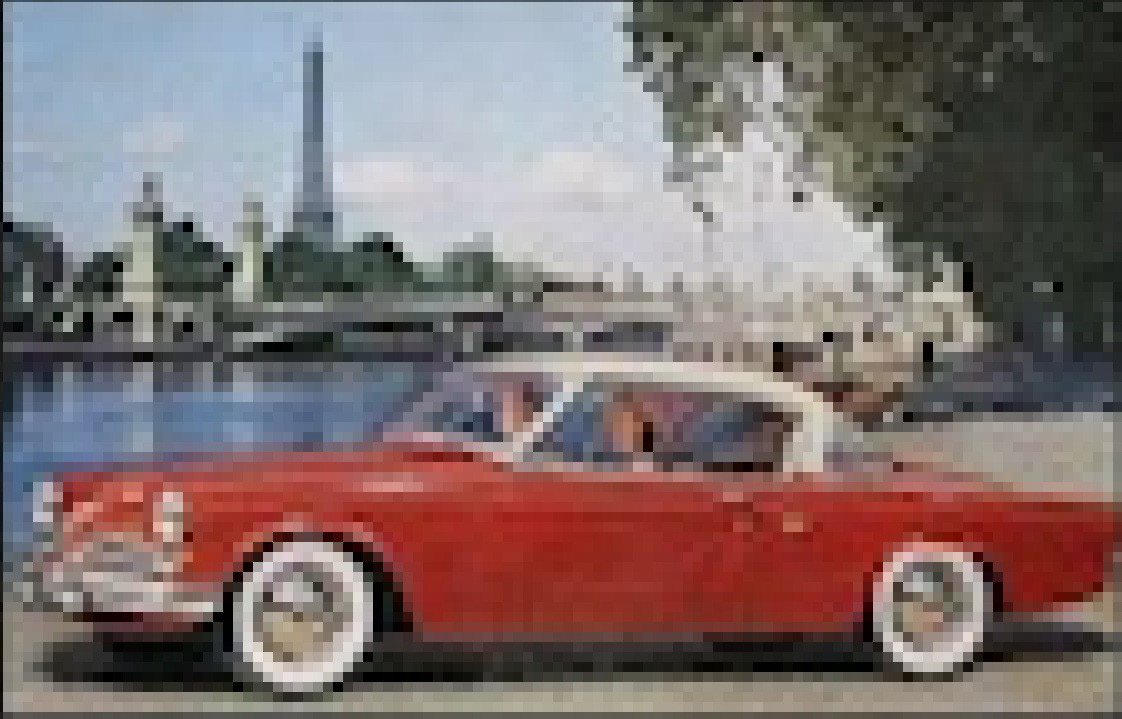
However, if you upsize this image significantly, say by 800%, using Preview’s “Adjust Size” feature, you get a larger image with smoother edges.
 Upsized image of the same vintage Studebaker car advertisement, increased by 800%, appearing smoother compared to simple zoom
Comparing this to simply zooming in on the original image to fit the screen, the upsized version often appears less harsh and more visually appealing.
 Zoomed version of the original small web image of a vintage Studebaker car advertisement, zoomed to fit the screen, appearing more pixelated than the upsized version
Does Upsizing Improve Image Quality? The Upsampling Debate
The question of whether upsizing truly improves image quality is a subject of debate among photographers and image experts. Some argue that you can’t add detail that wasn’t originally there, and that upscaling inevitably leads to a degradation in quality. They contend that any perceived improvement is merely a smoothing effect that masks the underlying lack of detail.
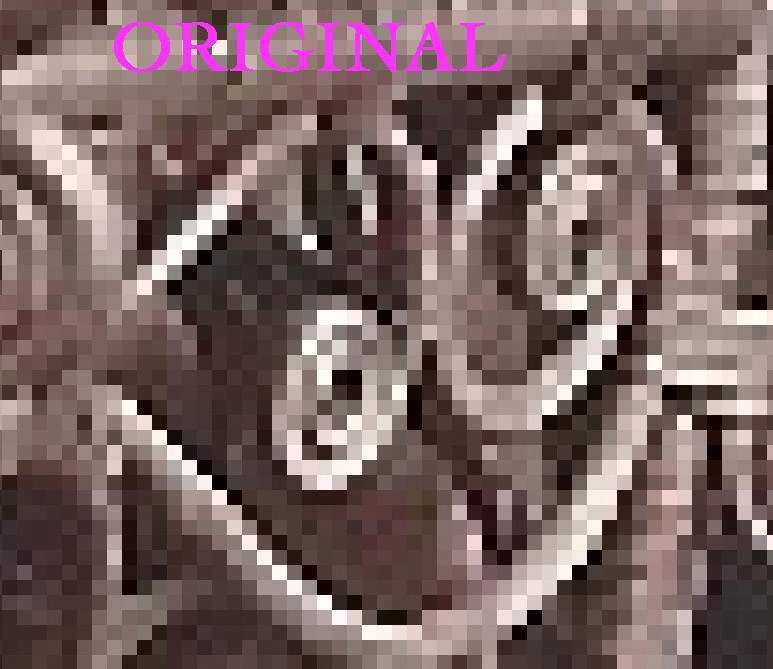 Detail of an original image, showing pixelation and harsh edges
Conversely, others argue that upsampling, when done correctly, can indeed improve the visual quality of a low-resolution image, particularly when viewed at a larger size. They point out that interpolation algorithms can effectively “even out the appearance of the original pixels,” making the image look smoother and less pixelated to the human eye.
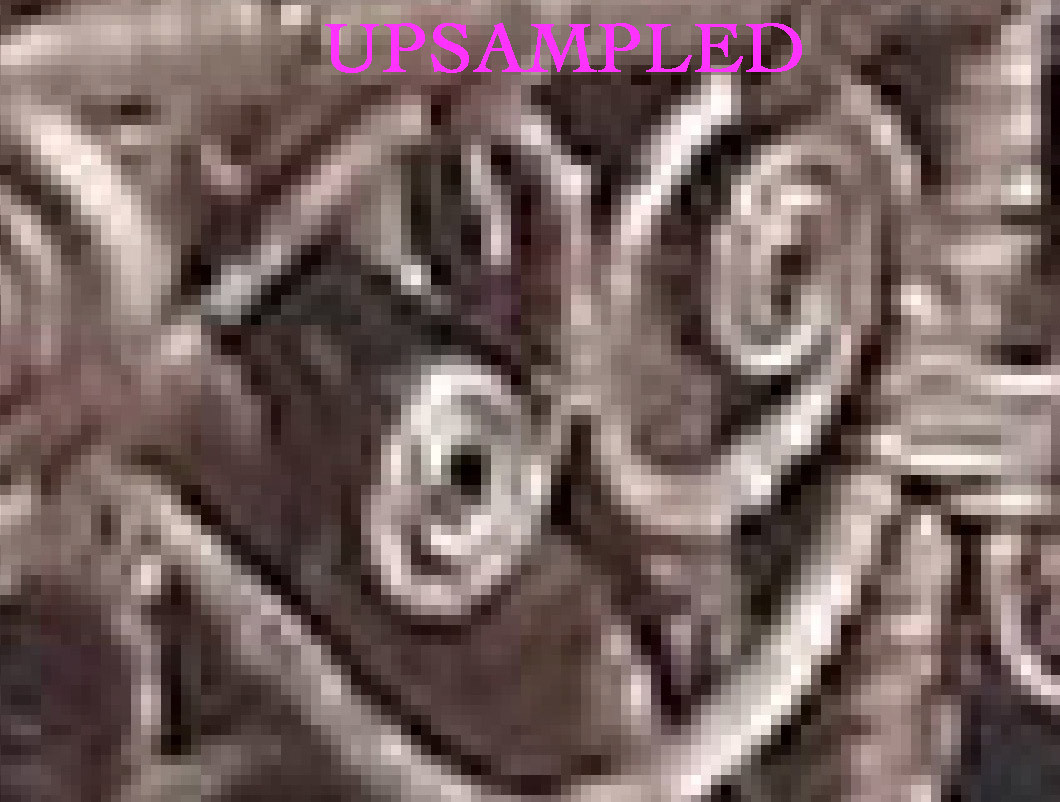 Detail of the same image after being upsampled, showing smoother appearance and reduced pixelation
As Wikipedia notes on “image resampling,” “Enlarging an image (upsampling or interpolating) is generally common for making smaller imagery fit a bigger screen in fullscreen mode… there are several methods of increasing the number of pixels that an image contains, which evens out the appearance of the original pixels.”
The truth likely lies somewhere in between. While upscaling can’t create true detail that wasn’t captured initially, it can utilize algorithms to intelligently guess and fill in pixel information, often resulting in a subjectively better-looking image when enlarged. The effectiveness of upscaling depends on the quality of the original image, the degree of upscaling, and the algorithm used.
Conclusion
Making a photo high resolution through upscaling is a useful technique when you need to enlarge a low-resolution image. While it’s not a magic bullet for adding lost detail, tools like Preview’s “Adjust Size” feature offer a simple way to increase pixel dimensions and potentially improve the visual appearance of your photos for various purposes. Experiment with upscaling to see if it meets your needs for making your photos suitable for larger displays or prints. Remember to always save a copy to preserve your original image and assess the results to ensure the upscaled image meets your quality expectations.