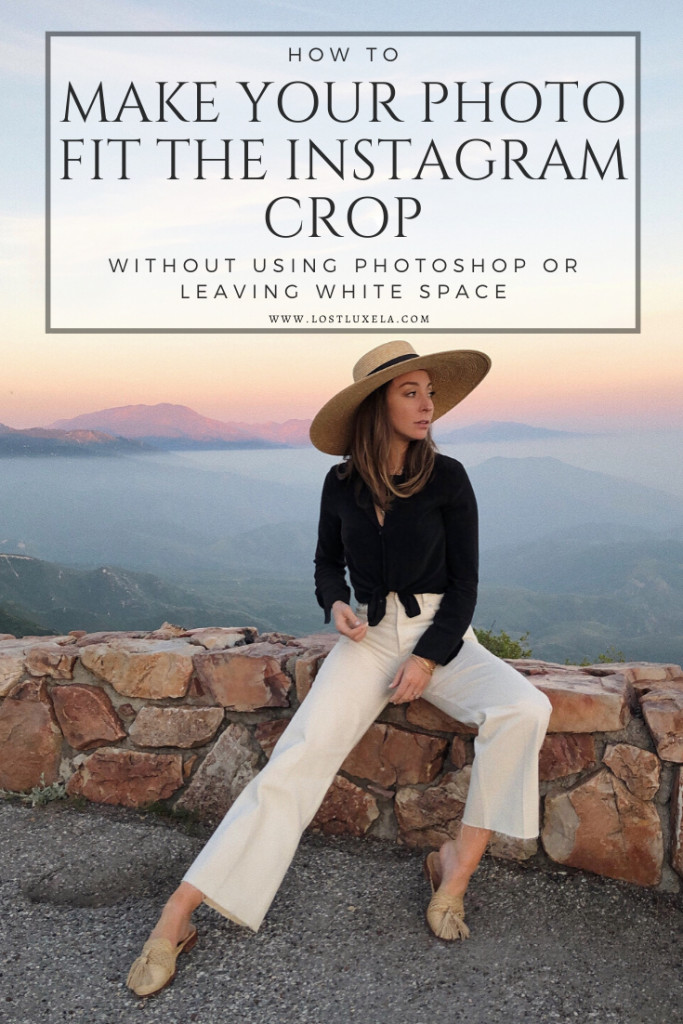
We’ve all experienced that moment of frustration. You capture a fantastic photo – maybe it’s a stunning cityscape, your stylish outfit from head to toe, or a group shot with all your friends perfectly posed. You’re excited to share it on Instagram, but then…
The Dreaded Instagram Crop Strikes Again
That’s right, as you go to upload, Instagram’s default 4:5 aspect ratio rears its head, cutting off crucial parts of your image. Suddenly, that amazing building is missing its top, or worse, your fabulous new shoes are chopped out of existence!
Visualizing the Problem:
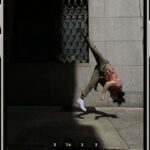
 Original photo before Instagram cropping with a full view
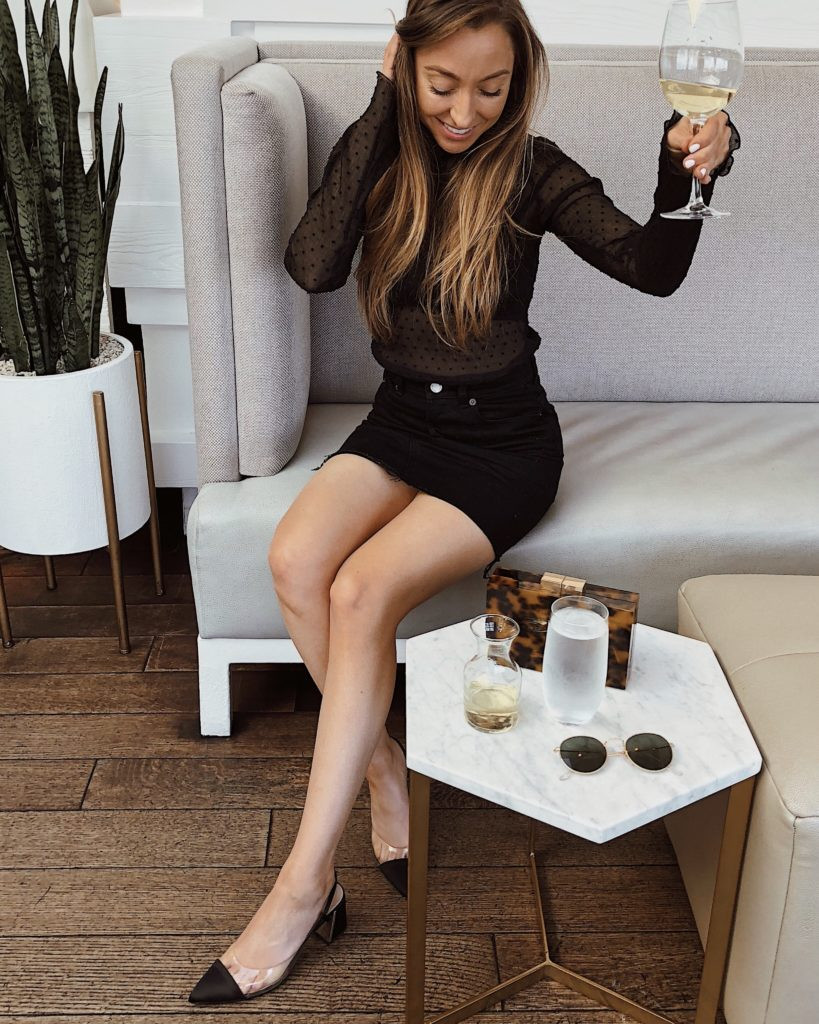 Instagram crop example cutting off the top of the head
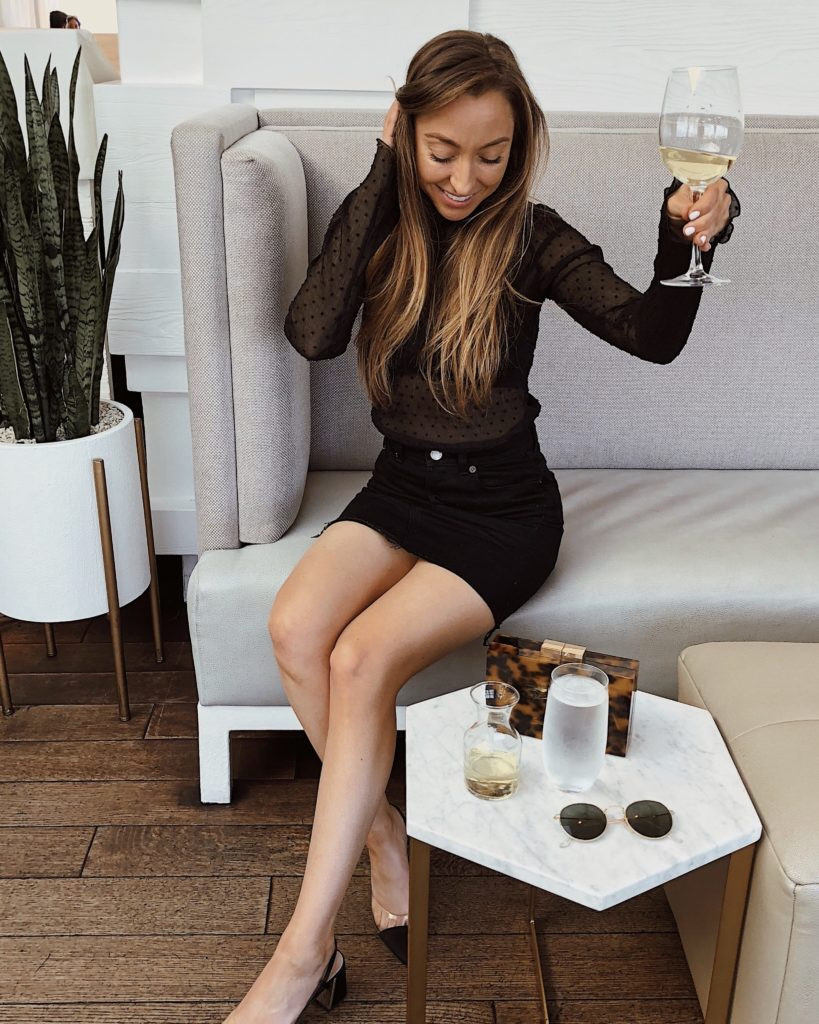 Instagram crop example cutting off the bottom of the shoes
But don’t worry, there’s a solution! With just a couple of quick steps using two user-friendly mobile apps, you can easily make your entire picture fit within Instagram’s frame. The best part? You can achieve this without resorting to awkward white borders or complex Photoshop techniques that can disrupt the aesthetic of your Instagram feed.
Essential Tools for Instagram Photo Resizing
Here’s what you’ll need to perfectly fit your photos on Instagram:
-
Snapseed App: Considered a must-have for mobile photo editing, Snapseed is incredibly versatile. While it offers a wide range of editing features, it’s particularly invaluable for resizing your photos to fit Instagram’s crop. And the best news? It’s completely FREE! You can download it from both the App Store and Google Play Store.
-
ReTouch App: ReTouch is another top-tier app favored by photographers for its powerful editing capabilities. For a small price of around $1.99, this app becomes an indispensable tool in your photo editing arsenal. Its object removal feature is particularly useful when resizing images for Instagram. It’s available on the App Store and Google Play Store.
Disclaimer: We are not affiliated with either Snapseed or ReTouch. We genuinely recommend them based on their effectiveness and user satisfaction in achieving optimal photo dimensions for Instagram.
Step-by-Step Guide: Resizing Your Photos for Instagram
Here’s how to use these apps to ensure your photos are Instagram-ready:
Using Snapseed’s Expand Tool:
-
Step 1: Open in Snapseed: Launch the Snapseed app and import the photo you want to edit.
-
Step 2: Access Tools: Tap on the “TOOLS” option in the bottom menu.
-
Step 3: Select Expand: Scroll through the Tools menu and choose “Expand.”
-
Step 4: Smart Expand: Ensure the “Smart” expand feature is selected (usually the default). This feature intelligently fills in the expanded areas based on the surrounding content, making the expansion look natural.
-
Step 5: Adjust Aspect Ratio: Drag the left and right sides of your photo outwards. As you drag, you’ll see the image expand. Adjust it until you get closer to Instagram’s 4:5 aspect ratio. The goal here isn’t necessarily to hit 4:5 perfectly in Snapseed, but to give yourself enough room to crop in Instagram without losing key elements.
-
Step 6: Export: Once you’re satisfied with the expanded image, export it to your device’s camera roll.
-
Step 7: Final Crop in Instagram: Now, upload your photo to Instagram. During the upload process, you can use Instagram’s built-in crop tool to finalize the 4:5 aspect ratio if needed, or simply ensure the full image fits within the posting frame without any automatic cropping.
Refining Expanded Edges with ReTouch (If Necessary):
In many cases, especially with simple backgrounds, Snapseed’s “Smart Expand” does a fantastic job, and you might be done after the Snapseed steps. However, if you notice any unusual or “wonky” artifacts or distortions around the expanded edges, ReTouch can help clean things up:
-
Step 1: Open in ReTouch: Open the ReTouch app and upload the photo you just expanded in Snapseed.
-
Step 2: Select Objects Tool: In the ReTouch menu, choose the “OBJECTS” tool (often represented by an icon of a brush).
-
Step 3: Use Brush (Auto): Select the “Brush” option, and ensure “AUTO” is selected if available. Gently brush over any areas that look unnatural or distorted from the expansion. ReTouch will intelligently blend these areas to match their surroundings, seamlessly removing the artifacts.
-
Step 4: Clone Stamp (For Precise Adjustments): For more intricate areas or to perfectly replicate patterns, the “CLONE STAMP” tool in ReTouch is invaluable. Select the Clone Stamp, choose a source area that you want to copy, and then paint over the area you want to refine. This is excellent for mimicking textures or patterns to make the expansion look completely natural.
 Snapseed Expand tool interface example
Tips for Avoiding Instagram Crop Issues in the First Place
While these apps are fantastic for post-processing, you can also take steps during your photoshoot to minimize cropping problems:
- Shoot in Instagram Aspect Ratio (or close to it): If you know your photo is primarily for Instagram, try shooting in or close to a 4:5 aspect ratio directly in your camera app. Many smartphone cameras allow you to set the aspect ratio.
- Leave Buffer Space: When composing your shot, especially for vertical photos, leave a little extra space around the edges of your main subject. This buffer zone gives you flexibility when cropping for Instagram and reduces the chance of cutting off important parts of your image.
- Consider Composition: Think about how your composition will translate to a vertical format. Centering your subject or using compositions that work well in a narrower frame can help.
Final Thoughts
Making your photos fit perfectly on Instagram doesn’t have to be a struggle. With these simple techniques using Snapseed and ReTouch, you can easily showcase your images in their entirety, exactly as you intended. Practice makes perfect, and as you become more familiar with these tools, you’ll find it quicker and easier to prep your photos for Instagram. So go ahead, try these methods out, and ensure your photos always look their best on your feed!