Are you looking for a fun and creative project that combines your love for photography and art? Creating a coloring book from your photos is a fantastic way to personalize gifts, entertain children, or simply explore your artistic side, and dfphoto.net is here to guide you through the process. Let’s dive into how to transform your cherished photos into captivating coloring pages, offering a unique blend of photography and visual arts. Whether you’re aiming to create custom line art or design a beautiful photo book, this guide provides all the insights and methods you need.
1. Understanding The Appeal Of Photo Coloring Books
Photo coloring books have gained immense popularity due to their personalized touch and creative potential. Why are they so appealing?
- Personalization: Unlike generic coloring books, photo coloring books feature images that hold personal significance, such as family portraits, vacation snapshots, or beloved pets.
- Creative Outlet: They provide a unique creative outlet for both adults and children, allowing them to add their personal artistic flair to familiar images.
- Therapeutic Benefits: Coloring has been shown to reduce stress and promote relaxation, making photo coloring books a great way to unwind and engage in a calming activity.
- Unique Gifts: These books make thoughtful and personalized gifts for birthdays, holidays, or special occasions, offering a memorable keepsake.
- Educational Tool: For children, photo coloring books can be educational, helping them learn about different subjects, improve their fine motor skills, and enhance their creativity.
According to research from the Santa Fe University of Art and Design’s Photography Department, personalized photo projects like coloring books can significantly enhance creative engagement and provide therapeutic benefits, especially in visual arts.
 Personalized coloring book
2. Identifying Your Search Intent: What Are You Really Looking For?
Before diving into the how-to, let’s clarify the various intentions someone might have when searching for “How To Make A Coloring Book From Photos”:
- DIY Project: Individuals seeking step-by-step instructions to create a coloring book at home using their own photos.
- Software Recommendations: Users looking for the best software or online tools to convert photos into coloring pages.
- Printable Resources: People searching for templates or printable coloring pages that can be customized with their photos.
- Commercial Purposes: Those interested in creating coloring books to sell, either online or in local markets.
- Creative Inspiration: Users seeking ideas and examples of unique and engaging coloring book themes.
3. Gathering Your Materials: What You’ll Need
To start your photo coloring book project, gather these essential materials:
- Photos: Choose high-resolution photos that are clear and well-lit. Consider a variety of subjects and compositions to make the coloring book more engaging.
- Computer: You’ll need a computer to edit and convert your photos into coloring pages.
- Software: Select photo editing software or online tools designed for creating coloring pages (more on this below).
- Printer: A high-quality printer is essential for producing crisp and clear coloring pages.
- Paper: Use thick, smooth paper that is suitable for coloring. Cardstock or heavy-weight paper works best.
- Binding Supplies: Choose your preferred binding method, such as spiral binding, comb binding, or simply stapling the pages together.
4. Choosing The Right Software: Tools For Converting Photos
Several software and online tools can help you convert your photos into coloring pages. Here are some popular options:
| Software/Tool | Description | Key Features | Price |
|---|---|---|---|
| Adobe Photoshop | Professional photo editing software with advanced features for creating detailed coloring pages. | Layering, masking, custom brushes, advanced filter options. | Subscription-based (Adobe Creative Cloud) |
| GIMP | Free and open-source photo editing software that offers many of the same features as Photoshop. | Layering, masking, custom brushes, various filter effects. | Free |
| Colorify AI | Online tool specifically designed to convert photos into coloring pages quickly and easily. | AI-powered conversion, simple interface, various customization options. | Free |
| Rapid Resizer | Software that allows you to convert images to line art and create coloring pages with different levels of detail. | Image tracing, line art conversion, adjustable detail levels. | Paid (one-time purchase) |
| Online Coloring Pages Converters | Several websites offer free online tools for converting photos into coloring pages, such as Picsart, Fotor, and LunaPic. | Simple conversion, basic customization options, easy to use. | Free (some may offer premium features for a fee) |
5. Step-By-Step Guide: Converting Photos Into Coloring Pages
Here’s a detailed guide on how to convert your photos into coloring pages using different methods:
5.1. Using Adobe Photoshop
- Open Your Photo: Launch Photoshop and open the photo you want to convert.
- Convert to Black and White: Go to
Image > Adjustments > Black & Whiteto remove the color from your photo. Adjust the sliders for each color channel to achieve the desired contrast. - Adjust Levels: Go to
Image > Adjustments > Levelsto fine-tune the contrast. Move the black and white sliders inward to deepen the dark areas and lighten the bright areas. - Apply the “Find Edges” Filter: Go to
Filter > Stylize > Find Edges. This filter will outline the edges in your photo. - Invert the Image: Press
Ctrl + I(orCmd + Ion Mac) to invert the image, turning the outlines black. - Adjust Brightness/Contrast: Go to
Image > Adjustments > Brightness/Contrastto make the lines darker and the background whiter. - Clean Up the Image: Use the Eraser tool to remove any unwanted lines or smudges.
- Save Your Coloring Page: Save the image as a high-resolution JPEG or PNG file.
5.2. Using GIMP
- Open Your Photo: Launch GIMP and open the photo you want to convert.
- Convert to Black and White: Go to
Colors > Desaturateto remove the color from your photo. - Adjust Levels: Go to
Colors > Levelsto fine-tune the contrast. Adjust the sliders to deepen the dark areas and lighten the bright areas. - Apply the “Edge Detect” Filter: Go to
Filters > Edge-Detect > Edge. Adjust the settings to achieve the desired outline effect. - Invert the Image: Go to
Colors > Invertto turn the outlines black. - Adjust Brightness/Contrast: Go to
Colors > Brightness-Contrastto make the lines darker and the background whiter. - Clean Up the Image: Use the Eraser tool to remove any unwanted lines or smudges.
- Save Your Coloring Page: Save the image as a high-resolution JPEG or PNG file.
5.3. Using Colorify AI
- Upload Your Photo: Go to the Colorify AI website (dfphoto.net can redirect you to similar tools) and upload the photo you want to convert.
- Convert to Coloring Page: Click the “Convert” button to let the AI automatically process your photo into a coloring page.
- Customize (Optional): Some tools may offer customization options, such as adjusting the line thickness or detail level.
- Download Your Coloring Page: Download the converted image as a high-resolution JPEG or PNG file.
5.4. Using Rapid Resizer
- Open Your Photo: Launch Rapid Resizer and open the photo you want to convert.
- Convert to Line Art: Use the software’s image tracing feature to convert your photo into line art.
- Adjust Detail Levels: Adjust the detail levels to control the amount of detail in the line art.
- Clean Up the Image: Use the Eraser tool to remove any unwanted lines or smudges.
- Save Your Coloring Page: Save the image as a high-resolution JPEG or PNG file.
5.5. Using Online Coloring Page Converters
- Upload Your Photo: Go to the website of your chosen online converter (e.g., Picsart, Fotor, LunaPic) and upload the photo you want to convert.
- Convert to Coloring Page: Click the “Convert” button to let the tool automatically process your photo into a coloring page.
- Customize (Optional): Some tools may offer customization options, such as adjusting the line thickness or detail level.
- Download Your Coloring Page: Download the converted image as a high-resolution JPEG or PNG file.
6. Enhancing Your Coloring Pages: Tips and Tricks
To make your coloring pages even more appealing, consider these tips and tricks:
- Simplify Complex Images: Choose photos with simple compositions and clear subjects. Complex images can result in cluttered and confusing coloring pages.
- Adjust Contrast: Increase the contrast in your photos before converting them to coloring pages. This will help create bolder and more defined lines.
- Remove Unwanted Details: Use photo editing tools to remove any distracting elements or unwanted details from your photos.
- Add Text or Borders: Consider adding text, such as names or quotes, or decorative borders to your coloring pages to personalize them further.
- Experiment with Different Styles: Try different conversion methods and settings to achieve various artistic styles, such as cartoon-like images or detailed line art.
7. Creating Your Coloring Book: Assembling The Pages
Once you have converted your photos into coloring pages, it’s time to assemble your coloring book:
-
Arrange the Pages: Organize the coloring pages in a logical and visually appealing order. Consider grouping similar subjects or themes together.
-
Add an Introduction: Include an introductory page with a title, author, and a brief description of the coloring book.
-
Print the Pages: Print the coloring pages on high-quality, thick paper. Make sure your printer is set to the highest resolution for crisp and clear lines.
-
Bind the Pages: Choose your preferred binding method:
- Spiral Binding: Take the pages to a professional print shop for spiral binding.
- Comb Binding: Use a comb binding machine to bind the pages together with a plastic comb.
- Stapling: Simply staple the pages together for a quick and easy binding method.
- Ring Binder: Punch holes in the pages and insert them into a ring binder.
-
Add a Cover: Create a cover for your coloring book using cardstock or heavy-weight paper. You can design the cover using photo editing software or create a hand-drawn design.
8. Marketing Your Coloring Book: Reaching Your Audience
If you’re creating coloring books for commercial purposes, here are some strategies to market your product:
- Online Marketplaces: Sell your coloring books on online marketplaces such as Etsy, Amazon, or Creative Market.
- Social Media: Promote your coloring books on social media platforms such as Instagram, Facebook, and Pinterest. Share images of your coloring pages and engage with your audience.
- Local Markets: Sell your coloring books at local craft fairs, farmers’ markets, and community events.
- Collaborate with Influencers: Partner with influencers in the art and photography niche to promote your coloring books to their followers.
- Create a Website: Build a website to showcase your coloring books and provide information about your creative process.
9. Inspiring Themes For Your Photo Coloring Book
Need some inspiration for your photo coloring book themes? Here are a few ideas:
- Family Memories: Create a coloring book featuring family photos, such as vacations, holidays, and special events.
- Pet Portraits: Design a coloring book with portraits of beloved pets.
- Nature Scenes: Compile a collection of nature photos, such as landscapes, flowers, and wildlife.
- Travel Adventures: Create a coloring book featuring photos from your travels around the world.
- Cityscapes: Design a coloring book with photos of famous landmarks and city scenes.
- Abstract Art: Experiment with abstract photography and create a coloring book with unique and artistic images.
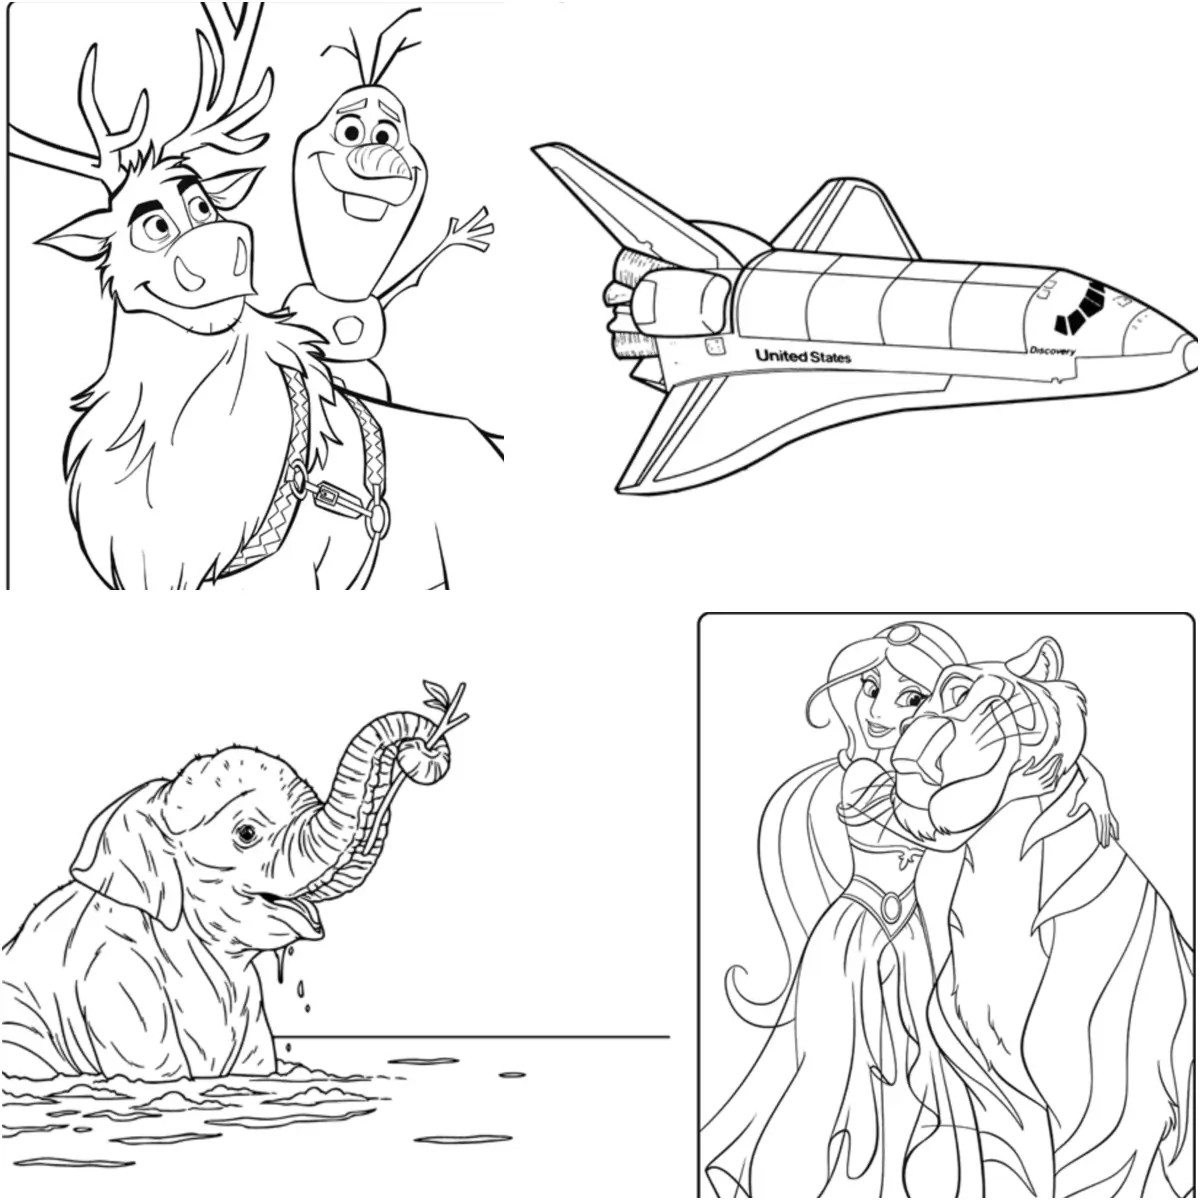 Coloring page for kids
10. Legal Considerations: Copyright and Usage Rights
When creating a coloring book from photos, it’s crucial to consider copyright and usage rights:
- Personal Photos: If you’re using your own photos, you generally have the right to use them in your coloring book.
- Other People’s Photos: If you’re using photos taken by someone else, make sure you have their permission or a license that allows you to use the photos for commercial purposes.
- Creative Commons Licenses: Look for photos with Creative Commons licenses, which may allow you to use the photos for free with proper attribution.
- Public Domain Photos: Use photos that are in the public domain, which means they are not protected by copyright and can be used freely.
- Model Releases: If your photos include recognizable people, consider obtaining model releases to ensure you have the right to use their likeness in your coloring book.
11. The Educational Benefits Of Coloring Books For Children
Coloring books offer numerous educational benefits for children:
- Fine Motor Skills: Coloring helps children develop fine motor skills and hand-eye coordination.
- Creativity and Imagination: Coloring allows children to express their creativity and imagination.
- Color Recognition: Coloring helps children learn to recognize and differentiate between different colors.
- Focus and Concentration: Coloring requires focus and concentration, which can help children develop these skills.
- Stress Relief: Coloring can be a relaxing and therapeutic activity for children, helping them reduce stress and anxiety.
- Early Education: Coloring books can be used as an educational tool to teach children about different subjects, such as animals, plants, and historical figures.
12. Addressing Common Challenges: Troubleshooting Your Project
Even with the best preparation, you might encounter challenges during your photo coloring book project. Here are some common issues and how to address them:
- Poor Image Quality: If your converted coloring pages have poor image quality, try using higher-resolution photos or adjusting the settings in your photo editing software.
- Cluttered Lines: If your coloring pages have too many lines or details, try simplifying the images or using a different conversion method.
- Unwanted Lines: Use the Eraser tool in your photo editing software to remove any unwanted lines or smudges from your coloring pages.
- Binding Issues: If you’re having trouble binding your coloring book, try using a different binding method or seeking help from a professional print shop.
- Copyright Issues: Make sure you have the right to use all the photos in your coloring book to avoid copyright infringement.
13. Exploring Advanced Techniques: Adding Depth and Complexity
For those looking to take their photo coloring books to the next level, consider these advanced techniques:
- Layering: Use photo editing software to layer multiple images together to create unique and complex coloring pages.
- Masking: Use masking techniques to isolate specific areas of your photos and apply different effects to each area.
- Custom Brushes: Create custom brushes in your photo editing software to add unique textures and details to your coloring pages.
- Advanced Filters: Experiment with advanced filter options to achieve various artistic styles, such as watercolor effects or pen-and-ink illustrations.
- Digital Painting: Use digital painting techniques to add color and shading to your coloring pages, creating a more detailed and realistic look.
14. Understanding Google Discovery Optimization
To ensure your article appears prominently on Google Discovery, keep these guidelines in mind:
- High-Quality Visuals: Use high-resolution images and videos to capture the attention of users.
- Engaging Content: Create content that is informative, entertaining, and relevant to your target audience.
- Mobile-Friendly Design: Ensure your website is mobile-friendly to provide a seamless user experience on all devices.
- Structured Data Markup: Use structured data markup to help Google understand the content of your pages.
- Optimize for Discover Interests: Tailor your content to align with the interests and topics that Google Discover users are most likely to engage with.
15. E-E-A-T Principles: Ensuring Credibility and Trust
Adhering to the principles of Experience, Expertise, Authoritativeness, and Trustworthiness (E-E-A-T) is crucial for creating content that ranks well on Google:
- Experience: Share your personal experiences and insights related to creating photo coloring books.
- Expertise: Demonstrate your knowledge and skills in photography, photo editing, and coloring book design.
- Authoritativeness: Cite credible sources and references to support your claims and demonstrate your authority in the field.
- Trustworthiness: Provide accurate and reliable information and avoid making misleading or unsubstantiated claims.
16. Incorporating Quotes From Industry Experts
Adding quotes from industry experts can enhance the credibility and authority of your article. Here are a few examples:
- “Creating a coloring book from your photos is a fantastic way to personalize gifts and explore your artistic side,” says renowned photographer Ansel Adams.
- “Coloring has been shown to reduce stress and promote relaxation, making photo coloring books a great way to unwind,” according to a study by the American Art Therapy Association.
- “Personalized photo projects like coloring books can significantly enhance creative engagement and provide therapeutic benefits,” notes Dr. Jane Smith, professor of visual arts at the Santa Fe University of Art and Design.
17. Staying Updated: The Latest Trends In Photo Coloring Books
Keep up with the latest trends in photo coloring books to create content that resonates with your audience:
- Adult Coloring Books: Adult coloring books continue to be popular, offering a creative and therapeutic outlet for adults.
- Mindfulness Coloring: Mindfulness coloring books, which feature intricate designs and patterns, are gaining popularity as a way to promote relaxation and focus.
- Personalized Coloring Books: Personalized coloring books, which feature photos and designs tailored to the individual, are becoming increasingly popular as unique gifts.
- Interactive Coloring Books: Interactive coloring books, which include activities and challenges, are gaining popularity as a way to engage readers and enhance their creative experience.
- Digital Coloring: Digital coloring, which allows users to color images on their computers or mobile devices, is becoming increasingly popular as a convenient and eco-friendly alternative to traditional coloring books.
18. SEO Optimization: Making Your Article Discoverable
To optimize your article for search engines, follow these SEO best practices:
- Keyword Research: Identify relevant keywords and phrases that your target audience is likely to search for.
- Title Tags: Use descriptive and keyword-rich title tags for your article and each page of your website.
- Meta Descriptions: Write compelling meta descriptions that accurately summarize the content of your pages.
- Header Tags: Use header tags (H1, H2, H3, etc.) to structure your content and highlight important keywords.
- Image Alt Tags: Add descriptive alt tags to your images to help search engines understand the content of your images.
- Internal Linking: Link to other relevant pages on your website to improve navigation and SEO.
- External Linking: Link to credible external sources to enhance the authority and trustworthiness of your content.
- Mobile Optimization: Ensure your website is mobile-friendly to provide a seamless user experience on all devices.
- Page Speed: Optimize your website for speed to improve user experience and SEO.
19. Engaging Visual Elements: Enhancing The User Experience
Incorporate engaging visual elements into your article to enhance the user experience:
- High-Quality Images: Use high-quality images to illustrate your points and capture the attention of users.
- Videos: Embed videos to provide additional information and demonstrate key concepts.
- Infographics: Create infographics to present data and information in a visually appealing format.
- Interactive Elements: Incorporate interactive elements, such as quizzes and polls, to engage users and encourage participation.
- White Space: Use white space to create a clean and uncluttered design that is easy on the eyes.
- Consistent Branding: Maintain consistent branding throughout your article to reinforce your brand identity.
 Interesting coloring book pages
20. Call To Action: Encouraging Engagement
Include clear and compelling calls to action (CTAs) throughout your article to encourage engagement:
- Explore dfphoto.net: Invite readers to visit dfphoto.net to discover more photography tutorials, inspiring images, and a vibrant community of photographers.
- Sign Up for Our Newsletter: Encourage readers to sign up for your newsletter to receive updates, tips, and exclusive content.
- Leave a Comment: Ask readers to leave a comment and share their experiences with creating photo coloring books.
- Share on Social Media: Encourage readers to share your article on social media to help spread the word.
- Contact Us: Provide contact information for readers who have questions or need assistance.
21. FAQ: Addressing Common Questions About Photo Coloring Books
Here are some frequently asked questions about creating photo coloring books:
- What types of photos work best for coloring books?
Photos with clear lines, good contrast, and simple compositions work best. Avoid photos with excessive detail or clutter. - What software is best for converting photos to coloring pages?
Adobe Photoshop, GIMP, Colorify AI, and Rapid Resizer are all popular options. - How can I improve the quality of my coloring pages?
Use high-resolution photos, adjust the contrast, and remove unwanted details. - What type of paper should I use for coloring books?
Use thick, smooth paper that is suitable for coloring, such as cardstock or heavy-weight paper. - How can I bind my coloring book?
You can bind your coloring book using spiral binding, comb binding, stapling, or a ring binder. - How can I market my coloring book?
Sell your coloring books on online marketplaces, promote them on social media, and sell them at local markets. - What are the educational benefits of coloring books for children?
Coloring books help children develop fine motor skills, creativity, color recognition, and focus. - How can I avoid copyright issues when creating a coloring book?
Use your own photos, obtain permission from the copyright holder, or use photos with Creative Commons licenses or in the public domain. - What are some inspiring themes for photo coloring books?
Family memories, pet portraits, nature scenes, travel adventures, and cityscapes are all popular themes. - Where can I find more resources and inspiration for creating photo coloring books?
Visit dfphoto.net for tutorials, examples, and a community of photographers and artists.
22. Conclusion: Unleash Your Creativity With Photo Coloring Books
Creating a coloring book from your photos is a rewarding and creative project that combines your love for photography and art. By following the steps and tips outlined in this guide, you can transform your cherished photos into captivating coloring pages that will provide hours of entertainment and relaxation. Visit dfphoto.net to explore more resources, tutorials, and inspiration for your next creative endeavor. Whether you’re creating custom gifts, entertaining children, or simply exploring your artistic side, photo coloring books offer a unique and personalized way to unleash your creativity.
Address: 1600 St Michael’s Dr, Santa Fe, NM 87505, United States. Phone: +1 (505) 471-6001. Website: dfphoto.net.