Have you ever needed to enlarge a photo, only to find it becomes blurry or pixelated? This is a common problem when you try to increase the number of pixels in an image. Understanding how to effectively increase pixels is key to maintaining image quality while making your photos larger. This guide will walk you through a straightforward method to increase the pixel dimensions of your photos and address common concerns about image quality.
Understanding Pixels and Image Size
Before we dive into the how-to, let’s briefly understand what pixels are and why they matter. A digital image is made up of thousands or millions of tiny squares called pixels. The number of pixels in an image determines its resolution and size. More pixels generally mean more detail and a sharper image, especially when printed or viewed on larger screens.
When we talk about increasing pixels, we are essentially talking about “upsampling” or “resizing” an image to have larger pixel dimensions. For example, you might want to increase the pixels of a photo to:
- Print it at a larger size: Low-resolution images will appear pixelated when printed large. Increasing pixels can make them suitable for bigger prints.
- Use it on a high-resolution display: If your original photo is small, it might appear tiny or blurry on a large, high-resolution screen. Upscaling can help it fill the screen better.
- Improve detail (perceived): Although you can’t truly add new detail that wasn’t there originally, certain upscaling techniques can make images appear smoother and less pixelated.
Simple Steps to Increase Pixels Using Preview on Mac
For Mac users, the built-in Preview application offers a surprisingly easy way to increase the pixel dimensions of an image. Here’s how:
-
Open Your Photo in Preview: The first step is to open the image you want to enlarge using the Preview application. You can do this by simply dragging and dropping your photo onto the Preview icon in your Dock or by right-clicking on the image file, selecting “Open With,” and choosing “Preview.”
 Screenshot of opening an image in Preview App
 -
Access the “Adjust Size” Tool: Once your photo is open in Preview, navigate to the menu bar at the top of your screen. Click on “Tools” and then select “Adjust Size…” from the dropdown menu. This will open the “Adjust Size” dialog box, where you can modify the image dimensions.
 Screenshot of accessing Adjust Size option in Preview App
 -
Enter Your Desired Pixel Dimensions: In the “Adjust Size” dialog, you’ll see options to change the dimensions of your image. Look for the field labeled “Fit into.” Here, you can specify the desired pixel dimensions for your photo. For example, you might choose a standard size like “1024 x 768” pixels.
Ensure that both “Scale proportionally” and “Resample image” checkboxes are checked. “Scale proportionally” will maintain the aspect ratio of your image, preventing distortion. “Resample image” is crucial as it tells Preview to actually create new pixels to increase the size.
-
Save Your Upscaled Photo: After you’ve entered your desired dimensions and ensured the correct options are checked, click “OK” in the “Adjust Size” dialog. The image in Preview will now be displayed at the new, larger pixel dimensions.
To save this enlarged version without overwriting your original photo, go to “File” in the menu bar and select “Save As…” This will open a save dialog box. Choose “JPEG” as the format and set the “Quality” to “Best” to maintain the best possible image quality for the new, larger image. You might want to add a letter or suffix to the filename (e.g., “photo_large.jpg”) and choose “Desktop” as the destination for easy access. This creates a new, upscaled photo while keeping your original file untouched.
Upscaling and Image Quality: Addressing Concerns
It’s important to understand that while you can increase the pixel dimensions of a photo, you cannot magically add detail that wasn’t originally captured. When you upscale an image, software algorithms (like the one in Preview) “guess” the color and detail of the new pixels based on the existing ones. This process is called interpolation.
Older interpolation methods could sometimes result in blurry or pixelated upscaled images, especially with significant increases in size. Critics of upscaling often point out that creating “new” pixels doesn’t add real information and can degrade image quality.
However, modern upscaling techniques, including those used in Preview and more advanced software like Photoshop, have improved significantly. While extreme upscaling (e.g., increasing size by 800%) will likely still show some quality loss, moderate upscaling can be surprisingly effective at making smaller images more usable without significant degradation. In some cases, it can even perceivably improve image quality by smoothing out pixelation that was visible in the original small image when viewed at a larger size.
To illustrate this, consider these examples of upscaling:
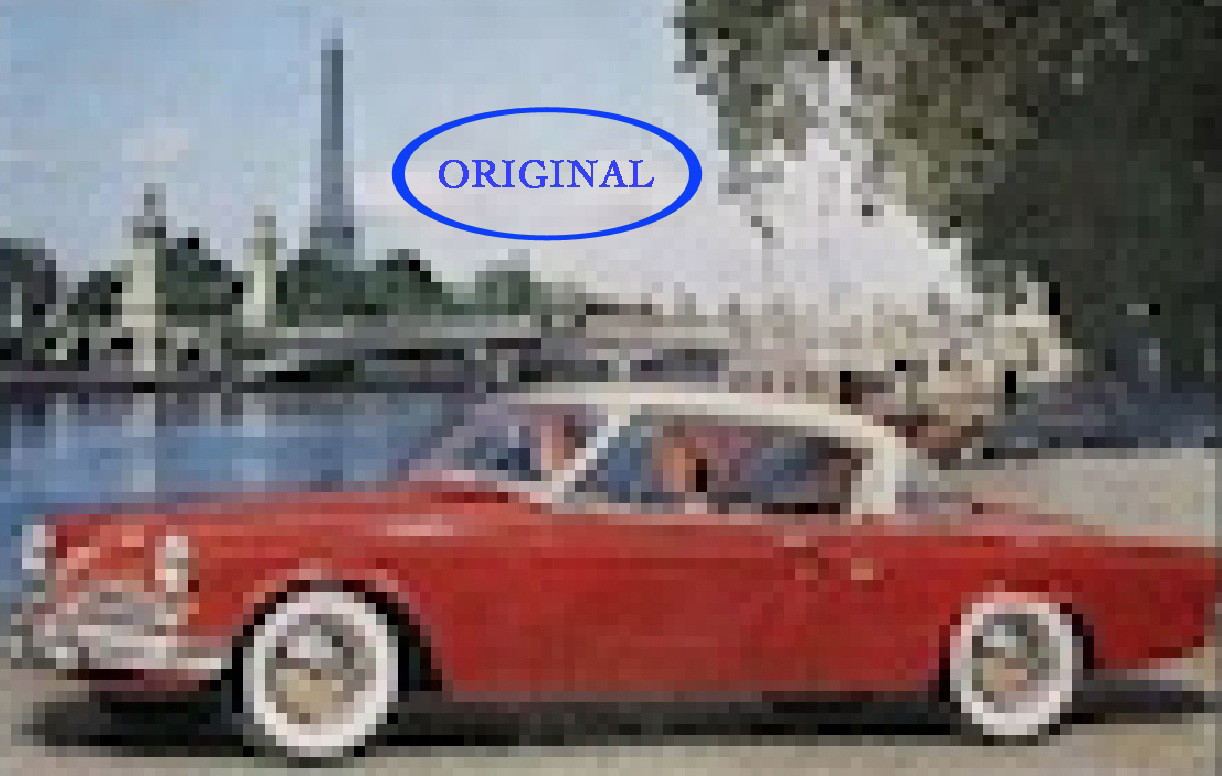
Originally small image (214 pixels wide):
 Original small image of Studebaker car
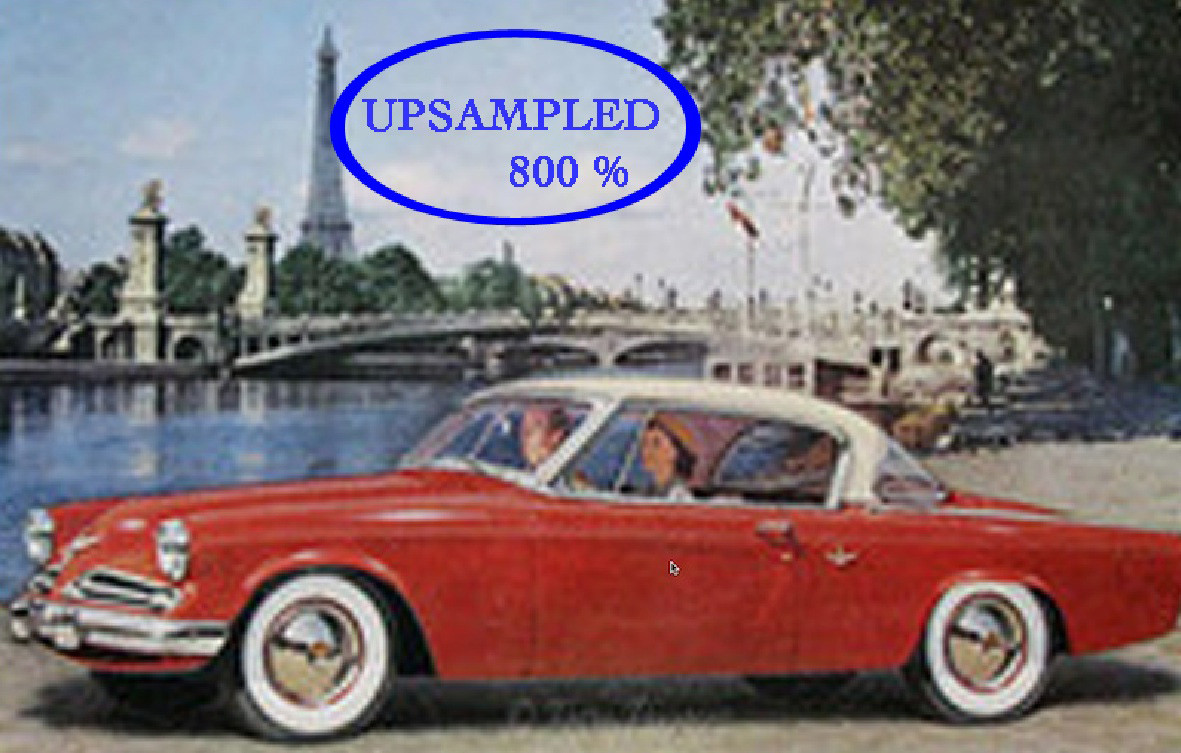
The same image upscaled by 800%:
 Upscaled image of Studebaker car by 800%
And the original image zoomed in (not upscaled) to fit the screen:
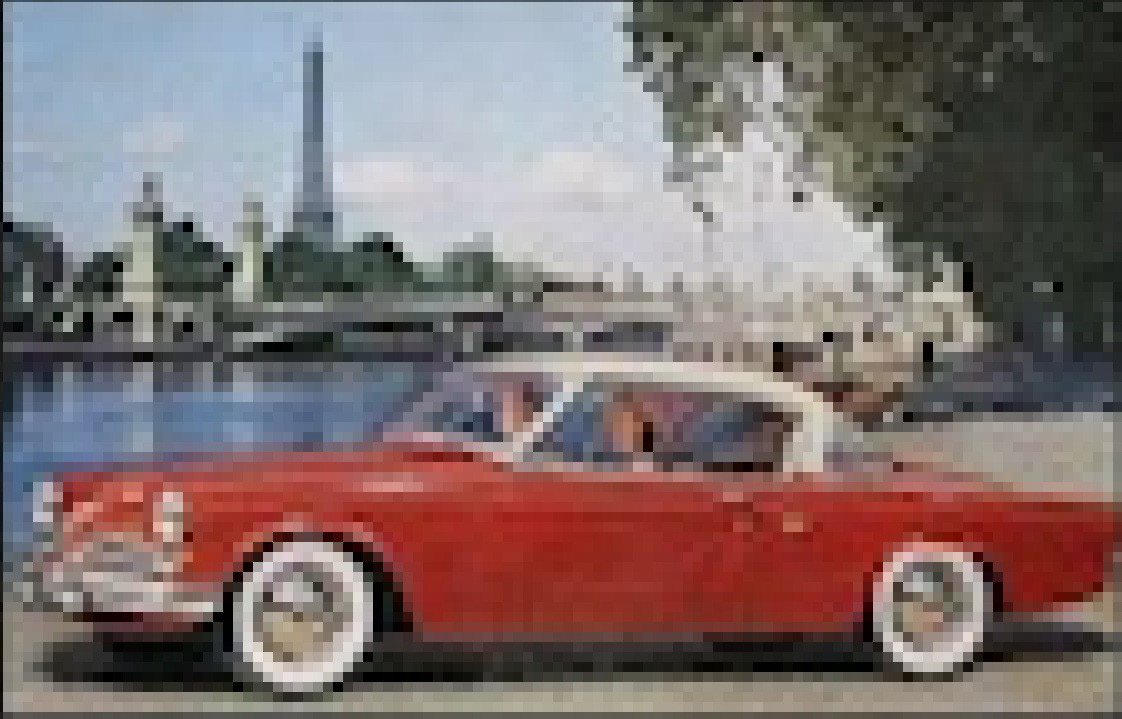 Zoomed original image of Studebaker car
As you can see, the upscaled image, while not perfect, can be more visually appealing than simply zooming in on the original small image, which emphasizes the pixelation.
Similarly, consider this example of a genealogy photo, originally 634 x 982 pixels:
 Original genealogy photo detail
And the same detail after being upsampled to 1,300 x 2,000 pixels:
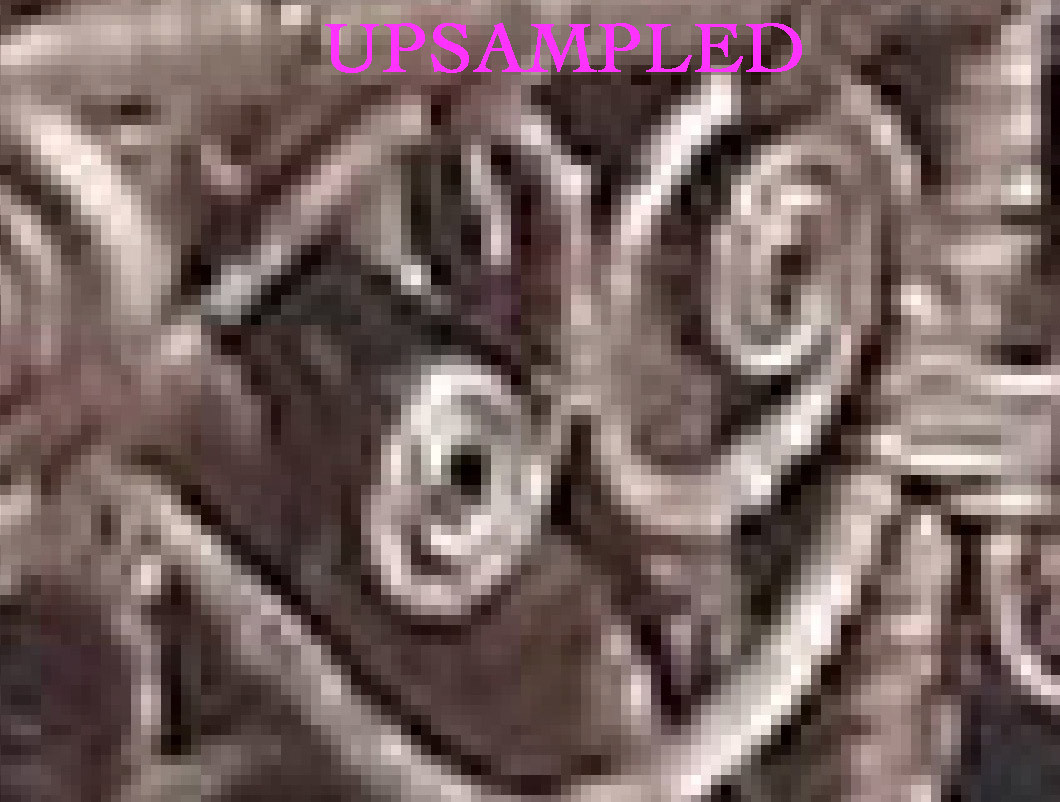 Upsampled genealogy photo detail
In this case, upsampling results in a smoother appearance, which can be desirable, especially for older or low-quality images.
Key Takeaways on Upscaling Quality:
- Moderate upscaling is generally acceptable: For reasonable increases in size, modern software does a good job of maintaining or even perceptibly improving image quality.
- Extreme upscaling has limitations: Enlarging images too much will always lead to some quality loss.
- It’s not about “creating” detail: Upscaling is about intelligently guessing new pixels to make an image larger and smoother, not adding information that wasn’t there.
- Experiment and judge visually: The best way to determine if upscaling is suitable for your needs is to try it and visually assess the results.
Conclusion
Increasing the pixels on a photo is a straightforward process, especially using tools like Preview on Mac. While it’s not a magic bullet for adding detail, upscaling can be a useful technique for making smaller images more suitable for printing, display, or general use. By understanding the process and its limitations, you can effectively use upscaling to enhance your photos and meet your specific needs. Remember to always save the upscaled version as a new file to preserve your original image.