In the realm of digital imaging, mastering image resolution in Photoshop is paramount for achieving professional-grade results. Whether you are a seasoned graphic designer, a passionate photographer, or someone simply aiming to enhance personal photos, understanding and optimizing resolution is key to unlocking image clarity and detail. This guide will delve into the essential techniques for managing and improving image resolution in Photoshop, ensuring your visual projects truly shine.
Photoshop provides a suite of robust tools designed to adjust and enhance image resolution, empowering you to enlarge or refine images without compromising their inherent quality. By grasping the nuances of resolution settings, you can transform ordinary photographs into captivating visuals that command attention. With just a few strategic steps, you can elevate your designs and presentations, ensuring they are impactful and effectively communicate your intended message.
Join us as we explore the intricacies of image resolution within Photoshop, equipping you with actionable tips and profound insights. You’ll gain the expertise to manipulate images with confidence and precision, streamlining your editing workflow and yielding more rewarding outcomes. Prepare to harness the full potential of your images and elevate your visual storytelling!
Understanding Image Resolution: DPI, PPI, and Pixel Dimensions
Image resolution fundamentally refers to the level of detail captured within an image. It’s quantified by the number of pixels, those tiny squares of color, contained within a given area, typically measured in dots per inch (DPI) or pixels per inch (PPI). Higher resolution equates to a greater pixel density, resulting in images that are sharper, more detailed, and clearer. Common resolution benchmarks include 72 DPI, often used for web images to ensure faster loading times, and 300 DPI, the standard for print media to guarantee high-quality output.
Resolution is a critical determinant of how your images appear across various devices and mediums. A low-resolution image, when enlarged, will often exhibit pixelation, appearing blocky and lacking detail. Conversely, a high-resolution image maintains its clarity and sharpness even when scaled up.
For professionals in photography, graphic design, and anyone working with visual content, a solid understanding of image resolution is indispensable. It directly influences the perceived quality and professionalism of their work. In powerful software like Photoshop, adjusting image resolution is a cornerstone technique for achieving the desired visual impact, whether for digital platforms or printed materials.
Step-by-Step Guide: How to Enlarge an Image in Photoshop
Enlarging an image in Photoshop is a vital skill for designers, photographers, and anyone needing to produce high-resolution graphics. This process allows you to repurpose images for larger formats like prints or banners while aiming to maintain visual fidelity. Photoshop offers several tools to upscale images effectively, and this guide will walk you through the most common method using the “Image Size” dialog.
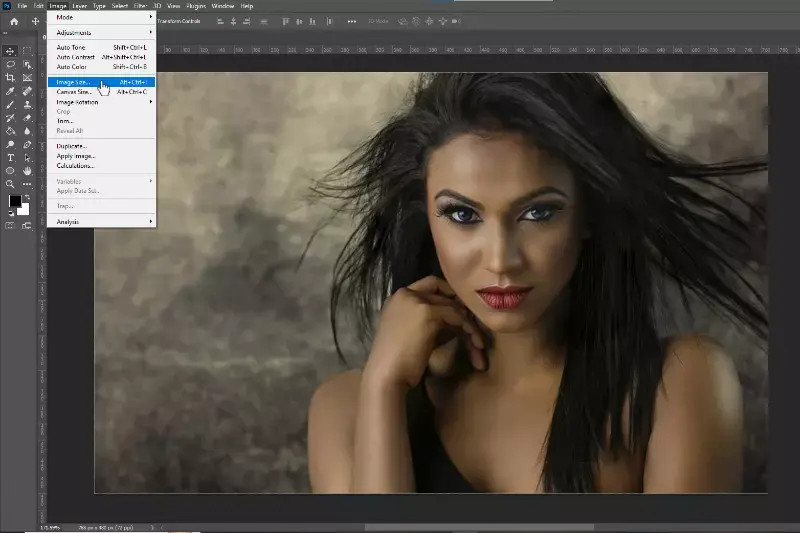
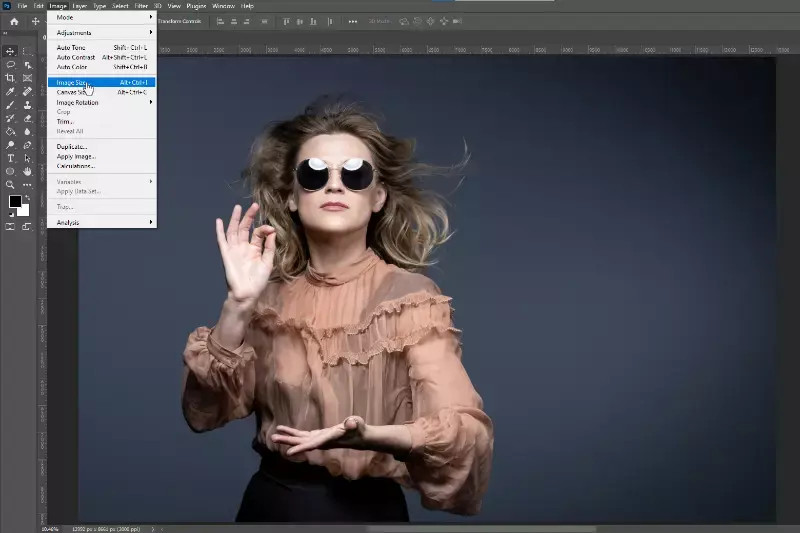
Step 1: Begin by opening the image you wish to enlarge in Photoshop. Navigate to the “File” menu at the top, select “Open,” and choose your image file.
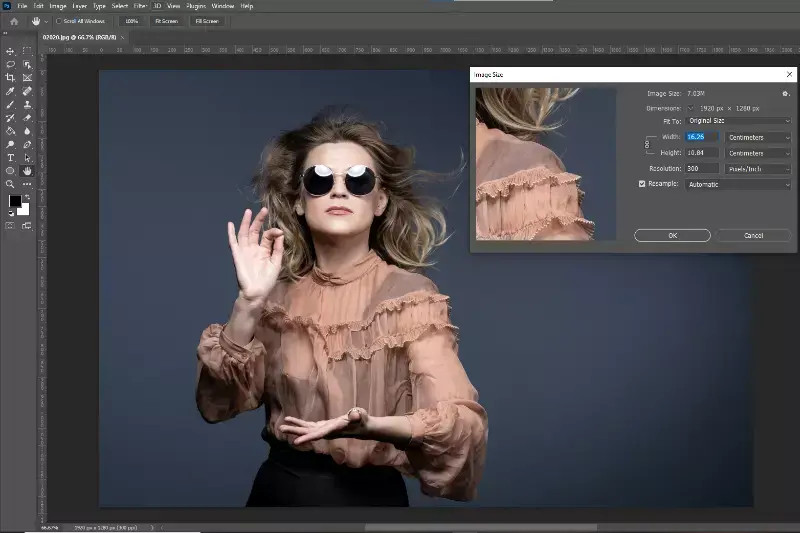
Step 2: Once your image is open, access the “Image Size” dialog box. Go to the “Image” menu in the top toolbar and select “Image Size.”
 Home Screen of PhotoShop Image Size
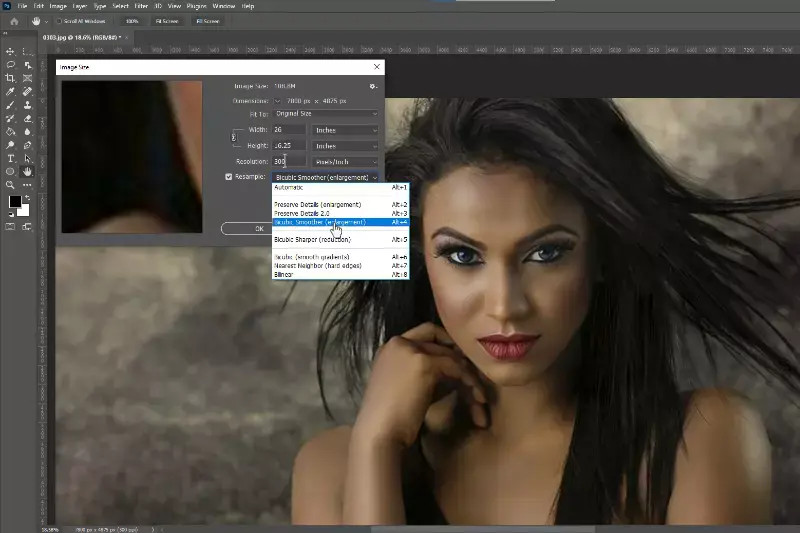
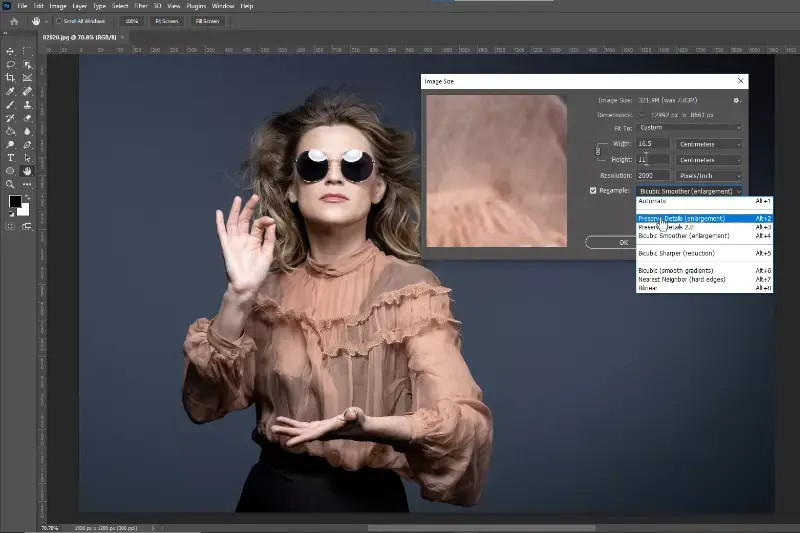
Step 3: In the “Image Size” dialog, ensure the “Resample” checkbox is ticked. This option is crucial for increasing the pixel dimensions of your image.
Step 4: Choose an appropriate resampling method from the dropdown menu. Photoshop offers several interpolation methods, each with its own approach to adding new pixels. For enlargement, “Bicubic Smoother (best for enlargement)” is often recommended for smoother results. “Bicubic Sharper (best for reduction)” is generally used for downsizing, but can be tested for upscaling if you prefer a sharper look, though it may introduce artifacts if overused. “Preserve Details 2.0” is another excellent option, especially when upscaling significantly, as it aims to maintain texture and details while minimizing artifacts.
 2nd Step to Resample Image
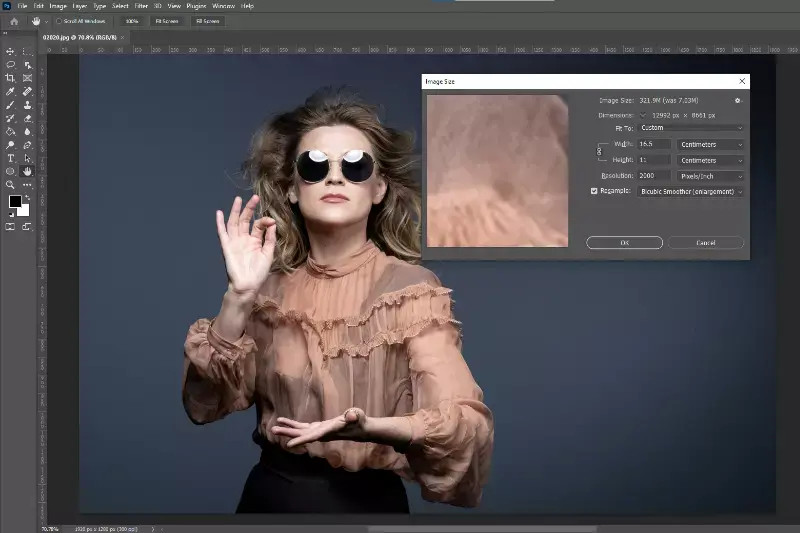
Step 5: Enter your desired dimensions in the “Width” and “Height” fields. You can change the units to pixels, inches, centimeters, or percent. As you adjust these values, Photoshop will automatically calculate the new resolution to maintain the aspect ratio if the “Constrain Proportions” icon (chain link) is activated. Alternatively, you can directly input the desired resolution in the “Resolution” field, typically in pixels per inch (PPI).
Step 6: Once you have set your desired dimensions and chosen a resampling method, click “OK” to apply the changes.
 Finaly Set Resulution and Download
Following these steps will enlarge your image in Photoshop. Remember that while Photoshop’s resampling algorithms are powerful, extreme upscaling can still result in some loss of quality. It is always best to start with the highest resolution image available.
Leveraging Super Resolution for JPEG Upscaling in Photoshop
For JPEGs and other raster images, Photoshop’s Super Resolution feature offers a remarkable way to increase resolution while preserving detail, often exceeding the capabilities of traditional resampling methods. This AI-powered feature, found within Adobe Camera Raw, analyzes your image and intelligently adds pixels to create a higher resolution version with enhanced clarity.
Step 1: Open your JPEG image in Photoshop.
Step 2: Convert your image layer into a Smart Object. This non-destructive step allows you to apply filters like Camera Raw Filter without permanently altering the original image data. Right-click on the image layer in the Layers panel and select “Convert to Smart Object.”
Step 3: Apply the Camera Raw Filter. Go to “Filter” in the top menu and select “Camera Raw Filter.”
Step 4: Access Super Resolution. Once in the Camera Raw interface, right-click directly on the image preview. In the context menu that appears, select “Enhance.”
Step 5: In the “Enhance” dialog box, you will see the “Super Resolution” option. Ensure the checkbox next to “Super Resolution” is ticked. Photoshop will provide a preview of the upscaled image. Click the “Enhance” button to initiate the process.
Step 6: Photoshop will process the image, leveraging AI to upscale and enhance it. This may take a few moments depending on your image size and system resources. Once complete, the enhanced, higher-resolution image will replace the original Smart Object layer.
Step 7: Save your enhanced image. Go to “File” > “Save As” and choose your desired file format and location to save the upscaled JPEG.
Super Resolution is particularly effective for upscaling JPEGs and can yield impressive results, especially when aiming to enlarge images for print or closer viewing. It’s a valuable tool in Photoshop for anyone looking to improve image resolution effectively.
The Significance of Upscaling Image Resolution
Upscaling image resolution is not merely about making an image bigger; it’s about preserving and enhancing visual quality when size adjustments are necessary. The importance of upscaling becomes evident in various scenarios:
- Large Format Printing: For posters, banners, and other large prints, upscaling ensures images remain crisp and detailed when viewed at scale, avoiding pixelation and blurriness.
- Improved Viewing Experience: Higher resolution images are inherently more visually appealing. They offer greater clarity, detail, and sharpness, making for a more engaging and professional viewing experience, whether on screen or in print.
- Enhanced Editing Flexibility: Upscaling can provide more pixels to work with during editing. This extra detail allows for more precise adjustments, cropping, and retouching without severely degrading image quality.
Whether for professional projects or personal use, upscaling image resolution is a critical step in ensuring your visuals are presented at their best possible quality, maximizing impact and visual appeal.
Checking Image Resolution in Photoshop: A Quick Guide
Before embarking on any image editing or upscaling process, it’s essential to know the current resolution of your image. Photoshop makes this a straightforward task:
Step 1: Open your image in Photoshop by going to “File” > “Open.”
Step 2: Navigate to “Image” > “Image Size” in the top menu.
Step 3: In the “Image Size” dialog box, locate the “Resolution” section. It will display the current resolution in pixels per inch (PPI). You can also see the pixel dimensions (width and height) of your image.
Step 4: Take note of the resolution. For print, 300 PPI is typically the target, while 72 PPI is commonly used for web images.
Step 5: If you only needed to check the resolution and don’t want to make any changes, ensure that the “Resample” checkbox is unchecked before closing the dialog box. This prevents accidental resizing.
 Home Screen of PhotoShop
Regularly checking image resolution is a good practice to ensure your images meet the quality requirements of your intended output, whether for web display or high-resolution printing.
Image Enlargement vs. Resolution Upscaling: Key Differences
While the terms “image enlargement” and “resolution upscaling” are often used interchangeably, understanding their distinction is vital for effective image manipulation.
1. Image Enlargement: Simple Dimensional Increase
Image enlargement fundamentally refers to increasing the physical dimensions (width and height) of an image. This process alone does not inherently improve image quality. In fact, if you simply enlarge an image without upscaling its resolution, you are likely to encounter pixelation and a loss of sharpness as the existing pixels are stretched to fill a larger area.
2. Resolution Upscaling: Enhancing Pixel Density
Resolution upscaling, in contrast, involves increasing the pixel count of an image. This is achieved by adding new pixels based on intelligent algorithms that analyze the existing image data and attempt to fill in the gaps with plausible detail. Effective upscaling methods, like Photoshop’s Super Resolution or other advanced techniques, aim to enhance image quality by increasing pixel density, leading to sharper, more detailed results when enlarged.
In essence, image enlargement is just changing the size, while resolution upscaling is about intelligently adding more detail as you increase size. The latter is the preferred method for maintaining or improving image quality when making images larger.
The Advantages of Upscaling Image Resolution
Investing in upscaling image resolution offers a range of tangible benefits that enhance the quality and versatility of your visual assets:
- Enhanced Visual Clarity: Higher resolution directly translates to sharper, clearer images. Details become more pronounced, edges are crisper, and overall visual appeal is significantly improved.
- Superior Print Quality: For print media, high resolution is non-negotiable. Upscaling ensures images print with sharpness and vibrancy, essential for professional-looking brochures, posters, and marketing materials.
- Greater Editing Flexibility: With more pixels at your disposal, you gain greater leeway in editing. You can perform more intricate adjustments, cropping, and manipulations without quickly running into quality degradation.
- Professional Image Presentation: High-quality, high-resolution images project professionalism. They elevate the perceived quality of your work, whether it’s for a website, portfolio, or client presentation.
- Versatility Across Platforms: High-resolution images are adaptable to various uses, from detailed web graphics to large-scale prints. They offer flexibility without compromising quality across different media.
- Future-Proofing Your Images: As display technology evolves towards higher resolutions (4K, 8K, and beyond), starting with high-resolution images ensures your visuals remain relevant and sharp on future displays.
-
Enhanced Clarity: Higher image resolution results in sharper, clearer images, making details more pronounced and visually appealing.
-
Better Printing Quality: High-resolution images are essential for print media, ensuring that images remain crisp and vibrant when enlarged.
-
Improved Editing Flexibility: High-resolution images provide more pixels for editing, allowing for better manipulation and adjustments without losing quality.
-
Professional Presentation: High-quality images enhance the overall professionalism of your work, whether for websites, portfolios, or marketing materials.
-
Versatility: Higher resolution allows images to be used across various platforms and formats, from social media to large-scale prints, without compromising quality.
-
Future-Proofing: Using high-resolution images ensures longevity in usage, as they can adapt to evolving display technologies and requirements.
Exploring Online Tools for Image Resolution Upscaling
While Photoshop offers powerful upscaling capabilities, numerous online tools provide convenient alternatives, often leveraging AI for efficient image enhancement. These tools can be particularly useful for quick upscaling tasks or for users who may not have access to Photoshop. Here’s a look at some popular online image upscalers:
1. Upscale.media
 Upscale.media
Upscale.media is an AI-driven online tool specifically designed for image upscaling. It offers a user-friendly interface and focuses on enhancing image quality while increasing resolution. It’s a quick and efficient option for users seeking fast results without intricate manual adjustments.
2. Let’s Enhance
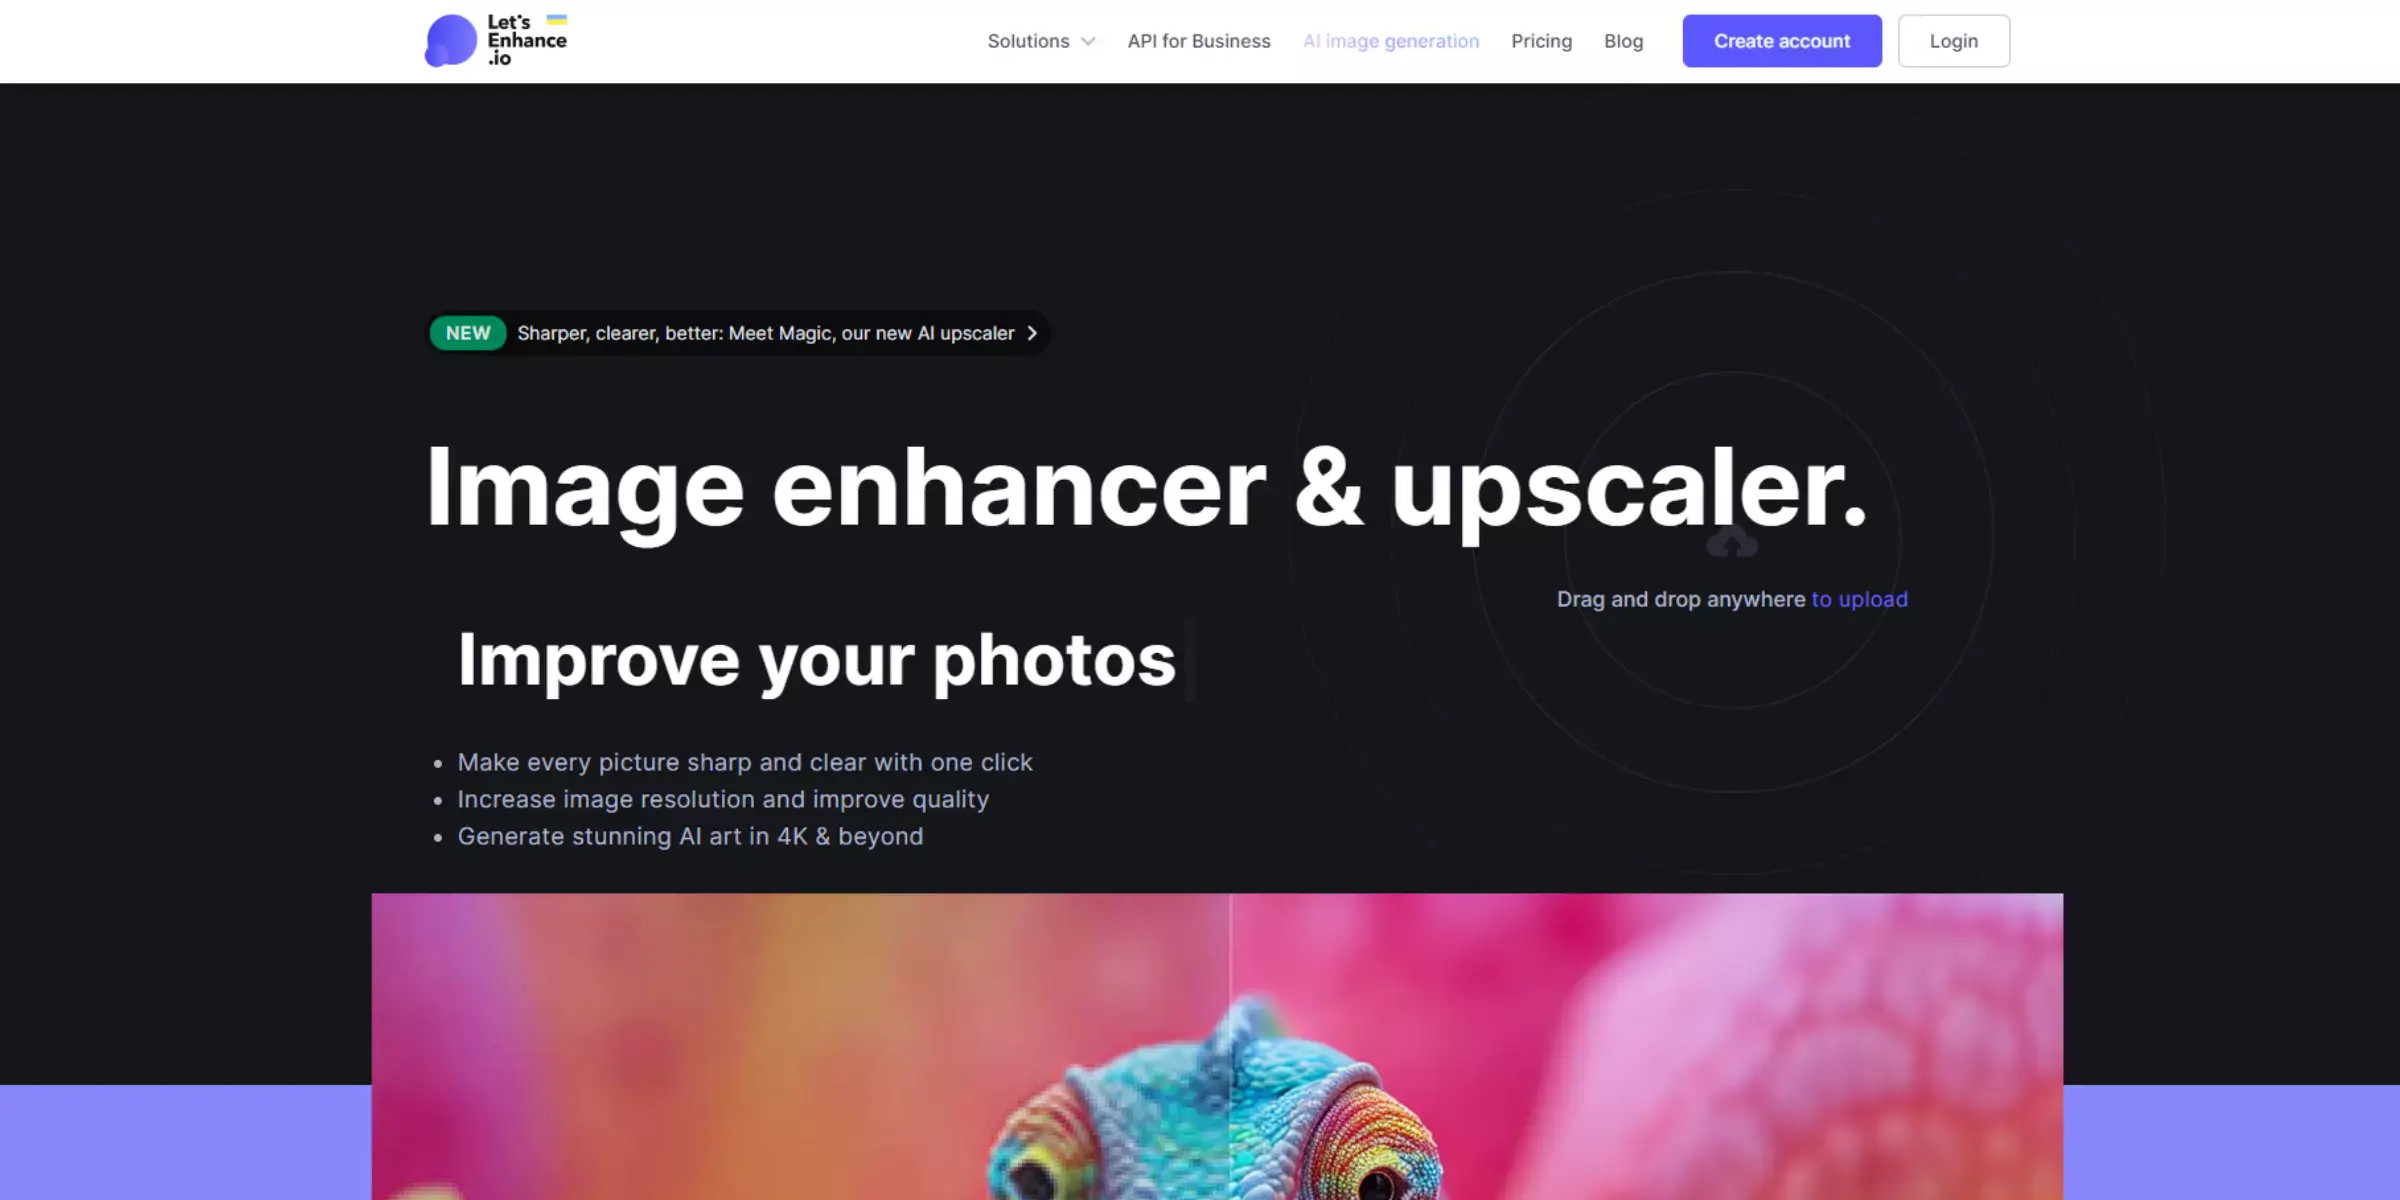 Home page of Let’s Enhance
Let’s Enhance is another AI-powered online upscaler that aims to improve image quality and resolution. It focuses on detail preservation and noise reduction during the upscaling process, offering a balance of quality and ease of use.
3. Deep Image
 Home page of Deep Image
Deep Image utilizes AI algorithms to upscale images online. It emphasizes enhancing image details and clarity, providing a straightforward way to increase resolution without requiring specialized software.
4. Waifu2x
 Waifu2x
Waifu2x, initially designed for anime-style images, is also effective for general image upscaling and noise reduction. It’s a free, open-source option with a focus on clean upscaling results.
5. Bigjpg
 Bigjpg
Bigjpg is an online tool specializing in upscaling images, particularly JPGs, using AI. It aims to enlarge images while minimizing quality loss and preserving details.
6. AI Image Enlarger
 Home page of AI Image Enlarger
AI Image Enlarger is a tool dedicated to upscaling images using AI. It focuses on enhancing image resolution and detail, offering a simple online interface for quick upscaling.
7. VanceAI Image Enlarger
 VanceAI
VanceAI Image Enlarger is part of the VanceAI suite of tools, offering AI-powered image upscaling. It aims for quality enhancement and detail preservation during the resolution increase process.
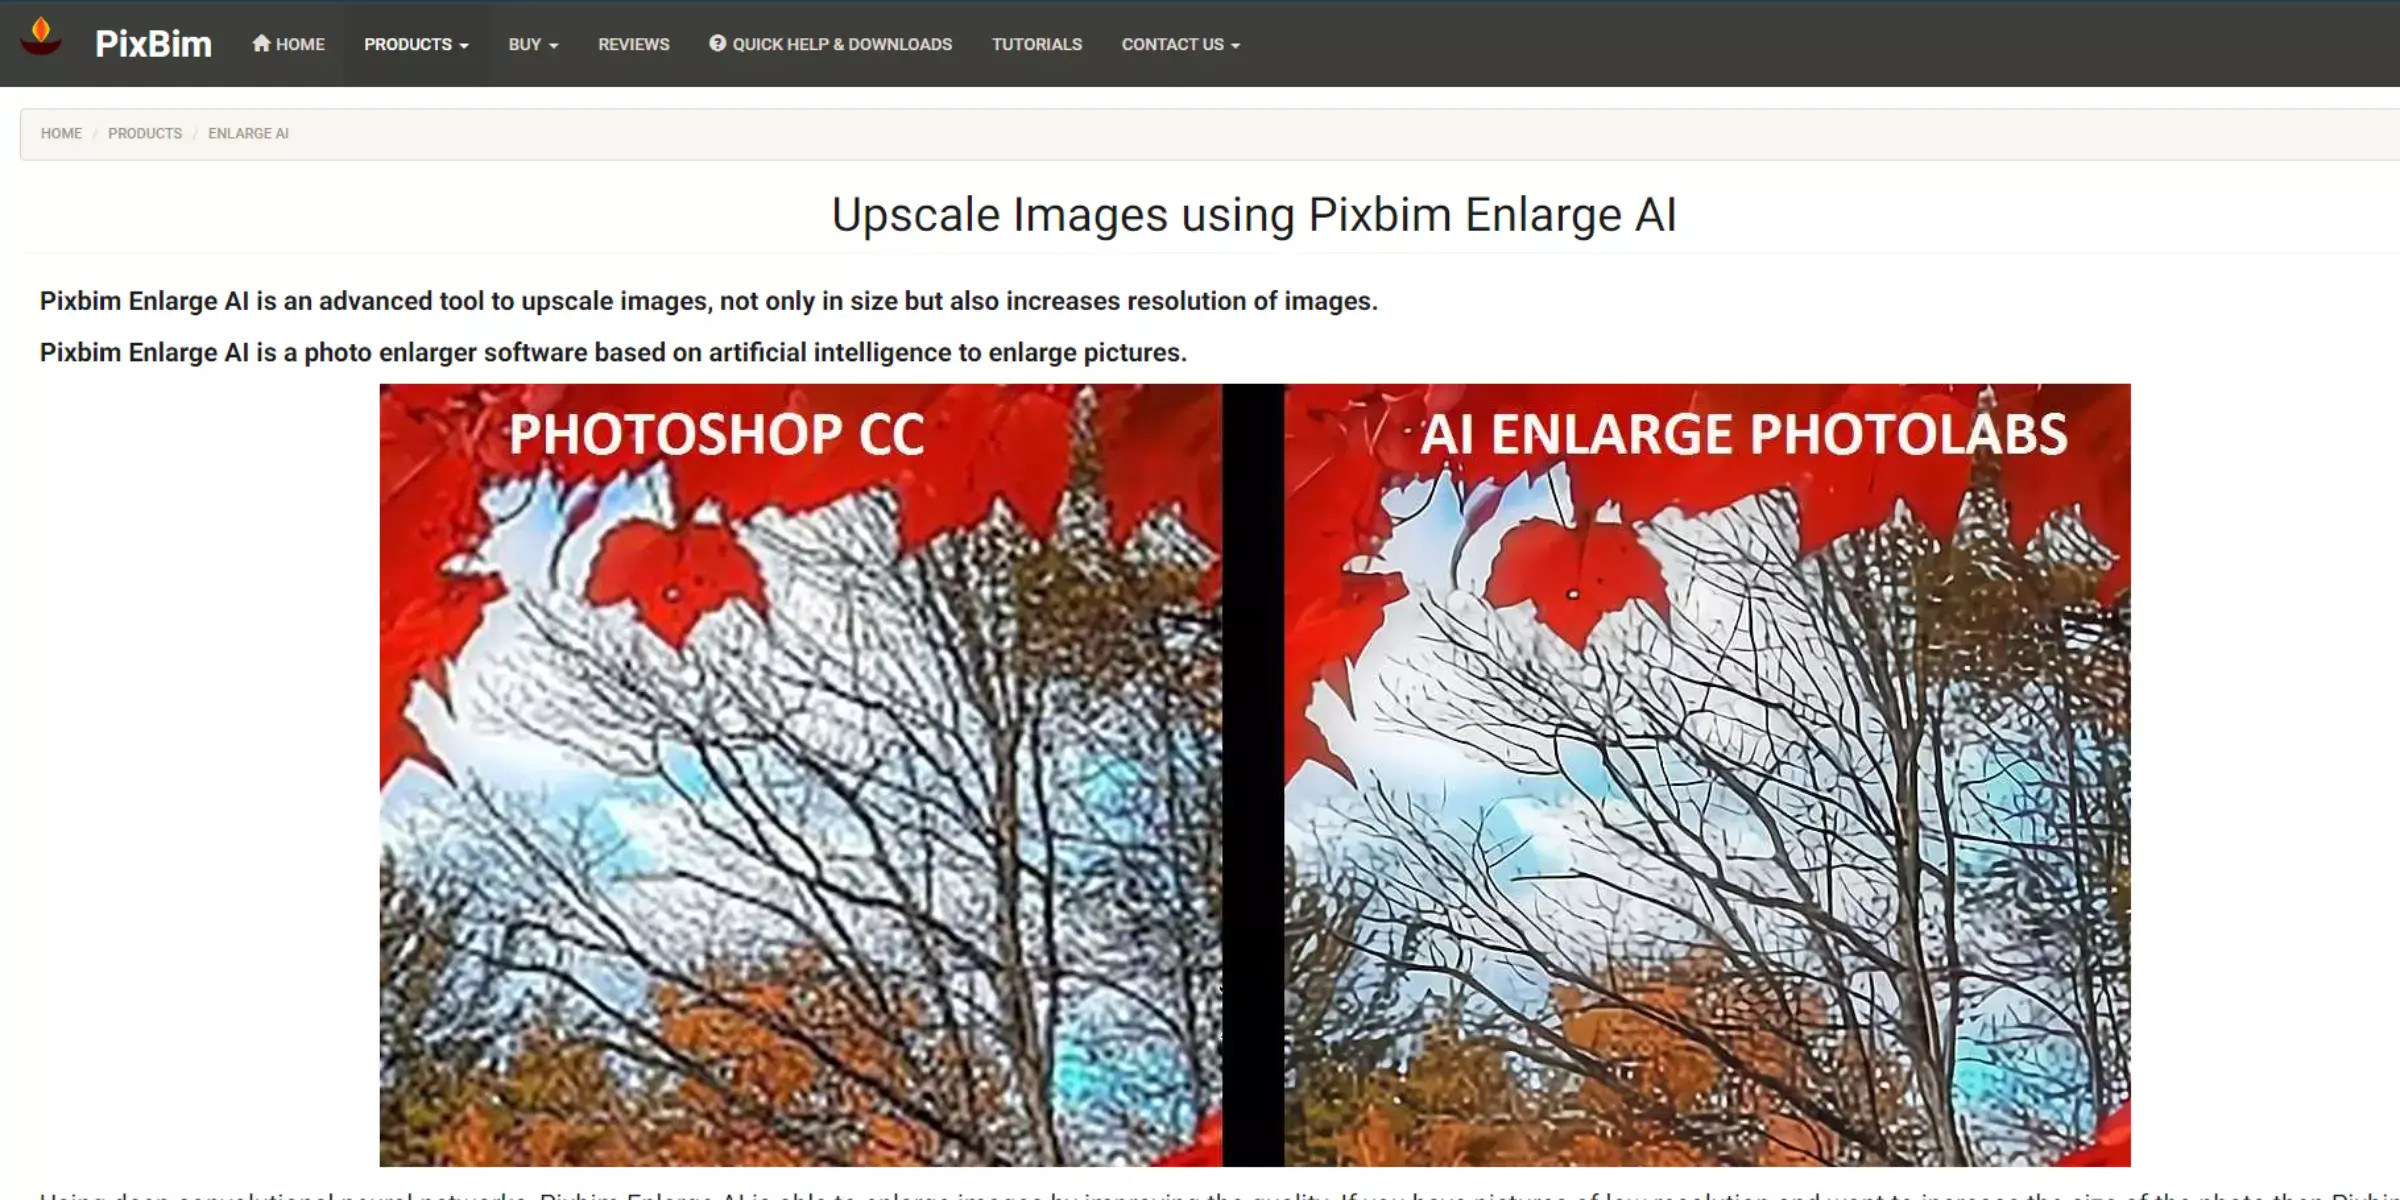
8. PixBim Enlarge AI
 Home page of PixBim Enlarge AI
PixBim Enlarge AI is another online AI upscaling tool designed to increase image resolution while maintaining or improving visual quality.
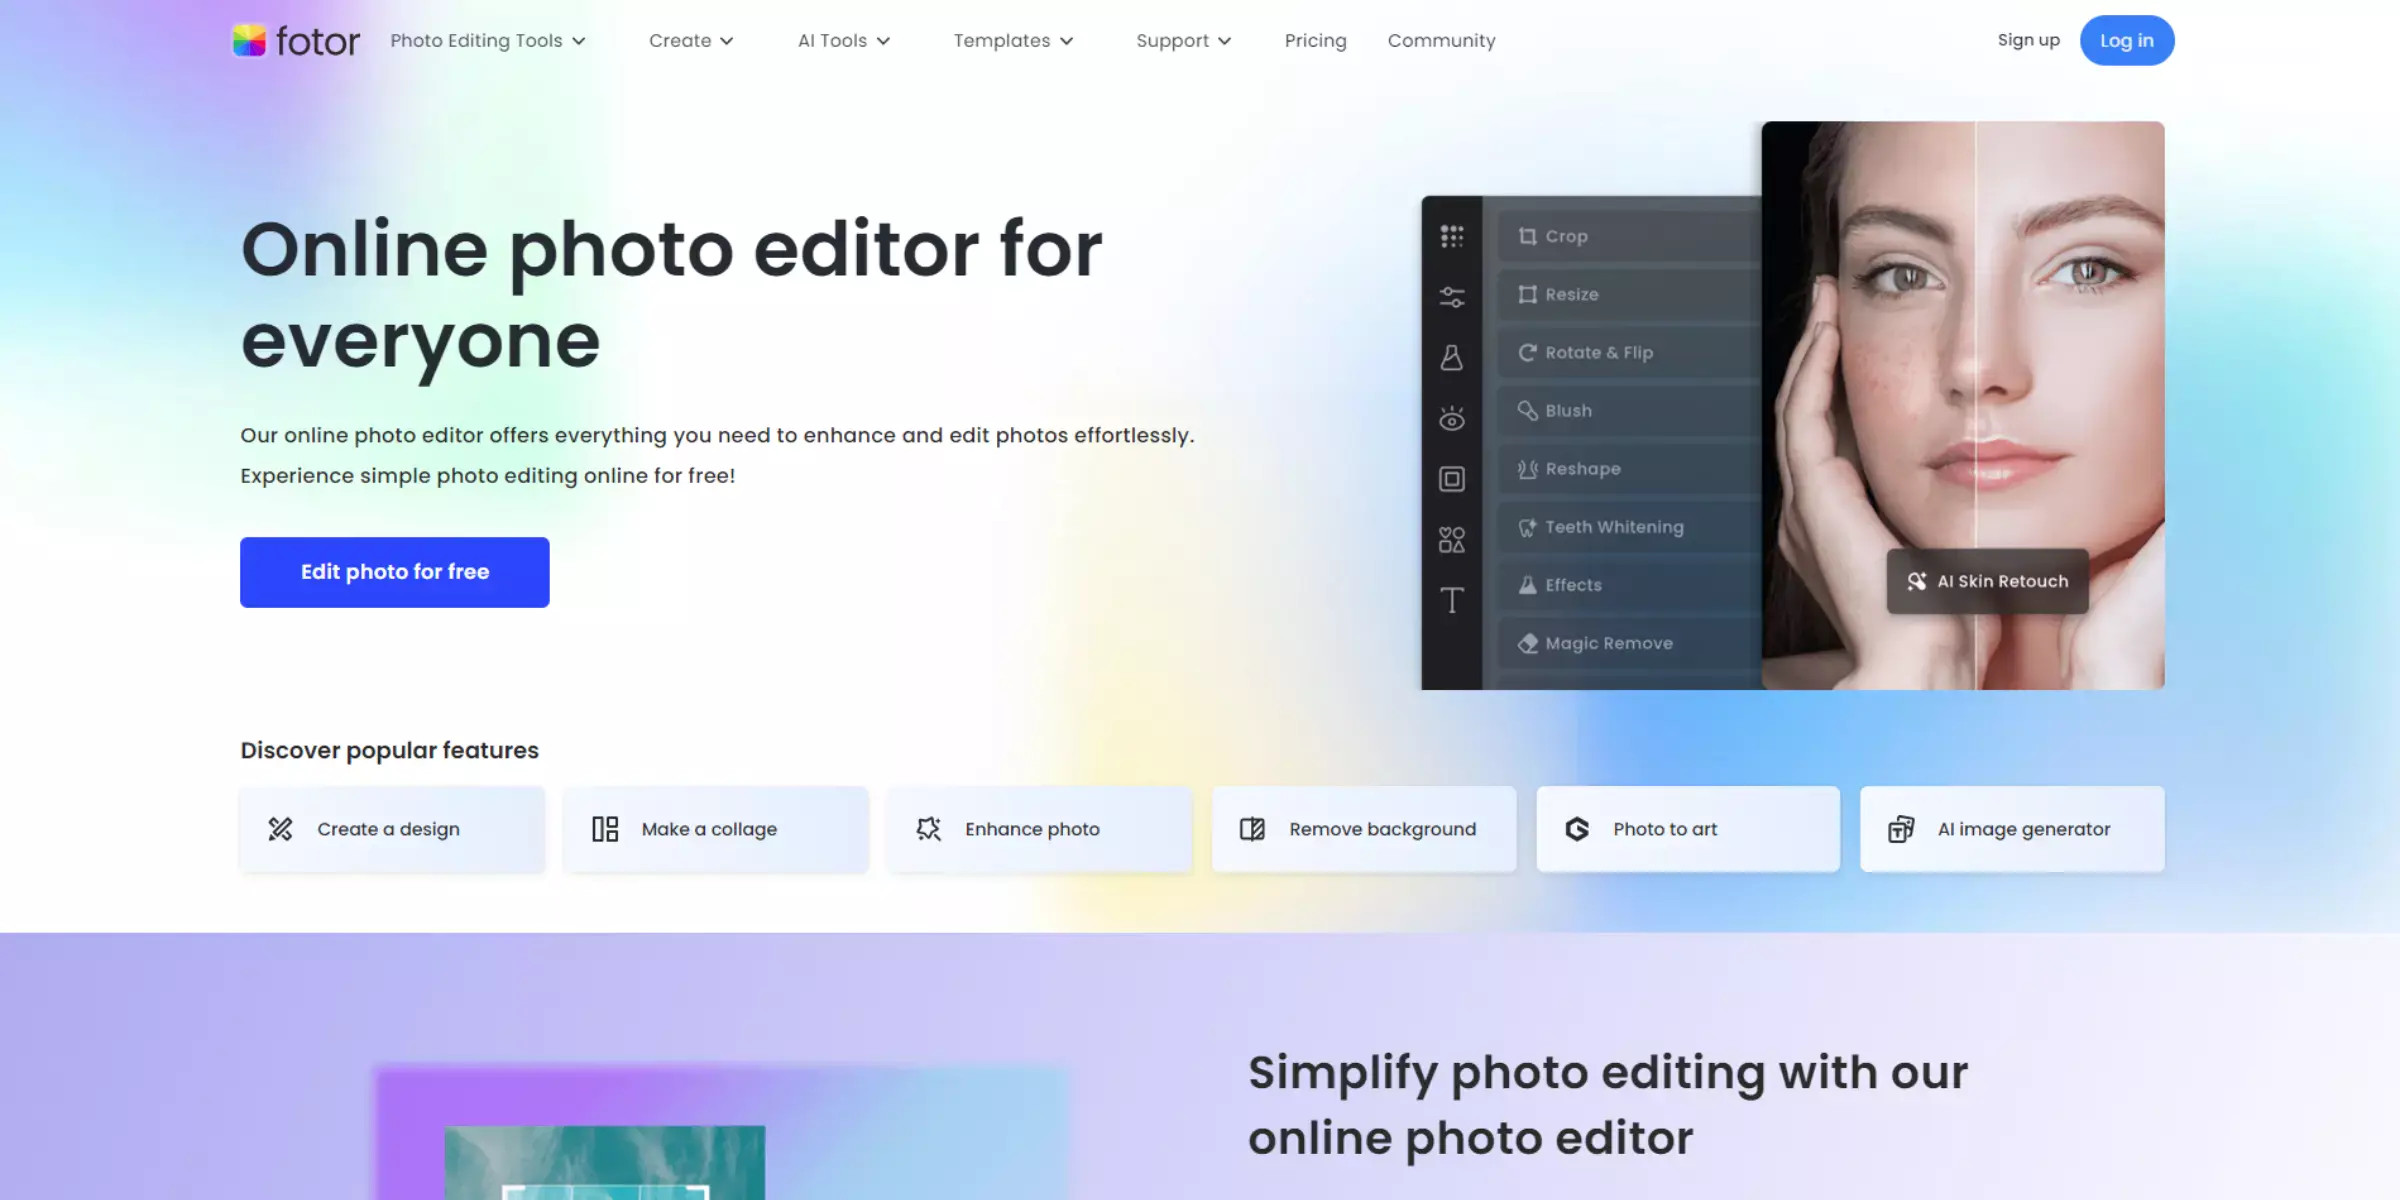
9. Fotor
 Fotor
Fotor
Fotor is a comprehensive online photo editing platform that includes image upscaling features alongside a wide array of editing tools. It offers both basic and advanced upscaling options.
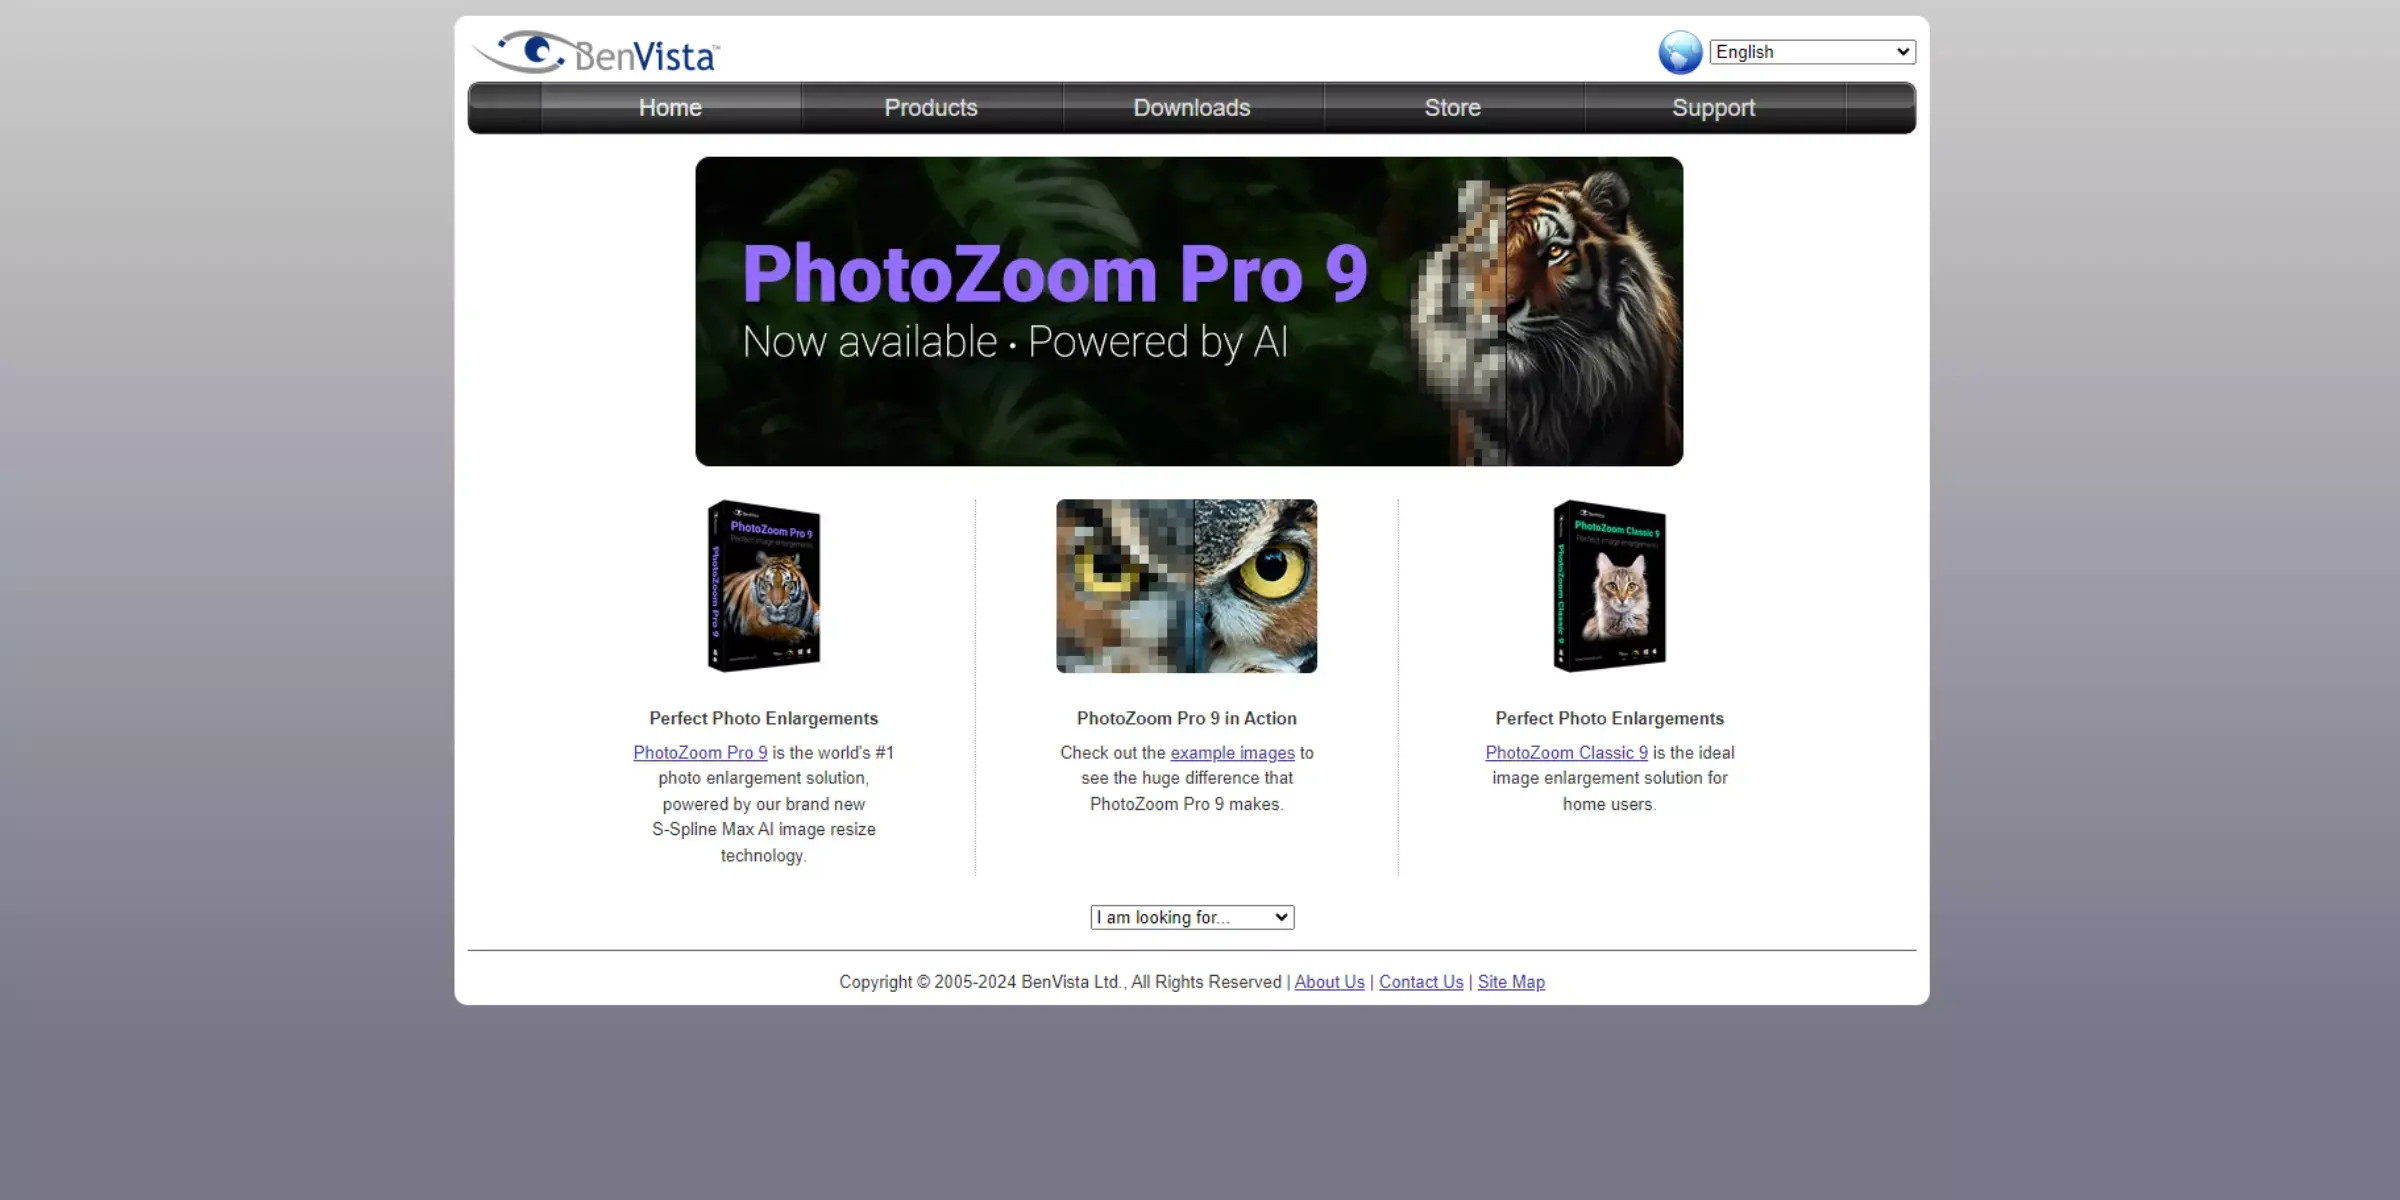
10. PhotoZoom Pro
 Home page of PhotoZoom Pro
PhotoZoom Pro is a specialized software, but also available in some online iterations, dedicated to image enlargement and upscaling. It is known for its advanced algorithms aimed at minimizing quality loss during upscaling.
These online tools offer a range of options for upscaling images. While they provide convenience and often utilize AI for enhancement, Photoshop remains the industry-standard for professional image editing and offers unparalleled control and advanced features, including robust upscaling capabilities. The best choice depends on your specific needs, budget, and desired level of control over the upscaling process.
Essential Tips for Optimizing Image Resolution
To maximize the effectiveness of image resolution improvement, consider these best practices:
- Start with the Highest Quality Original: The foundation of good upscaling is a high-quality source image. Begin with the best resolution and detail you have available.
- Utilize Photoshop’s Super Resolution: Photoshop’s Super Resolution is a powerful, AI-driven tool specifically designed for high-quality upscaling. Leverage this feature for superior results.
- Choose the Right Resampling Method: When using the “Image Size” dialog, select an appropriate resampling method. “Preserve Details 2.0” and “Bicubic Smoother” are often excellent choices for enlargement, depending on the image and desired outcome. Experiment to see what works best.
- Gradual Upscaling: For significant enlargements, consider upscaling in smaller increments rather than all at once. This can sometimes yield better results and prevent artifacts.
- Apply Sharpening Judiciously: After upscaling, a subtle sharpening effect can help to restore some perceived sharpness and detail. However, avoid over-sharpening, which can introduce unwanted artifacts.
- Vector Graphics for Scalability: When working with logos, illustrations, or graphics that need to be scaled without loss of quality, opt for vector graphics whenever possible. Vector files can be scaled infinitely without pixelation.
By incorporating these tips into your workflow, you can effectively improve image resolution and achieve higher quality visuals for a wide range of applications.
Minimizing Image Size in Photoshop: A Quick Guide
While improving resolution is crucial, sometimes you need to reduce image size for web optimization or file size limitations. Photoshop also excels at image compression and size reduction. Here’s a step-by-step guide:
Step 1: Open your image in Photoshop via “File” > “Open.”
Step 2: Access the “Image Size” dialog box by going to “Image” > “Image Size.”
 2nd Step to Navigate to Image
Step 3: To reduce dimensions, enter smaller values in the “Width” and “Height” fields. Ensure “Resample” is checked and choose a resampling method like “Bicubic Sharper” for reduction.
 3rd Step to new pixel measurements
Step 4: Alternatively, to reduce file size without changing dimensions, go to “File” > “Export” > “Save for Web (Legacy).”
Step 5: In the “Save for Web (Legacy)” dialog, choose a file format like JPEG and adjust the “Quality” slider to reduce file size. Preview the image quality and file size at different quality settings to find an optimal balance.
 4th Step to resampling approach
Step 6: Click “Save” to export the optimized, smaller-sized image.
 Last and Final Step to Download image
Mastering both resolution upscaling and size reduction in Photoshop provides comprehensive control over your images for diverse applications.
Quick Upscaling with Upscale.media: A Streamlined Approach
For users seeking a fast and straightforward online solution for image upscaling, Upscale.media offers an efficient process:
Step 1: Navigate to the Upscale.media website.
Step 2: Click the upload area to select and upload your image file.
Step 3: Choose your desired upscale倍率 (magnification factor) or resolution increase.
Step 4: Click the “Upscale” or similar button to initiate the AI-powered upscaling process.
Step 5: Once processing is complete, download your enhanced, higher-resolution image.
Home page of PixBim Enlarge AI
Upscale.media and similar online tools provide a convenient alternative for quick image enhancement, especially when Photoshop is not readily available or for users seeking a simplified upscaling workflow.
Conclusion: Mastering Image Resolution in Photoshop
Improving image resolution in Photoshop is a critical skill for anyone working with digital imagery. By understanding resolution concepts, mastering Photoshop’s upscaling techniques like Super Resolution and Image Size adjustments, and considering online alternatives when appropriate, you can ensure your visuals are always presented at their best. With practice and the right tools, you can confidently enhance your images, achieving professional-quality results for any project.

