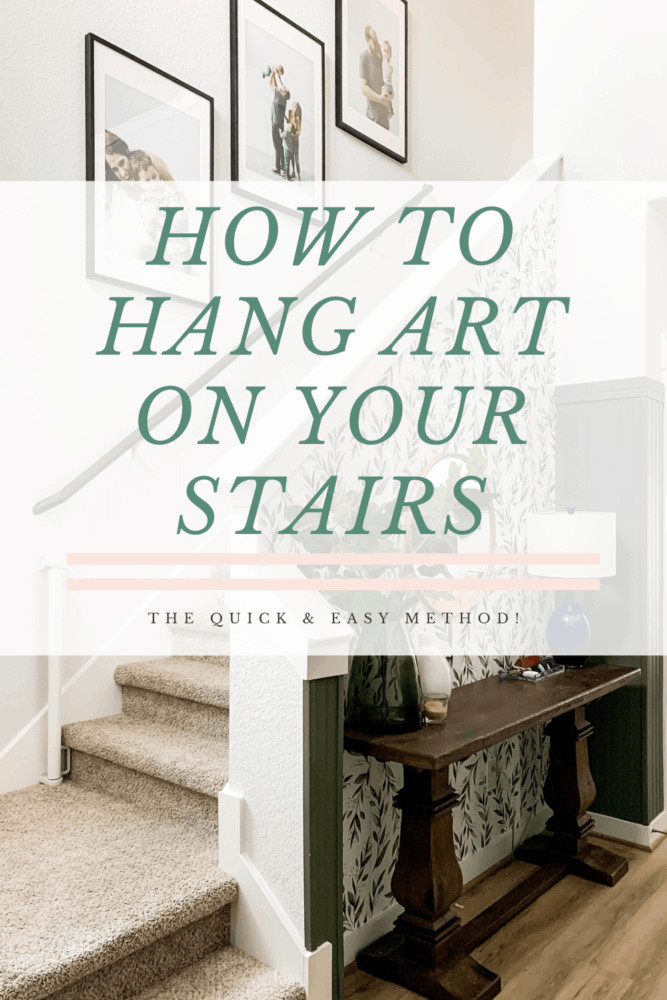
Hanging pictures on a staircase can transform a bland space into a visually appealing gallery. While it might seem daunting, achieving a polished look is easier than you think. This guide provides a straightforward approach to hanging photos on your stairs, ensuring a balanced and aesthetically pleasing arrangement.
 Entryway with family photos and text overlay – how to hang art on your stairs, the quick & easy method
Gathering Your Materials and Photos
Before you begin, assemble the necessary materials. Large, affordable frames like IKEA’s RIBBA frames (24″x35.75″) are a great option. Their plexiglass construction makes them safer for high-traffic areas.
For prints, consider 20″x30″ matte posters from an affordable printing service. Ensure the print quality meets your expectations for the size and detail of your photos.
You’ll also need 3″ screws for secure hanging. Due to the RIBBA frame’s deep hanging mechanism, longer screws are crucial. While wall anchors are optional for lighter frames, they provide added stability.
Hanging the Centerpiece Photo
Start by identifying the center of your stairwell. Measure the handrail diagonally and mark the midpoint. This will be the horizontal center for your arrangement.
Next, determine the desired height for the bottom of your frames. A common starting point is 4 feet from the stair tread, but adjust based on your preference. Mark this height on the wall, aligned with the handrail’s center point.
Now, measure the distance from the bottom of your frame to its hanging mechanism. Transfer this measurement upward from your wall mark. This is where your first screw should go. Install the screw, ensuring it extends out far enough to engage the frame’s hanger. Hang your center frame.
 Man measuring to hang photos on a stairwell
Positioning and Hanging the Remaining Frames
With the center frame in place, arrange the remaining photos. Aim for consistent spacing, approximately 4 inches apart, between frames. Visualize the placement before making any permanent marks.
A simple trick for alignment is to use the stairs themselves as a guide. For instance, align the center of each subsequent frame with the edge of a specific stair tread, ensuring consistency on both sides of the central picture. A long level placed on the stair tread can help with marking accurate vertical lines for screw placement.
Final Touches and Considerations
Measure the desired height for each frame, ensuring consistency with the center frame. Mark the screw locations and hang the remaining photos.
 Entryway with photos going up staircase
Remember, visual balance is key. Step back frequently to assess the overall arrangement. Due to optical illusions created by angles, minor adjustments might be necessary to achieve a truly centered look. Don’t hesitate to tweak the positions until you’re satisfied.
By following these steps, you can confidently hang photos on your stairs, creating a visually stunning display that enhances your home’s aesthetic appeal.