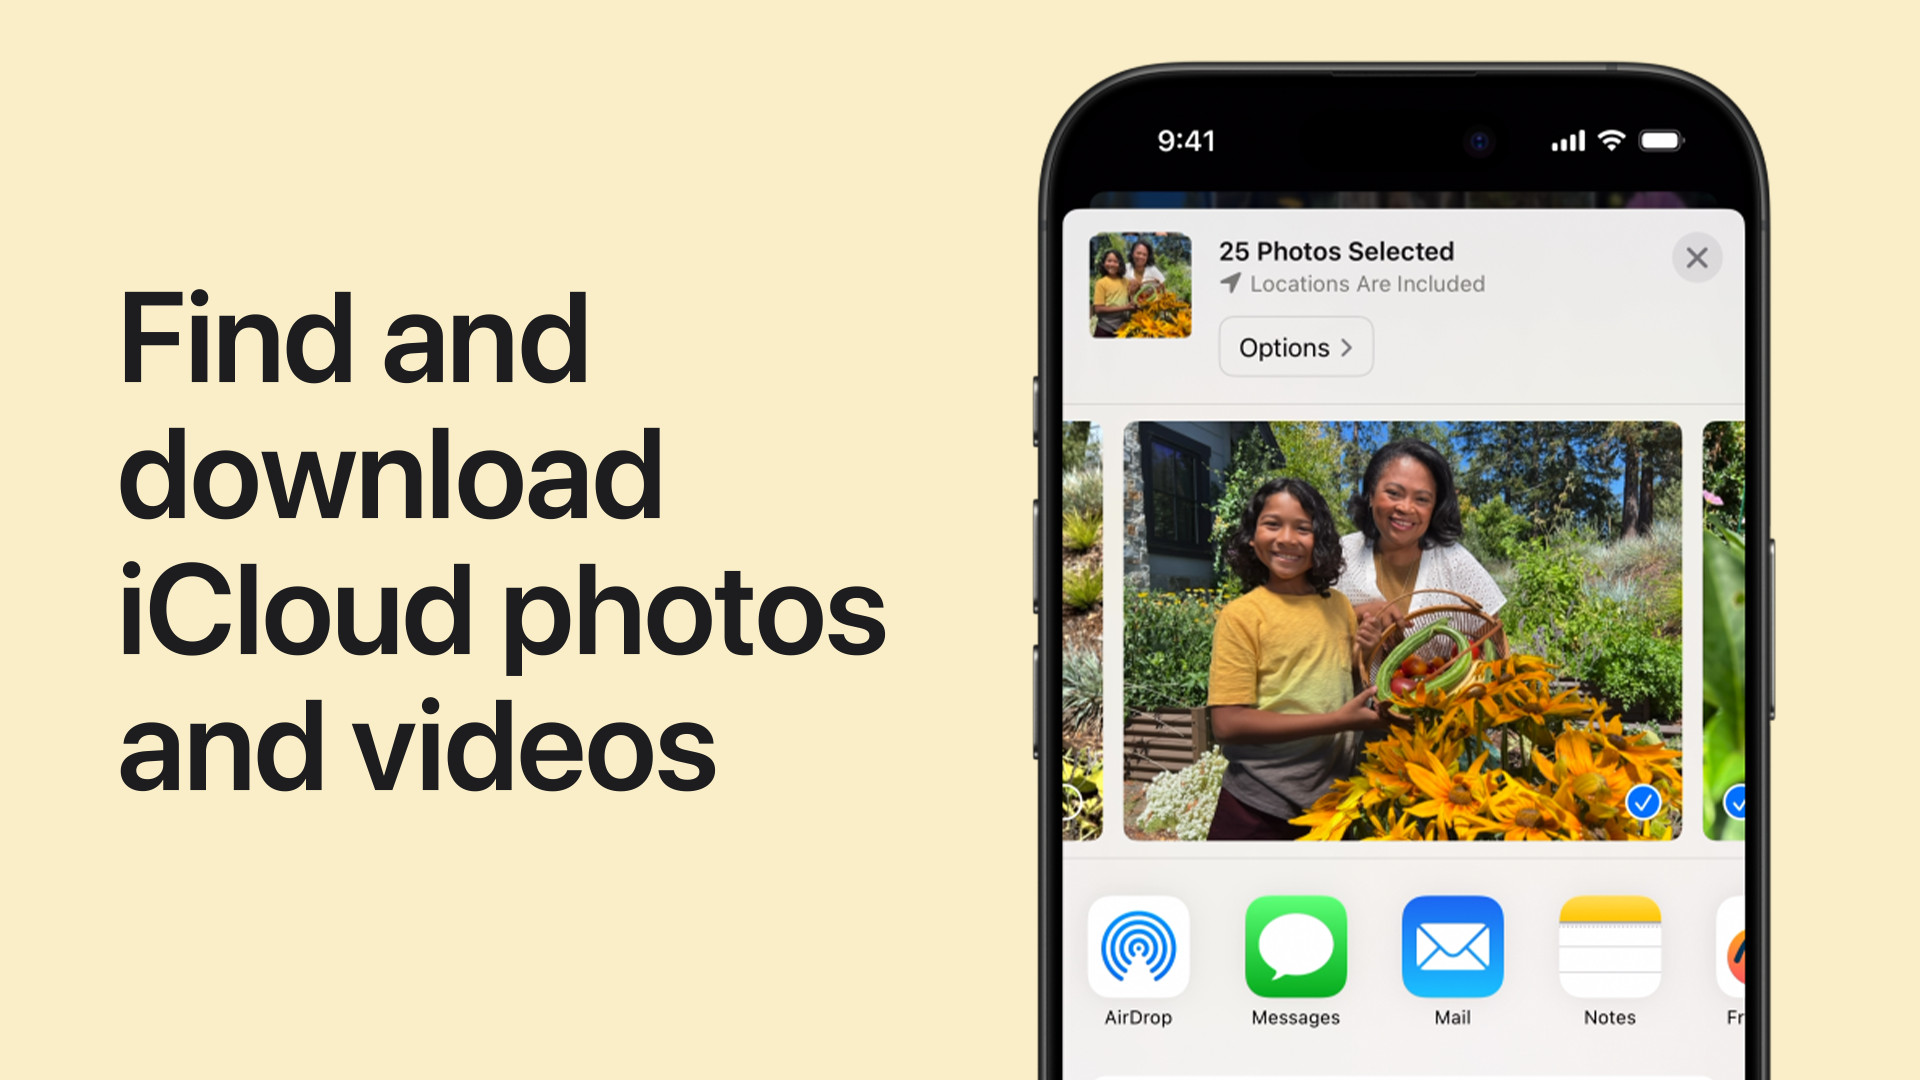
iCloud Photos is a fantastic service for keeping your precious memories safe and accessible across all your Apple devices. However, there are times when you need to have those photos directly on your iPhone, even when you’re offline or want to ensure they are always readily available. Whether you’re preparing for a trip with limited internet access or simply prefer local storage, understanding how to download your photos from iCloud to your iPhone is essential. This guide will walk you through several straightforward methods to achieve just that, ensuring you have your favorite photos right at your fingertips.
Method 1: Downloading Photos via iPhone Settings
The most direct way to keep all your iCloud photos on your iPhone is by adjusting your iCloud Photos settings. This method is ideal if you want to ensure that all your photos are accessible on your device.
-
Open the Settings App: Locate and tap the Settings app on your iPhone home screen.
-
Tap on Your Apple ID Profile: At the top of the Settings menu, tap on your name and Apple ID profile.
-
Navigate to iCloud Settings: On the Apple ID page, tap on “iCloud”.
-
Access Photos Settings: Within the iCloud settings, find and tap on “Photos”.
-
Select “Download and Keep Originals”: Under the “iCloud Photos” section, you will see two options: “Optimize iPhone Storage” and “Download and Keep Originals”. To download all your iCloud photos to your iPhone, select “Download and Keep Originals”.
 Settings to Download and Keep Originals on iPhone
Selecting “Download and Keep Originals” ensures full resolution photos are stored on your iPhone, providing offline access and the best quality viewing.
Keep in mind that choosing “Download and Keep Originals” will require sufficient storage space on your iPhone, as it downloads the full resolution versions of your photos and videos.
Method 2: Downloading Photos from Shared Albums
If you only need specific photos that are in Shared Albums, this method is more efficient for selectively saving content to your iPhone.
-
Open the Photos App: Launch the Photos app on your iPhone.
-
Go to the “Shared” Tab: At the bottom of the Photos app, tap on the “Shared” tab to access your Shared Albums.
-
Select a Shared Album: Tap on the Shared Album that contains the photos you want to download.
-
Choose Photos or Videos to Save: Browse through the album and tap on the specific photo or video you wish to download to your iPhone.
-
Use the Share Button: Once you’ve selected a photo or video, tap the Share button (the square icon with an upward arrow) located at the bottom left corner of the screen.
-
Select “Save Image” or “Save Video”: In the Share Sheet that appears, scroll through the options and tap either “Save Image” for photos or “Save Video” for videos. The selected items will be saved to your iPhone’s Camera Roll.
Method 3: Downloading Photos from iCloud.com
For users who prefer managing their iCloud photos via a web browser, iCloud.com provides another way to download photos to your iPhone. This method can be particularly useful for downloading a larger selection of photos.
-
Open Safari and Go to iCloud.com: On your iPhone, open the Safari browser and navigate to iCloud.com/photos.
-
Sign in to Your Apple Account: Log in using your Apple ID and password associated with your iCloud Photos account.
-
Select Photos or Videos: Once logged in, you will see your iCloud Photos library in the browser. Tap “Select” in the top right corner, then tap on the photos and videos you want to download. To select all, tap “Select All”.
-
Tap the “More” Button: After selecting your photos, tap the “More” button, which is represented by three dots in a circle, typically located at the bottom right or top right corner depending on your iOS version.
-
Choose “Download”: From the menu that appears, tap “Download”. You might also see “More Download Options” allowing you to choose between “Unmodified Originals,” “Highest Resolution,” or “Most Compatible” formats. Select your preference and then tap “Download”.
-
Confirm Download: Your iPhone will prompt you to confirm the download. Tap “Download” again to proceed. The downloaded photos and videos will be saved to your iPhone’s Files app, from which you can then save them to your Photos app if desired.
Conclusion
Downloading photos from iCloud to your iPhone is a straightforward process with multiple convenient methods available. Whether you choose to adjust your iCloud settings for automatic syncing, selectively download from Shared Albums, or use iCloud.com for browser-based management, you can easily ensure your cherished photos are accessible directly on your iPhone. Choose the method that best suits your needs and enjoy having your memories readily available, anytime, anywhere.
