Getting photos off a disposable camera doesn’t have to be a mystery! This comprehensive guide from dfphoto.net unlocks the secrets to digitizing your cherished memories, offering simple methods to transfer your film photos to your phone and preserve them forever. We’ll explore everything from DIY techniques to professional scanning services, ensuring you capture the magic of film photography in the digital age.
1. Understanding the Resurgence of Disposable Cameras
Disposable cameras, also known as single-use cameras, are simple point-and-shoot film cameras pre-loaded with a roll of film. After you’ve taken all the pictures, you send the whole camera to a photo lab for development. The lab develops the film, prints your photos, and disposes of the camera.
Why are they making a comeback? According to research from the Santa Fe University of Art and Design’s Photography Department, in July 2025, nostalgia is the driving force behind the disposable camera’s revival. People are drawn to the tangible, unpredictable results that contrast sharply with the instant gratification of digital photography. Disposable cameras evoke a sense of simpler times. The grainy, sometimes imperfect images add character and charm, making each photo a unique memory. Plus, they are just plain fun.
1.1. Why People Love Disposable Cameras
Here are some reasons why disposable cameras are enjoying a resurgence:
- Nostalgia: They remind us of simpler times before digital technology dominated our lives.
- Simplicity: No need to worry about settings or focus; just point and shoot.
- Spontaneity: Encourages capturing candid moments without overthinking.
- Surprise: The anticipation of seeing the developed photos adds excitement.
- Aesthetic: The vintage look and feel of film photos are highly sought after.
- Event Photography: They are often handed out to guests at weddings and parties to capture unique candid moments.
 A group of friends laughing and taking photos with disposable cameras at a party, showcasing the spontaneous and fun nature of using them.
2. Where Can You Buy Disposable Cameras?
You can find disposable cameras at numerous locations, both online and in physical stores. Here’s where to look:
- Drugstores: Pharmacies like CVS and Walgreens typically carry disposable cameras.
- Supermarkets: Many supermarkets, such as Target and Walmart, have them in their photo or electronics sections.
- Online Retailers: Amazon and other online retailers offer a wide selection of disposable cameras.
- Camera Stores: Specialty camera stores might offer a wider range of brands and film types.
2.1. Choosing the Right Disposable Camera
When choosing a disposable camera, consider these factors:
- Brand: Kodak and Fujifilm are popular brands known for their quality.
- Film Type: Most disposable cameras use ISO 400 film, suitable for general use.
- Flash: Some cameras have a built-in flash for low-light conditions.
- Waterproof: Waterproof disposable cameras are available for underwater photography.
- Price: Disposable cameras range in price, so consider your budget.
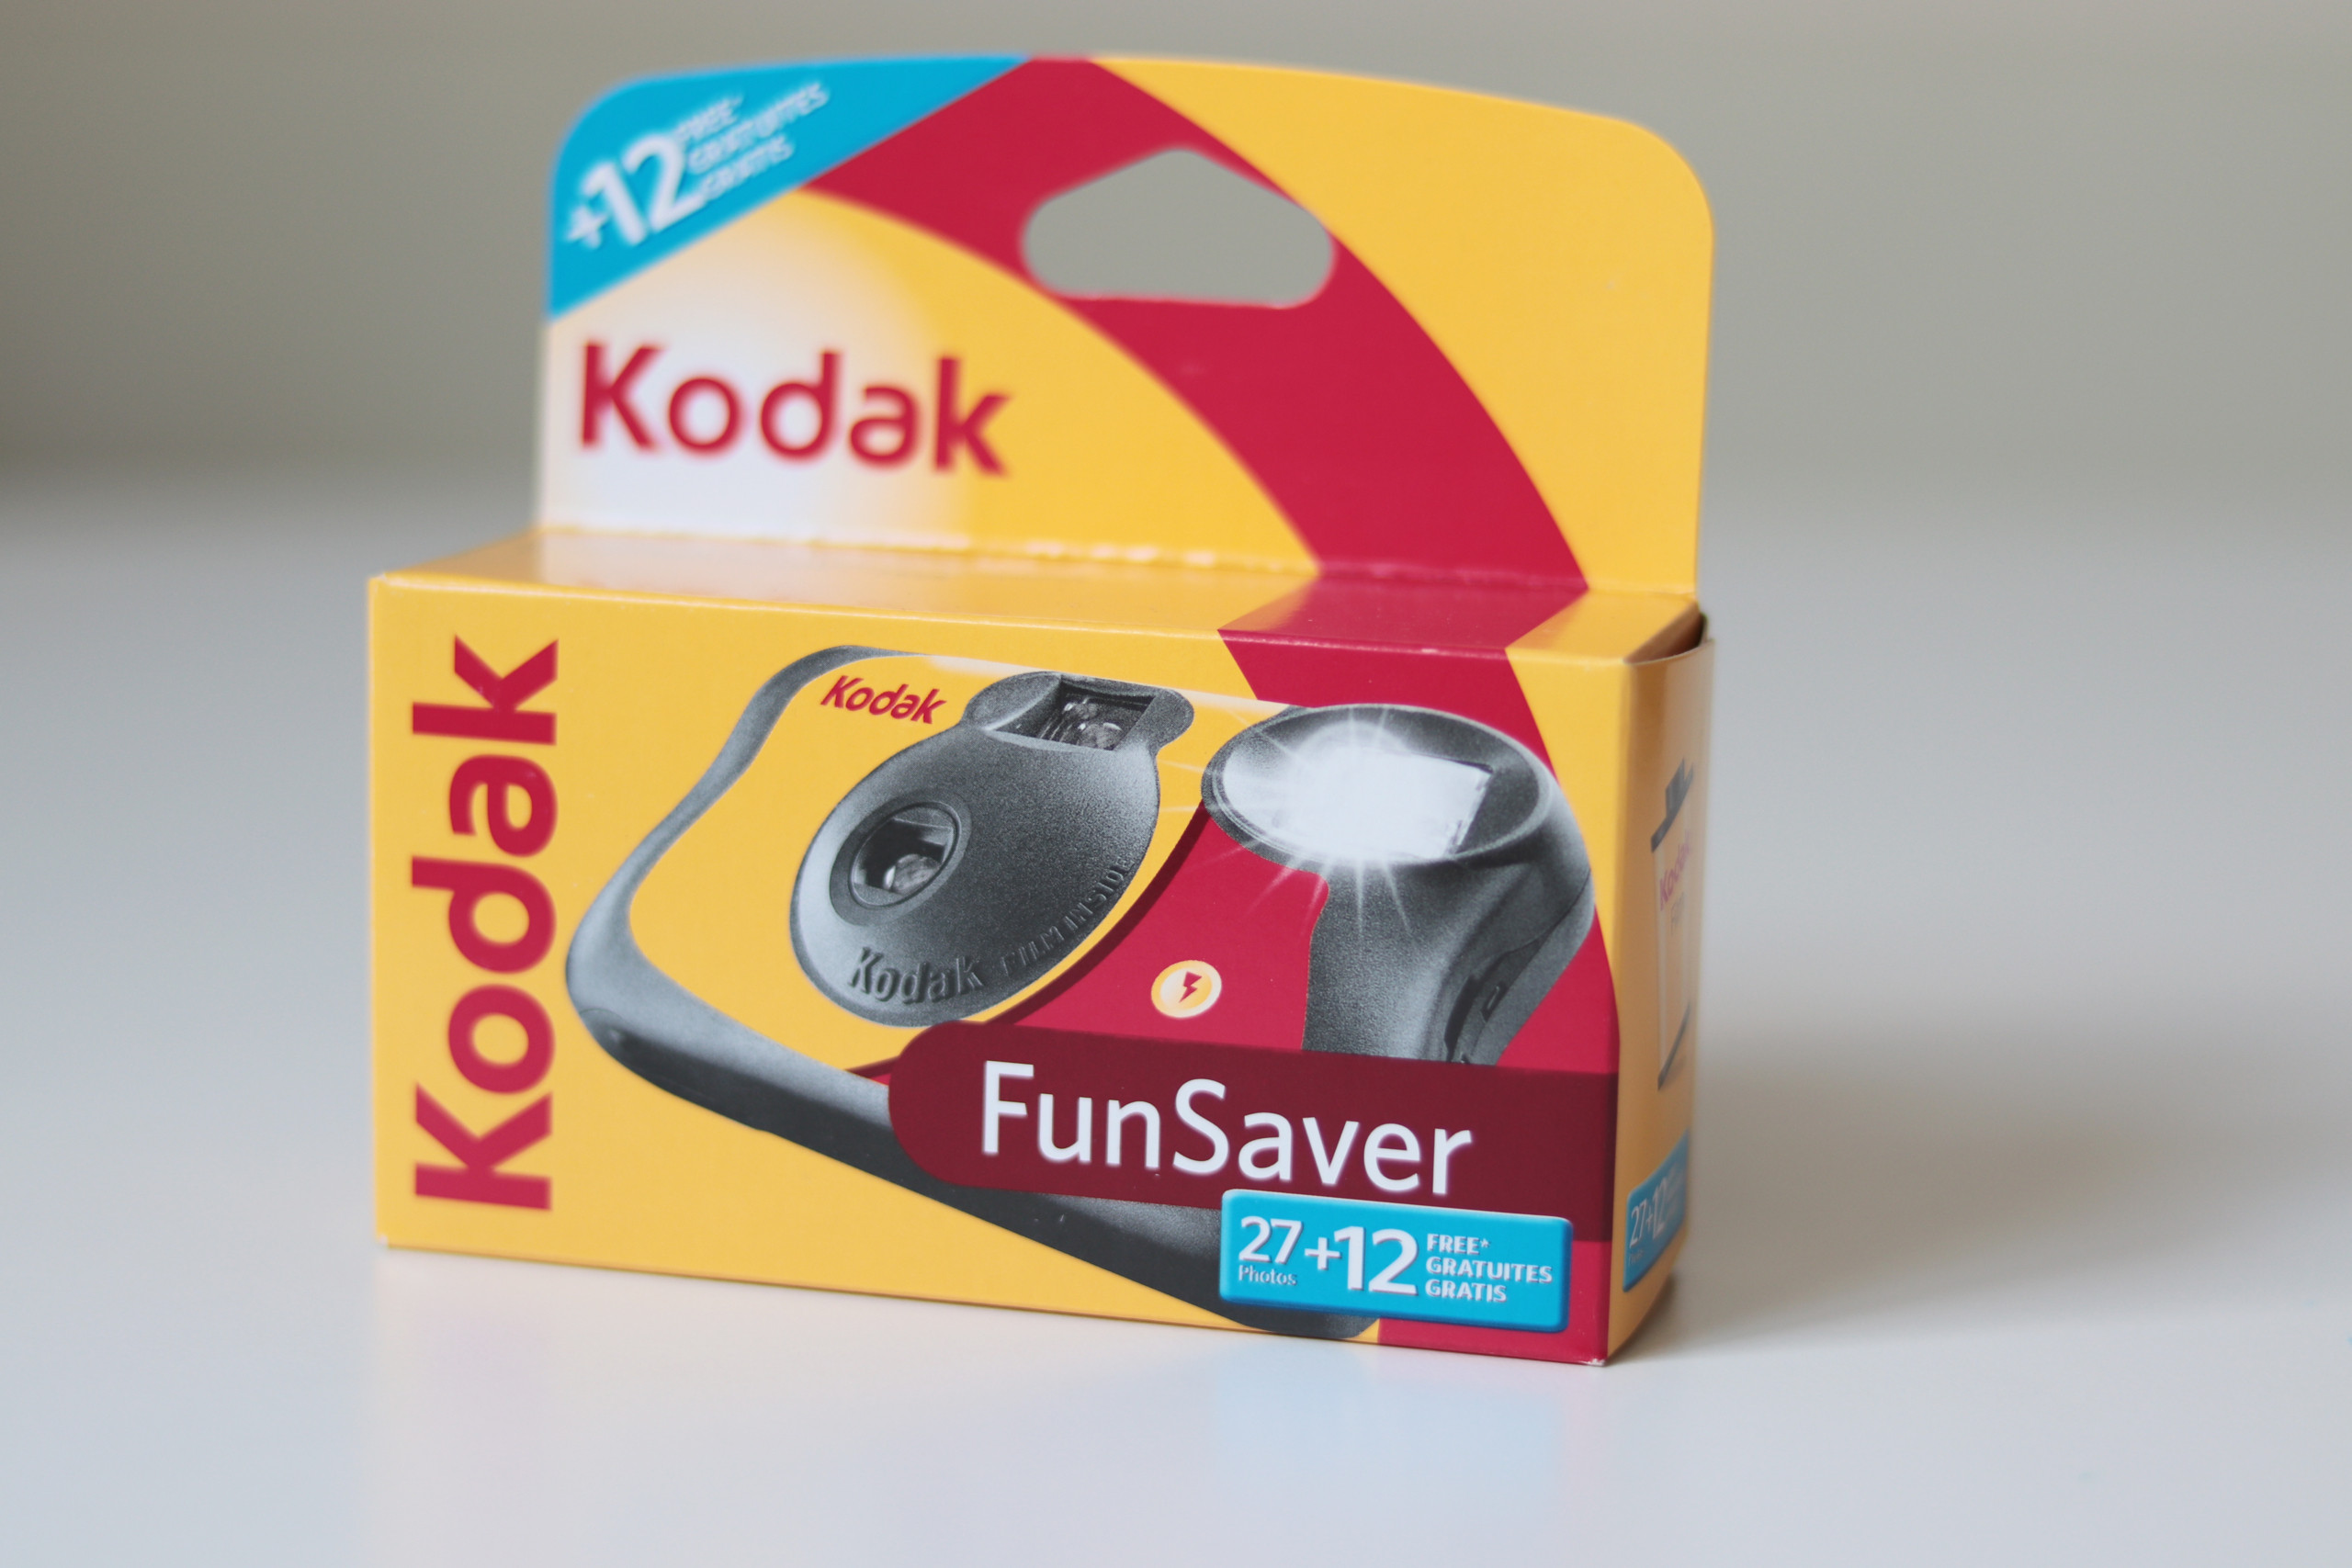
According to Popular Photography magazine, the Fujifilm QuickSnap Flash 400 is a reliable choice, while Kodak’s FunSaver is another popular option. If you’re planning a beach vacation, consider a waterproof disposable camera for worry-free shooting.
3. Understanding the Film Development Process
Once you’ve finished shooting your roll of film, you need to get it developed to see your photos. There are several options for developing your disposable camera:
- DIY Development
- Local Photo Lab
- Online Photo Lab
3.1. DIY Film Development
Developing film at home requires specialized equipment and chemicals.
Here are the tools needed:
- Film Developing Tank: A light-tight tank for processing film.
- Developing Chemicals: Developer, stop bath, and fixer.
- Darkroom: A light-sealed room to load the film into the tank.
- Film Scanner: To scan the negatives into digital images.
- Thermometer: For accurate chemical temperatures.
Here’s how to do it:
- In complete darkness, remove the film from the camera.
- Load the film onto a reel inside the developing tank.
- Add the developer, stop bath, and fixer according to the instructions.
- Rinse the film thoroughly and hang it up to dry.
- Scan the negatives using a film scanner.
Note: DIY film development requires technical knowledge and careful execution.
3.2. Local Photo Labs
Local photo labs offer a convenient way to develop your film.
Here is the process:
- Take your disposable camera to a local photo lab or pharmacy.
- The lab will remove the film from the camera and develop it.
- You can choose to receive prints, digital scans, or both.
- Waiting times vary from a few hours to a few weeks.
Benefits of using a local photo lab:
- Professional service
- Convenient drop-off and pick-up
- Options for prints and digital scans
3.3. Online Photo Labs
Online photo labs provide a convenient mail-in service for film development.
Here is the process:
- Order a mailer from an online photo lab.
- Send your disposable camera to the lab.
- The lab will develop the film and scan the images.
- You’ll receive digital copies of your photos via email or a downloadable link.
Benefits of using an online photo lab:
- Convenient mail-in service
- Professional-quality scans
- Options for prints and other products
However, online services can be more expensive and may have longer turnaround times. There’s also a risk of loss or damage during shipping.
 A photo displaying a variety of developed film negatives and prints, illustrating the tangible results of developing film from a disposable camera.
4. How Can I Get Disposable Camera Pictures on My Phone?
Once your film is developed, you’ll want to transfer the photos to your phone for easy sharing and storage. Here are a few methods:
- Take Photos of Prints with Your Smartphone
- Ask for Digital Versions from the Developer
- DIY Scanning
- Use a Professional Scanning Service
4.1. Using Your Smartphone to Digitize Photos
You can use your smartphone to take photos of your prints.
Here’s how to do it:
- Place the prints on a flat surface in good lighting.
- Use your smartphone’s camera to take a photo of each print.
- Edit the photos to crop and adjust the brightness and contrast.
- Use a photo-scanning app for better results.
Benefits:
- Simple and quick
- No special equipment needed
Limitations:
- Image quality may be lower compared to scanning
- Lighting and reflections can be problematic
4.2. Requesting Digital Copies from the Developer
Many photo labs offer digital scanning services when developing your film.
Here is the process:
- Ask the photo lab to scan your photos when you drop off your disposable camera.
- The lab will provide you with digital files of your photos, usually via email or a downloadable link.
- Save the photos to your phone.
Benefits:
- Convenient and easy
- Good image quality
Limitations:
- May be more expensive than other methods
- Dependent on the lab’s scanning capabilities
4.3. Scanning Photos Yourself
If you have a scanner at home or access to one at a local library, you can scan your photos yourself.
Here’s how:
- Place the print on the scanner bed.
- Scan the image at a high resolution (300-600 dpi).
- Save the scanned image as a JPEG or TIFF file.
- Transfer the file to your phone.
Benefits:
- High-quality scans
- Full control over the scanning process
Limitations:
- Requires a scanner
- Can be time-consuming
4.4. Using a Professional Scanning Service
Professional scanning services offer the highest quality digitization of your photos.
Here’s how it works:
- Send your prints to a professional scanning service like Everpresent.
- The service will scan your photos using high-end equipment.
- You’ll receive digital files of your photos on a DVD, USB drive, or via a downloadable link.
Benefits:
- The highest possible image quality
- Professional handling and care of your photos
- Options for archival-quality scans and restoration
Limitations:
- The most expensive option
- Requires shipping your photos
According to reviews, professional scanning services offer the best results, especially for treasured family photos that you want to preserve for future generations.
5. Optimizing Your Disposable Camera Photos
Once you’ve transferred your disposable camera photos to your phone, you may want to optimize them for sharing and storage.
5.1. Editing Your Photos
Use photo editing apps to improve the appearance of your images.
- Cropping: Remove unwanted borders or focus on a specific subject.
- Brightness and Contrast: Adjust the overall exposure and tonal range.
- Color Correction: Correct any color casts or enhance the colors.
- Sharpening: Increase the sharpness of the image.
- Filters: Apply filters to create a specific look or mood.
Popular photo editing apps include:
- Adobe Lightroom Mobile
- Snapseed
- VSCO
5.2. Backing Up Your Photos
Back up your photos to protect them from loss or damage.
- Cloud Storage: Use cloud storage services like Google Photos, iCloud, or Dropbox.
- External Hard Drive: Copy your photos to an external hard drive.
- USB Drive: Save your photos to a USB drive.
- Print Your Photos: Create physical prints of your favorite photos.
Regularly backing up your photos ensures that your memories are safe and accessible for years to come.
 A close-up showcasing a person using a smartphone to photograph a disposable camera print, highlighting a quick method to digitize memories.
6. Preserving Your Memories for the Future
Disposable cameras offer a unique way to capture memories, but it’s important to digitize and preserve your photos for the long term. By following the steps outlined in this guide, you can easily transfer your disposable camera photos to your phone and ensure that your treasured memories are safe and accessible for years to come.
7. Understanding Search Intent
To fully address the user’s needs when searching “How To Get Photos Off Disposable Camera,” it’s important to understand the various search intents behind the query. Here are five key intents:
- Informational: Users want to learn the different methods for getting photos off a disposable camera.
- Step-by-Step Guidance: Users need detailed instructions on how to perform each method.
- Comparison: Users want to compare the pros and cons of each method to choose the best one for their needs.
- Troubleshooting: Users are experiencing difficulties with a particular method and need help resolving the issue.
- Service Discovery: Users want to find local or online services that can transfer their photos for them.
This article addresses all of these intents by providing a comprehensive overview of the available methods, detailed instructions, comparisons, and recommendations for professional services.
8. Addressing Customer Challenges
Many customers face challenges when trying to digitize their disposable camera photos. These challenges include:
- Lack of Technical Skills: Some users may not be comfortable with DIY methods like film development or scanning.
- Limited Resources: Users may not have access to the necessary equipment, such as a scanner or darkroom.
- Time Constraints: Users may not have the time to develop and scan their photos themselves.
- Quality Concerns: Users may worry about the quality of the digitized photos.
- Preservation Concerns: Users may want to ensure that their photos are preserved for the long term.
This article addresses these challenges by providing a range of options for transferring photos, from simple smartphone photography to professional scanning services. It also emphasizes the importance of backing up photos and preserving them for future generations.
9. How dfphoto.net Can Help
At dfphoto.net, we’re passionate about helping you preserve your photographic memories. We offer a wealth of resources to help you explore the world of photography.
9.1. Resources Available
Here are some ways that dfphoto.net can help:
- Comprehensive Guides: We offer detailed guides on various photography topics, including film development, scanning, and photo editing.
- Equipment Reviews: We provide reviews of cameras, scanners, and other photography equipment.
- Inspiration and Ideas: Explore our gallery of stunning photographs and discover new ideas for your own photography projects.
- Community Forum: Connect with other photography enthusiasts and share your work.
9.2. Visit dfphoto.net Today
Visit dfphoto.net today to discover a wealth of resources and inspiration for your photography journey. Whether you’re a beginner or an experienced photographer, we have something for everyone.
Join our community, explore our guides, and start preserving your memories today!
10. Frequently Asked Questions (FAQs)
10.1. How long does it take to develop a disposable camera?
The time it takes to develop a disposable camera depends on the method you choose. DIY development can take several hours, while local photo labs typically have turnaround times ranging from a few hours to a few weeks. Online photo labs may take longer due to shipping times.
10.2. How much does it cost to develop a disposable camera?
The cost of developing a disposable camera varies depending on the method and the services included. DIY development can be the least expensive option, but it requires an initial investment in equipment and chemicals. Local and online photo labs typically charge between $10 and $20 for development and basic scans. Professional scanning services can cost more, depending on the resolution and quality of the scans.
10.3. Can I develop a disposable camera at home?
Yes, you can develop a disposable camera at home, but it requires specialized equipment, chemicals, and technical knowledge. It’s important to follow the instructions carefully and take precautions to avoid exposure to hazardous chemicals.
10.4. What is the best way to scan disposable camera photos?
The best way to scan disposable camera photos depends on your budget, resources, and desired quality. Professional scanning services offer the highest quality results, but they can be more expensive. DIY scanning can be a good option if you have a scanner and are comfortable with the process.
10.5. Can I get black and white photos from a disposable camera?
Yes, some disposable cameras come pre-loaded with black and white film. You can also use a regular color disposable camera and convert the photos to black and white using photo editing software.
10.6. What is the best resolution for scanning disposable camera photos?
The best resolution for scanning disposable camera photos depends on how you plan to use the images. For general use and sharing online, a resolution of 300 dpi is usually sufficient. If you plan to print the photos or make large enlargements, a higher resolution of 600 dpi or more is recommended.
10.7. How can I improve the quality of my disposable camera photos?
You can improve the quality of your disposable camera photos by shooting in good lighting conditions, holding the camera steady, and using photo editing software to adjust the brightness, contrast, and colors.
10.8. What are the benefits of using a professional scanning service?
The benefits of using a professional scanning service include high-quality scans, professional handling and care of your photos, options for archival-quality scans and restoration, and time savings.
10.9. How can I back up my disposable camera photos?
You can back up your disposable camera photos by saving them to cloud storage services like Google Photos, iCloud, or Dropbox, copying them to an external hard drive or USB drive, or printing them.
10.10. Where can I learn more about photography and film development?
You can learn more about photography and film development at dfphoto.net, which offers a wealth of resources, including comprehensive guides, equipment reviews, and a community forum. You can also find information at the Santa Fe University of Art and Design’s Photography Department.
Whether you choose to develop your photos at home, use a local lab, or opt for an online service, the goal is to preserve those precious moments captured on film. Visit dfphoto.net for more inspiration and guidance on your photographic journey!
Address: 1600 St Michael’s Dr, Santa Fe, NM 87505, United States
Phone: +1 (505) 471-6001
Website: dfphoto.net