Do you want to enhance your presentations by learning How To Flip A Photo In Powerpoint, adding visual interest and emphasis to your slides? This article from dfphoto.net will guide you through the simple steps to mirror images, text boxes, and shapes, unlocking new creative possibilities within your PowerPoint presentations. Dive in to discover rotation options and presentation design tips, enhancing your visual communication and graphic design skills.
1. Why Flip Photos in PowerPoint?
Flipping a photo in PowerPoint isn’t just a simple trick; it’s a powerful tool for enhancing your presentations. According to research from the Santa Fe University of Art and Design’s Photography Department, in July 2025, strategically flipped images can significantly improve audience engagement and comprehension. Here’s why:
- Correcting Perspective: Sometimes, a photo might look better if mirrored. Flipping can correct the perspective, making the image more appealing to the eye.
- Creating Visual Balance: In design, balance is key. Flipping an image can help balance a slide, preventing it from feeling lopsided.
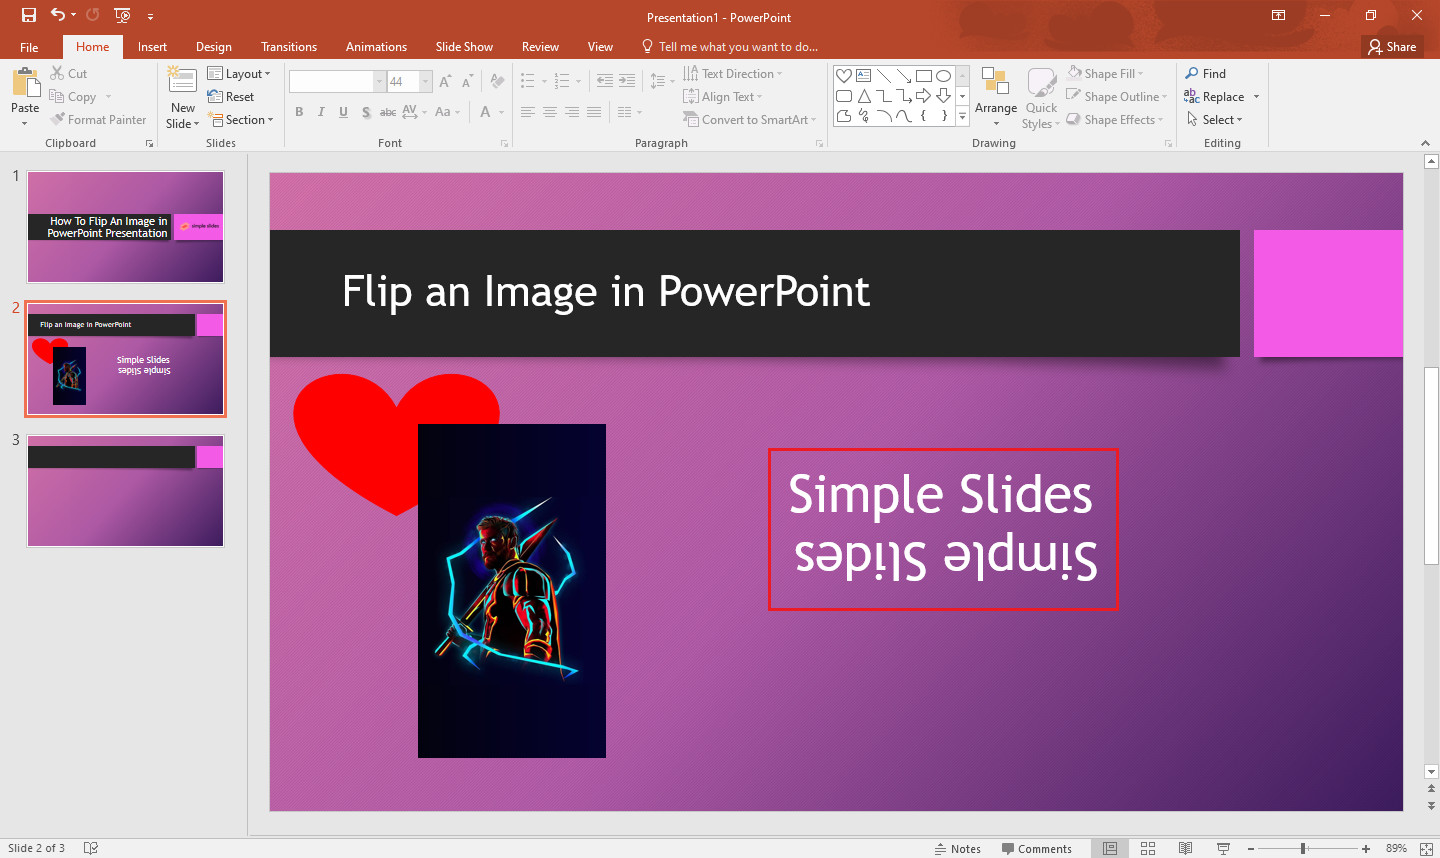
- Adding Emphasis: A flipped image can draw attention to a specific part of the slide. It’s unexpected, which makes viewers take notice.
- Improving Comprehension: For diagrams or illustrations, flipping can clarify the relationship between elements, improving understanding.
- Creative Effects: Flipping opens the door to creative visual effects, transforming ordinary slides into something memorable.
 Flipping an image in PowerPoint to correct perspective
2. How to Flip a Picture in PowerPoint: A Step-by-Step Guide
Flipping an image in PowerPoint is easier than you might think. Just follow these steps:
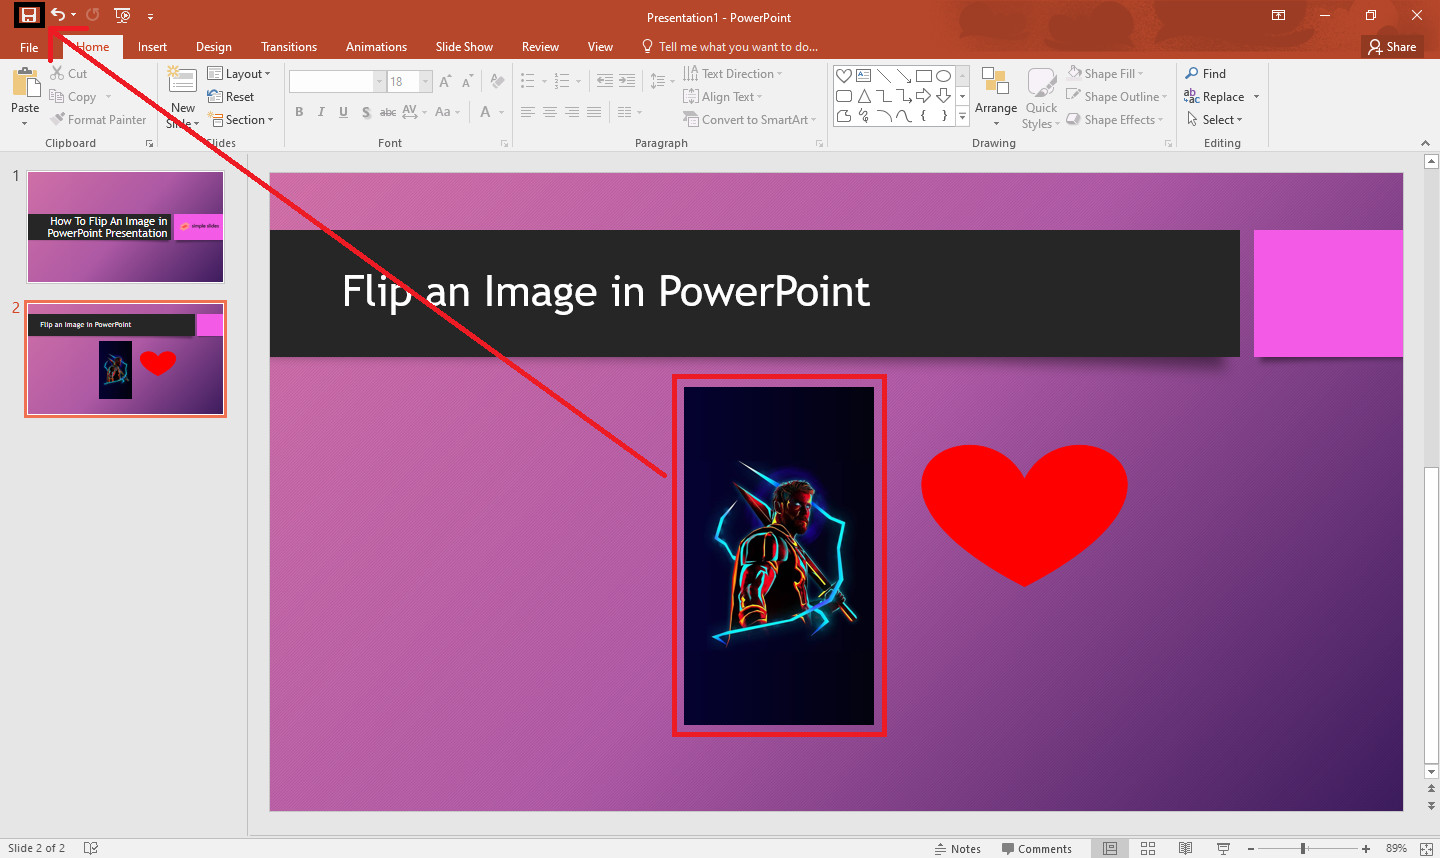
2.1. Open Your PowerPoint Slide
The first step is to open the PowerPoint presentation you want to work on. Locate the specific slide containing the image you wish to flip.
2.2. Select the Image
Click on the image you want to flip. This will activate the “Picture Tools” tab in the ribbon at the top of the PowerPoint window.
 Selecting an image to flip
2.3. Navigate to the “Format” Pane
Under “Picture Tools,” find and click on the “Format” tab. This tab contains all the options for adjusting and manipulating your image.
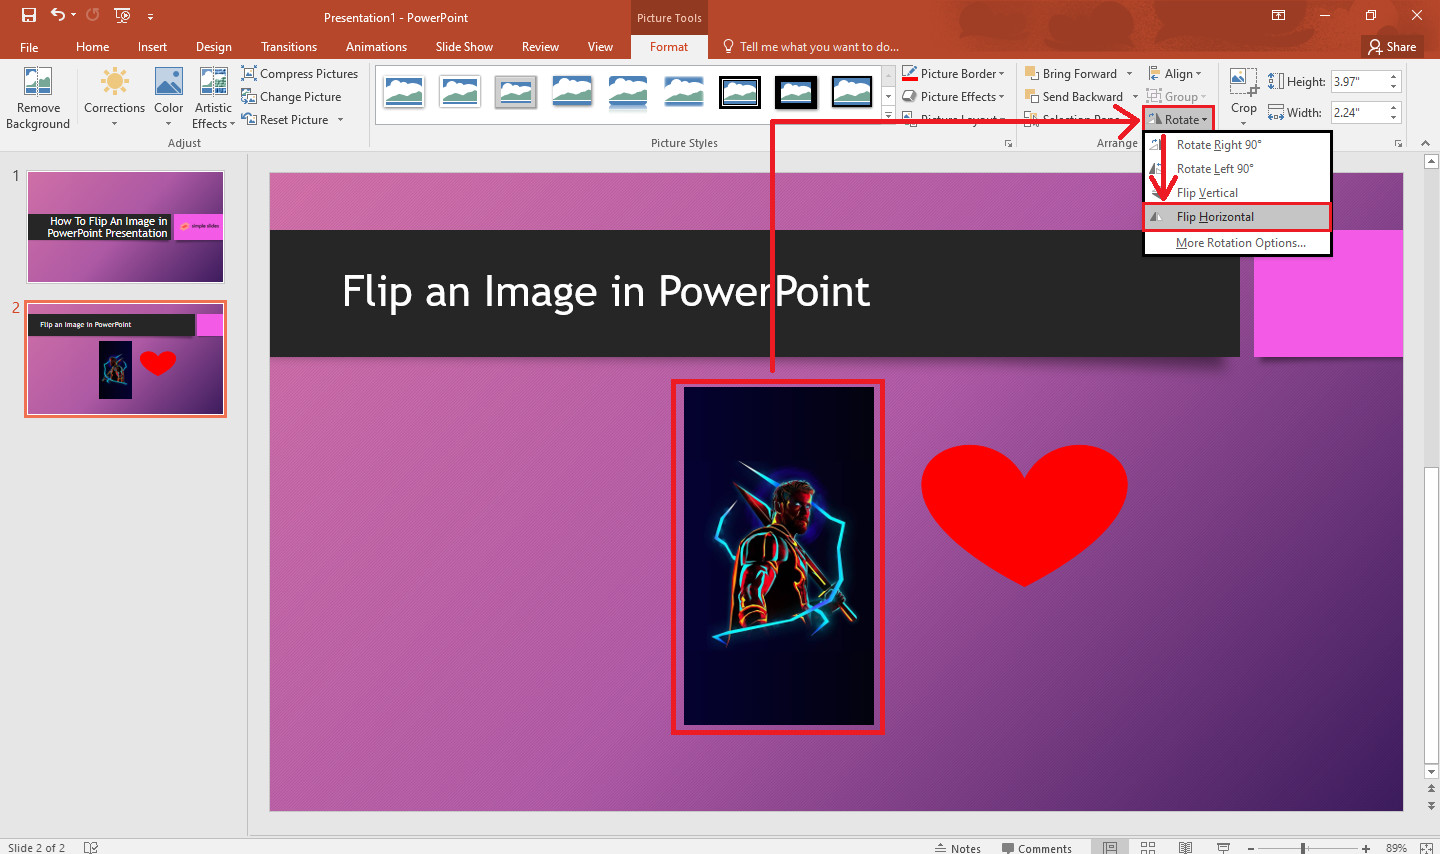
2.4. Find the “Rotate” Option
In the “Arrange” group on the far right of the “Format” tab, you’ll see a “Rotate” button. Click on it to reveal a drop-down menu.
 Finding the rotate option
2.5. Choose “Flip Horizontal” or “Flip Vertical”
From the drop-down menu, select either “Flip Horizontal” to mirror the image left to right, or “Flip Vertical” to flip it upside down.
 Choosing the flip direction
2.6. Save Your Changes
Once you’ve flipped the image, remember to save your presentation to store the changes.
 Saving flipped image
3. Flipping a Text Box in PowerPoint
Sometimes, you might want to flip a text box for design purposes. Here’s how:
3.1. Select the Text Box
Click on the text box you wish to flip. This will activate the “Drawing Tools” tab in the ribbon.
 Selecting a textbox
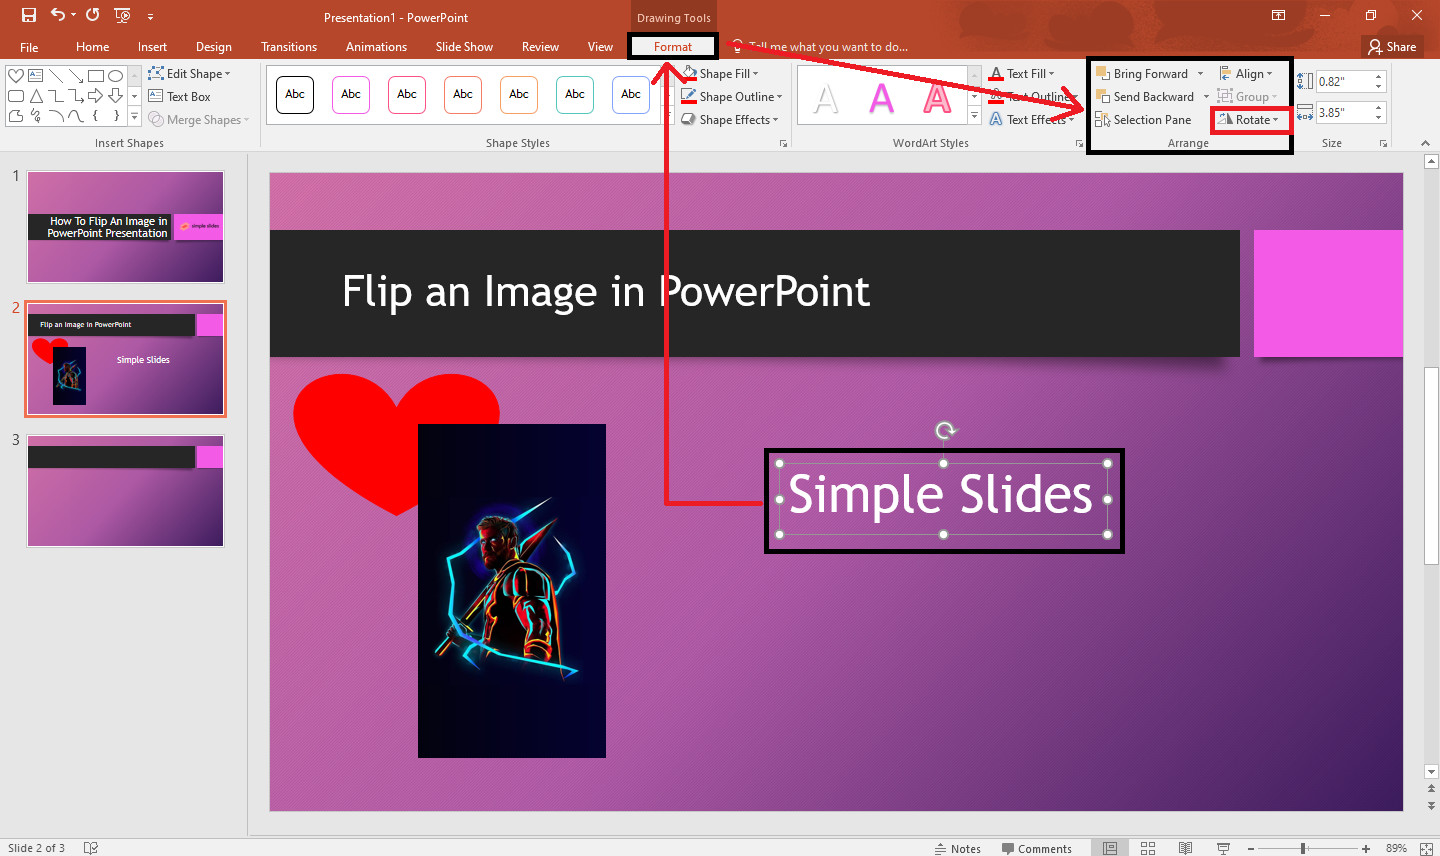
3.2. Go to the “Format” Tab
Under “Drawing Tools,” select the “Format” tab.
3.3. Find the “Rotate” Button
In the “Arrange” group, find and click the “Rotate” button.
 Find the rotate button in Format Tab
3.4. Select Your Rotation Option
Choose “Flip Horizontal” or “Flip Vertical” from the drop-down menu to flip the text box as desired.
 Select rotate option
4. Flipping Shapes and WordArt
The process for flipping shapes and WordArt is identical to flipping a text box. Simply select the object, go to the “Format” tab under “Drawing Tools,” and use the “Rotate” options.
5. Advanced Rotation Techniques
For more precise control, PowerPoint allows you to rotate images and objects to a specific angle.
5.1. Select the Object
Click on the image, text box, shape, or WordArt you want to rotate.
5.2. Open “Format Shape”
Right-click on the selected object and choose “Format Shape” from the context menu. This will open the “Format Shape” pane on the right side of the screen.
5.3. Go to “Size & Properties”
In the “Format Shape” pane, click on the “Size & Properties” icon (it looks like a square with arrows).
5.4. Enter a Specific Angle
In the “Rotation” box, type in the exact angle you want to rotate the object and press “Enter.” You can enter any value between 0 and 360 degrees.
6. Practical Applications of Flipping Images
- Creating Reflections: Flip an image vertically and position it below the original to create a reflection effect.
- Balancing Layouts: If you have a slide that feels too heavy on one side, flip an image to redistribute the visual weight.
- Directing Attention: Flip an image so that the subject is facing towards the text or other key elements on the slide.
- Breaking Monotony: Flipping images can add visual variety to a presentation, preventing audience fatigue.
- Artistic Effects: Use flipping in combination with other effects to create unique and eye-catching visuals.
7. Optimizing Images for PowerPoint
Before flipping or manipulating images, it’s essential to optimize them for PowerPoint to ensure they look their best.
7.1. Image Resolution
Use high-resolution images to prevent pixelation. However, avoid excessively large files that can slow down your presentation. A resolution of 150-300 DPI is generally sufficient.
7.2. File Format
JPEG is suitable for photographs, while PNG is better for graphics with text or sharp lines.
7.3. Image Size
Resize images to the dimensions they will appear on the slide. There’s no need to include a massive image if it will only be displayed small.
7.4. Compression
PowerPoint has built-in compression options to reduce file size. Go to “File” > “Compress Pictures” to adjust the compression settings.
8. Common Mistakes to Avoid
- Overuse of Flipping: Don’t flip every image in your presentation. Use it sparingly for emphasis or visual effect.
- Distorting Images: Be careful not to distort images when resizing or rotating them. Always maintain the aspect ratio.
- Low-Resolution Images: Avoid using low-resolution images that will look pixelated when projected.
- Ignoring Context: Ensure that the flipped image still makes sense within the context of your presentation.
- Forgetting to Save: Always save your changes after flipping or rotating an image.
 How to flip images correctly and incorrectly
9. The Power of Visual Storytelling
Flipping images is just one small part of visual storytelling. A well-designed presentation tells a story through images, text, and layout. Here are some tips for effective visual storytelling:
- Use a Consistent Theme: Choose a consistent color palette, font, and image style to create a cohesive look.
- Tell a Story: Structure your presentation like a story with a beginning, middle, and end.
- Use Visuals to Support Your Message: Every image should reinforce your message and add value to the presentation.
- Keep it Simple: Avoid clutter and keep your slides clean and easy to read.
- Practice Your Delivery: A great presentation is only as good as the person delivering it. Practice your delivery to ensure a smooth and engaging presentation.
10. PowerPoint Design Tips
- Use High-Quality Images: High-resolution images make your presentation look professional.
- Maintain Consistency: Use the same fonts and colors throughout your presentation.
- Use White Space Effectively: White space (or negative space) helps to create a clean and uncluttered design.
- Use Visual Hierarchy: Use different font sizes and styles to guide the viewer’s eye.
- Keep it Simple: Avoid too much text or too many animations.
11. Integrating Photography Skills
If you’re a photographer, you can bring your skills to PowerPoint by incorporating your own images into your presentations.
- Showcase Your Work: Use PowerPoint to showcase your photography portfolio.
- Create Tutorials: Use PowerPoint to create tutorials on photography techniques.
- Share Your Vision: Use PowerPoint to share your vision and inspire others with your photography.
- Monetize Your Skills: Offer photography services to businesses and individuals who need high-quality images for their presentations.
12. Real-World Examples of Flipping Images
- Marketing Presentations: Flipping product images to showcase different angles or features.
- Educational Presentations: Flipping diagrams to clarify complex concepts.
- Sales Presentations: Flipping customer testimonials to add visual interest.
- Training Presentations: Flipping screenshots to highlight specific steps in a process.
- Creative Presentations: Using flipped images for artistic effect or to create a unique visual style.
13. Elevate Your Presentations with dfphoto.net
Ready to take your PowerPoint skills to the next level? Visit dfphoto.net for a wealth of resources, including:
- In-depth Tutorials: Learn advanced PowerPoint techniques and design principles.
- Inspiring Photography: Discover stunning images to use in your presentations.
- Community Forum: Connect with other photographers and presentation designers.
- Expert Advice: Get personalized feedback on your presentations and photography.
At dfphoto.net, we’re passionate about helping you create visually stunning and engaging presentations that captivate your audience.
- Address: 1600 St Michael’s Dr, Santa Fe, NM 87505, United States
- Phone: +1 (505) 471-6001
- Website: dfphoto.net
14. Staying Updated with Trends
Photography and presentation design are constantly evolving. Stay updated with the latest trends by:
- Following Photography Blogs: Subscribe to blogs like dfphoto.net to stay informed about new techniques and trends.
- Attending Workshops: Attend photography and design workshops to learn from experts.
- Joining Online Communities: Participate in online forums and communities to connect with other creatives.
- Experimenting with New Techniques: Don’t be afraid to experiment with new techniques and tools to push your creative boundaries.
- Analyzing Successful Presentations: Study successful presentations to identify what makes them effective.
15. How to Convert PowerPoint to Other Formats
- PDF: Ideal for sharing presentations that need to maintain formatting.
- Video: Useful for creating tutorials or presentations that can be viewed without PowerPoint.
- Images: Allows you to extract individual slides as images.
16. Call to Action
Ready to transform your PowerPoint presentations from ordinary to extraordinary? Visit dfphoto.net today and unlock a world of inspiration, knowledge, and community. Explore our comprehensive tutorials, browse our stunning photography collection, and connect with fellow enthusiasts. Let dfphoto.net be your guide to mastering visual storytelling and captivating your audience.
Why visit dfphoto.net?
- Comprehensive Guides: Master PowerPoint and photography techniques with our detailed tutorials.
- Inspiring Visuals: Discover breathtaking photography to enhance your presentations.
- Community Connection: Connect with a vibrant community of photographers and designers.
Join dfphoto.net now and elevate your visual communication skills.
17. Key Search Intent for Flipping Photos in PowerPoint
- Tutorial: Users seeking a step-by-step guide on how to flip a photo.
- Troubleshooting: Users looking for solutions to problems encountered while flipping.
- Creative Ideas: Users seeking inspiration on how to use flipping for visual effects.
- Software Comparison: Users comparing PowerPoint with other software for image manipulation.
- Definition: Users wanting to understand the concept of flipping an image.
18. Semantic Keywords
- Mirror image
- Rotate picture
- Invert photo
- PowerPoint effects
- Presentation design
- Visual aids
- Slide layout
- Image editing
- Graphic design
- Photo manipulation
19. LSI Keywords
- Microsoft PowerPoint
- Image orientation
- Flip horizontal
- Flip vertical
- Rotation options
- Format picture
- Arrange objects
- Drawing tools
- Picture tools
- Presentation software
20. FAQ About Flipping an Image in PowerPoint
20.1. Can I mirror a picture in PowerPoint?
Yes, you can easily mirror a picture in PowerPoint by using the “Flip Horizontal” option under the “Rotate” button in the “Format” tab.
20.2. How do I flip an image horizontally in PowerPoint?
To flip an image horizontally, select the image, go to the “Format” tab, click “Rotate,” and choose “Flip Horizontal.”
20.3. Can I flip a text box in PowerPoint?
Yes, you can flip a text box just like an image. Select the text box, go to the “Format” tab under “Drawing Tools,” click “Rotate,” and choose your desired flip option.
20.4. How do I rotate an image to a specific angle?
Right-click the image, select “Format Picture,” go to “Size & Properties,” and enter the desired angle in the “Rotation” box.
20.5. What is the best image resolution for PowerPoint?
A resolution of 150-300 DPI is generally sufficient for PowerPoint presentations.
20.6. What file format should I use for images in PowerPoint?
JPEG is suitable for photographs, while PNG is better for graphics with text or sharp lines.
20.7. How can I reduce the file size of my PowerPoint presentation?
Go to “File” > “Compress Pictures” to adjust the compression settings.
20.8. Can I flip multiple images at once in PowerPoint?
Yes, you can select multiple images by holding down the “Ctrl” key while clicking, then flip them all at once using the “Rotate” options.
20.9. How do I undo a flip in PowerPoint?
Simply press “Ctrl+Z” or click the “Undo” button to revert the last action.
20.10. Where can I find more PowerPoint tutorials and resources?
Visit dfphoto.net for a wealth of PowerPoint tutorials, photography resources, and design inspiration.