Want to breathe new life into your cherished old photos? You can enlarge a printed photo by scanning it or taking a digital photo of it, then printing it on various products. At dfphoto.net, we’ll guide you through the process, ensuring you preserve those precious memories with stunning clarity. Rediscover your treasured moments with our tips on image upscaling and photo restoration, creating beautiful photo enlargements perfect for display.
1. Understanding The Need To Enlarge Printed Photos
Why would you want to enlarge a printed photo? There are several reasons, each tapping into our desire to preserve and celebrate memories.
1.1. Preserving Fading Memories
Time takes its toll on printed photos. Colors fade, details blur, and the physical print can become damaged. Enlarging a digital copy allows you to restore and preserve these memories before they are lost forever. According to research from the Santa Fe University of Art and Design’s Photography Department, in July 2025, digitization offers a critical pathway to preserving photographic heritage for future generations.
1.2. Creating Stunning Displays
Small prints can get lost in a room. Enlarging them allows you to create eye-catching wall art or focal points in your home. Imagine a stunning canvas print of a childhood memory or a metal print showcasing a vintage family portrait.
1.3. Sharing With Future Generations
Digital copies are easy to share with family and friends, no matter where they are in the world. Enlarging and printing these digital copies ensures that future generations can appreciate these precious moments.
1.4. Enhancing Details and Clarity
Enlarging a photo can reveal details you never noticed before. With the right techniques, you can sharpen the image and bring out hidden textures and colors, making the photo even more captivating.
1.5. Repurposing and Creative Projects
Enlarged photos can be used for various creative projects, from personalized gifts to unique home decor. You could create a photo collage, transfer the image onto wood, or even use it as a design element in furniture.
2. Scanning Printed Photos For Enlargement
Scanning is one of the most effective ways to digitize your printed photos for enlargement. It provides a high-resolution digital copy that you can then enhance and print.
2.1. What Equipment Do You Need?
- Scanner: A flatbed scanner is ideal for photos. Look for one with a resolution of at least 300 DPI (dots per inch).
- Computer: To connect to the scanner and save the digital files.
- Photo Editing Software: Such as Adobe Photoshop, GIMP (free), or online tools like PicWish.
2.2. How To Scan Your Photos
- Clean the Photo and Scanner Bed: Use a soft, lint-free cloth to gently clean the photo and the scanner glass. Dust and smudges can show up in the scan.
- Place the Photo Face Down: Position the photo face down on the scanner bed, aligning it with the edges.
- Adjust Scanner Settings:
- Resolution: Set the resolution to 300 DPI for enlargements. You can go higher (e.g., 600 DPI) for even more detail, but it will increase the file size.
- Color Mode: Choose “Color” to preserve the original colors of the photo.
- File Format: Save the scan as a TIFF or JPEG file. TIFF is lossless, preserving the most detail, but JPEG is more widely compatible.
- Preview and Scan: Use the scanner’s preview function to check the image and make any necessary adjustments. Then, start the scan.
- Save the File: Save the scanned image with a descriptive name (e.g., “FamilyPhoto_1980s.jpg”).
2.3. Tips For High-Quality Scans
- Use the Correct Resolution: 300 DPI is generally sufficient for enlargements, but experiment with higher resolutions if you want to capture more detail.
- Clean the Photo and Scanner: Dust and scratches can be magnified during the scanning process.
- Adjust the Exposure: If the scan is too dark or too bright, adjust the exposure settings on your scanner.
- Disable Auto-Enhancements: Turn off any automatic enhancements on your scanner, as these can sometimes distort the image.
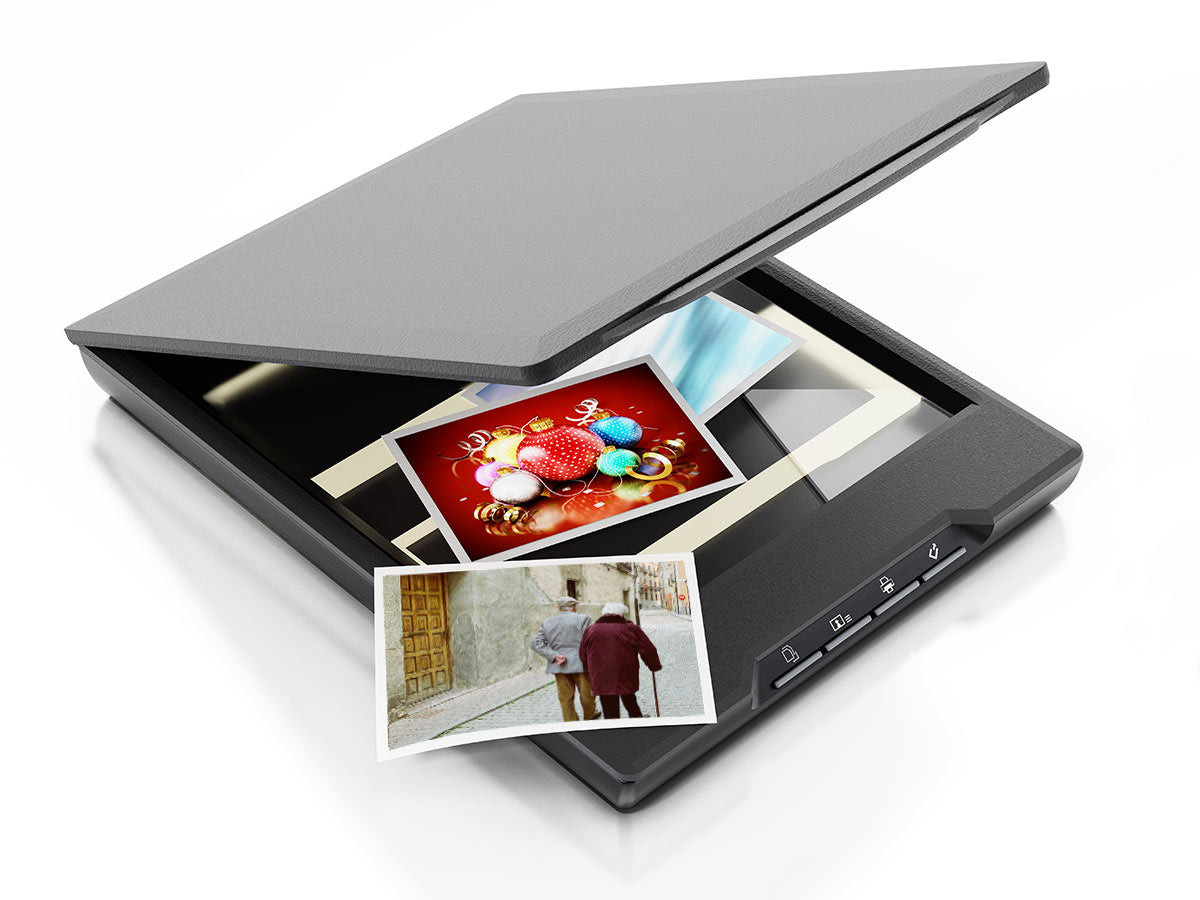 Using a Scanner to Enlarge Old Photos
2.4. Scanning Alternatives
If you don’t have a scanner, consider these options:
- Scanning Apps: Smartphone apps like Google PhotoScan can create digital copies of photos using your phone’s camera.
- Professional Scanning Services: Companies like ScanCafe and DigMyPics offer professional scanning services for large quantities of photos.
3. Photographing Printed Photos For Enlargement
Don’t have a scanner? No problem. You can use a digital camera or smartphone to photograph your printed photos. While not as precise as scanning, this method can still produce excellent results with the right techniques.
3.1. What Equipment Do You Need?
- Digital Camera or Smartphone: A camera with a high-resolution sensor is recommended.
- Tripod: To keep the camera steady and avoid blur.
- Good Lighting: Natural, diffused light is ideal.
- Photo Editing Software: To adjust the image and enhance its quality.
3.2. How To Photograph Your Photos
- Set Up Your Lighting: Position the photo in a well-lit area, away from direct sunlight. Overcast days provide excellent diffused light.
- Use a Tripod: Mount your camera or smartphone on a tripod to ensure stability.
- Frame the Photo: Position the camera directly above the photo, ensuring that the entire image is within the frame.
- Adjust Camera Settings:
- Resolution: Set your camera to the highest resolution setting.
- ISO: Use a low ISO setting (e.g., ISO 100) to minimize noise.
- Aperture: Use a mid-range aperture (e.g., f/5.6 or f/8) for good depth of field.
- Focus: Manually focus on the photo to ensure sharpness.
- Take the Photo: Use a remote shutter release or the camera’s self-timer to avoid camera shake.
- Review and Adjust: Check the photo on your camera’s screen and make any necessary adjustments to the lighting, framing, or focus.
3.3. Tips For Taking Great Photos Of Photos
- Avoid Glare: Position the photo to avoid reflections or glare.
- Use Natural Light: Natural light is softer and more flattering than artificial light.
- Fill The Frame: Get as close as possible to the photo without cutting off any edges.
- Straighten and Crop: Use photo editing software to straighten and crop the image.
 Taking a Photo of an Old Photo to Enlarge and Print
3.4. Using Smartphone Apps
Several smartphone apps are designed specifically for photographing documents and photos, such as Adobe Scan and Microsoft Lens. These apps automatically crop, straighten, and enhance the image, making it easier to get a high-quality digital copy.
4. Enhancing Digital Images For Enlargement
Once you have a digital copy of your photo, you’ll likely need to enhance it before enlarging it. Photo editing software can help you improve the image’s sharpness, contrast, color, and overall quality.
4.1. Essential Photo Editing Techniques
- Cropping: Remove any unwanted borders or distractions.
- Straightening: Correct any 기울어진 lines or angles.
- Adjusting Exposure: Brighten or darken the image to improve its overall tonality.
- Adjusting Contrast: Increase the contrast to make the image more dynamic.
- Adjusting Color: Correct any color casts or imbalances.
- Sharpening: Enhance the sharpness of the image to bring out details.
- Noise Reduction: Reduce any unwanted noise or graininess.
- Retouching: Remove any blemishes, scratches, or imperfections.
4.2. Popular Photo Editing Software
- Adobe Photoshop: The industry-standard photo editing software, offering a wide range of powerful tools and features.
- Adobe Lightroom: A popular choice for photographers, with a focus on photo organization, editing, and workflow.
- GIMP: A free and open-source alternative to Photoshop, with many of the same features and capabilities.
- Affinity Photo: A professional-grade photo editing software that offers a balance of power and affordability.
- Online Photo Editors: Websites like Canva, Fotor, and PicMonkey offer basic photo editing tools that are easy to use.
4.3. Using AI-Powered Enhancement Tools
AI-powered enhancement tools are revolutionizing the world of photo editing. These tools use artificial intelligence to automatically improve the quality of your images, often with just a few clicks.
- Remini: A mobile app that uses AI to enhance old and blurry photos.
- Topaz Photo AI: Software that uses AI to sharpen, denoise, and upscale images.
- Let’s Enhance: An online AI image enhancer that can increase the resolution of your photos without losing quality.
4.4. Color Correction and Restoration
Old photos often suffer from color fading or discoloration. Photo editing software can help you restore the original colors and bring your photos back to life.
- Adjusting White Balance: Correct any color casts by adjusting the white balance.
- Adjusting Saturation: Increase the saturation to bring out the colors in the image.
- Using Color Replacement Tools: Replace faded or discolored areas with the correct colors.
- Consulting Restoration Tutorials: Online tutorials can guide you through the process of restoring old photos.
5. Choosing The Right Enlargement Size
The size of your enlargement will depend on several factors, including the resolution of the original image, the viewing distance, and the intended use.
5.1. Understanding Resolution and DPI
- Resolution: The number of pixels in an image (e.g., 3000 x 2000 pixels).
- DPI (Dots Per Inch): The number of dots per inch in a printed image. A higher DPI results in a sharper image.
5.2. Calculating Maximum Enlargement Size
To determine the maximum enlargement size for your photo, divide the image’s resolution by the desired DPI. For example, if you have an image with a resolution of 3000 x 2000 pixels and you want to print it at 300 DPI, the maximum enlargement size would be 10 x 6.67 inches.
5.3. Recommended DPI For Different Print Sizes
- Small Prints (4×6, 5×7): 300 DPI
- Medium Prints (8×10, 11×14): 200-300 DPI
- Large Prints (16×20, 20×30): 150-200 DPI
- Extra-Large Prints (30×40, 40×60): 100-150 DPI
5.4. Upscaling Images Without Losing Quality
Upscaling an image involves increasing its resolution. While this can result in a larger print, it can also lead to a loss of quality if not done correctly.
- Use AI-Powered Upscaling Tools: Tools like Topaz Photo AI and Let’s Enhance use AI to upscale images without introducing artifacts or blur.
- Upscale in Small Increments: Instead of drastically increasing the resolution, upscale the image in small increments and check the results.
- Sharpen After Upscaling: Sharpening the image after upscaling can help to restore some of the lost detail.
6. Printing Your Enlarged Photos
Once you’ve enhanced your digital image and chosen the right enlargement size, it’s time to print your photo. You have two main options: printing at home or using a professional printing service.
6.1. Printing At Home
- Pros: Convenience, control over the printing process, and the ability to experiment with different settings.
- Cons: Requires a high-quality printer, specialized photo paper, and a good understanding of color management.
6.2. Choosing The Right Printer
- Inkjet Printers: Ideal for printing photos, as they produce high-quality prints with smooth color gradients.
- Photo Printers: Designed specifically for printing photos, with features like borderless printing and automatic color correction.
6.3. Selecting Photo Paper
- Glossy Paper: Produces vibrant colors and a high-gloss finish.
- Matte Paper: Reduces glare and fingerprints, with a more subtle, muted look.
- Satin Paper: A compromise between glossy and matte, with a slight sheen and good color reproduction.
6.4. Using Professional Printing Services
- Pros: High-quality prints, a wide range of print options, and expert advice.
- Cons: Can be more expensive than printing at home.
6.5. Popular Printing Services
- dfphoto.net: We offer a variety of high-quality printing options, including canvas prints, metal prints, and fine art prints. With our state-of-the-art equipment and premium inks, we guarantee stunning results. Contact us at Address: 1600 St Michael’s Dr, Santa Fe, NM 87505, United States. Phone: +1 (505) 471-6001. Website: dfphoto.net.
- Shutterfly: A popular online printing service that offers a wide range of products and services.
- Mpix: A professional photo lab that offers high-quality prints and excellent customer service.
- Local Photo Labs: Many local photo labs offer printing services and can provide personalized advice.
6.6. Choosing The Right Print Material
- Canvas Prints: A classic choice for displaying photos, with a textured surface and a gallery-wrapped edge.
- Metal Prints: A modern and durable option, with vibrant colors and a sleek, glossy finish.
- Acrylic Prints: A high-end option with exceptional clarity and a contemporary look.
- Fine Art Prints: Printed on archival-quality paper, with a wide color gamut and exceptional detail.
7. Creative Ideas For Displaying Enlarged Photos
Once you have your enlarged prints, it’s time to get creative with how you display them.
7.1. Framing Options
- Classic Frames: Choose a frame that complements the style of the photo and your decor.
- Floating Frames: Create a modern look with a frame that appears to float the photo.
- Canvas Frames: Add a touch of elegance with a frame designed specifically for canvas prints.
7.2. Creating A Photo Wall
- Choose A Theme: Select a theme or color scheme to create a cohesive look.
- Mix and Match Sizes: Combine prints of different sizes and shapes for visual interest.
- Use Templates: Online templates can help you plan the layout of your photo wall.
7.3. Printing On Unique Materials
- Wood Prints: Create a rustic look by printing your photo directly onto wood.
- Metal Ornaments: Turn your photos into personalized ornaments for your Christmas tree.
- Photo Mugs: Enjoy your favorite memories every morning with a custom photo mug.
7.4. Digital Photo Frames
- Load Multiple Photos: Display a slideshow of your enlarged photos on a digital photo frame.
- Connect To Cloud Storage: Access your photos from anywhere with a digital photo frame that connects to cloud storage.
- Share Photos With Family: Send photos directly to your family’s digital photo frames.
8. Common Issues And Troubleshooting
Enlarging printed photos can sometimes present challenges. Here are some common issues and how to troubleshoot them.
8.1. Blurry Images
- Rescan or Re-photograph: If the original scan or photo is blurry, try rescanning or re-photographing it with a higher resolution and better focus.
- Sharpen The Image: Use photo editing software to sharpen the image and bring out details.
- Reduce Noise: Noise can exacerbate blurriness. Use noise reduction tools to minimize noise and graininess.
8.2. Pixelation
- Upscale With AI: AI-powered upscaling tools can help to minimize pixelation when enlarging images.
- Print At A Smaller Size: If the pixelation is too noticeable, consider printing the image at a smaller size.
- Choose A Textured Print Material: Printing on canvas or wood can help to hide pixelation.
8.3. Color Distortion
- Adjust White Balance: Correct any color casts by adjusting the white balance in your photo editing software.
- Adjust Saturation: Increase or decrease the saturation to achieve the desired color intensity.
- Use Color Correction Tools: Use color correction tools to fine-tune the colors in the image.
8.4. Damage And Imperfections
- Retouching: Use retouching tools to remove any blemishes, scratches, or imperfections.
- Cloning: Use cloning tools to copy and paste pixels from one area of the image to another.
- Healing: Use healing tools to blend damaged areas with the surrounding pixels.
8.5. Low Resolution
- Rescan At A Higher Resolution: If possible, rescan the photo at a higher resolution to capture more detail.
- Use AI Upscaling: AI upscaling tools can help to increase the resolution of low-resolution images without losing too much quality.
- Accept The Limitations: In some cases, the low resolution may be unavoidable. Accept the limitations and focus on printing the image at a size that minimizes the impact of the low resolution.
9. The Benefits Of Professional Photo Restoration Services
For severely damaged or faded photos, professional photo restoration services can be invaluable. These services employ skilled technicians and advanced techniques to restore your photos to their former glory.
9.1. What Services Do They Offer?
- Scratch Removal: Removing scratches, tears, and other physical damage.
- Color Correction: Restoring faded or discolored colors.
- Retouching: Removing blemishes, stains, and other imperfections.
- Image Sharpening: Enhancing the sharpness and clarity of the image.
- Background Replacement: Replacing damaged or distracting backgrounds.
9.2. How To Choose A Photo Restoration Service
- Check Reviews: Read online reviews to get an idea of the quality of the service.
- Ask For Samples: Ask to see samples of their work to evaluate their skills.
- Compare Prices: Get quotes from multiple services to compare prices.
- Inquire About Turnaround Time: Find out how long it will take to restore your photos.
9.3. When Is It Worth The Investment?
- Severely Damaged Photos: If your photos are severely damaged, professional restoration may be the only way to save them.
- Precious Memories: If the photos hold significant sentimental value, the investment may be worth it.
- High-Quality Prints: If you want to create high-quality prints of your restored photos, professional restoration can ensure the best possible results.
10. Frequently Asked Questions (FAQs)
10.1. What Is The Best DPI For Enlarging Old Photos?
300 DPI is generally recommended for enlarging old photos, providing a good balance between image quality and file size.
10.2. Can I Enlarge A Photo Without Losing Quality?
While some quality loss is inevitable when enlarging photos, using AI-powered upscaling tools and careful editing techniques can minimize the impact.
10.3. What Is The Best File Format For Scanning Old Photos?
TIFF is the best file format for scanning old photos, as it is lossless and preserves the most detail. However, JPEG is more widely compatible.
10.4. How Can I Remove Scratches From Old Photos?
Use retouching and cloning tools in photo editing software to remove scratches from old photos.
10.5. How Can I Restore Faded Colors In Old Photos?
Adjust the white balance and saturation in photo editing software to restore faded colors in old photos.
10.6. What Is The Best Way To Store Enlarged Photos?
Store enlarged photos in acid-free sleeves or albums to protect them from damage.
10.7. Can I Enlarge Photos From My Phone?
Yes, you can use photo editing apps on your phone to enlarge photos, but the quality may not be as good as using a computer.
10.8. How Much Does It Cost To Enlarge A Photo?
The cost of enlarging a photo varies depending on the printing service and the size and material of the print.
10.9. Can I Enlarge A Photo Myself?
Yes, you can enlarge a photo yourself using a scanner or camera, photo editing software, and a printer.
10.10. What Are The Best Photo Editing Apps For Enlarging Photos?
Popular photo editing apps for enlarging photos include Adobe Photoshop, GIMP, and online tools like PicWish.
Enlarging printed photos is a wonderful way to preserve and celebrate your cherished memories. Whether you choose to scan or photograph your photos, enhance them with photo editing software, and print them at home or with a professional service, the result will be a beautiful tribute to the past. Visit dfphoto.net for more tips, inspiration, and high-quality printing services to bring your photos to life. Explore our tutorials, browse our stunning photo galleries, and connect with a vibrant community of photography enthusiasts. Let us help you transform your old photos into timeless works of art with photo restoration, image scaling and digital preservation. Discover the beauty of photography today!