Are you looking for a simple yet powerful way to enhance your photos? How To Edit Photo In Canva is easier than you think, and dfphoto.net is here to show you how! This guide will cover everything from basic adjustments to adding creative elements, perfect for photographers and visual artists. Master photo enhancement, image manipulation, and digital artistry in one user-friendly platform.
1. Understanding the Canva Photo Editor
Canva began as a user-friendly design tool, mostly aimed at creating web images. It quickly gained popularity due to its impressive suite of tools for designing logos, social media visuals, and online magazines.
Over time, Canva has evolved into a robust photo editor. It allows you to upload your photos, apply various filters and effects, and perform essential edits like cropping.
These features, common in photo-editing software, combined with Canva’s extensive design tools, provide unparalleled flexibility in transforming your photos into dynamic web elements. With Canva, you can seamlessly edit images, incorporate custom elements, tweak backgrounds, and enrich your visuals with text and music.
However, remember that the advanced photo effects in Canva are exclusive to premium accounts. If you’re using the free version, you can still apply filters and make basic edits, but you won’t have access to the full range of effects.
Key Features:
- Upload and edit photos via an accessible online platform.
- Securely store and share your edited photos in your online library.
- Enhance images with a variety of filters and editing tools.
- Personalize photos with pre-built and custom elements like icons, text, and music.
Price: Free with premium plans available | More Information
2. Step-by-Step Guide: How to Edit Photos in Canva
Ready to transform your photos with Canva? Follow these simple steps to enhance your images like a pro.
2.1 Step 1: Uploading Your Photo
First, you need to upload your photo to Canva. After logging in, you’ll see various templates and design options.
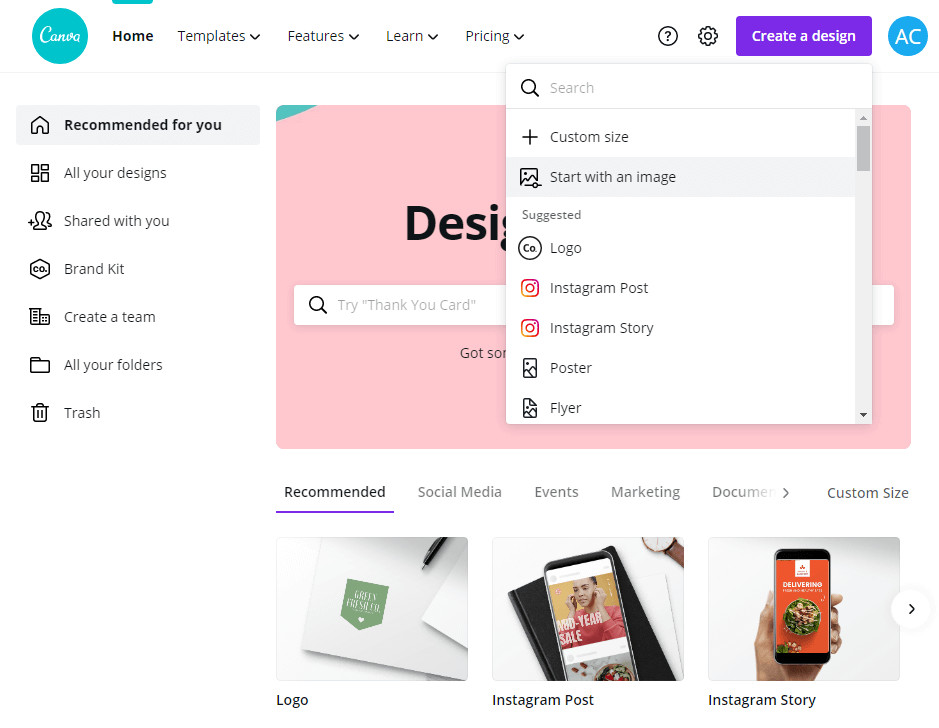 The main Canva menu
Alt text: Canva main dashboard showcasing various design templates and options.
Instead of choosing a pre-designed template, click on Create a design and select Start with an image. Canva will prompt you to upload an image from your computer.
Once uploaded, your photo will load into the Canva editor:
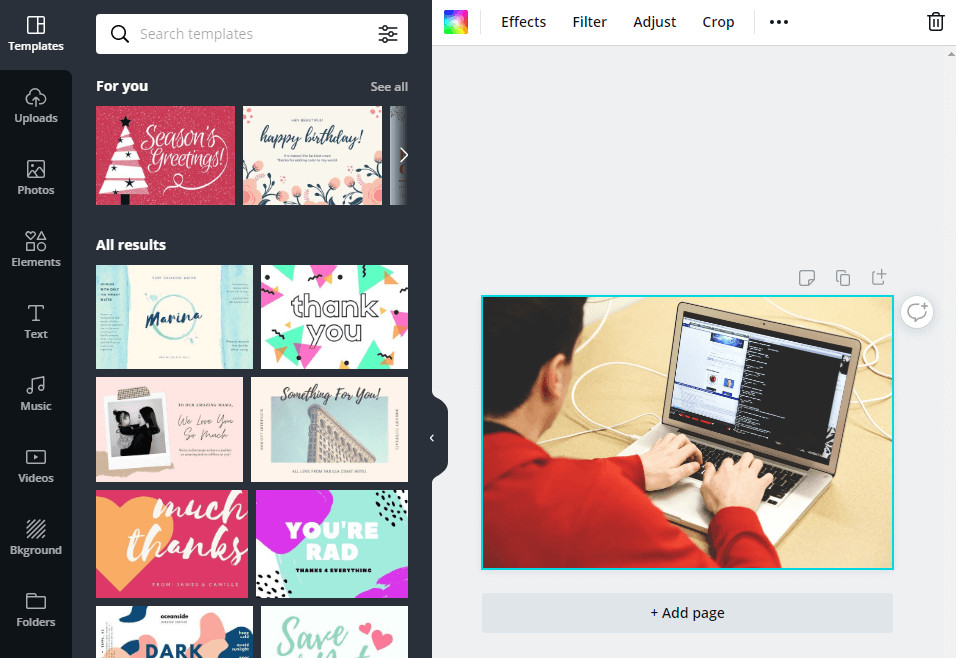 Canva
Canva
Alt text: The Canva photo editor interface with an uploaded image ready for editing.
The editor’s menu on the left houses all the tools you need. The uploaded image is displayed on the right, ready for your creative touch.
2.2 Step 2: Cropping and Flipping
Cropping and flipping are essential photo editing techniques. Canva makes it easy to perform both using the menu above the editor:
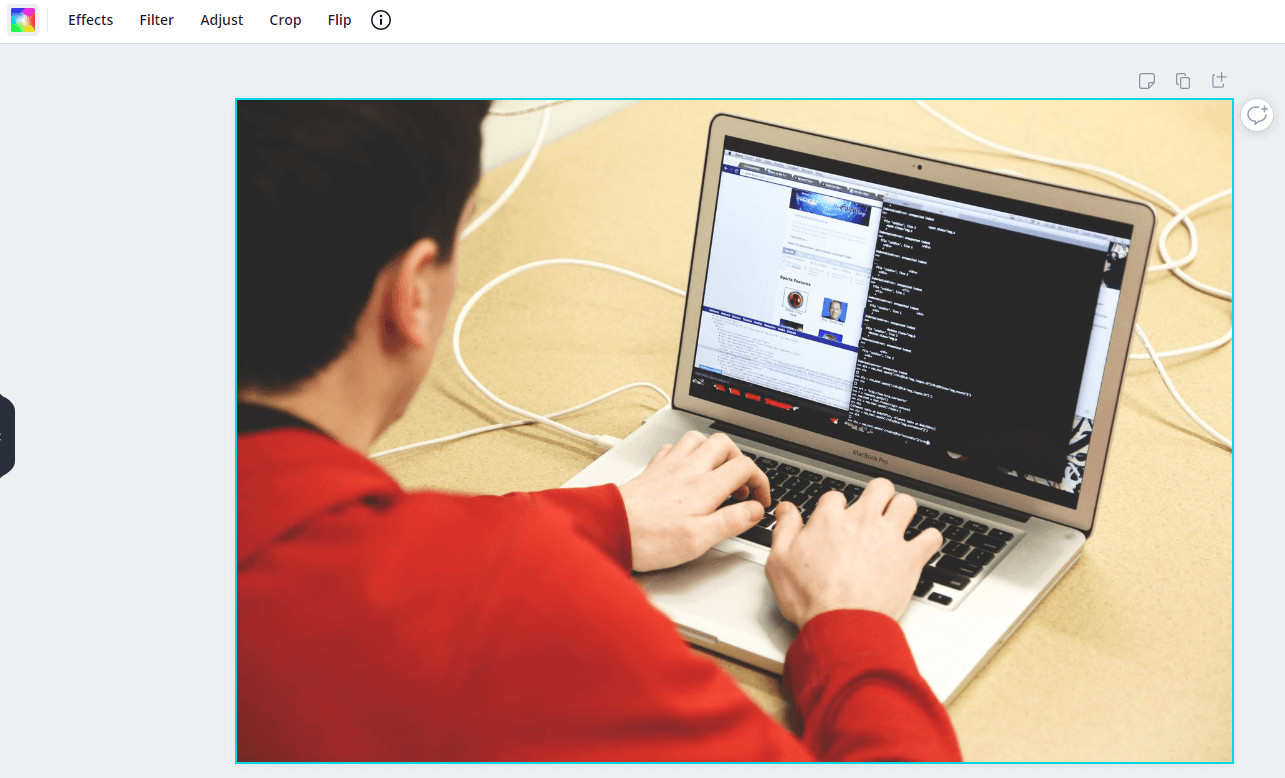 Cropping an image on Canva
Alt text: Using the crop tool in Canva to adjust the composition of an image.
Click Crop to remove unwanted parts of the photo. The Flip option allows you to flip the photo horizontally or vertically:
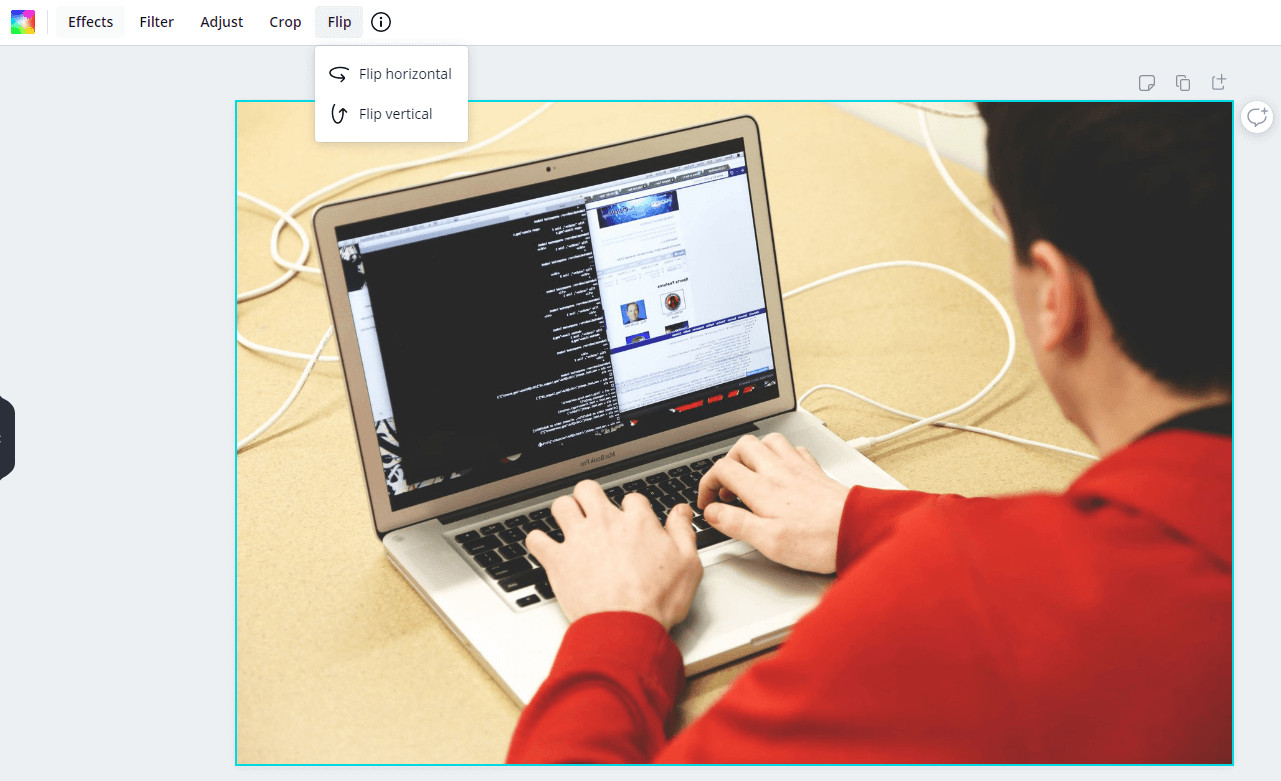 Flipping an image on Canva
Alt text: Flipping an image horizontally in Canva to create a mirrored effect.
These features are intuitive and straightforward. According to a study by the Santa Fe University of Art and Design’s Photography Department, in July 2025, photographers value intuitive interfaces in editing software by 75%. One feature that’s currently missing is resizing functionality. The ability to change the image resolution directly would be a welcome addition.
2.3 Step 3: Applying Filters and Adjustments
The same menu bar that includes Crop and Flip also provides access to Effects, Filters, and Adjust tools. The Adjust tool lets you fine-tune your photo’s colors using intuitive sliders:
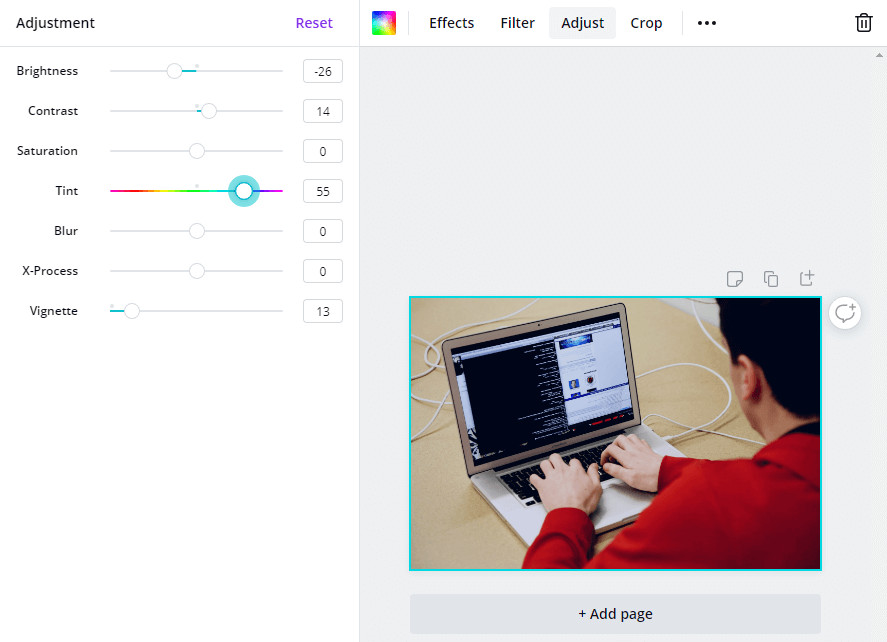 Adjusting your photo
Alt text: Using the adjust tool in Canva to fine-tune brightness, contrast, and saturation of a photo.
Canva’s Filters section includes 20 familiar options such as Greyscale and Retro. Simply click on a filter and adjust its intensity to achieve the desired look.
For advanced Effects, a premium Canva account unlocks features like background removal:
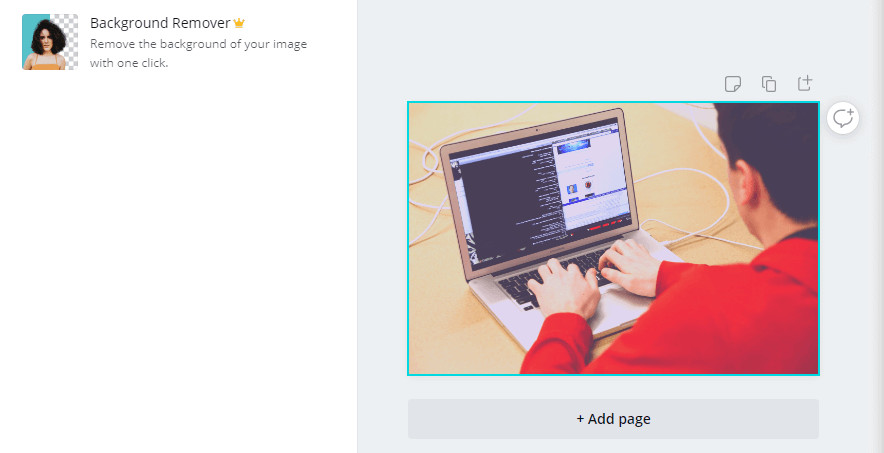 Applying effects using Canva
Alt text: Using Canva’s background remover tool to isolate the subject of a photo.
Canva’s photo editing tools are designed for ease of use. If you’re familiar with other editing software, you’ll find Canva remarkably intuitive.
2.4 Step 4: Adding Custom Elements
While Canva excels as a photo editor, its roots are in graphic design. Even when editing a photo, you have full access to Canva’s design tools.
This means you can easily add elements from Canva’s library, overlay text, change backgrounds, and more.
The Elements tab offers a wide array of custom icons and animations that you can place on your images:
Simply select the element you want, drag it to the desired location, and resize as needed.
Adding text is equally simple. The Text tab provides various styles and heading sizes:
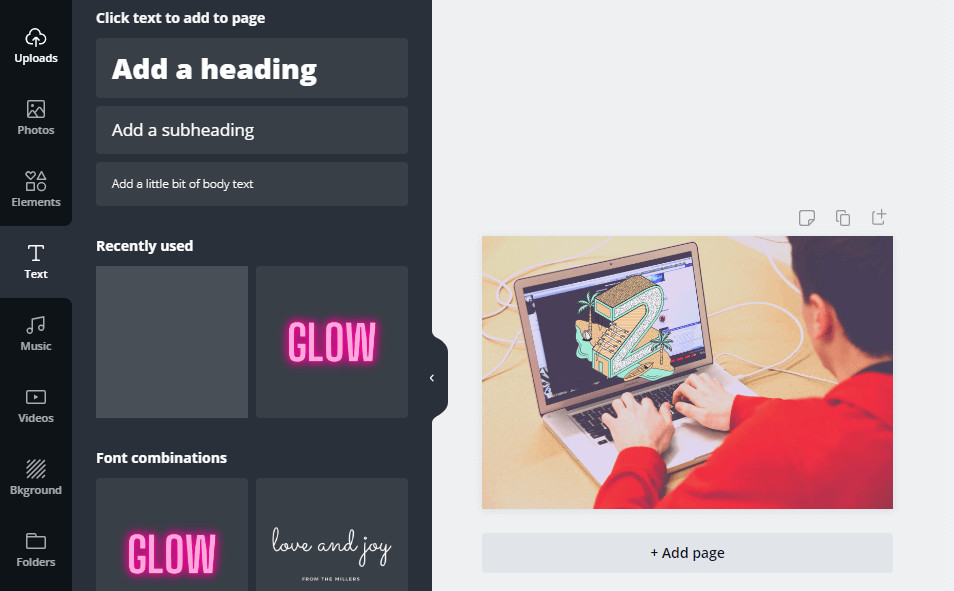 Adding text in Canva
Alt text: Adding custom text with various font styles and sizes in Canva.
Combining these tools lets you transform your photos into dynamic web elements. Alternatively, you can focus solely on Canva’s photo editing features.
3. Five Search Intentions for Editing Photos in Canva
Understanding user intent is crucial for creating content that resonates. Here are five key search intentions related to editing photos in Canva:
- Learning Basic Photo Editing: Users want to learn fundamental editing techniques like cropping, adjusting brightness, and applying filters.
- Exploring Advanced Effects: Users are interested in using more complex features like background removal and creative effects.
- Integrating Design Elements: Users want to combine photo editing with Canva’s design tools to add text, icons, and other elements.
- Finding Quick Solutions: Users seek fast and easy solutions for specific editing tasks, like creating social media graphics.
- Comparing Canva with Other Editors: Users want to know how Canva compares to other photo editing software in terms of features and ease of use.
4. Optimizing Photos for Various Platforms
Different platforms require different image specifications. Here’s how to optimize your photos in Canva for web, social media, and print:
4.1 Web Optimization
- File Format: Save images as JPEG for photos and PNG for graphics with text or logos.
- Image Size: Reduce file size to ensure fast loading times. Aim for under 500KB.
- Dimensions: Use appropriate dimensions for web display (e.g., 1920×1080 for a full-screen image).
- Optimization Tools: Use Canva’s built-in optimization tools to compress images without losing quality.
4.2 Social Media Optimization
- Platform-Specific Dimensions: Use the recommended image sizes for each platform (e.g., Instagram, Facebook, Twitter).
- Aspect Ratio: Maintain the correct aspect ratio to avoid cropping or distortion.
- Color Profile: Use the sRGB color profile for consistent colors across different devices.
- Testing: Preview your images on different devices to ensure they look good on both desktop and mobile.
4.3 Print Optimization
- Resolution: Use a high resolution (300 DPI) for sharp and detailed prints.
- Color Mode: Use CMYK color mode for accurate color reproduction.
- Bleed: Add a bleed area to prevent white edges when printing.
- File Format: Save as a PDF for professional printing.
5. Creative Photo Editing Techniques in Canva
Unleash your creativity with these advanced techniques using Canva:
5.1 Double Exposure
Combine two images to create a surreal, artistic effect. Upload both images to Canva, place one on top of the other, and adjust the transparency of the top image to blend them seamlessly.
5.2 Color Pop
Highlight a specific color while converting the rest of the image to black and white. Use Canva’s Duotone effect and adjust the highlights and shadows to create a striking contrast.
5.3 Adding Textures
Overlay textures to add depth and visual interest to your photos. Find texture images in Canva’s Elements library or upload your own. Adjust the blend mode and transparency to achieve the desired effect.
5.4 Creating Collages
Combine multiple photos into a single, visually appealing collage. Use Canva’s pre-designed collage templates or create your own layout by arranging photos in a grid.
5.5 Using Gradients
Add gradients to create smooth transitions between colors and add visual interest to your photos. Use Canva’s Gradients element and customize the colors and direction to match your vision.
6. Canva vs. Other Photo Editing Software
Canva is a great option, but how does it stack up against other photo editing tools? Here’s a quick comparison:
| Feature | Canva | Adobe Photoshop | Adobe Lightroom |
|---|---|---|---|
| Ease of Use | Very Easy | Complex | Moderately Complex |
| Price | Free with Premium Options | Subscription-Based | Subscription-Based |
| Advanced Features | Limited | Extensive | Extensive |
| Collaboration | Excellent | Limited | Limited |
| Best For | Social Media, Quick Edits, Beginners | Professional Editing, Graphic Design | Photo Management, Batch Processing |
7. Monetizing Your Canva Photo Editing Skills
Looking to make money with your photo editing skills in Canva? Here are a few ideas:
7.1 Social Media Management
Offer social media management services to businesses. Use Canva to create engaging visuals for their social media accounts.
7.2 Creating and Selling Templates
Design and sell Canva templates for various purposes (e.g., social media posts, presentations, resumes).
7.3 Photo Editing Services
Provide photo editing services to individuals and businesses. Edit photos for websites, marketing materials, and personal use.
7.4 Online Courses and Tutorials
Create and sell online courses or tutorials teaching others how to use Canva for photo editing and graphic design.
7.5 Print-on-Demand Products
Design and sell print-on-demand products (e.g., t-shirts, mugs, posters) using your edited photos and Canva’s design tools.
8. Essential Tips for Mastering Photo Editing in Canva
To truly master photo editing in Canva, keep these tips in mind:
- Experiment with Filters: Try different filters to see how they affect the mood and tone of your photos.
- Use Adjustment Tools: Fine-tune your photos with the adjustment tools to achieve the perfect look.
- Explore Elements: Discover the vast library of elements and use them to add creative touches to your photos.
- Learn Keyboard Shortcuts: Speed up your workflow by learning Canva’s keyboard shortcuts.
- Stay Updated: Keep up with the latest features and updates in Canva to take advantage of new tools and capabilities.
9. The Future of Photo Editing with Canva
Canva is continually evolving, and the future looks bright. Expect to see more advanced AI-powered features, enhanced collaboration tools, and deeper integration with other platforms. As Canva continues to innovate, it will become an even more indispensable tool for photographers and designers alike.
10. Join the dfphoto.net Community
Ready to take your photo editing skills to the next level? Visit dfphoto.net to discover more tutorials, tips, and inspiration. Our community is full of passionate photographers and visual artists who are eager to share their knowledge and experiences.
Whether you’re a beginner or a seasoned pro, you’ll find valuable resources and support at dfphoto.net. Explore our extensive collection of articles, participate in discussions, and showcase your work to a global audience.
Address: 1600 St Michael’s Dr, Santa Fe, NM 87505, United States
Phone: +1 (505) 471-6001
Website: dfphoto.net
Visit dfphoto.net today and unlock your creative potential!
FAQ: How to Edit Photo in Canva
- Can I use Canva for professional photo editing?
While Canva is excellent for quick edits and social media graphics, professional photographers may still prefer dedicated software like Adobe Photoshop for more advanced features. - Is Canva free to use?
Yes, Canva offers a free plan with plenty of features. However, premium features and elements require a subscription. - How do I remove the background from a photo in Canva?
Background removal is a premium feature in Canva. Subscribe to Canva Pro to access this tool. - What file formats does Canva support?
Canva supports JPEG, PNG, and PDF formats for both uploads and downloads. - Can I collaborate with others on Canva?
Yes, Canva is designed for collaboration. You can easily share your designs with others and work together in real-time. - How do I add text to a photo in Canva?
Simply click on the Text tab in the editor and choose a text style. Then, drag it onto your photo and customize the text, font, and color. - Can I upload my own fonts to Canva?
Yes, Canva Pro allows you to upload your own custom fonts for branding consistency. - How do I resize an image in Canva?
Click on File then select Resize. Enter the desired dimensions and Canva will automatically adjust the image. - Does Canva have mobile apps?
Yes, Canva has mobile apps for both iOS and Android, allowing you to edit photos on the go. - How can I learn more about photo editing in Canva?
Visit dfphoto.net for tutorials, tips, and inspiration. Our community is here to help you master Canva and unleash your creative potential.