Creating a clean, professional look for your images often requires a white background. This guide provides two effective methods for achieving this: using an online background remover and leveraging the power of Photoshop. Learn how to easily change photo background to white, regardless of your skill level.
Online Background Remover: A Quick and Easy Solution
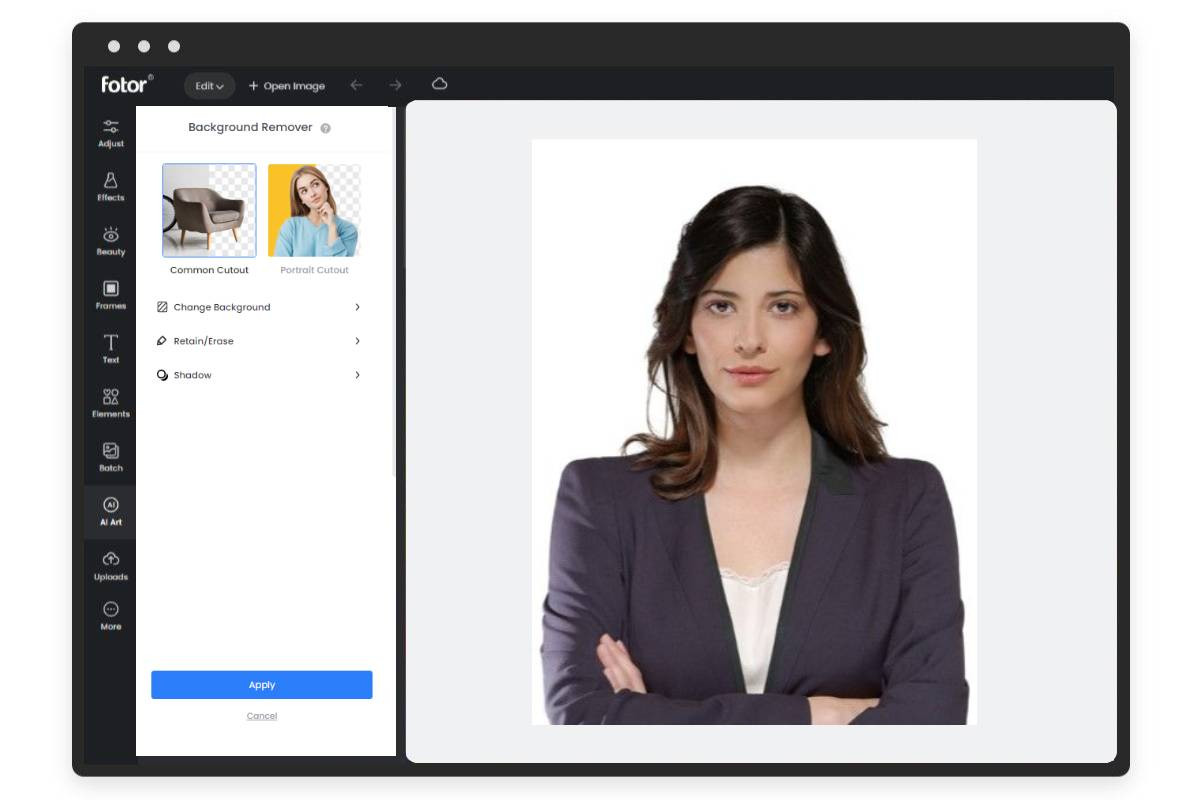
Online background removers, like Fotor, utilize AI technology to automatically identify and remove backgrounds, producing transparent PNG images. This process simplifies adding a white background significantly.
Here’s a step-by-step guide on how to use an online background remover:
- Upload Your Image: Open the online background remover tool and upload the image you want to edit. Most tools support drag-and-drop functionality for added convenience.
- Automatic Background Removal: The AI will automatically detect and remove the existing background, leaving you with a transparent image. This usually takes only a few seconds.
- Change Background to White: Select the option to change the background and choose white as your new background color. Many tools offer a preview feature, allowing you to see the results before finalizing.
- Download Your Image: Download the edited image in PNG format to preserve the white background. This format supports transparency, ensuring a clean and professional result.
 three different sizes female id photos with white background
Photoshop: Precise Control for Professional Results
Photoshop offers more advanced features and precise control for editing photo backgrounds. While requiring more skill, it provides greater flexibility for complex images.
Here’s how to change a photo background to white in Photoshop:
- Open Your Image: Launch Photoshop and open the image you want to edit.
- Select the Background: Utilize selection tools like the Magic Wand or Quick Selection tool to isolate the background. For intricate details, the Pen tool might be necessary. Refine your selection for accuracy.
- Remove the Background: After selecting the background, press the Delete key to remove it. This creates a transparent area.
- Create a New Layer: Add a new layer below your main image layer. This will serve as the white background.
- Fill with White: Select the Paint Bucket tool, choose white as your color, and click on the new layer to fill it with white.
- Save Your Image: Save your image as a PNG or JPEG. PNG is recommended for preserving transparency, while JPEG offers smaller file sizes.
Why Choose a White Background?
A white background offers several benefits:
- Emphasis on the Subject: Eliminates distractions and draws attention to the main subject.
- Professional Appearance: Creates a clean and polished look, ideal for product photography, e-commerce, and professional portraits.
- Versatility: Suitable for various applications, from website banners to social media posts.
- Easy Editing: Simplifies further image manipulation and integration into different designs.
Conclusion
Whether you need a quick solution or require more precise control, there’s a method for efficiently changing your photo background to white. Online tools offer speed and simplicity, while Photoshop provides advanced capabilities for professional-level editing. Choose the method that best suits your needs and skill level to achieve the desired results.
