Live Photos on iPhone offer a fantastic way to capture moments beyond just a still image. They record a short video clip, capturing motion and sound, bringing your photos to life. But did you know you can also edit these dynamic photos to make them even more captivating? This guide will walk you through everything you need to know about how to edit Live Photos on your iPhone, from changing the key photo to adding fun effects and making basic adjustments.
Understanding Live Photos
Before we dive into editing, let’s quickly understand what Live Photos are. When you take a Live Photo, your iPhone camera records what happens 1.5 seconds before and 1.5 seconds after you press the shutter button. This results in a short, moving image with sound, adding depth and dynamism to your memories.
Taking a Live Photo on iPhone
First things first, let’s ensure you know how to capture these vibrant photos:
-
Open the Camera App: Launch the default Camera application on your iPhone.
-
Select Photo Mode and Activate Live Photos: Ensure your camera is set to Photo mode. Look for the Live Photos icon at the top right of your screen. It looks like a series of concentric circles. If it’s not highlighted or has a slash through it, tap it to turn Live Photos ON. When active, the icon will usually be yellow or highlighted.
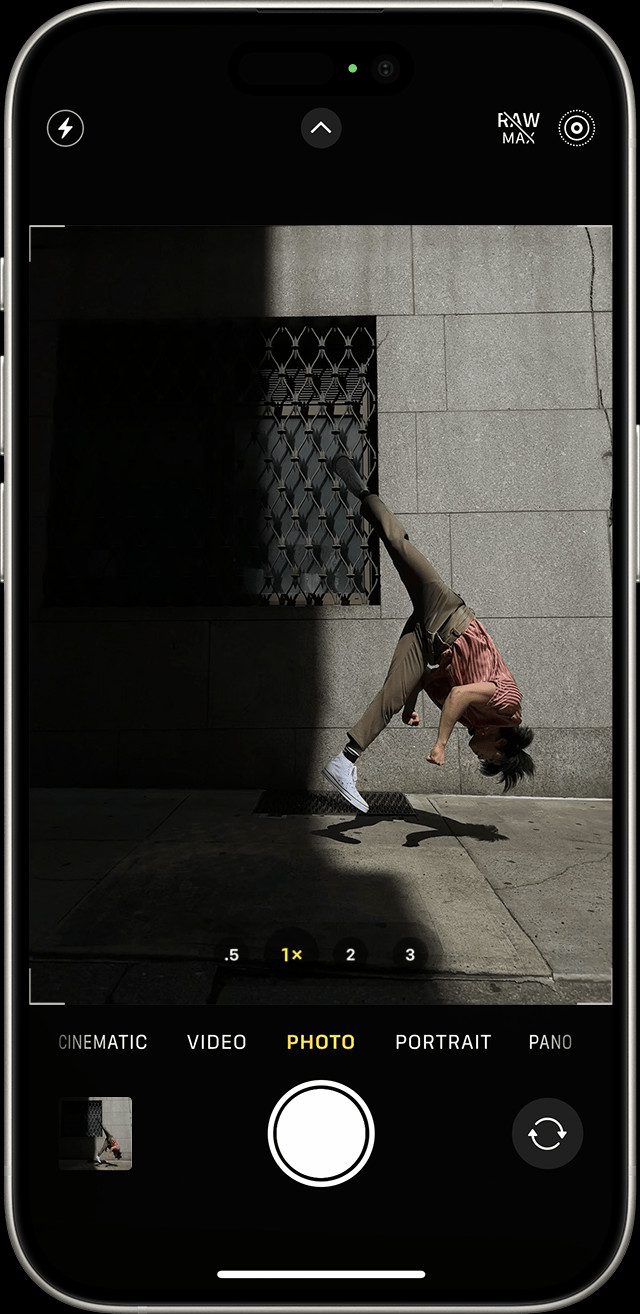 Live Photos icon activated in the iPhone Camera app
Image: The Live Photos icon highlighted in the iPhone Camera app, indicating the feature is active and ready to capture motion.
-
Hold Steady: Keep your iPhone as still as possible when taking the photo to minimize blur in the Live Photo.
-
Press the Shutter Button: Capture your photo as you normally would by tapping the shutter button.
Live Photos is often enabled by default, so you might already be taking them! You can choose to disable Live Photos temporarily or permanently if you prefer.
Finding and Playing Your Live Photos
Once you’ve captured some Live Photos, here’s how to find and view them:
-
Open the Photos App: Go to the Photos application on your iPhone.
-
Navigate to the Live Photos Album: Scroll down in the Albums tab until you find the Media Types section. Tap on Live Photos. This album specifically contains all the Live Photos you’ve taken.
 Accessing the Live Photos album within the Photos app on iPhone
Image: The path to the Live Photos album in the iPhone Photos app, demonstrating how to locate all captured Live Photos.
-
Open a Live Photo: Tap on any photo in the Live Photos album to open it.
-
Play the Live Motion: To see the Live Photo in motion, press and hold on the screen. Releasing your finger will stop the playback.
Editing Your Live Photos: Key Photo, Effects, and Adjustments
Now for the exciting part – editing your Live Photos! iPhone offers several editing options to enhance your Live Photos directly within the Photos app.
Changing the Key Photo
The “key photo” is the still image that represents your Live Photo. You can change this to a different frame from the captured motion:
-
Open and Edit: Open the Live Photo you want to edit and tap Edit in the top right corner.
-
Access Live Photo Options: Tap the Live Photos icon (the concentric circles) in the edit menu.
Image: The Live Photos icon within the edit interface of the Photos app, used to adjust key photo and apply effects.
-
Select a New Key Photo: A frame slider will appear below the photo. Drag the slider to the left or right to browse through the different frames of your Live Photo.
-
Make Key Photo: Once you find the frame you want to use as the key photo, release your finger and tap Make Key Photo.
-
Complete Editing: Tap Done to save your changes.
You can also toggle the Live Photo effect on or off while editing. In the edit screen, tapping the LIVE button at the top will disable or re-enable the Live Photo motion effect.
Adding Fun Live Photo Effects
iPhone provides built-in effects to transform your Live Photos into creative animations:
- Open Your Live Photo: Open the Live Photo you wish to enhance.
- Access Effects Menu: Tap the Live Photos icon (concentric circles) located near the top left of the screen while viewing the photo (not in edit mode).
- Choose an Effect: Select from the following effects:
- Loop: Turns your Live Photo into a repeating video loop, continuously playing forward. Great for capturing ongoing motion.
- Bounce: Creates a back-and-forth animation. Your Live Photo plays forward and then immediately reverses, creating a “bouncing” effect.
- Long Exposure: Simulates a long exposure effect, similar to what you can achieve with a DSLR camera. This effect blurs motion, ideal for waterfalls, light trails, or making water appear silky smooth.
Making Basic Photo Adjustments
Beyond Live Photo specific edits, you can also apply standard photo editing adjustments to your Live Photos, just like you would with still images.
-
Enter Edit Mode: Open the Live Photo and tap Edit.
-
Access Adjustment Tools: You’ll see standard editing tools like Adjust, Filters, and Crop. Tap Adjust (the dial icon) to access tools for:
- Exposure: Brighten or darken the photo.
- Contrast: Adjust the difference between light and dark areas.
- Highlights & Shadows: Fine-tune the brightness of highlights and shadows separately.
- Saturation: Control the intensity of colors.
- Vibrance: Intelligently boost muted colors without over-saturating already vibrant ones.
- Warmth: Adjust the color temperature to make the photo warmer or cooler.
- Tint: Correct color casts or add a creative tint.
- Sharpness: Enhance details and edges.
- Noise Reduction: Reduce graininess or noise, especially in low-light photos.
- Vignette: Add a darkening effect around the edges of the photo.
Image: The edit icon used to access standard photo adjustment tools within the iPhone Photos app for fine-tuning image properties.
-
Apply Adjustments: Use the sliders to adjust each setting to your liking. You can tap on each adjustment name to cycle through different aspects within that category (e.g., within “Color” you can adjust Saturation, Vibrance, and Contrast).
-
Apply Filters: Tap Filters to apply pre-set color styles to your Live Photo.
-
Crop and Straighten: Use the Crop tool to adjust the composition, straighten the horizon, or change the aspect ratio.
-
Save Your Edits: Once you’re satisfied with your edits, tap Done.
Note: If you edit your Live Photo using a third-party app, you might lose the Live Photo effects you’ve applied within the Photos app.
Sharing Your Edited Live Photos
Sharing your Live Photos is a great way to let others experience these dynamic images.
- Select and Share: Open the Live Photo you want to share and tap the Share button (the upward-pointing arrow in the bottom left corner).
- Choose Share Options: Select how you want to share your photo from the share sheet. Options include Messages, Mail, social media apps, and more.
- Share as Still or Live: In some sharing options (like Mail), the Live Photo may be sent as a still image by default. If you want to share the full Live Photo, ensure the “Live Photo” option is selected (it might appear as “Live” in the upper-left corner before sharing).
When you share via Messages to other iPhone or iPad users, they will receive the Live Photo and can view the motion by pressing and holding on the photo. On a Mac using Messages, double-clicking the Live Photo will play it once, and clicking the “LIVE” button in the bottom-left corner replays it.
Turning Off Live Photos (Temporarily and Permanently)
If you want to conserve storage space or prefer still photos, you can turn off Live Photos.
Temporary Disable:
- In the Camera app, simply tap the Live Photos icon. When a slash appears through the icon, Live Photos is temporarily disabled for your next photos. However, it will likely turn back on automatically the next time you open the Camera app.
Permanent Preference:
To keep Live Photos turned off even after closing and reopening the Camera app:
- Open Settings: Go to the Settings app on your iPhone.
- Navigate to Camera Settings: Scroll down and tap on Camera.
- Preserve Settings: Tap on Preserve Settings.
- Enable Live Photo Preservation: Make sure the toggle next to Live Photo is turned ON (green).
With “Preserve Settings” enabled for Live Photo, your iPhone will remember your last Live Photo setting (on or off) and maintain it each time you open the Camera app.
Conclusion
Editing Live Photos on your iPhone is a simple yet powerful way to enhance your memories and add creative flair. From choosing the perfect key photo and applying dynamic effects to fine-tuning basic image adjustments, you have a range of tools at your fingertips to make your Live Photos truly stand out. Experiment with these editing techniques to unlock the full potential of Live Photos and bring your iPhone photography to the next level!