Live Photos on your iPhone bring your pictures to life by capturing a few seconds of motion and sound before and after the shot. This feature adds a dynamic element to your memories, turning still images into mini-moments you can relive. But beyond just capturing these live moments, did you know you can also edit them to enhance their appeal and make them even more engaging?
This comprehensive guide will walk you through everything you need to know about editing Live Photos on your iPhone, from changing the key photo to adding fun effects and more. Whether you’re looking to perfect a family portrait, create captivating social media content, or simply explore the creative possibilities, mastering Live Photo editing will unlock a new dimension to your iPhone photography.
Understanding Live Photos and Their Potential
Before diving into editing, let’s quickly recap what Live Photos are and why they are a fantastic feature to utilize. When enabled, your iPhone camera records what happens 1.5 seconds before and after you press the shutter button. This results in a short, moving image with sound, offering a richer and more immersive experience than a standard still photo.
Live Photos are more than just short videos; they are a unique format that Apple has integrated deeply into iOS. This integration allows for specific editing capabilities designed to enhance these dynamic images, setting them apart from simple video clips.
How to Take a Live Photo: Ensuring You Capture the Moment
First things first, let’s ensure you know how to capture these dynamic photos. Taking a Live Photo is as simple as taking a regular photo, but with one setting enabled.
-
Open the Camera app on your iPhone.
-
Verify Photo Mode is Active: Ensure your camera is set to photo mode, not video or other modes. You’ll typically see “PHOTO” highlighted at the bottom of the viewfinder.
-
Check the Live Photos Button: Look for the Live Photo icon at the top right of your screen. It looks like a series of concentric circles. If it’s yellow, Live Photos is on. If it’s white with a slash through it, tap it to turn Live Photos on.
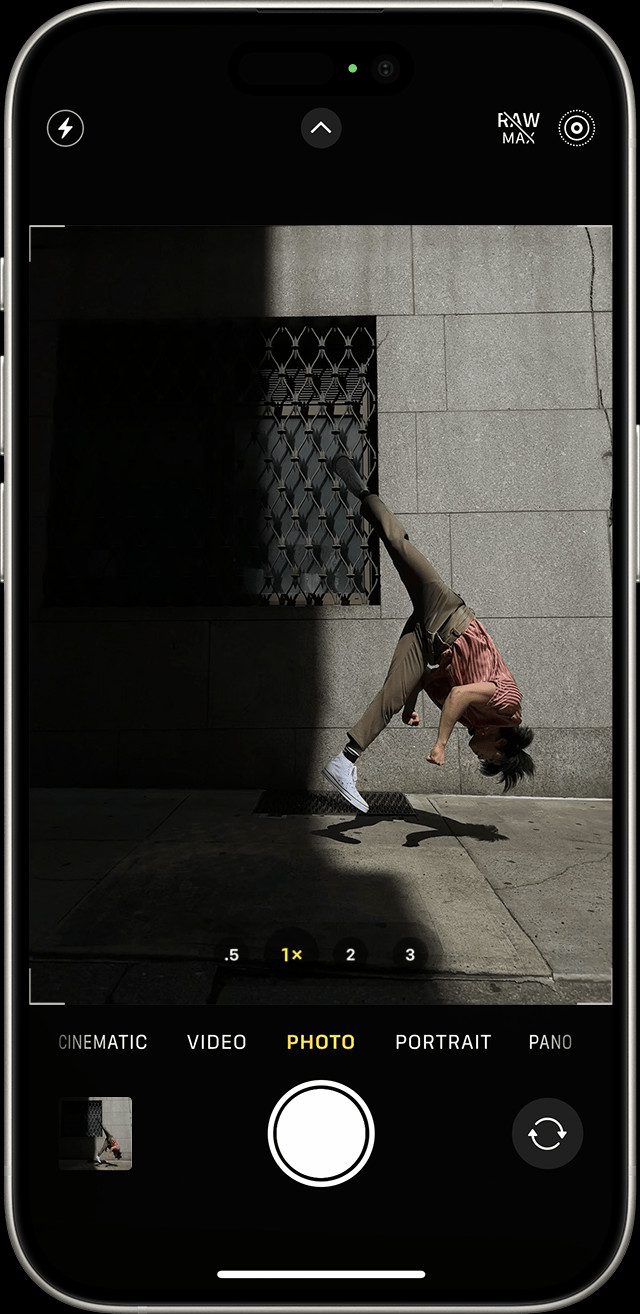 iPhone Camera app interface with the Live Photos button highlighted as active.
This is how the Live Photos button appears when activated in the iPhone Camera app. Make sure it’s enabled to capture motion and sound with your photos.
-
Hold Still: Keep your iPhone steady, especially in the moments leading up to and immediately after pressing the shutter. This will ensure a smooth Live Photo.
-
Tap the Shutter Button: Press the white circle button at the bottom center of your screen to take your Live Photo.
By default, Live Photos is often enabled, so you might already be capturing them. If you need to conserve storage or prefer still images, you can easily toggle Live Photos off using the button in the Camera app.
Finding and Playing Your Live Photos: Relive the Motion
Once you’ve captured some Live Photos, you’ll want to find and view them in your Photos app.
-
Open the Photos app on your iPhone.
-
Navigate to the “Albums” tab at the bottom of the screen.
-
Scroll down to “Media Types” and tap on “Live Photos”. This album automatically collects all your Live Photos in one place.
 Finding the Live Photos album within the Media Types section of the Photos app on iPhone.
The Live Photos album in the Photos app is your dedicated space to find and manage all your dynamic images.
-
Tap a Live Photo to open it in full screen.
-
Press and Hold: Firmly press and hold anywhere on the photo to play the Live Photo animation with its captured motion and sound. Releasing your finger will revert it to a still image.
Editing Your Live Photos: Taking Control of Your Dynamic Images
Now for the exciting part: editing! iPhone offers a range of editing options specifically for Live Photos, allowing you to refine and enhance these moving moments.
Changing the Key Photo: Selecting the Perfect Still Frame
The “key photo” is the still image that represents your Live Photo when it’s not playing. Sometimes, the automatically selected key photo isn’t the best frame. You can easily change it.
-
Open the Live Photo you want to edit in the Photos app.
-
Tap “Edit” in the top right corner.
-
Tap the Live Photos button (concentric circles icon) at the bottom of the editing interface.
This icon is your gateway to adjusting key photos and applying Live Photo effects.
-
Use the Slider: A filmstrip of frames from your Live Photo will appear below the image. Drag the white slider left or right to browse through each frame of the Live Photo.
-
Choose Your Frame and Set as Key Photo: Stop the slider on the frame you want to use as the new key photo. Release your finger and then tap “Make Key Photo”.
-
Tap “Done” to save your changes.
You can also toggle the Live Photo effect on and off while editing. Tapping the “LIVE” button at the top of the screen will switch between showing the still key photo and enabling the Live Photo animation.
Adding Fun Live Photo Effects: Loop, Bounce, and Long Exposure
Beyond just changing the key photo, you can apply creative effects to your Live Photos to transform them in fun and interesting ways. iPhone offers three main Live Photo effects: Loop, Bounce, and Long Exposure.
-
Open the Live Photo you wish to modify.
-
Swipe up on the Live Photo to reveal the effects menu, or tap the Live Photos button (concentric circles icon) near the top left of the screen.
-
Choose an effect: You’ll see three options: Loop, Bounce, and Long Exposure.
- Loop: Transforms your Live Photo into a repeating video loop, playing continuously. This is great for capturing ongoing motion like waves or a spinning object.
- Bounce: Creates a back-and-forth animation, playing your Live Photo forward and then instantly in reverse, like a boomerang effect. Fun for actions with a clear start and end.
- Long Exposure: Simulates a long exposure effect, blurring motion and creating artistic effects, especially with light and water. Ideal for waterfalls, light trails, or fireworks.
Explore these effects to add a unique twist to your Live Photos and create visually striking results.
Experiment with each effect to see how it changes your Live Photo. “Loop” and “Bounce” are fantastic for adding playful movement, while “Long Exposure” can create dramatic and artistic results.
Standard Photo Edits for Live Photos: Enhancing Visuals
Just like regular photos, you can also apply standard editing adjustments to your Live Photos to improve their overall look.
-
Open the Live Photo you want to refine.
-
Tap “Edit”.
-
You’ll see the standard iPhone photo editing tools at the bottom: Adjust, Filters, Crop, etc.
This icon leads to a suite of editing tools you can use to fine-tune the visual aspects of your Live Photos.
-
Make your adjustments: Tap “Adjust” to fine-tune aspects like brightness, contrast, saturation, and more. You can also apply filters, crop, adjust perspective, and use other editing tools just as you would with a still photo.
-
Tap “Done” to save your edits.
Remember that while you can edit Live Photos in third-party apps, some of the Live Photo-specific effects (Loop, Bounce, Long Exposure) might be lost if you do so.
Sharing Your Live Photos: Bringing Moments to Others
Sharing your Live Photos allows others to experience the dynamic moments you’ve captured.
-
Open the Live Photo you want to share.
-
Tap the Share button (the square with an upward arrow) in the bottom left corner.
-
Choose your sharing method: You can share via Messages, Mail, social media, AirDrop, and more.
- Sharing as Still Photo: If you want to share only the still key photo and not the Live Photo animation, tap “Live” in the upper-left corner of the photo before sharing. This will convert it to a still image for sharing. Note that sharing via Mail will always send a still image, not the Live Photo animation.
When someone receives a Live Photo on their iPhone or iPad via Messages, they can tap the photo and then firmly press and hold to play the animation. On a Mac using Messages, double-clicking the Live Photo will play it once, and clicking the “LIVE” button in the bottom-left corner will replay it.
Turning Off Live Photos: When Still Images are Preferred
While Live Photos are a fantastic feature, there might be times when you prefer to take standard still photos, perhaps to save storage space or for specific photographic needs.
Temporary Turn Off:
- In the Camera app, simply tap the Live Photos button (concentric circles icon). When a slash appears through the icon, Live Photos is temporarily turned off for your current shooting session. However, it will likely turn back on automatically the next time you open the Camera app.
Permanent Preference (Keeping Live Photos Off):
If you want to consistently keep Live Photos turned off, you can adjust your settings:
- Open the Settings app on your iPhone.
- Scroll down and tap “Camera”.
- Tap “Preserve Settings”.
- Toggle the switch next to “Live Photo” to the “on” position (green).
With “Live Photo” under “Preserve Settings” enabled, your iPhone will remember your last Live Photo setting. If you turned it off, it will remain off until you manually turn it back on.
Conclusion: Unleash the Magic of Edited Live Photos
Live Photos offer a captivating way to capture and relive moments, and the editing capabilities on iPhone elevate this feature even further. From selecting the perfect key photo to adding creative effects and fine-tuning visuals, you have a powerful suite of tools at your fingertips to make your Live Photos truly shine.
Experiment with these editing techniques to bring your memories to life in exciting new ways. Whether you are a casual iPhone photographer or a budding creative, mastering Live Photo editing will undoubtedly enhance your mobile photography skills and allow you to capture and share moments that are more dynamic, engaging, and memorable.