Unlocking the magic of film photography involves mastering the art of post-processing. At dfphoto.net, we’re passionate about helping you transform your film scans into breathtaking images through effective editing techniques. This guide will walk you through the essential steps, from understanding lab scans to fine-tuning your photos for a professional finish, ensuring your images resonate with visual appeal, artistic expression, and photographic enhancement. Dive in to discover the best ways to refine your film photos and elevate your photography journey!
1. Understanding Film Development and Scanning
Is understanding the film development process crucial for effective photo editing? Absolutely! Understanding the nuances of film development and scanning is the cornerstone of effective film photo editing.
1.1 The Role of the Film Lab
A professional film lab is an essential partner in your film photography journey, offering expertise and technology you might not have access to at home. They handle the chemical development of your film, a process that brings the latent image captured on film to life. According to research from the Santa Fe University of Art and Design’s Photography Department, in July 2025, professional labs provide consistent and high-quality development, crucial for preserving the integrity of your images.
The lab also scans your negatives or slides, converting them into digital files you can edit. The quality of these scans significantly impacts the editing process. High-resolution scans capture more detail and offer greater flexibility in post-processing.
1.2 Choosing the Right Lab
Selecting a reliable film lab is a critical decision. Look for labs that:
- Offer high-resolution scanning.
- Provide consistent results.
- Allow you to communicate your preferences.
Labs like Richard Photo Lab and Photovision are well-regarded in the film photography community. Photovision, in particular, is known for its balance of quality, price, and speed.
1.3 Understanding Your Scans
When you receive your scans, take time to understand their characteristics. Note the color balance, contrast, and overall exposure. Are the colors accurate? Is the image too dark or too bright? Understanding these aspects will guide your editing decisions.
2. Setting Up Your Editing Workflow
What is the best way to set up an efficient film photo editing workflow? The best way to set up an efficient film photo editing workflow involves choosing the right software, calibrating your monitor, and establishing a consistent file management system.
2.1 Choosing Your Software
While Adobe Photoshop and Lightroom are industry standards, other options like Capture One and Affinity Photo offer powerful editing capabilities. Consider your budget, skill level, and specific needs when making your choice. Lightroom is favored for its organizational tools and non-destructive editing, while Photoshop excels in detailed retouching and manipulation.
**2.2 Calibrating Your Monitor
Ensuring your monitor displays accurate colors is paramount. Use a calibration tool like a colorimeter to create a custom profile for your monitor. This ensures that the colors you see on screen are true to the actual colors in your image, preventing unwanted surprises when printing or sharing your work online.
2.3 File Management
Establish a clear and consistent file management system. Create folders for each roll of film or shooting session. Use descriptive filenames that include the date, location, and a brief description of the content. This will save you time and frustration in the long run.
3. Essential Editing Techniques for Film Photos
What are some essential editing techniques for enhancing film photos? Essential editing techniques for enhancing film photos include basic adjustments, color correction, and creative enhancements to bring out the best in your images.
3.1 Basic Adjustments
Start with the basics:
- Exposure: Adjust the overall brightness of the image.
- Contrast: Modify the difference between the darkest and brightest areas.
- Highlights: Recover details in overexposed areas.
- Shadows: Brighten underexposed areas.
- Whites and Blacks: Set the white and black points to define the tonal range.
These adjustments lay the foundation for a well-balanced image.
3.2 Color Correction
Film often has a unique color palette. Use color correction tools to:
- Adjust White Balance: Correct any color casts (e.g., too warm or too cool).
- Hue, Saturation, and Luminance (HSL): Fine-tune individual colors.
- Color Grading: Add a specific color tone or mood to the image.
3.3 Sharpening and Noise Reduction
Film grain is a natural part of the film look, but excessive noise can be distracting. Apply subtle noise reduction to smooth out unwanted grain. Sharpening can enhance details, but use it sparingly to avoid creating artificial-looking edges.
3.4 Cropping and Straightening
Carefully crop your images to improve composition and remove distractions. Straighten any tilted horizons or architectural elements to create a more polished look.
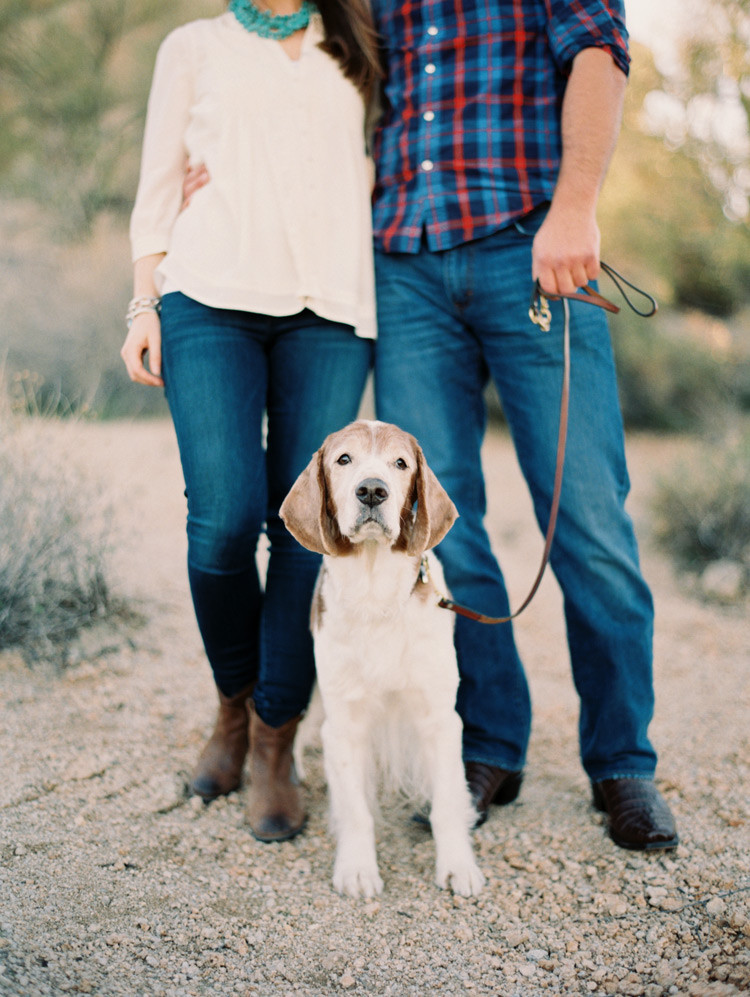 Film scans before and after editing, showcasing subtle adjustments for improved clarity and composition.
4. Advanced Editing Techniques for Film Photos
What advanced editing techniques can take my film photos to the next level? Advanced editing techniques such as split toning, dodging and burning, and using color profiles can significantly enhance film photos.
4.1 Split Toning
Split toning allows you to add different colors to the highlights and shadows, creating unique and stylized looks. Experiment with subtle color combinations to enhance the mood of your image. For example, adding a warm tone to the highlights and a cool tone to the shadows can create a vintage feel.
4.2 Dodging and Burning
Dodging and burning are traditional darkroom techniques that involve selectively lightening (dodging) or darkening (burning) specific areas of an image. In digital editing, you can achieve similar effects using adjustment brushes or layers with masks. This technique is useful for:
- Guiding the viewer’s eye.
- Creating depth and dimension.
- Enhancing contrast in specific areas.
4.3 Using Color Profiles
Color profiles mimic the look of specific film stocks. Some popular options include:
- Kodak Portra: Known for its natural skin tones and smooth gradients.
- Fuji Velvia: Offers vibrant colors and high contrast.
- Ilford HP5: Delivers classic black and white tones with fine grain.
These profiles can be applied as a starting point for your editing, providing a quick way to achieve a specific film aesthetic.
5. Maintaining the Film Look
How can I edit my film photos while still preserving their authentic film look? You can edit your film photos while preserving their authentic film look by embracing grain, respecting the tonal range, and avoiding excessive digital enhancements.
5.1 Embrace the Grain
Film grain is a defining characteristic of film photography. Instead of trying to eliminate it completely, embrace it as part of the image’s aesthetic. If necessary, add a touch of artificial grain to maintain consistency.
5.2 Respect the Tonal Range
Film has a unique way of rendering tones, with smooth transitions and subtle gradations. Avoid excessive contrast or harsh adjustments that can flatten the image and remove its natural depth.
5.3 Avoid Over-Editing
The goal is to enhance the image, not transform it beyond recognition. Avoid extreme adjustments or excessive retouching that can make the image look artificial. Less is often more when it comes to editing film photos.
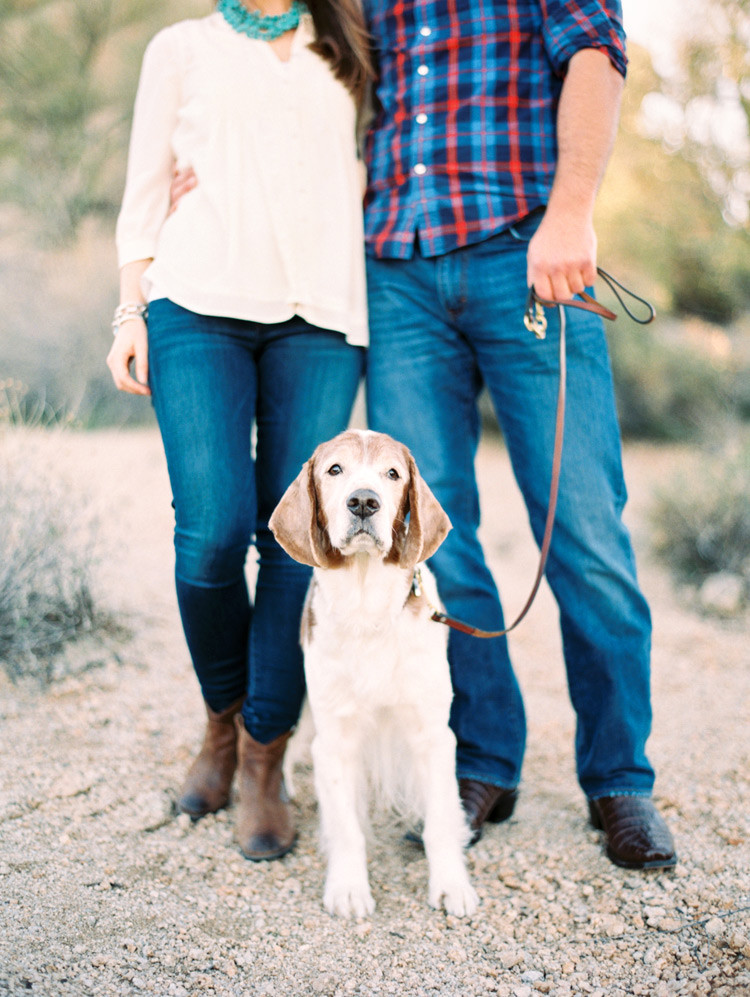 Film scans before and after editing, showing careful adjustments to preserve the film's natural aesthetic and character.
6. Editing Black and White Film Photos
What are some key considerations when editing black and white film photos? Key considerations when editing black and white film photos include tonal range, contrast, and detail to create striking and timeless images.
6.1 Tonal Range
Black and white photography relies heavily on tonal range to create depth and dimension. Pay close attention to the distribution of tones in your image, from the deepest blacks to the brightest whites. Aim for a balanced and harmonious tonal range that enhances the overall mood.
6.2 Contrast
Contrast is another critical element in black and white editing. Adjust the contrast to create a sense of drama and visual interest. However, be careful not to overdo it, as excessive contrast can lead to harsh and unpleasant results.
6.3 Detail and Clarity
Enhance the details and clarity in your black and white images to bring out their texture and character. Use sharpening tools to accentuate fine details, but avoid over-sharpening, which can create unwanted artifacts.
7. Addressing Common Issues in Film Scans
How do I address common issues like dust, scratches, and color casts in film scans? Address common issues like dust, scratches, and color casts in film scans by using specialized tools in your editing software and maintaining open communication with your film lab.
7.1 Dust and Scratches
Dust and scratches are common on film scans, especially if the negatives are old or poorly stored. Use the spot removal tool in your editing software to gently remove these imperfections. Be careful not to remove too much detail in the process.
7.2 Color Casts
Color casts can occur due to various factors, such as the film stock, the scanning process, or the lighting conditions. Use the white balance tool to correct any unwanted color casts and restore the image’s natural colors.
**7.3 Uneven Exposure
Uneven exposure can be caused by improper scanning or variations in film development. Use adjustment brushes or graduated filters to selectively brighten or darken specific areas of the image and even out the exposure.
8. Working with Your Film Lab for Optimal Results
How important is communication with my film lab in achieving the desired look for my edited photos? Communication with your film lab is very important in achieving the desired look for your edited photos because they are your partners in bringing your vision to life.
8.1 Communicating Your Preferences
Clearly communicate your preferences to your film lab regarding scanning and development. Let them know your desired color balance, contrast, and overall aesthetic. The more information you provide, the better they can tailor their services to meet your needs.
8.2 Seeking Feedback
Don’t hesitate to seek feedback from your lab if you’re unsure why your images look a certain way. They can offer valuable insights into the scanning and development process, helping you troubleshoot any issues and improve your results.
8.3 Building a Relationship
Build a strong relationship with your film lab by being open, honest, and communicative. Treat them as an extension of your team, and work together to achieve the best possible results for your film photography.
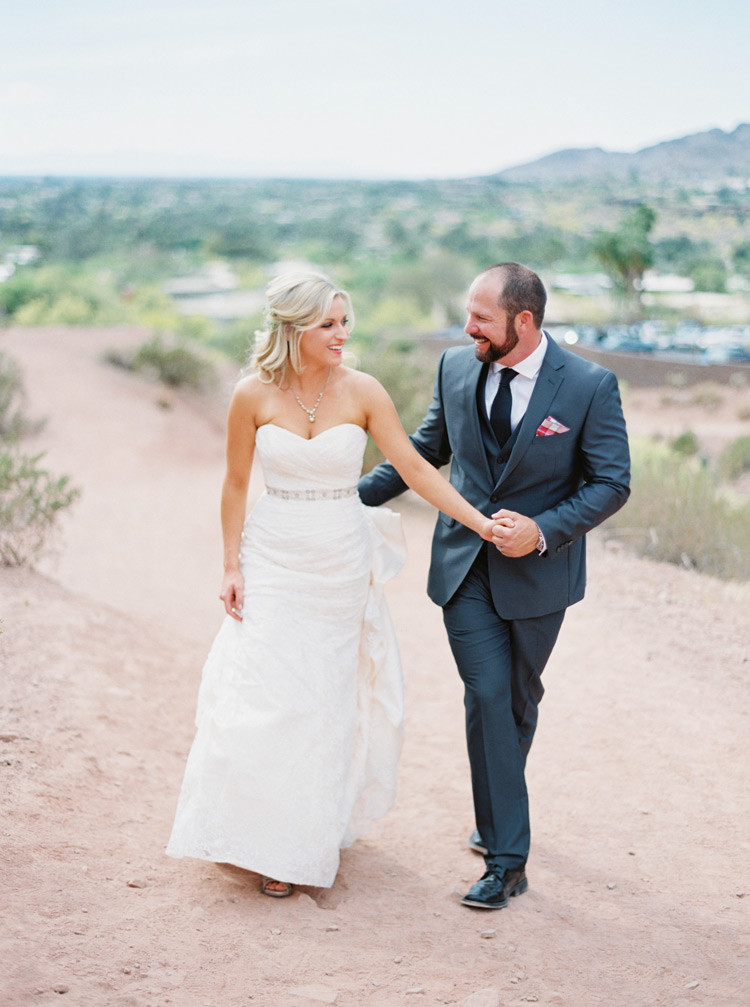 Film scans before and after editing, highlighting the impact of effective communication with the film lab to achieve optimal results.
9. Exporting Your Edited Film Photos
What are the best practices for exporting my edited film photos for different uses? The best practices for exporting your edited film photos for different uses include choosing the correct file format, resolution, and color space to ensure optimal quality.
9.1 File Format
Choose the appropriate file format based on how you intend to use the image:
- JPEG: Ideal for web use and social media due to its small file size.
- TIFF: Best for printing and archival purposes due to its lossless compression.
- PNG: Suitable for images with transparency or graphics.
9.2 Resolution
Set the resolution according to the intended use:
- Web: 72 dpi (dots per inch) is sufficient.
- Print: 300 dpi is recommended for high-quality prints.
9.3 Color Space
Choose the appropriate color space:
- sRGB: Standard color space for web use and most digital displays.
- Adobe RGB: Wider color gamut, ideal for printing and professional workflows.
10. Inspiration and Resources for Film Photo Editing
Where can I find inspiration and resources to improve my film photo editing skills? You can find inspiration and resources to improve your film photo editing skills by exploring online tutorials, workshops, and communities dedicated to film photography.
10.1 Online Tutorials and Workshops
Numerous online tutorials and workshops offer guidance on film photo editing. Platforms like YouTube, CreativeLive, and Skillshare provide a wealth of resources for photographers of all skill levels.
10.2 Film Photography Communities
Join online film photography communities to connect with other photographers, share your work, and learn from their experiences. Websites like Flickr, Lomography, and Reddit host active film photography communities where you can find inspiration and support.
10.3 Books and Magazines
Explore books and magazines dedicated to film photography to deepen your knowledge and gain new insights. Publications like “Popular Photography” and “British Journal of Photography” feature articles, interviews, and showcases of exceptional film photography.
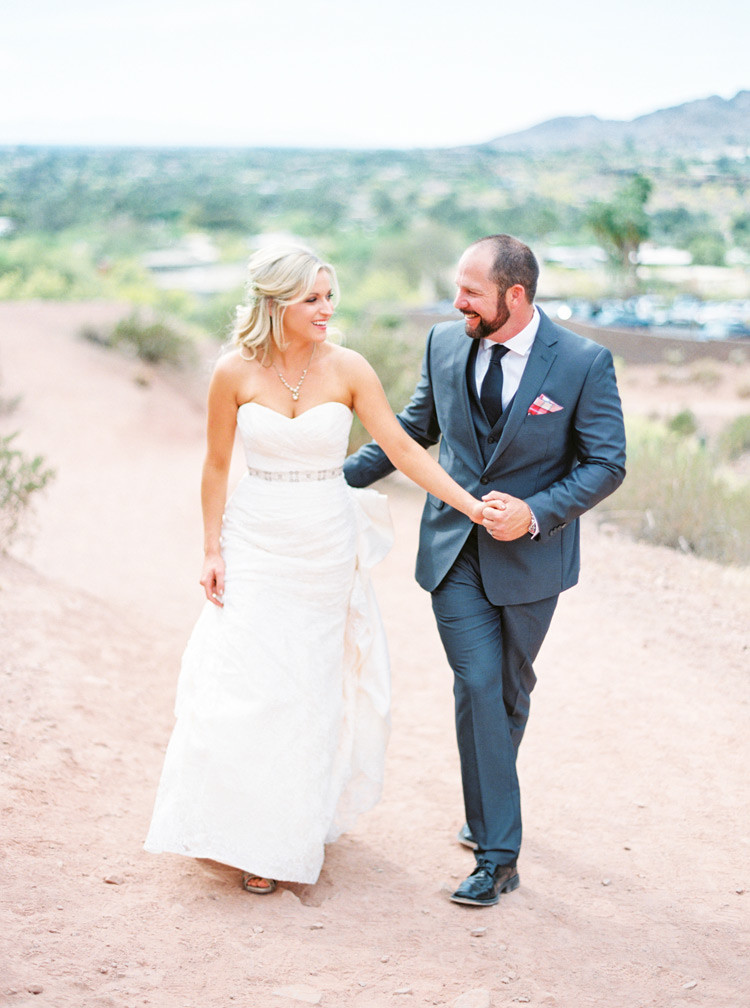 Film scans before and after editing, illustrating the impact of inspiration and continuous learning on improving film photo editing skills.
Ready to Dive Deeper?
At dfphoto.net, we’re passionate about helping you master the art of film photography. Explore our website for more in-depth tutorials, inspiring galleries, and a vibrant community of photographers just like you. Whether you’re looking to refine your editing skills, discover new techniques, or connect with fellow enthusiasts, dfphoto.net is your go-to resource.
Visit us at 1600 St Michael’s Dr, Santa Fe, NM 87505, United States, give us a call at +1 (505) 471-6001, or explore our website at dfphoto.net today and take your film photography to the next level. Don’t just take photos – create timeless art!
FAQ: How to Edit Film Photos
1. What is the first step in editing film photos?
The first step in editing film photos is to assess your scans and understand their characteristics, noting color balance, contrast, and overall exposure to guide your editing decisions.
2. Which software is best for editing film photos?
While Adobe Photoshop and Lightroom are industry standards, other options like Capture One and Affinity Photo offer powerful editing capabilities. Lightroom is favored for its organizational tools and non-destructive editing, while Photoshop excels in detailed retouching and manipulation.
3. How can I maintain the authentic film look while editing?
To maintain the authentic film look, embrace grain, respect the tonal range, and avoid excessive digital enhancements. The goal is to enhance the image, not transform it beyond recognition.
4. What are some essential editing techniques for film photos?
Essential editing techniques for film photos include basic adjustments (exposure, contrast, highlights, shadows, whites, and blacks), color correction (adjusting white balance and using HSL), and sharpening and noise reduction.
5. How can I correct color casts in film scans?
Correct color casts in film scans by using the white balance tool in your editing software to restore the image’s natural colors.
6. What is split toning and how can it enhance my film photos?
Split toning allows you to add different colors to the highlights and shadows, creating unique and stylized looks. Experiment with subtle color combinations to enhance the mood of your image.
7. How important is communication with my film lab in achieving the desired look?
Communication with your film lab is very important, as they are your partners in bringing your vision to life. Clearly communicate your preferences and seek feedback to troubleshoot any issues and improve your results.
8. What file format should I use when exporting my edited film photos?
Choose the file format based on how you intend to use the image: JPEG for web use, TIFF for printing and archival purposes, and PNG for images with transparency or graphics.
9. How can I remove dust and scratches from my film scans?
Use the spot removal tool in your editing software to gently remove dust and scratches from your film scans, being careful not to remove too much detail in the process.
10. Where can I find inspiration for editing film photos?
Find inspiration for editing film photos by exploring online tutorials, workshops, film photography communities, and publications dedicated to film photography.