Editing photos is essential for enhancing images and creating stunning visuals. dfphoto.net offers a wealth of resources to master photo editing, from basic adjustments to advanced techniques. Whether you’re a beginner or a pro, learning how to edit photographs can transform your work, improve visual storytelling, and create a cohesive body of images that capture your vision. Explore composition techniques, photo manipulation, and image enhancement for striking visual results.
1. What Is Photo Editing and Why Is It Important?
Photo editing involves modifying or enhancing digital images to improve their visual appeal. According to research from the Santa Fe University of Art and Design’s Photography Department, in July 2025, photo editing significantly impacts how viewers perceive the final image, influencing their emotional response and overall impression.
- Enhancement: Editing brings out the best in photos, adjusting brightness, contrast, and color to create visually appealing images.
- Correction: Photo editing can fix imperfections such as blemishes, dust spots, and unwanted objects.
- Creative Expression: Editing allows photographers to add their personal style, creating unique and artistic images.
- Consistency: Editing ensures a uniform look across a series of photos, crucial for portfolios and professional work.
- Professionalism: Edited photos appear more polished and professional, essential for commercial and client work.
2. What Are the Key Steps in a Photo Editing Workflow?
The photo editing workflow involves a systematic process to transform raw images into polished masterpieces.
- Importing: Transferring photos from your camera or storage device to your computer.
- Culling: Selecting the best images from a larger set, removing duplicates and poor shots.
- Basic Adjustments: Correcting exposure, white balance, and contrast.
- Color Correction: Adjusting hues, saturation, and luminance to achieve accurate and pleasing colors.
- Retouching: Removing blemishes, dust spots, and other distractions.
- Creative Enhancements: Applying filters, effects, and stylistic adjustments.
- Sharpening: Enhancing details to make the image appear crisper.
- Resizing and Exporting: Preparing the image for its intended use, such as web display or print.
3. What Software and Tools Are Essential for Photo Editing?
Selecting the right software and tools can significantly impact your photo editing capabilities.
| Software | Description |
|---|---|
| Adobe Photoshop | Industry-standard software for comprehensive editing and retouching, offering advanced features and tools for complex manipulations. |
| Adobe Lightroom | Ideal for managing and processing large batches of photos, with a focus on global adjustments and color correction. |
| Capture One | Professional-grade software known for its exceptional color handling and tethered shooting capabilities. |
| GIMP | A free and open-source alternative to Photoshop, providing a wide range of editing tools and features. |
| Affinity Photo | A powerful and affordable alternative to Photoshop, offering professional-level editing tools and performance. |
| Luminar AI/Neo | AI-powered software that simplifies complex editing tasks, providing intelligent tools for enhancing images with minimal effort. |
| ON1 Photo RAW | An all-in-one photo editor and RAW processor, offering a comprehensive set of tools and features for editing and organizing photos. |
| Photo Mechanic | A fast and efficient tool for culling and organizing photos, essential for professional photographers dealing with large volumes of images. According to Popular Photography, Photo Mechanic is an industry-standard for quickly sorting through thousands of images. |
| Mobile Apps | Apps like Snapseed and VSCO offer powerful editing capabilities on smartphones and tablets, perfect for on-the-go editing. |
| Plugins & Presets | Enhance your software’s capabilities with plugins and presets, offering pre-configured adjustments and effects. |
 Screenshot of PhotoMechanic by Camera Bits, used by photographers for culling photos
4. How Do You Correct Exposure and White Balance in Photo Editing?
Correcting exposure and white balance is crucial for achieving accurate and visually pleasing images.
Exposure Correction
Exposure refers to the overall brightness of an image. Adjusting exposure involves brightening or darkening the image to achieve the desired look.
- Highlights: Adjust the brightest parts of the image to recover details in overexposed areas.
- Shadows: Adjust the darkest parts of the image to reveal details in underexposed areas.
- Whites: Adjust the brightest white tones in the image.
- Blacks: Adjust the darkest black tones in the image.
White Balance Correction
White balance ensures that colors are rendered accurately, neutralizing any color casts caused by different lighting conditions.
- Temperature: Adjust the color temperature to make the image warmer (more yellow) or cooler (more blue).
- Tint: Adjust the tint to correct green or magenta color casts.
- Presets: Use preset white balance settings (e.g., daylight, cloudy, tungsten) for quick adjustments.
5. What Are the Best Techniques for Color Correction and Grading?
Color correction and grading involve adjusting the colors in an image to achieve a specific look or mood.
Color Correction
Color correction aims to achieve accurate and natural colors.
- Hue: Adjust the hue of individual colors to correct inaccuracies or create specific effects.
- Saturation: Adjust the intensity of colors, making them more vibrant or muted.
- Luminance: Adjust the brightness of individual colors.
- Color Balance: Use color balance tools to adjust the overall color mix in the image.
- Curves: Adjust the tonal range of the image, affecting the colors and contrast.
Color Grading
Color grading involves stylizing the colors in an image to create a specific mood or aesthetic.
- LUTs (Lookup Tables): Apply pre-designed color grading profiles to quickly change the look of the image.
- Split Toning: Apply different colors to the highlights and shadows, creating unique color effects.
- Color Wheels: Use color wheels to precisely adjust the colors in the highlights, midtones, and shadows.
6. How Do You Remove Blemishes and Distractions in Photo Editing?
Removing blemishes and distractions is essential for creating clean and polished images.
Spot Removal Tool
Use the spot removal tool to quickly remove small blemishes, dust spots, and other minor distractions.
Clone Stamp Tool
The clone stamp tool copies pixels from one area of the image to another, allowing you to seamlessly remove larger distractions.
Healing Brush Tool
The healing brush tool blends the texture and color of the source area with the target area, creating a more natural-looking result.
Content-Aware Fill
Content-aware fill intelligently fills selected areas with surrounding content, removing distractions seamlessly.
7. What Are the Best Sharpening Techniques for Different Types of Photos?
Sharpening enhances the details in an image, making it appear crisper and more defined.
Unsharp Mask
The unsharp mask is a classic sharpening technique that increases contrast along edges, making the image appear sharper.
- Amount: Adjust the amount of sharpening applied.
- Radius: Adjust the radius to control the size of the area sharpened around each edge.
- Threshold: Adjust the threshold to prevent sharpening noise in smooth areas.
Smart Sharpen
Smart sharpen is an advanced sharpening technique that reduces noise and artifacts while enhancing details.
High Pass Sharpening
High pass sharpening isolates fine details and edges, allowing you to sharpen the image without introducing artifacts.
8. How Can You Use Layers and Masks for Advanced Photo Editing?
Layers and masks are essential tools for advanced photo editing, allowing you to make complex adjustments and create intricate effects.
Layers
Layers allow you to stack multiple adjustments and effects on top of each other, creating a non-destructive editing workflow.
Masks
Masks allow you to selectively apply adjustments to specific areas of the image, providing precise control over your edits.
- Layer Masks: Attach a mask to a layer to control where the adjustments are visible.
- Gradient Masks: Create smooth transitions between different adjustments.
- Luminosity Masks: Select areas based on their brightness values.
- Color Range Masks: Select areas based on their color.
9. What Are the Best Practices for Resizing and Exporting Photos?
Resizing and exporting photos correctly ensures they look their best on different devices and platforms.
Resizing
- Resolution: Adjust the resolution (pixels per inch) to match the intended use.
- Dimensions: Adjust the width and height of the image to fit the desired dimensions.
- Resampling: Choose an appropriate resampling method (e.g., bicubic, bilinear) to minimize artifacts when resizing.
Exporting
- File Format: Choose the appropriate file format for the intended use (e.g., JPEG for web, TIFF for print).
- Compression: Adjust the compression settings to balance file size and image quality.
- Color Space: Choose the appropriate color space (e.g., sRGB for web, Adobe RGB for print).
- Metadata: Include relevant metadata such as copyright information and keywords.
10. How to Edit Photos for Different Genres: Portraits, Landscapes, and More?
Each genre of photography benefits from specific editing techniques to enhance its unique qualities.
Portrait Photography
- Skin Smoothing: Soften skin texture while maintaining natural details.
- Eye Enhancement: Sharpen and brighten the eyes to make them more captivating.
- Dodge and Burn: Subtly lighten and darken areas to enhance facial contours.
Landscape Photography
- Color Grading: Emphasize specific colors to create a mood or enhance the scene’s natural beauty.
- Contrast Enhancement: Increase contrast to bring out details in the sky and foreground.
- Clarity and Texture: Enhance the texture and details in natural elements like rocks, trees, and water.
Wedding Photography
- Consistency in Style: Maintain a consistent look across all images to tell a cohesive story.
- Color Correction: Ensure accurate skin tones and vibrant colors that reflect the joy of the day.
- Blemish Removal: Remove distractions to keep the focus on the subjects and key moments.
Product Photography
- Sharp Focus: Ensure the product is sharply focused to highlight its features.
- Clean Backgrounds: Use clean, neutral backgrounds to avoid distractions.
- Color Accuracy: Ensure accurate color representation to showcase the product’s true colors.
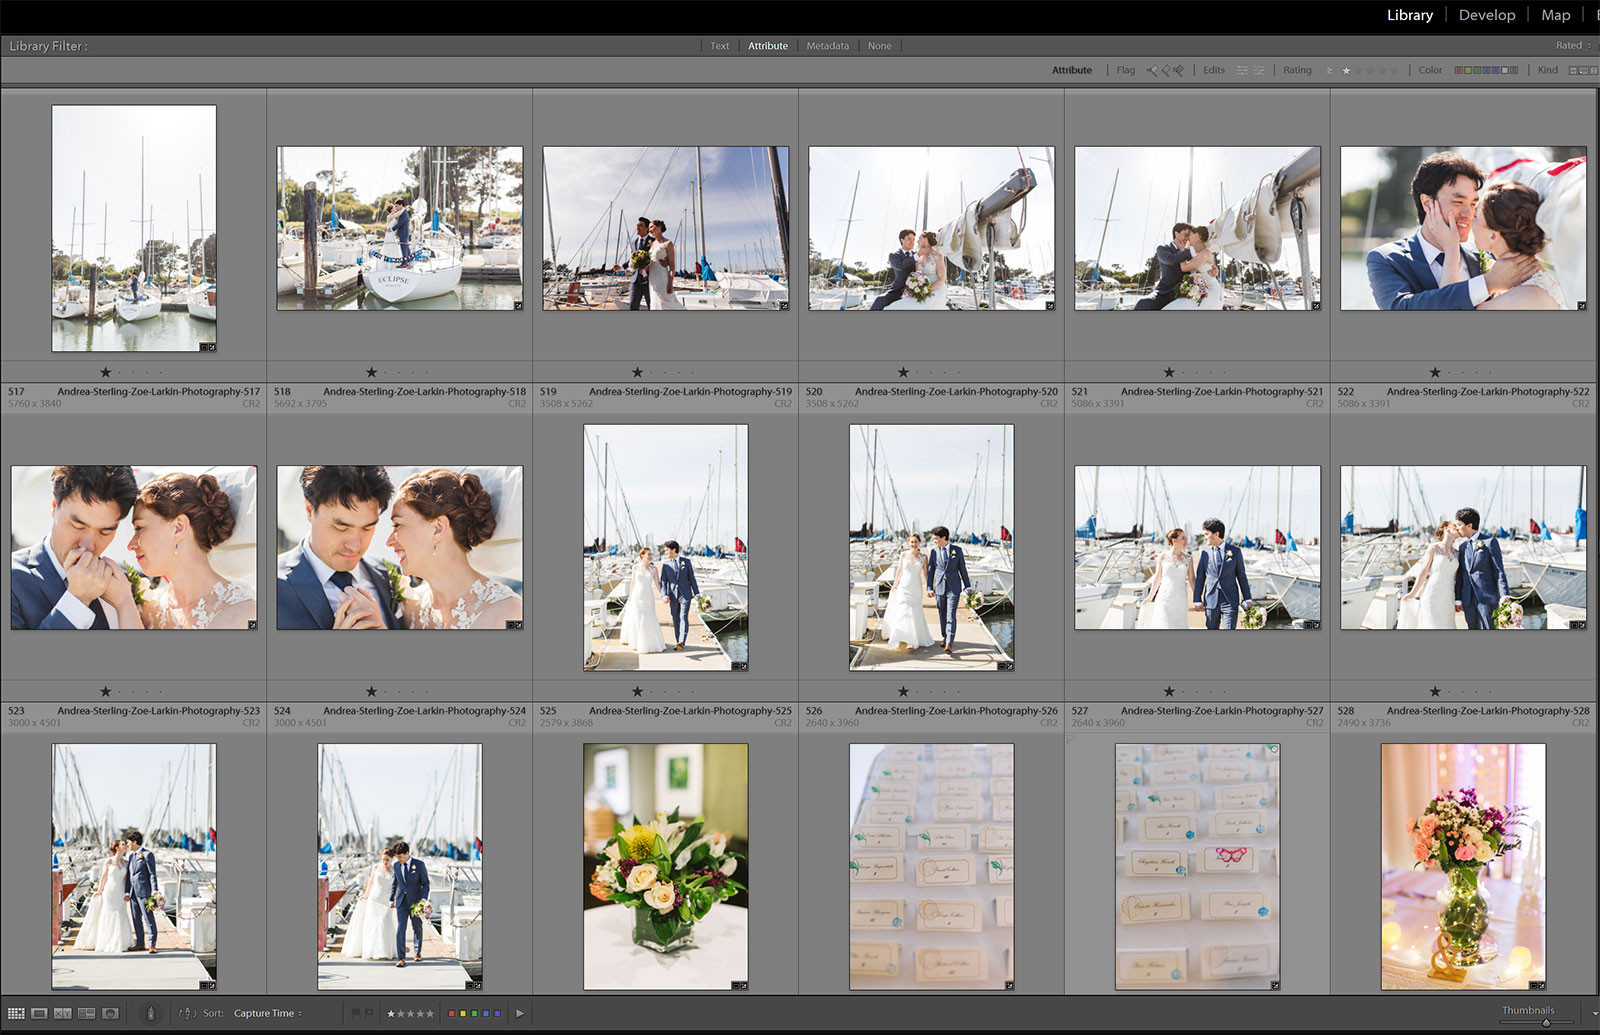 Lightroom editing workflow for photographers
11. What Are the Essential Photo Editing Techniques for Beginners?
For beginners, mastering a few key techniques can dramatically improve their photo editing skills.
- Exposure Adjustment: Learn to correct underexposed or overexposed images using basic exposure sliders.
- White Balance Correction: Understand how to adjust white balance to achieve accurate colors.
- Cropping and Straightening: Improve composition by cropping and straightening images.
- Basic Color Correction: Adjust hue, saturation, and luminance to enhance colors.
- Spot Removal: Use the spot removal tool to eliminate distractions.
12. How to Create and Use Presets for Efficient Photo Editing?
Presets are pre-configured adjustments that can be applied to images to quickly achieve a specific look.
- Creating Presets: Save your favorite editing settings as presets to reuse them on other images.
- Using Presets: Apply presets to quickly adjust exposure, color, and other settings.
- Customizing Presets: Fine-tune presets to match the specific needs of each image.
- Sharing Presets: Share your presets with others to streamline their editing workflows.
13. What Are Some Common Photo Editing Mistakes and How to Avoid Them?
Avoiding common mistakes is crucial for producing high-quality edited photos.
- Over-Editing: Avoid excessive adjustments that make the image look unnatural.
- Poor Sharpening: Be careful not to over-sharpen, which can introduce noise and artifacts.
- Incorrect White Balance: Ensure accurate white balance to avoid color casts.
- Harsh Contrast: Avoid extreme contrast that can make the image look harsh and unnatural.
- Ignoring Noise: Reduce noise in high ISO images to maintain detail and clarity.
14. How Can You Use AI in Photo Editing to Simplify Your Workflow?
Artificial intelligence (AI) is revolutionizing photo editing by automating complex tasks and providing intelligent tools.
- AI-Powered Adjustments: Use AI-powered tools to automatically adjust exposure, color, and other settings.
- Object Recognition: Use AI to identify and select specific objects in the image for targeted adjustments.
- Sky Replacement: Quickly replace the sky with AI-powered sky replacement tools.
- Portrait Enhancement: Use AI to automatically enhance portraits with skin smoothing, eye enhancement, and more.
- Noise Reduction: AI algorithms can effectively reduce noise while preserving detail.
15. What Are the Best Resources for Learning Photo Editing?
There are numerous resources available to help you improve your photo editing skills.
- Online Courses: Platforms like Coursera, Udemy, and Skillshare offer comprehensive photo editing courses.
- YouTube Tutorials: Channels like Phlearn, PiXimperfect, and Adobe Photoshop Tutorials provide free tutorials and tips.
- Photography Blogs: Websites like dfphoto.net, PetaPixel, and Digital Photography School offer articles and guides on photo editing.
- Books: Books like “The Adobe Photoshop CC Book for Digital Photographers” by Scott Kelby and “Understanding Exposure” by Bryan Peterson are excellent resources.
- Workshops: Attend workshops and seminars led by experienced photographers and editors.
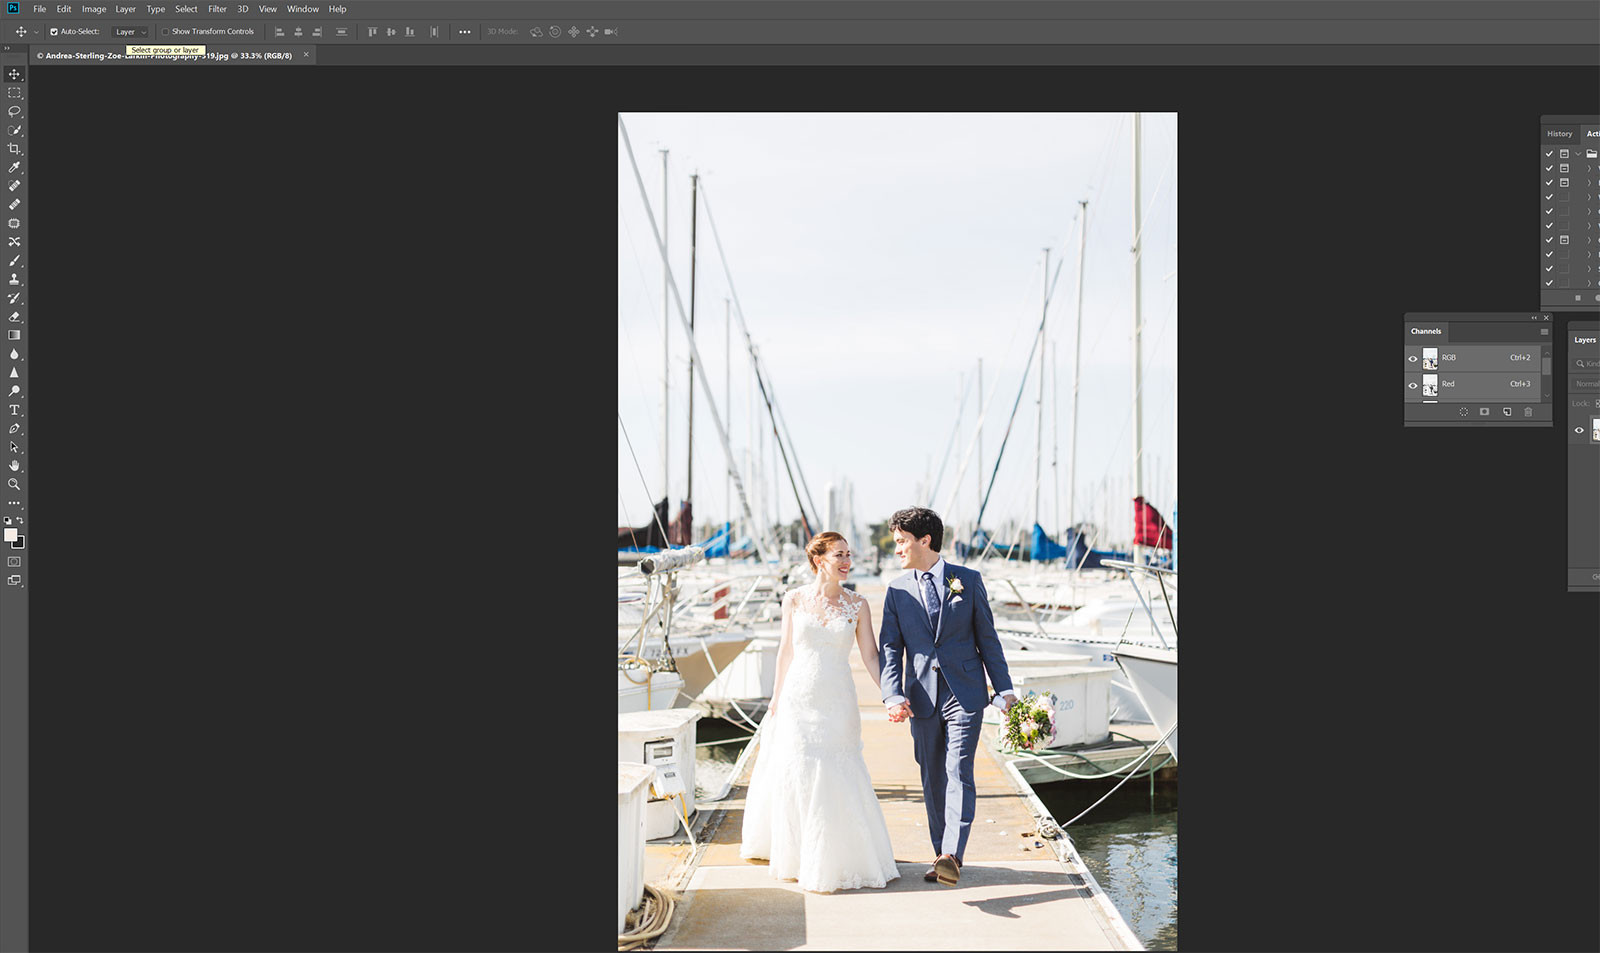 understanding how wedding photographers edit images
16. How to Edit Photos on Mobile Devices Using Apps?
Mobile photo editing apps offer powerful tools for editing photos on the go.
- Snapseed: A free app with a wide range of editing tools and filters.
- VSCO: Known for its film-inspired presets and editing tools.
- Adobe Lightroom Mobile: A mobile version of the popular desktop software.
- PicsArt: Offers a variety of creative tools for editing and collaging photos.
- TouchRetouch: Specializes in removing unwanted objects and blemishes.
17. What Are the Ethical Considerations in Photo Editing?
Ethical considerations are important when editing photos, especially in genres like photojournalism and documentary photography.
- Transparency: Be transparent about the extent of your edits, especially when presenting factual information.
- Accuracy: Avoid making changes that misrepresent reality or distort the truth.
- Respect: Respect the subjects and cultures depicted in your photos, avoiding edits that could be offensive or disrespectful.
- Integrity: Maintain the integrity of your work by avoiding manipulations that could deceive or mislead viewers.
18. How to Stay Updated with the Latest Trends in Photo Editing?
Staying current with the latest trends ensures your editing skills remain relevant and effective.
- Follow Industry Blogs and Websites: Stay updated with articles and tutorials on sites like dfphoto.net, PetaPixel, and Digital Photography School.
- Attend Workshops and Seminars: Participate in workshops and seminars to learn new techniques and tools.
- Join Online Communities: Engage with other photographers and editors in online forums and social media groups.
- Experiment with New Software and Tools: Try out new software and plugins to discover innovative ways to edit photos.
- Analyze Popular Images: Study the editing styles of successful photographers and artists to understand current trends.
19. How to Protect Your Edited Photos from Copyright Infringement?
Protecting your edited photos from copyright infringement is essential to safeguard your creative work.
- Watermarking: Add a visible watermark to your photos to deter unauthorized use.
- Metadata: Include copyright information and contact details in the metadata of your photos.
- Copyright Registration: Register your photos with the U.S. Copyright Office to gain legal protection.
- Usage Agreements: Use clear usage agreements when licensing your photos to others.
- Monitoring: Monitor the internet for unauthorized use of your photos using tools like Google Images and TinEye.
20. How Does Understanding Composition Improve Photo Editing?
Understanding composition principles enhances the impact of photo editing by providing a solid foundation for visual appeal.
- Rule of Thirds: Editing can emphasize key elements placed according to the rule of thirds.
- Leading Lines: Adjusting contrast and color can strengthen leading lines, guiding the viewer’s eye.
- Symmetry and Patterns: Editing can enhance symmetrical elements or repeating patterns for a more balanced image.
- Framing: Editing can bring out the natural frames within a scene, drawing attention to the subject.
- Depth of Field: Adjusting focus and blur can create a sense of depth and isolate the subject effectively.
FAQ: How To Edit Photos
What is the best photo editing software for beginners?
Snapseed is one of the best app to start from as a beginner
How do I improve the quality of a photo in editing?
Adjusting the brightness, contrast, and sharpness, while also correcting any color imbalances and removing blemishes, can greatly enhance photo quality.
Is it ethical to heavily edit photos?
The ethics of heavy photo editing depend on the context. In photojournalism, it’s generally unethical to significantly alter the content. In creative photography, more extensive editing is often acceptable as long as it’s transparent.
Can photo editing make a bad photo good?
While editing can significantly improve a photo, it can’t always salvage a fundamentally flawed image. Good lighting, composition, and focus are essential starting points.
How long does it take to edit a photo professionally?
Professional photo editing can take anywhere from a few minutes to several hours per image, depending on the complexity and desired level of detail.
What is the difference between Lightroom and Photoshop?
Lightroom is ideal for managing and processing large batches of photos with a focus on global adjustments. Photoshop is better suited for detailed retouching and complex manipulations.
How do I fix blurry photos in editing?
Sharpening tools can help improve the appearance of blurry photos, but severe blur often cannot be fully corrected.
What is the best file format for saving edited photos?
JPEG is suitable for web use due to its smaller file size. TIFF is better for print due to its preservation of image quality.
How important is color grading in photo editing?
Color grading is highly important for creating a specific mood or aesthetic in your photos. It can transform the overall look and feel of an image.
What are luminosity masks and how are they used?
Luminosity masks select areas of an image based on their brightness values, allowing for targeted adjustments to highlights, shadows, or midtones.
Call to Action
Ready to elevate your photography skills? Visit dfphoto.net to explore comprehensive tutorials, discover stunning photo collections, and connect with a vibrant community of photographers. Whether you’re seeking to master the art of composition, learn advanced editing techniques, or simply find inspiration, dfphoto.net is your ultimate resource for all things photography. Join us today and transform your vision into breathtaking reality! For inquiries, contact us at Address: 1600 St Michael’s Dr, Santa Fe, NM 87505, United States. Phone: +1 (505) 471-6001. Website: dfphoto.net.