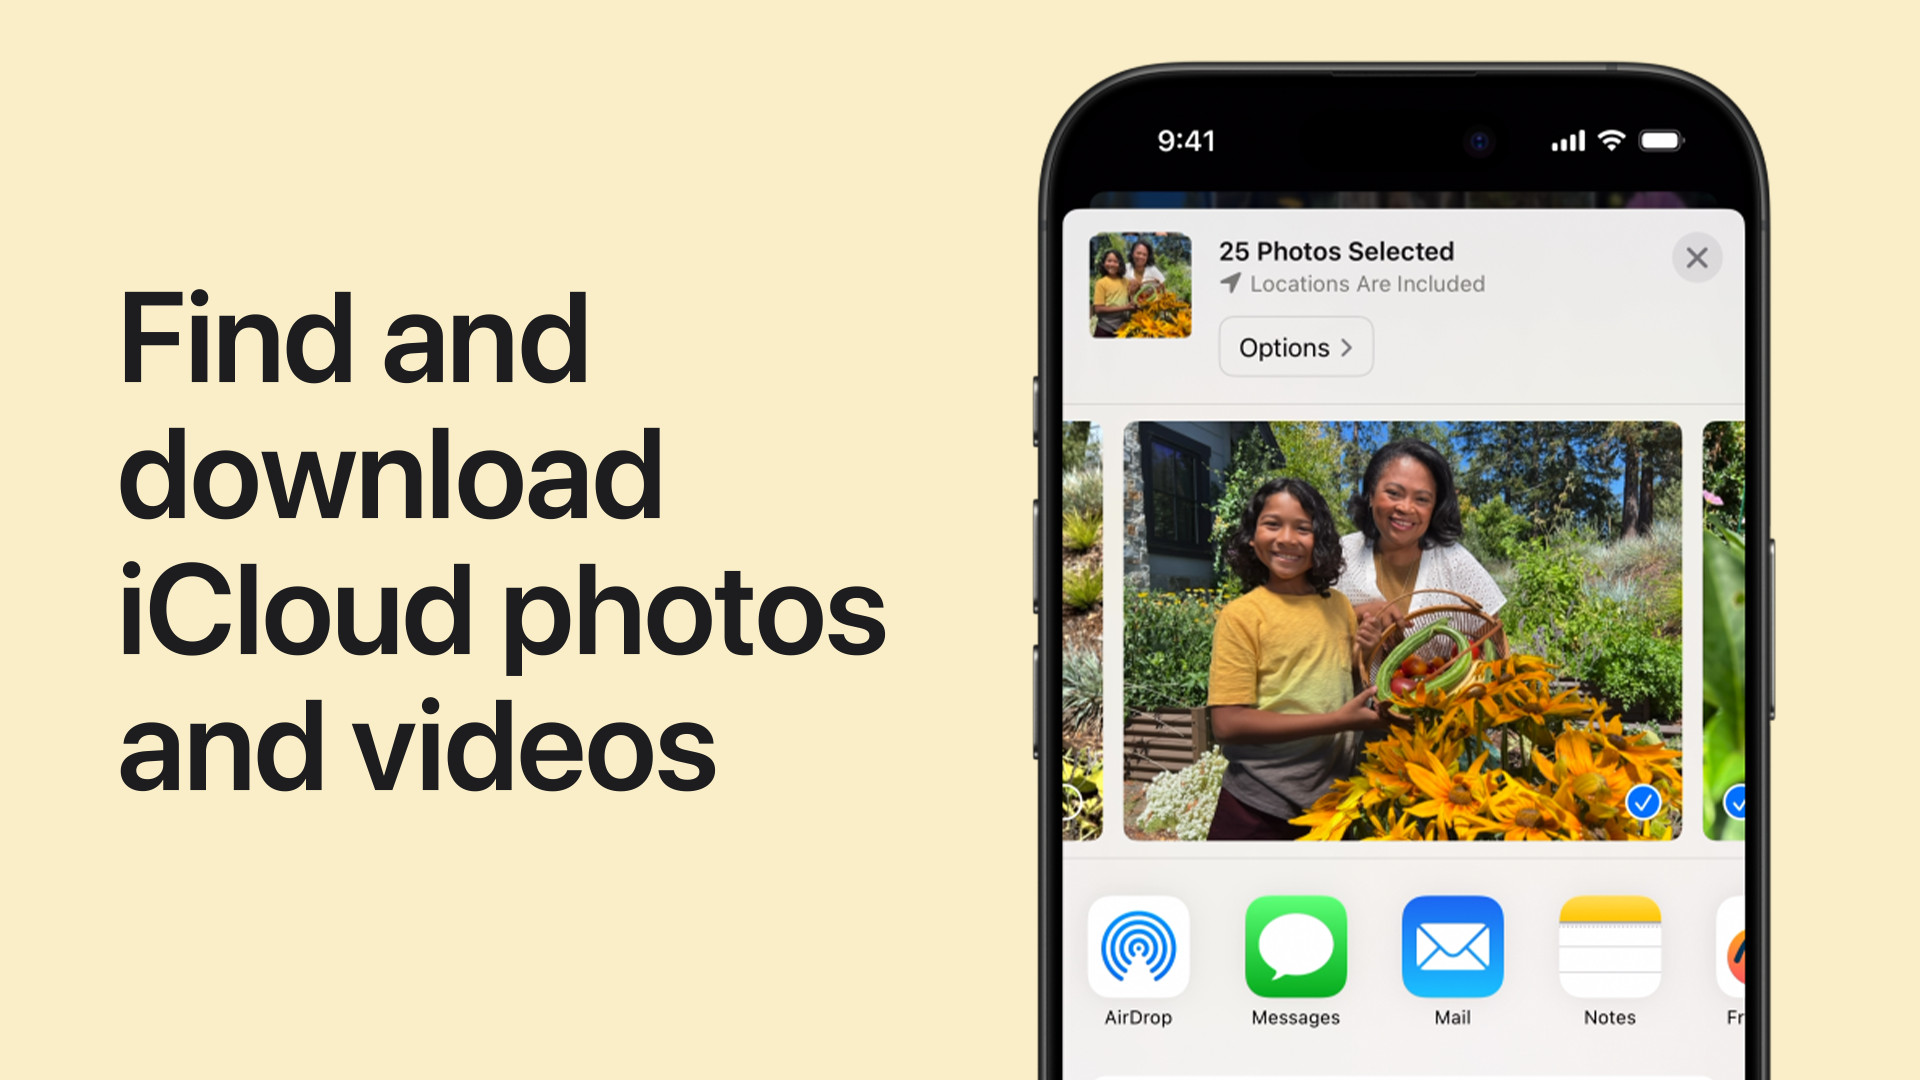
iCloud Photos is a fantastic service that keeps your precious memories synced across all your Apple devices. However, there are times when you need to download those photos and videos from iCloud directly to your Macbook. Whether you’re freeing up iCloud storage, want offline access, or need to edit your photos locally, transferring your media from iCloud to your Macbook is a straightforward process. This guide will walk you through the different methods to download your iCloud photos to your Macbook, ensuring you have your memories safely stored on your computer.
Method 1: Downloading via Photos App Settings
The most direct way to download your iCloud Photos to your Macbook is through the Photos app settings. This method ensures that all your original, full-resolution photos and videos are downloaded and stored locally on your Macbook.
-
Open the Photos App: Locate and open the Photos application on your Macbook. It’s typically found in your Applications folder or on your Dock.
-
Access Photos Settings: In the top menu bar, click on “Photos” and then select “Settings” (or “Preferences” in older macOS versions).
-
Navigate to iCloud Tab: In the Settings window, click on the “iCloud” tab.
-
Select “Download Originals to this Mac”: Under the iCloud section, you will see an option labeled “Download Originals to this Mac.” Ensure this option is selected.
 iCloud settings in Photos app on Mac
Once you select this option, the Photos app will begin downloading your original, full-resolution photos and videos from iCloud to your Macbook. The download time will depend on the size of your iCloud Photo Library and your internet connection speed. You can monitor the download progress at the bottom of the Photos app window.
Method 2: Downloading from Shared Albums
If you only need to download specific photos or videos from Shared Albums in iCloud, you can do so directly through the Photos app as well. This is useful for saving media shared with you or from albums you’ve shared with others.
-
Open Photos and Select Shared Album: Open the Photos app on your Macbook and find “Shared Albums” in the left-hand sidebar menu. Select the specific Shared Album you want to download photos from.
-
Choose Photos or Videos: Browse through the album and select the photos or videos you wish to download. You can select multiple items by holding the Command key while clicking.
-
Import Selected Media: Control-click (right-click) on any of the selected photos or videos. In the context menu that appears, choose “Import.”
The selected photos and videos will be imported from the Shared Album and saved to your Photos Library on your Macbook.
Method 3: Downloading from iCloud.com
Another effective method to download photos from iCloud to your Macbook is by using iCloud.com through your web browser. This method is particularly useful if you want to download specific photos or albums or if you are managing your iCloud Photos from a web interface.
-
Go to iCloud.com and Sign In: Open your web browser and navigate to iCloud.com/photos. Sign in using your Apple ID and password.
-
Select Photos or Videos: Once logged in, you will see your iCloud Photo Library in your browser. Click on “Photos” to access your library. Select the photos or videos you want to download. You can select multiple items by holding the Command key while clicking, or select a range by holding the Shift key. To download your entire library, you can select all photos.
-
Click the Download Button: After selecting your desired photos or videos, look for the download button in the top right corner of the iCloud Photos interface. It’s usually represented by a cloud icon with a downward arrow. Click this button.
-
Choose Download Options (Optional): Depending on the number of photos and videos you are downloading and your browser settings, you might be prompted with download options. You may see options like “Unmodified Originals,” “Highest Resolution,” or “Most Compatible.” Choose the option that best suits your needs. “Unmodified Originals” will download the photos and videos in their original format and resolution as captured.
-
Download and Save: Click “Download.” Your browser will then download the selected photos and videos as a ZIP file (if downloading multiple items) to your default download location on your Macbook. Once downloaded, you can unzip the file to access your photos and videos.
By following these methods, you can efficiently download your photos and videos from iCloud to your Macbook, ensuring you have a local backup and easy access to your memories whenever you need them. Whether you prefer using the Photos app directly or accessing iCloud through a web browser, these steps provide clear instructions to manage your iCloud Photo Library on your Macbook.

