iCloud Photos is a fantastic service for Apple users, seamlessly backing up your precious memories and making them accessible across all your devices. But what if you want to view or edit those photos on your Windows PC? Downloading your iCloud photos to your PC is easier than you might think, and this guide will walk you through several straightforward methods to get all your photos safely onto your computer. Whether you need to free up iCloud storage, create a local backup, or simply prefer working on your PC, here’s how to download iCloud photos to your PC effectively.
Method 1: Using iCloud for Windows
The most direct method for downloading iCloud photos to your PC is by using the official iCloud for Windows application. This Apple-provided software creates a seamless bridge between your iCloud account and your Windows environment, making photo management a breeze.
Here’s How To Download Icloud Photos To Pc using iCloud for Windows:
- Download and Install iCloud for Windows: First, if you haven’t already, download iCloud for Windows from the Microsoft Store. Follow the installation prompts to set it up on your PC.
- Sign in to iCloud: Once installed, launch iCloud for Windows and sign in using your Apple ID and password – the same credentials you use for iCloud.
- Select Photos: In the iCloud for Windows interface, you’ll see various iCloud services. Ensure that “Photos” is selected (ticked). Click “Options…” next to Photos.
- Choose iCloud Photos settings: In the Photos Options window, make sure “iCloud Photos” is checked. You can also change the download location for your iCloud Photos on your PC by clicking “Change…” under “Download new photos to my PC”. By default, photos are downloaded to
C:Users[Your User Name]PicturesiCloud Photos. - Apply and Finish: Click “Done” and then “Apply” in the main iCloud for Windows window. iCloud for Windows will now start downloading your iCloud Photos to your PC.
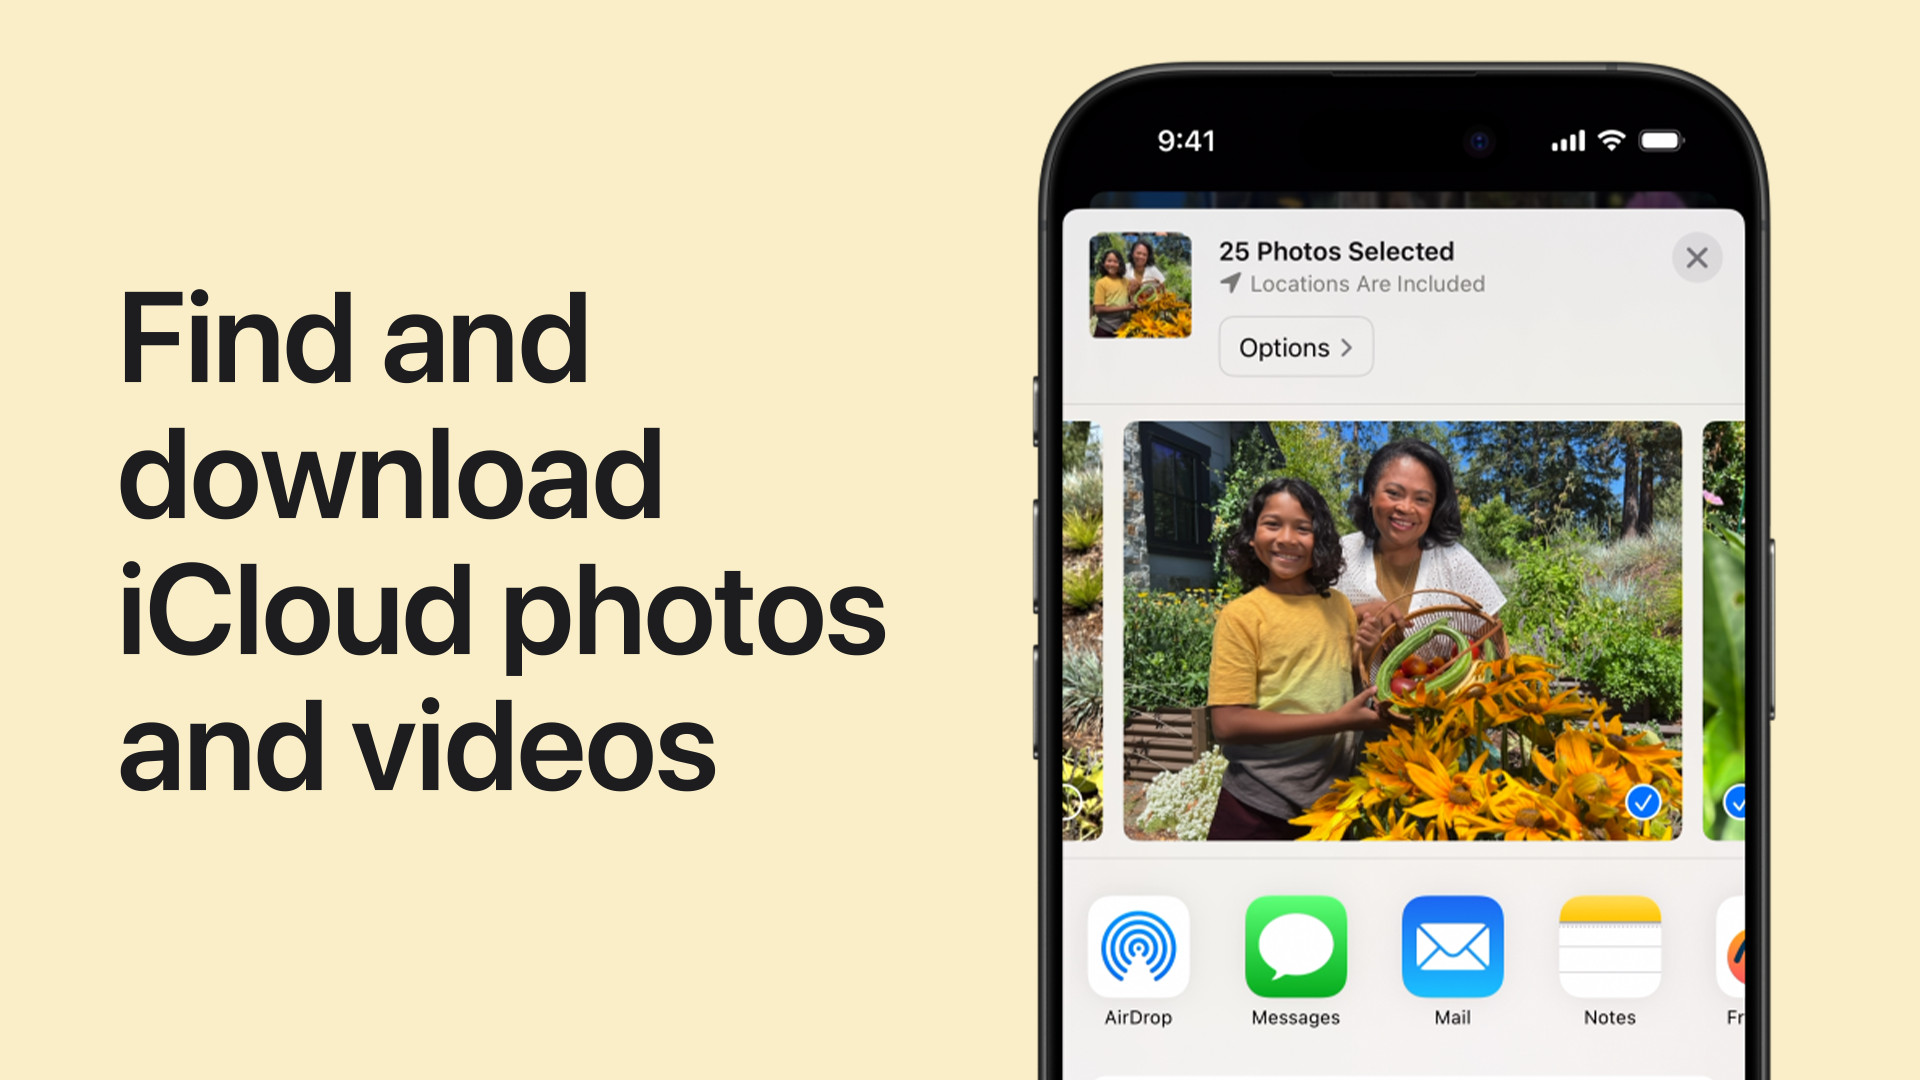
 Learn how to download iCloud photos to PC with this helpful video guide. Access your iCloud photo library on your Windows computer.
Once the initial sync is complete, iCloud for Windows will automatically download any new photos and videos you take on your Apple devices to your PC, keeping your local photo library up-to-date.
Method 2: Downloading iCloud Photos via iCloud.com
If you prefer not to install additional software or need to access your photos from a computer that isn’t your primary PC, iCloud.com offers a web-based solution to download your photos. This method is useful for one-off downloads or when you need to quickly grab a few images.
Follow these steps to download iCloud photos to PC via iCloud.com:
- Go to iCloud.com and Sign In: Open your web browser and navigate to iCloud.com/photos. Sign in with your Apple ID and password.
- Select Photos to Download: Once logged in, you’ll see your iCloud Photo Library in your browser. Click on “Photos” to view all your images and videos. Select the photos you want to download by clicking on them. To select multiple items, hold down the “Ctrl” key (on Windows) or “Command” key (on Mac) while clicking. To download your entire library, you can select a large group of photos or repeat the process in batches.
- Click the Download Button: After selecting your photos, look for the download icon at the top right corner of the iCloud Photos interface. It usually looks like a cloud with a downward-pointing arrow. Click this download button.
- Choose Download Options (Optional): Depending on the number of photos and your browser, you might be prompted to choose download options. For example, iCloud.com may ask if you want to download “Unmodified Originals” or “Most Compatible” versions. “Unmodified Originals” will download the photos in their original format and resolution, while “Most Compatible” might convert them to JPEG for better compatibility on Windows.
- Download Your Photos: Confirm your download choices and your browser will start downloading the selected photos to your PC, usually to your default downloads folder.
Method 3: Downloading Photos from Shared Albums
If you’ve used Shared Albums in iCloud to share photos with others or across your own devices, you can also download photos directly from these albums to your PC. This is a great way to save photos that others have shared with you.
Here’s how to download iCloud Shared Album photos to your PC:
- Open iCloud.com in your browser and sign in: Go to iCloud.com and log in with your Apple ID.
- Navigate to Shared Albums: Click on the “Photos” icon to access your iCloud Photos. In the left-hand menu, you’ll see “Shared Albums”. Click on it.
- Select a Shared Album: Choose the Shared Album from which you want to download photos.
- Select Photos and Download: Open the album and select the photos or videos you wish to download. Similar to downloading from your main library, click to select, and use “Ctrl” or “Command” to select multiple. Then, click the download icon.
- Download to Your PC: The selected photos from the Shared Album will be downloaded to your PC.
Conclusion
Downloading your iCloud photos to your PC is a straightforward process, offering multiple methods to suit your needs. Whether you opt for the seamless synchronization of iCloud for Windows, the web-based convenience of iCloud.com, or downloading from Shared Albums, accessing your iCloud photo library on your PC is easily achievable. By following these steps, you can ensure your precious memories are safely stored and accessible on your Windows computer, giving you peace of mind and greater flexibility in managing your digital life.