Digitizing a photo is about more than just making a copy; it’s about preserving memories for future generations, and dfphoto.net is here to guide you through the process. Whether you are an amateur or a professional photographer, you can learn how to scan pictures to digital, safeguard cherished moments, and creatively share your visual storytelling. Explore various photo scanning techniques and learn how to preserve your pictorial heritage with dfphoto.net.
1. Why Should You Digitize Your Old Photos?
There are numerous advantages to converting your old photographs into digital format. As you digitize hundreds of old photos, you will discover some compelling reasons that will keep you motivated throughout the project.
- Preserving Priceless Memories: When you digitize photos, you safeguard invaluable memories that will not deteriorate over time.
- Effortless Sharing: Digitizing old family photos makes sharing them incredibly easy. Imagine surprising relatives and family friends with forgotten moments from your shared history, many of which haven’t been seen in decades.
- Rekindling the Love of Film Photography: Film preservation is critical for photographers today. Photographers are losing touch with the origins of our art form, and digitizing your old photographs is a great way to reconnect with its roots.
- Image Enhancement: Converting physical photos into digital formats enables you to use editing software such as Photoshop to enhance them. This includes correcting red-eye and removing creases or physical damage.
- Clutter Reduction: Converting physical photos into digital images allows you to evaluate your photo collection and select which images to display, reducing clutter in the process.
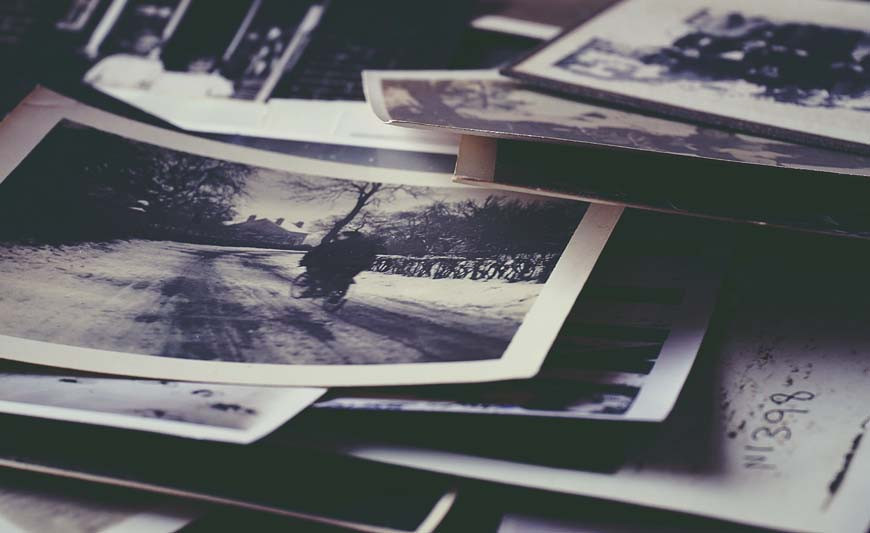 Stacked Old Photos
Various stacked and disorganized old photographs that need sorting and converting into digital form.
2. Before You Digitize, Organize Your Photos
Organizing your printed photos before digitizing them is the best way to stay organized. This will allow you to keep track of your entire photo collection, including film photography prints and digital photos. Organizing your photos makes it easier to scan, share, and search for specific images when needed.
Follow these steps to sort your old physical photos like a pro:
- Assess Your Photo Collection: Determine whether you’re dealing with stacks of old photo albums or boxes of loose photos.
- Gather Supplies: Purchase photo albums, storage boxes, and archival storage gear for vintage photos.
- Sort Chronologically: Start by arranging the photographs by year and season, using any available dates on the boxes or photos. For undated photos, consult family and friends for clues.
- Group by People and Events: Organize photos by portraits of grandparents, group shots, and events such as weddings or family vacations.
- Sort by Size: Sort photos by size to facilitate the scanning process and determine the necessary scanner types.
- Highlight the Shutterbug: If a family member was a photographer, compile their photos to appreciate their perspective through the camera lens.
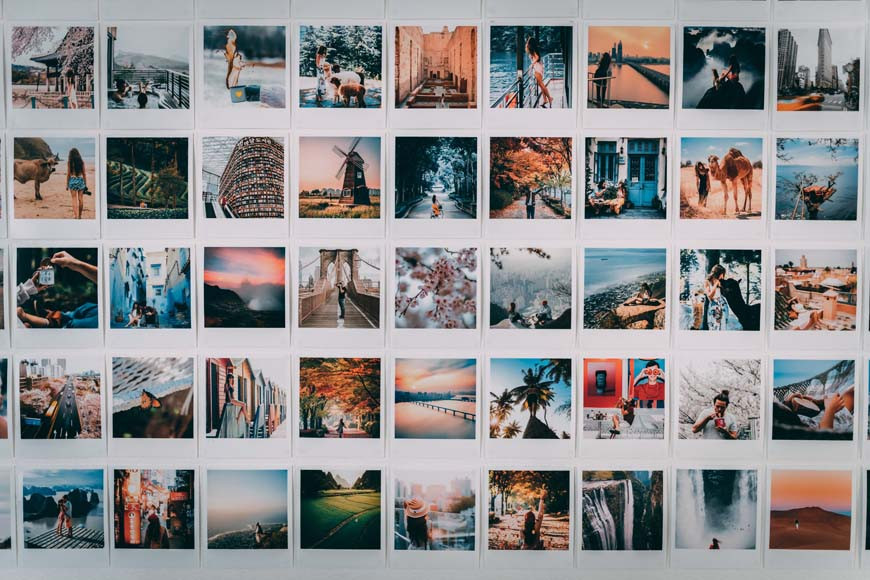 Polaroid Collage
A collage of Polaroid instant photos, showcasing various moments and people captured in a vintage style.
3. Ways to Digitize Photos
You will be surprised by the number of options available for digitizing your old photos. You will not be limited to scanning each picture individually or paying a service to do it for you. Here are four methods for digitizing photos.
3.1. Digitize Photos At Home Using A Scanner
Using a conventional flatbed scanner is the most cost-effective way to digitize photos. When digitizing old images, use the best photo scanner available to you.
If you come across old 35mm negatives, get a photo-negative scanner as well.
Once you’ve chosen the right scanner, experiment with the setting options.
- DPI Settings: Adjust the DPI (Dots Per Inch) settings to determine the definition of your scans. For social media sharing, set it to 200 DPI; for printing, set it to 300 DPI or higher.
- Color and Grayscale: Use grayscale for black-and-white images to avoid unwanted colors, and scan sepia-tone photographs in color to capture the vintage tones.
- Platen Cleaning: Clean the platen (the scanner’s glass surface) frequently to remove dust and debris.
- Batch Scanning: Scan multiple photos at once and crop them later in editing software.
- Editing: Edit your old photos to remove creases or damage, but consider leaving some wear and tear for a vintage look.
According to research from the Santa Fe University of Art and Design’s Photography Department, in July 2025, a high-resolution flatbed scanner provides the most detailed and accurate digitization of photographic prints, especially when preserving historical photos.
3.2. Use a Digital Camera to Digitize Your Photos
Taking high-quality pictures with a camera is becoming increasingly popular for digitizing photos. Although this method may not produce the sharpest results, a digital camera can serve as an excellent alternative to a flatbed scanner.
While scanners provide higher quality, digital cameras can effectively scan old photographs, particularly for social media or email sharing.
To get the best results when scanning old photos, remember the following guidelines, also emphasized in Popular Photography magazine:
- Camera Selection: Use your best digital camera; smartphones can also work.
- Tripod Setup: Use a tripod with an inverted center column or boom arm to position the camera perpendicular to the photos.
- Color Calibration: Shoot in RAW format and correct colors during editing or adjust white balance settings.
- Lighting: Ensure even, soft lighting and use a CPL filter to reduce glare on glossy prints.
- Self-Timer: Use the self-timer or a remote shutter release to prevent camera shake.
- Dealing with Curling: Use a flat acrylic sheet or glass from a picture frame to flatten curled photos.
3.3. Use an App to Digitize Photos With Your Phone
Using your smartphone to digitize your photographs is another excellent option. Smartphones have surprisingly capable cameras, and there are numerous helpful apps available.
The same tips that apply to using a professional camera apply to smartphones as well.
The main limitation of scanning photos with a smartphone is the phone’s limited resolution. Your digital camera likely has a higher resolution and can take better photos than your smartphone.
The best use of smartphone scans is for digitizing photos for social media sharing.
Here is a list of apps for Android, iPhone, and both that can assist you in scanning physical photographs into the digital world:
- Built-in Camera App
- Photoshop Express
- Notes (iPhone)
- Google PhotoScan (Android & iOS)
- Microsoft Office Lens
- Photo Scanner
3.4. Use A Professional Photo-Digitizing Service
If you are unsure how to digitize film photos yourself, this is the best option. Professional photo-digitizing services eliminate guesswork. Before shipping your box of old photos, keep the following in mind:
- Shipping Costs: You will need to pay for shipping to and from the digitizing service, so ensure shipments and pay for tracking.
- Safe Packaging: Pack your old photos safely, as the original shoe boxes may not be sufficient for shipping.
- Processing Time: Processing times will be longer than doing it yourself, and backlogs may exist. Always double-check processing times.
- Professional Quality: Photo digitizing services are run by trained professionals with the best scanning equipment, including high-end drum scanners.
- Photo Retouching: Retouching professionals can remove water damage, stains, and yellowing from your photos for an additional fee.
According to a 2024 study by the American Society for Imaging Science and Technology, professional digitization services using high-end drum scanners provide the highest quality and most archival-safe digital reproductions of photographs.
Here are some of the best services, as well as one that specializes in digitizing 8 mm and 16 mm film:
- ScanMyPhotos
- ScanCafe
- Digital Memories
- ScanDigital
- EverPresent
- DigMyPics
- Local Document and Office Supply Stores
- Film Photography Project (for 8 mm and 16 mm movie scans)
This method is the best way to convert photos to digital if you want professional-quality scans without the hassle.
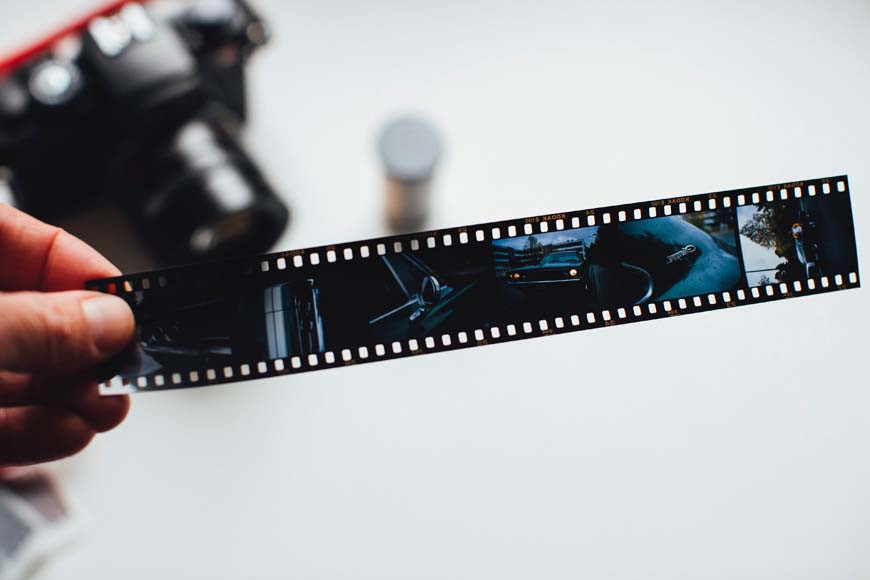 Camera and Film
A modern digital camera placed near vintage film rolls, showing the contrast between old and new photography.
4. What Resolution and File Format Should I Use to Digitize A Photo?
Understanding the best resolution and file format is essential when learning how to scan old photos. Here’s a breakdown of your options:
- Resolution:
- 70 to 96 DPI: Great for keeping file sizes down and sharing images online.
- 200 DPI: Provides beautiful, crisp digital photos suitable for smaller prints.
- 300 DPI: The industry standard for printing pictures, allowing you to create prints larger than the originals, though with larger file sizes.
- Higher DPI: Only necessary for printing items several feet tall.
- File Formats:
- JPG (JPEG): Ideal for sharing online with the smallest file size, but uses lossy compression, which sacrifices some detail.
- PNG: The gold standard for digital image files, providing high resolution with slightly larger file sizes than JPEGs.
- TIFF: The preferred file type among photographers, graphic artists, and printers for its high quality, though it results in larger file sizes.
| Resolution (DPI) | Use Case | Advantages | Disadvantages |
|---|---|---|---|
| 70-96 | Online sharing | Small file size, quick upload | Lower detail, not suitable for printing |
| 200 | Smaller prints, digital use | Good balance of size and detail | Limited for large prints |
| 300 | Industry-standard printing | High-quality prints, larger than original | Larger file size, requires more storage |
| File Format | Use Case | Advantages | Disadvantages |
|---|---|---|---|
| JPG | Web sharing, quick transfers | Small file size, widely compatible | Lossy compression, detail loss |
| PNG | High-resolution digital images | Good detail, lossless option available | Larger file size than JPG |
| TIFF | Archiving, professional printing | Highest quality, lossless, ideal for editing | Very large file size, requires significant storage space |
5. My Photos Are Digitized – Now What?
Now that you’ve learned how to scan pictures to digital, what do you do after receiving your digital photos?
The first thing you should consider is your storage options, including storing the pictures themselves and backing up your files.
A curated selection of scanned physical photographs should be uploaded to the cloud. While iCloud syncs photos across devices, other services offer similar functionality.
To preserve digitized pictures, backup is essential. Keep the full archive of digital images on multiple devices, so if one device fails, you won’t lose all your digitized photos.
Keep digital photos on a main computer, laptop, and dedicated external hard drive. Also, keep the CDs from digitizing companies for extra protection.
With all these digital files, there are plenty of photos to share. Use cloud options to share the entire archive of digitized photos with friends and family.
You can also display photos with a digital frame, loading thousands of pictures onto it for guests to view.
Even though you just worked hard to scan all these pictures, you can also try printing some. Scans are probably high quality enough to make larger prints than the originals, offering interesting options for displaying physical photographs.
This article will conclude by discussing how to safely store physical photos for years to come.
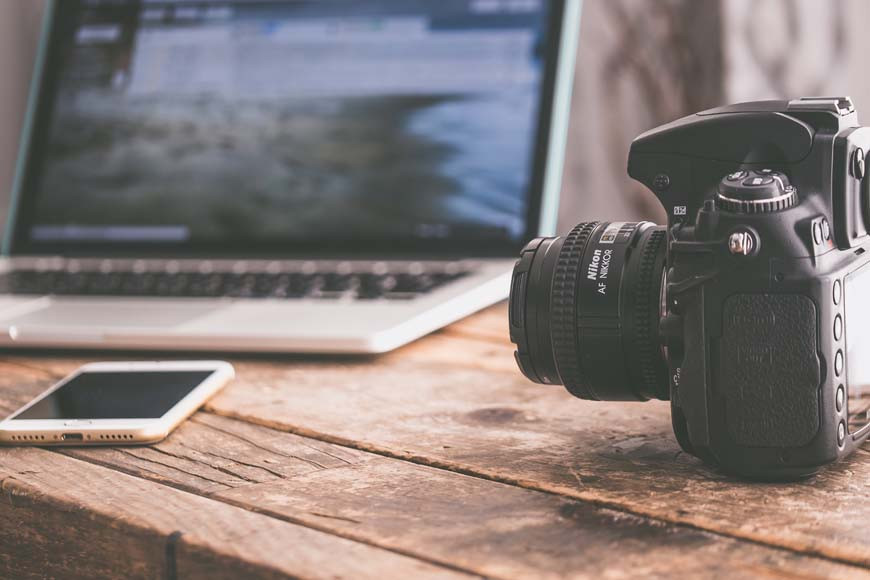 Camera by Laptop and Phone
A camera next to a laptop and a smartphone, representing different methods of photography and image storage.
6. Three Ways to Store Your Photos Once They’re Digitized
You want to store those boxes of photographs so that future generations of your family can flip through them themselves. Here are three common ways to store photos, as well as their pros and cons.
6.1. Archival Photo Albums and Boxes
Archival photo albums and storage boxes are the best option because they don’t contain any chemicals that could harm your photos in the long run, and they’re reasonably priced.
Pros
- Photo storage option of the highest quality
- Specifically designed for storing photos
- A variety of sizes, colors, and other options
- Simple to label
Cons
- It may be more expensive than using supplies you already have
6.2. Plastic Zip Top Bags
Plastic zip-top bags are among the most cost-effective options. While they will keep moisture and pests out, there are some cons to consider.
Pros
- You already have a few to use
- Very affordable
- Will work for short-term protection
Cons
- They contain an inner layer of Butylated HydroxyToluene, which will damage photos over time
- Not as good as archival-quality plastic storage options
6.3. Regular Cardboard Boxes
If you’re looking for a lo-fi option, you can leave the pictures in the cardboard boxes they’re already stored in.
Because this option is the riskiest, here are a few tips to make it safer for your photos.
Pros
- The most affordable option
- Works in a pinch while you order archival storage equipment
Cons
- Photos are still susceptible to the elements and humidity
- Must be stored off the ground
- Shouldn’t be kept in attics, basements, garages, or anywhere that isn’t climate-controlled
 Looking at Pics on Smartphone
Someone looking at photos on their smartphone, representing the modern way of viewing and sharing memories.
7. FAQ: How to Digitize A Photo
Q1: What is the best way to digitize old photos?
The best way to digitize your old photos is by scanning them using a dedicated photo scanner. Using a photo scanner gets the job done the fastest and gives you the highest quality digital copies of your old family photos.
Q2: How much does it cost to digitize a photo?
The cost to digitize an old photo ranges from a few cents to a few dollars per image. Digitizing old photos in bulk can get you better rates. You can pay a company to digitize around 500 photos for between $20 to a few hundred dollars, depending on image quality and photo size.
Q3: How to make copies of old photos?
First, gently clean the originals to remove dust. Digitize them using a scanner at a high resolution (at least 300 DPI for prints, 600 DPI for detailed work). Save the digital files in a lossless format like TIFF for editing or archiving, or JPEG for sharing.
Q4: How do I digitize a huge amount of photos?
The easiest way to digitize a large number of old photos is to hire a digitization service to handle the job. Another option is to purchase a top-loading feed photo scanner for quickly scanning all of your family photos.
Q5: How do I digitize photos with an iPhone?
Your iPhone has several built-in tools that allow you to digitize photos easily. The simplest method is to use your iPhone camera to take a quick picture of the old photo you want to digitize.
Q6: Are there services that can digitize your photos for you?
Yes, there are countless online services that can digitize your photos. These services require you to mail in your old photographs so that the company can digitize them.
Q7: How to digitize large photos?
There are two easy ways to digitize large photos. The fastest way is to contact a scanning service that has access to a larger commercial scanner that can handle big photos.
Q8: How do you digitize photos to use for embroidery projects?
The first step in digitizing an old photograph for an embroidery project is to scan your photograph using a flatbed scanner or even your smartphone.
Q9: What is the best app to restore old photos?
Photomyne is a good option, but Adobe Photoshop’s Generative Fill AI tool provides much more intricate fine-tuning if you’re using a desktop computer.
Q10: How to Preserve the Quality of Digitized Photos?
To maintain the quality of digitized photos, always scan at a high resolution (300 DPI or higher), use lossless file formats like TIFF for archiving, and store backup copies on multiple devices or cloud services. According to the Library of Congress, proper handling and storage significantly extend the lifespan of digital files.
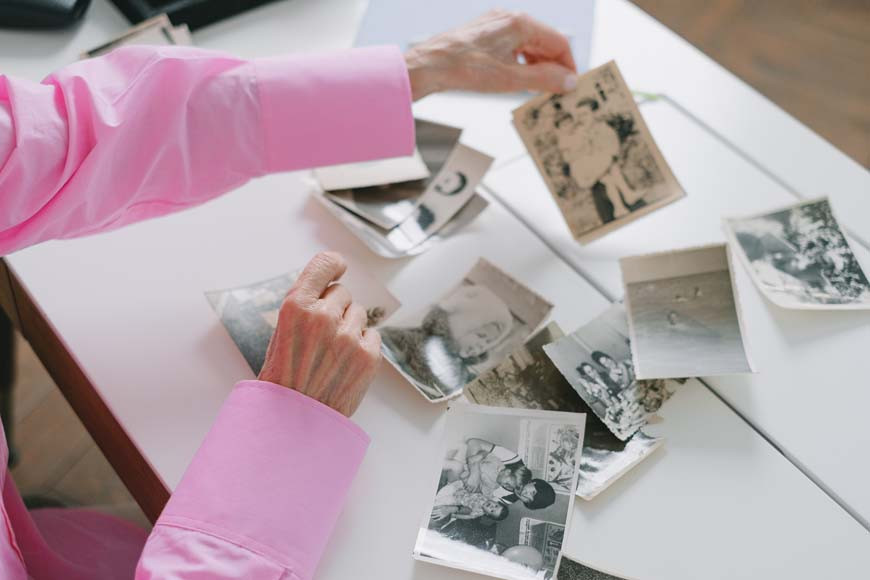 Elder Sorting Photos
An elderly person sorting through old photographs, signifying the importance of preserving family memories.
Final Words on Digitizing Photos
Digitizing all of your old family photographs may seem like a Herculean task, but it’s quite simple once you break it down. Today, you can even begin scanning some of the most important pictures with your smartphone.
It is important to keep physical photography alive by preserving the old pictures from generations past. Explore comprehensive guides, discover inspirational galleries, and connect with a community of passionate photographers.
Ready to take the first step? Visit dfphoto.net today to discover how to digitize, preserve, and celebrate your photographic memories. Your journey into the world of photography starts here.
Address: 1600 St Michael’s Dr, Santa Fe, NM 87505, United States
Phone: +1 (505) 471-6001
Website: dfphoto.net