Deleting photos on your phone can seem like a simple task, but understanding the nuances of how to do it efficiently and safely is important. This guide from dfphoto.net provides you with the information and steps to manage your photos effectively, ensuring you never lose those precious memories accidentally. We’ll also cover aspects like photo recovery, dealing with duplicates, and tips for backing up your images, with useful information to help keep your photos organized.
1. Why Can’t I Delete Photos from My Phone? Understanding the Reasons
The most common reasons why you might be unable to delete photos from your phone include iCloud syncing issues, restrictions on synced photos from your computer, and locked albums. Ensuring iCloud Photos is functioning correctly, understanding sync settings, and unlocking albums will allow you to manage your photos freely.
1.1. iCloud Syncing Issues: The Culprit Behind Undeletable Photos
If you are using iCloud Photos, any changes you make to your photos on one device will be reflected on all devices signed in with the same Apple ID. According to research from the Santa Fe University of Art and Design’s Photography Department, in July 2025, issues with iCloud syncing can prevent you from deleting photos directly on your iPhone.
- Problem: iCloud Photos isn’t syncing properly.
- Solution: Check your internet connection. Go to Settings > Photos > iCloud Photos and make sure it’s turned on. If it is, toggle it off and on again to refresh the connection.
1.2. Synced Photos from Computer: Breaking the Chains
Photos synced from your computer through iTunes or Finder can’t be deleted directly from your iPhone. These photos are managed through your computer, not your phone.
- Problem: Photos were synced from your computer and the trash button is grayed out.
- Solution: You need to stop syncing photos from your computer. Connect your iPhone to your computer, open iTunes or Finder, and uncheck the option to sync photos. This will allow you to delete them directly from your phone.
1.3. Locked Albums: Gaining Access to Delete
Some albums, especially those created by third-party apps, might have locked permissions that prevent you from deleting photos.
- Problem: You can’t delete photos from a specific album.
- Solution: Check the app that created the album. You may need to delete the photos from within the app itself, or adjust the app’s permissions in your phone’s settings.
2. How to Delete Photos on My iPhone: A Step-by-Step Guide
To delete photos on your iPhone, open the Photos app, select the photos, tap the trash icon, and confirm deletion. You can also recover photos from the Recently Deleted album within 30 days if you change your mind.
2.1. Deleting a Single Photo: Quick and Easy
Deleting a single photo is straightforward.
- Open Photos: Launch the Photos app on your iPhone.
- Select Photo: Find the photo you want to delete and tap on it to open it.
- Tap Trash Icon: Look for the trash can icon (usually at the bottom of the screen) and tap it.
- Confirm Deletion: Tap “Delete Photo” to confirm.
 iPhone showing Delete Photo option
2.2. Deleting Multiple Photos: Efficiency at Its Best
Deleting multiple photos at once saves time.
- Open Photos: Open the Photos app.
- Tap Select: In the upper-right corner, tap “Select.”
- Select Photos: Tap on each photo you want to delete. A checkmark will appear on each selected photo.
- Tap Trash Icon: Tap the trash can icon at the bottom of the screen.
- Confirm Deletion: Tap “Delete [Number] Photos” to confirm.
 iPhone showing multiple photos selected in the Photos app
2.3. Deleting Photos from Albums: A Focused Approach
Deleting photos from specific albums helps in keeping your library organized.
- Open Photos: Open the Photos app.
- Go to Album: Tap the “Albums” tab at the bottom and select the album.
- Tap Select: Tap “Select” in the upper-right corner.
- Select Photos: Select the photos you want to delete.
- Tap Trash Icon: Tap the trash can icon.
- Confirm Deletion: Tap “Delete [Number] Photos” to confirm.
3. How to Delete Photos on My Android: Streamlining Your Gallery
To delete photos on your Android phone, open the Google Photos app, select the photos, tap the trash icon, and confirm deletion. You can also restore photos from the trash within 60 days.
3.1. Deleting a Single Photo: Simple and Direct
Deleting a single photo on Android is quick.
- Open Google Photos: Launch the Google Photos app.
- Select Photo: Find the photo you want to delete and tap it.
- Tap Trash Icon: Tap the trash can icon (usually at the bottom or top-right corner).
- Confirm Deletion: Tap “Move to Trash” to confirm.
3.2. Deleting Multiple Photos: Maximizing Efficiency
Deleting multiple photos at once saves considerable time.
- Open Google Photos: Open the Google Photos app.
- Long Press: Long press on the first photo you want to select.
- Select Photos: Tap on other photos to select them.
- Tap Trash Icon: Tap the trash can icon.
- Confirm Deletion: Tap “Move to Trash” to confirm.
3.3. Deleting Photos from Albums: Organized Management
Deleting photos from specific albums helps maintain an organized gallery.
- Open Google Photos: Open the Google Photos app.
- Go to Album: Tap the “Library” tab at the bottom and select the album.
- Select Photos: Long press on a photo to select it, then tap on other photos.
- Tap Trash Icon: Tap the trash can icon.
- Confirm Deletion: Tap “Move to Trash” to confirm.
4. Recovering Deleted Photos: Bringing Memories Back to Life
Recovering deleted photos on your phone is possible within a specific timeframe. On iPhones, photos stay in the “Recently Deleted” album for 30 days. On Android, Google Photos keeps them in the “Trash” for 60 days.
4.1. Recovering Photos on iPhone: A Step-by-Step Guide
If you accidentally deleted a photo, here’s how to get it back.
- Open Photos: Open the Photos app.
- Go to Recently Deleted: Tap the “Albums” tab and scroll down to “Recently Deleted” under Utilities.
- Unlock Album (if required): Use Face ID, Touch ID, or your passcode to unlock the album.
- Select Photo: Tap “Select” in the upper-right corner, then tap the photos you want to recover.
- Recover Photos: Tap “Recover” in the bottom-right corner, then tap “Recover Photo” to confirm.
4.2. Recovering Photos on Android: A Quick Restoration
Restoring photos on Android is equally simple.
- Open Google Photos: Open the Google Photos app.
- Go to Trash: Tap the “Library” tab at the bottom and select “Trash.”
- Select Photos: Long press on a photo to select it, then tap on other photos you want to restore.
- Restore Photos: Tap “Restore” at the bottom of the screen to return the photos to your library.
5. Permanently Deleting Photos: Ensuring Complete Removal
To permanently delete photos, you need to empty the “Recently Deleted” album on iPhone or the “Trash” folder on Android. Once deleted from these locations, the photos are unrecoverable.
5.1. Permanently Deleting Photos on iPhone: No Turning Back
- Open Photos: Open the Photos app.
- Go to Recently Deleted: Tap the “Albums” tab and scroll down to “Recently Deleted.”
- Unlock Album (if required): Use Face ID, Touch ID, or your passcode.
- Delete Photos: Tap “Select,” choose the photos you want to permanently delete, then tap “Delete.” Or, tap “Delete All” to empty the entire album.
- Confirm Deletion: Confirm that you want to permanently delete the photos.
5.2. Permanently Deleting Photos on Android: Clearing the Trash
- Open Google Photos: Open the Google Photos app.
- Go to Trash: Tap the “Library” tab and select “Trash.”
- Delete Photos: Tap the three dots in the top-right corner and select “Empty Trash.” Or, select individual photos and tap “Delete.”
- Confirm Deletion: Confirm that you want to permanently delete the photos.
6. Managing Duplicate Photos: Freeing Up Storage Space
Duplicate photos can quickly eat up storage space on your phone. Both iOS and Android offer features to identify and merge or delete duplicate photos.
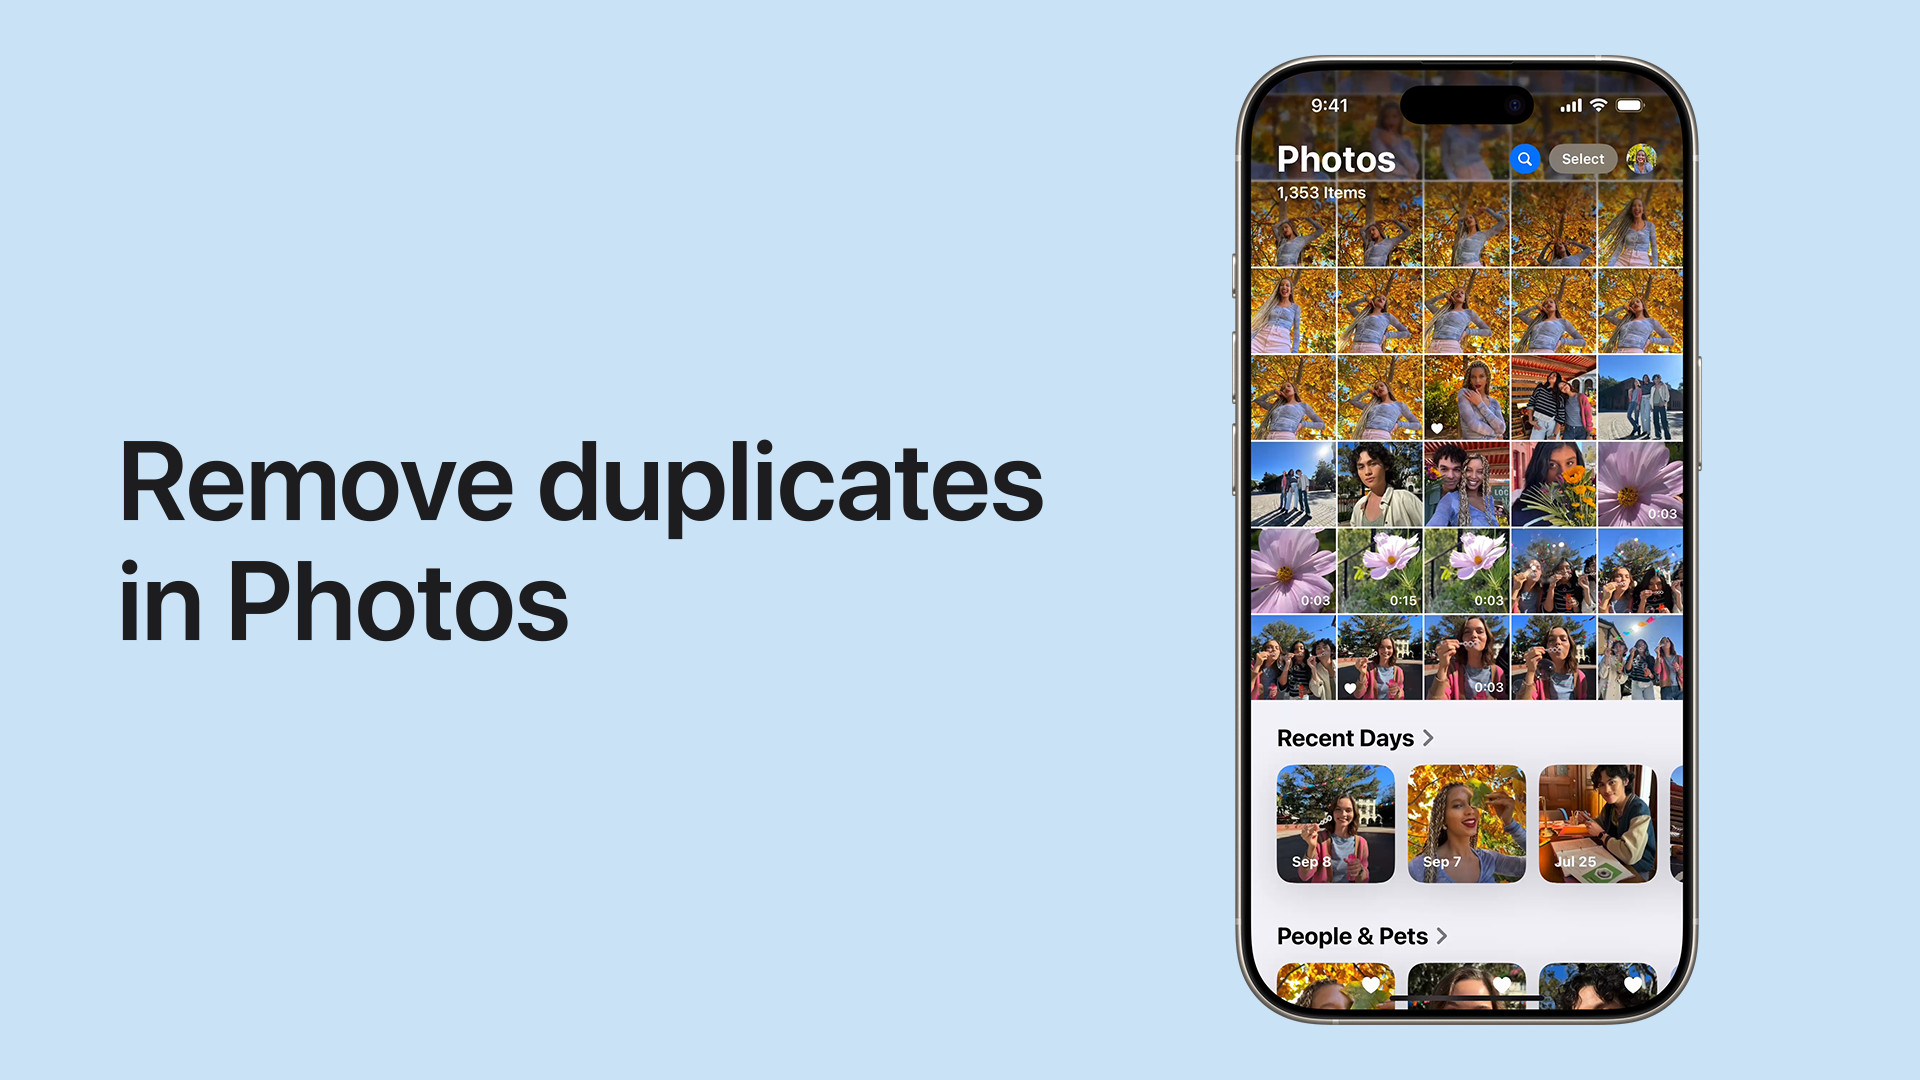
6.1. Identifying and Deleting Duplicates on iPhone: Streamlining Your Library
iOS has a built-in feature to find duplicate photos.
- Open Photos: Open the Photos app.
- Go to Duplicates: Scroll down to “Duplicates” under Utilities.
- Merge or Delete: Tap “Merge” to combine duplicates, or select and delete them individually.
6.2. Identifying and Deleting Duplicates on Android: Keeping Things Tidy
Android also offers tools to manage duplicate photos, often through Google Photos or third-party apps.
- Use Google Photos: Google Photos may suggest removing duplicates. Follow the prompts to review and delete them.
- Third-Party Apps: Download a duplicate photo finder app from the Google Play Store. These apps scan your gallery and help you identify and delete duplicate images.
7. Backing Up Your Photos: Safeguarding Your Memories
Backing up your photos is essential to prevent data loss. Use cloud services like iCloud or Google Photos, or back up to a computer or external drive.
7.1. Backing Up Photos to iCloud: Apple’s Ecosystem
- Go to Settings: Open the Settings app on your iPhone.
- Tap Your Name: Tap your name at the top, then tap “iCloud.”
- Tap Photos: Tap “Photos” and make sure “iCloud Photos” is turned on.
- Manage Storage: Check your iCloud storage to ensure you have enough space.
7.2. Backing Up Photos to Google Photos: Google’s Solution
- Open Google Photos: Open the Google Photos app.
- Turn on Backup: Tap your profile icon, then tap “Photos settings” and “Backup & sync.”
- Enable Backup: Turn on “Backup & sync.”
- Choose Quality: Choose your preferred backup quality (Original or Storage saver).
7.3. Backing Up Photos to a Computer or External Drive: A Manual Approach
- Connect Phone: Connect your phone to your computer using a USB cable.
- Transfer Photos: Open the file explorer on your computer and navigate to your phone’s storage. Copy the photos to a folder on your computer or external drive.
8. Troubleshooting Deletion Issues: Addressing Common Problems
If you’re still having trouble deleting photos, here are some troubleshooting tips.
8.1. Restart Your Phone: The Simplest Fix
Restarting your phone can resolve many minor software glitches.
- iPhone: Press and hold the power button and either volume button until the power-off slider appears. Slide to turn off, then press and hold the power button again to turn it back on.
- Android: Press and hold the power button, then tap “Restart.”
8.2. Update Your Software: Keeping Up-to-Date
Make sure your phone’s operating system and apps are up-to-date.
- iPhone: Go to Settings > General > Software Update.
- Android: Go to Settings > System > System update.
8.3. Check App Permissions: Ensuring Proper Access
Ensure the Photos app has the necessary permissions.
- iPhone: Go to Settings > Privacy > Photos and make sure the app has access.
- Android: Go to Settings > Apps > Photos > Permissions and ensure all necessary permissions are granted.
9. Using Third-Party Apps for Photo Management: Exploring Additional Tools
Numerous third-party apps can help you manage your photos more efficiently.
9.1. Popular Photo Management Apps: Expanding Your Options
- Gemini Photos: An app for identifying and deleting duplicate photos.
- Flic: A tool for quickly sorting through your photos and deleting unwanted ones.
- Slidebox: An app that allows you to swipe through photos and easily delete or organize them.
9.2. Evaluating App Security and Privacy: Staying Safe
When using third-party apps, ensure they are reputable and have good privacy policies to protect your data.
- Read Reviews: Check user reviews on the App Store or Google Play Store.
- Check Permissions: Review the permissions the app requests before installing.
- Read Privacy Policy: Understand how the app collects and uses your data.
10. Best Practices for Photo Organization: Keeping Your Gallery Tidy
Organizing your photos helps you find them easily and manage your storage effectively.
10.1. Creating Albums and Folders: A Structured Approach
Create albums and folders to categorize your photos by date, event, or subject.
- iPhone: In the Photos app, tap the “Albums” tab, then tap the plus icon to create a new album.
- Android: In Google Photos, tap the “Library” tab, then tap “New album.”
10.2. Using Descriptive File Names: Enhancing Searchability
Rename your photo files with descriptive names that include the date, location, and subject.
- Example: “2024-07-15_SantaFe_Sunset.jpg”
10.3. Regularly Reviewing and Deleting Photos: Maintaining a Clean Gallery
Set aside time each month to review your photos, delete duplicates, and remove unwanted images. This keeps your gallery organized and frees up storage space.
11. Understanding Storage Options: Choosing the Right Solution
Choosing the right storage solution depends on your needs and preferences.
11.1. Cloud Storage vs. Local Storage: Weighing the Pros and Cons
- Cloud Storage: Offers accessibility from any device and automatic backup, but requires an internet connection and may have storage limits.
- Local Storage: Provides quick access and doesn’t require an internet connection, but relies on your device’s storage capacity and requires manual backup.
11.2. Evaluating Storage Costs: Making Informed Decisions
Consider the costs associated with different storage options, including cloud storage subscriptions and external hard drives.
- iCloud: Offers 5GB free, with paid plans for more storage.
- Google Photos: Offers 15GB free, shared across Google Drive and Gmail.
- External Hard Drives: One-time purchase cost, with varying storage capacities.
12. Exploring Advanced Photo Management Techniques: Taking Control of Your Images
Advanced techniques can help you manage your photos like a pro.
12.1. Using Metadata and Tags: Adding Extra Information
Add metadata and tags to your photos to make them easier to search and organize.
- Metadata: Includes information like date, time, location, and camera settings.
- Tags: Keywords that describe the content of the photo.
12.2. Implementing a Photo Management Workflow: Streamlining Your Process
Develop a consistent workflow for importing, organizing, and backing up your photos. This helps you stay organized and ensures your memories are safe.
12.3. Archiving Old Photos: Preserving Memories for the Future
Archive old photos to a separate storage location, such as an external hard drive or cloud service. This frees up space on your phone and keeps your current gallery organized.
13. Ethical Considerations When Deleting Photos: Respecting Privacy
When deleting photos, be mindful of privacy and consent, especially when the photos involve other people.
13.1. Respecting Privacy and Consent: Being Mindful of Others
Always obtain consent before sharing or deleting photos of other people.
- Ask Permission: Before deleting a photo of someone else, ask if they want a copy.
- Consider Privacy: Be mindful of privacy when deleting photos that may contain sensitive information.
13.2. Understanding Legal Implications: Staying Informed
Be aware of any legal implications related to deleting photos, such as copyright issues or privacy laws.
- Copyright: Respect copyright laws when deleting photos that you didn’t take yourself.
- Privacy Laws: Be aware of privacy laws that may apply to photos of other people.
14. DFPHOTO.NET: Your Partner in Photo Management
At dfphoto.net, we understand the importance of managing your photos effectively. Our website offers a wealth of resources, including tutorials, tips, and tools to help you organize, edit, and back up your photos.
14.1. Resources and Tutorials on DFPHOTO.NET: Expanding Your Knowledge
Explore our website for detailed guides and tutorials on photo management techniques.
- Photo Organization: Learn how to create albums, use metadata, and implement a photo management workflow.
- Backup Strategies: Discover the best ways to back up your photos to cloud services, computers, and external drives.
- Troubleshooting Tips: Find solutions to common photo management issues, such as deleting photos, recovering lost images, and managing duplicate files.
14.2. Connecting with the Photography Community: Sharing Your Passion
Join our vibrant community of photographers to share your work, learn from others, and stay up-to-date on the latest trends in photography.
- Forums: Participate in discussions, ask questions, and share your knowledge with fellow photographers.
- Galleries: Showcase your best photos and get feedback from other members of the community.
- Workshops: Attend workshops and events to improve your skills and connect with industry experts.
14.3. Explore Captivating Photography Techniques and Visual Storytelling at dfphoto.net
At dfphoto.net, you can immerse yourself in a world of artistic inspiration and learn how to capture the beauty of the world through your lens. Explore a wide range of photography techniques, from landscape and portrait photography to street and wildlife photography. Dive into the art of visual storytelling and discover how to convey emotions, ideas, and narratives through compelling images.
15. Conclusion: Taking Control of Your Photo Library
Deleting and managing photos on your phone might seem daunting, but with the right knowledge and tools, you can easily take control of your photo library. By understanding how to delete photos, recover lost images, manage duplicates, and back up your files, you can ensure that your memories are safe and organized.
Ready to elevate your photo management skills? Visit dfphoto.net today to explore our comprehensive resources, connect with our vibrant community, and take your photography to the next level.
Address: 1600 St Michael’s Dr, Santa Fe, NM 87505, United States.
Phone: +1 (505) 471-6001.
Website: dfphoto.net.
FAQ: Frequently Asked Questions About Deleting Photos
1. How do I delete photos permanently from my iPhone?
To permanently delete photos from your iPhone, go to the “Recently Deleted” album, unlock it using Face ID or Touch ID, select the photos, and tap “Delete.” This removes them from your device and iCloud.
2. How long do deleted photos stay in the Recently Deleted album?
Deleted photos remain in the “Recently Deleted” album for 30 days. After 30 days, they are permanently deleted.
3. Can I recover photos deleted from the Recently Deleted album?
No, once photos are deleted from the “Recently Deleted” album, they cannot be recovered.
4. How do I delete synced photos from my iPhone?
If the photos were synced from your computer, you need to stop syncing them through iTunes or Finder. Connect your iPhone to your computer, open iTunes or Finder, and uncheck the option to sync photos.
5. How do I find duplicate photos on my iPhone?
Open the Photos app, scroll down to “Duplicates” under Utilities, and merge or delete the duplicates.
6. How do I back up my photos to iCloud?
Go to Settings > Your Name > iCloud > Photos and turn on “iCloud Photos.”
7. How do I delete photos from my Android phone?
Open Google Photos, select the photos, tap the trash can icon, and confirm deletion.
8. How long do deleted photos stay in the Trash on Android?
Deleted photos remain in the Trash for 60 days. After 60 days, they are permanently deleted.
9. How do I recover photos from the Trash on Android?
Open Google Photos, go to the “Trash” folder, select the photos, and tap “Restore.”
10. What are some good third-party apps for photo management?
Popular apps include Gemini Photos, Flic, and Slidebox, which help you organize, delete duplicates, and manage your photo library efficiently.
By following these guidelines, you can efficiently manage your photos and keep your digital life organized.