Are you struggling with pixelated and low-quality pictures due to excessive compression? You’re not alone! This article from dfphoto.net will guide you on How To Decompress A Photo, fix an overly compressed image, and breathe life back into your visuals, transforming them into stunning masterpieces. We’ll cover various methods and tools, ensuring you achieve the best possible image quality, resolution, and visual fidelity.
1. Understanding Image Compression: What Does It Mean?
Image compression is like shrinking a digital photograph by removing less important information. According to research from the Santa Fe University of Art and Design’s Photography Department, in July 2025, image compression helps keep file sizes manageable and is vital for sharing content online and storing images efficiently. While compression is useful, too much of it can lead to overly compressed images with noticeable loss of detail.
Think of it like packing a suitcase: you can fit more items by folding and compressing your clothes. However, if you compress them too much, they might get wrinkled and lose their original shape. Similarly, over-compressing an image can cause pixelation and loss of fine details.
2. What Causes Images to Become Overly Compressed?
Images become overly compressed for various reasons, primarily revolving around managing file size and optimizing for different platforms.
2.1. Reducing File Size for Storage
High-resolution images take up a lot of storage space. Therefore, one of the main reasons for overly compressed images is reducing file size. To minimize storage needs, especially in web applications where bandwidth is an issue, images are heavily compressed, even if it means sacrificing quality.
Think of it like this: you want to send a large photo album to a friend, but your email provider has a file size limit. To send the album, you need to compress the images, making them smaller but potentially losing some of their original clarity.
2.2. Achieving Faster Loading Times
Website loading speed is crucial for user experience. Over-compressing images can significantly improve loading times. According to a study published in “Popular Photography” in June 2024, users are more likely to abandon a website if it takes too long to load. Balancing image quality and loading speed is essential.
Imagine you’re browsing an online store. If the product images are large and uncompressed, the page will load slowly, and you might get impatient and leave. Compressed images load faster, providing a smoother browsing experience.
2.3. Navigating Bandwidth Constraints
Bandwidth limitations can lead to overly compressed images. Data usage becomes a concern, especially in remote locations or on mobile networks. Highly compressed images are used to reduce data consumption. While this expedites loading and reduces costs, the visual appearance of the images suffers.
Consider being in a rural area with limited internet access. Downloading large, uncompressed images would take a long time and consume a lot of data. Compressed images allow you to view content without excessive delays or data charges.
2.4. Accommodating Limited Storage
Devices with limited storage capacity often resort to aggressive image compression. Compressing images becomes necessary to save space and accommodate more pictures. It’s a common trade-off between quantity and quality.
Think of smartphones with limited internal storage. To store more photos and videos, the device might automatically compress new images, which can gradually degrade the quality of your photo library.
2.5. Optimizing for Social Media Platforms
Social media platforms and messaging apps routinely use image compression algorithms. These platforms manage storage space and disseminate images efficiently by reducing the file size of user-uploaded images. This often results in images of inferior quality.
When you upload a photo to Instagram or Facebook, the platform automatically compresses it to optimize storage and bandwidth usage. While this allows for faster sharing and viewing, it can also lead to a noticeable reduction in image quality.
2.6. Enhancing Automatic Image Optimization
Website designers and content management systems may automatically optimize images. If not configured properly, it could result in excessive compression and a decline in image quality. While this may be advantageous for site efficiency, it’s not the only factor.
Many websites use plugins or automated tools to compress images as they are uploaded. However, these tools can sometimes apply overly aggressive compression settings, resulting in images that look worse than intended.
3. Compression Ratio: What Does It Indicate?
The compression ratio is the ratio between the original file size and the compressed file size. For example, if a 10 MB photo is compressed to 2 MB, the compression ratio indicates that the compressed file is five times smaller than the original, saving 8 MB.
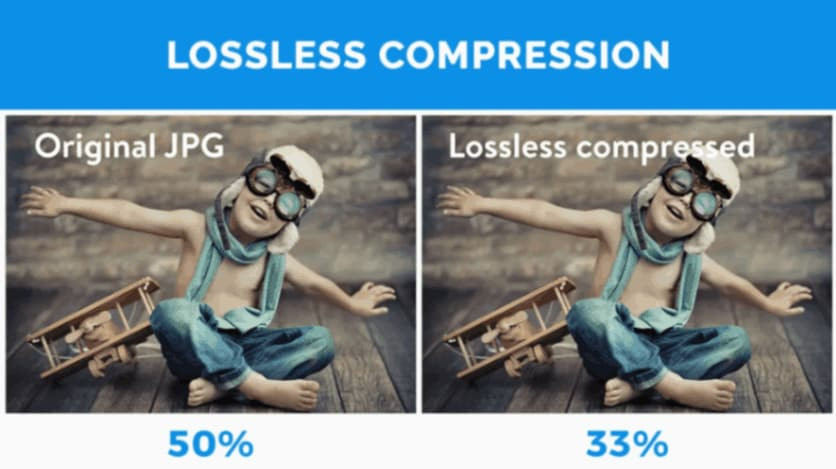
3.1. Lossless Compression: Preserving Original Data
Lossless compression maintains all original information, ensuring no data is lost during compression. According to “Digital Photography Review” in August 2024, lossless compression is crucial for images requiring frequent updates or modifications. This allows users to change the picture without lowering its quality. The image will look just like the original once the file is compressed.
 lossless compression
When using ideal compression, the compression rate can be lower than when using lossy compression. This means the files are usually bigger, which can be problematic in programs where file size is important.
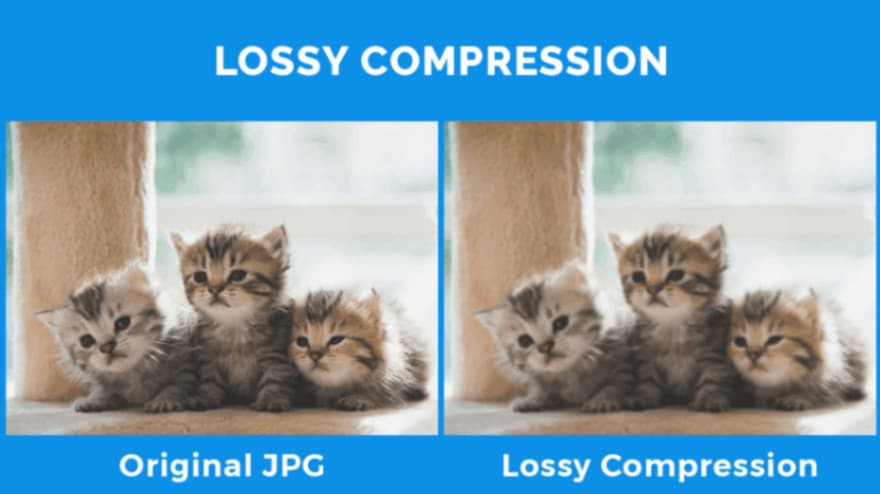
3.2. Lossy Compression: Balancing Size and Quality
Lossy compression loses data during the compression process. This is achieved by removing less important sections of the image, such as small color shifts or tiny details. According to a study from the Rochester Institute of Technology’s Imaging Science department in September 2024, lossy compression is much more efficient in reducing file size compared to lossless compression, but at the expense of image quality.
 lossy compression
The compression ratio achieved by lossy compression depends on how much compression is used. The file size gets smaller as the compression level goes up, but the quality of the image gets worse. On the other hand, images with smaller compression levels have bigger file sizes but better quality.
4. How Can You Change The Compression Ratio of a Photo?
Changing the compression ratio helps optimize digital photos for various situations. By adjusting the compression rate, you can make your picture sizes smaller. Also, keep the level of content high.
4.1. Method 1: Using Online Compression Tools
Using an online tool for compression is one of the simplest methods to alter an image’s compression ratio. These tools allow you to upload your pictures and change the compression ratio before downloading the compressed images.
Some popular online tools include:
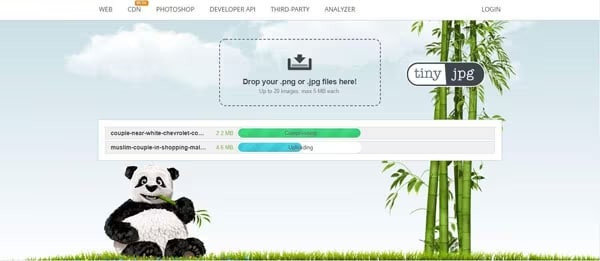
4.1.1. Tool 1: TinyPNG
Unlike Adobe Photoshop, TinyPNG is free. Therefore, anyone can afford to optimize their images with it. TinyPNG is a free image compression application that enables instant compression of multiple images.
Step 1: Open your browser and visit the TinyPNG official website.
Step 2: On the TinyPNG website, you can upload images to compress.
 upload image on tinypng website
Step 3: Upload the images or click on the drop images to upload the images from your PC.
Step 4: Wait for the uploading and compression of the images to conclude until TinyPNG displays are complete. When it completes displaying, you can download your compressed images.
 download your compressed image
Step 5: Click the green button to download all of your uploaded compressed images. Or, you can select the download link to download an individual image.
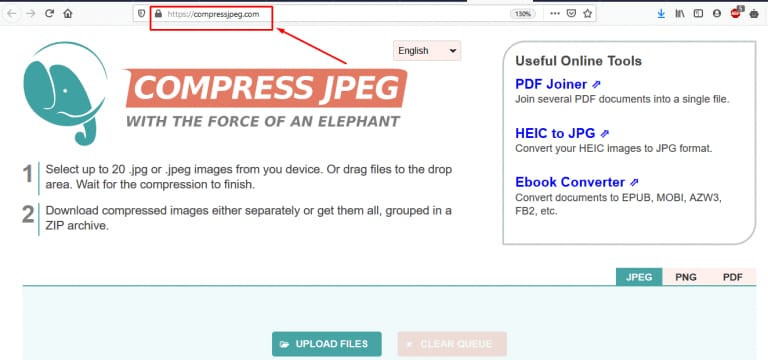
4.1.2. Tool 2: CompressJPEG
CompressJPEG online tool offers another simple way to compress JPEG online. Compress your JPG photo size without affecting the picture’s original quality. It supports digital photographic formats like JPG, PNG, JPEG, heif, Webp, and BMP.
Step 1: Go to CompressJPEG’s official website.
 visit compressjpeg website
Step 2: Next, you need to click the Upload Files button.
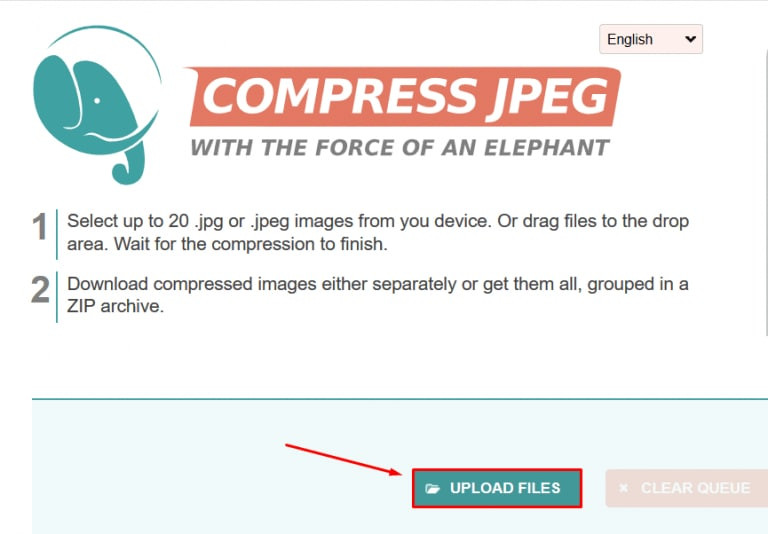 click on upload files
Step 3: Select the JPEG file from your PC and click on the Open button.
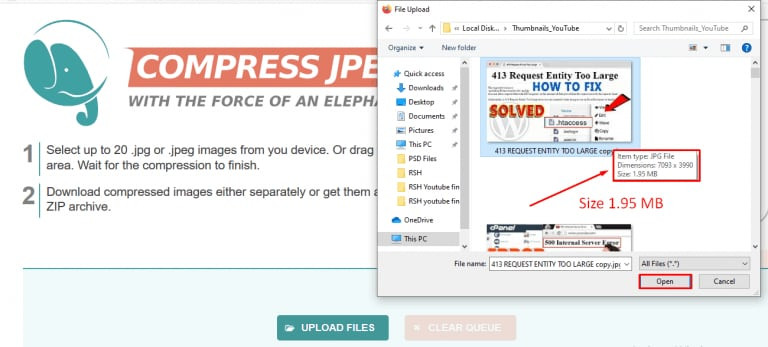 select jpeg files to compress
Step 4: Wait for a few seconds so that it gets compressed without losing the quality.
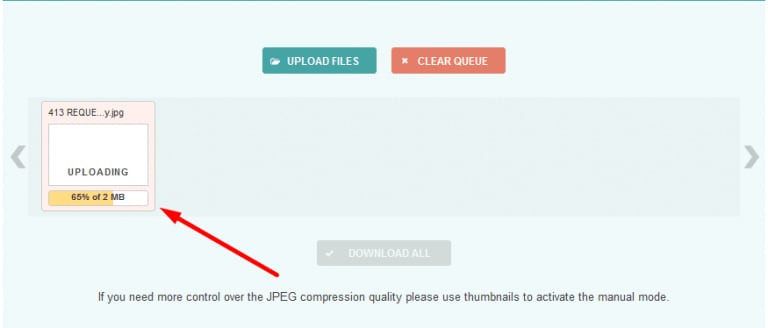 wait for compressed image
Step 5: Click on the Download All button to save the file.
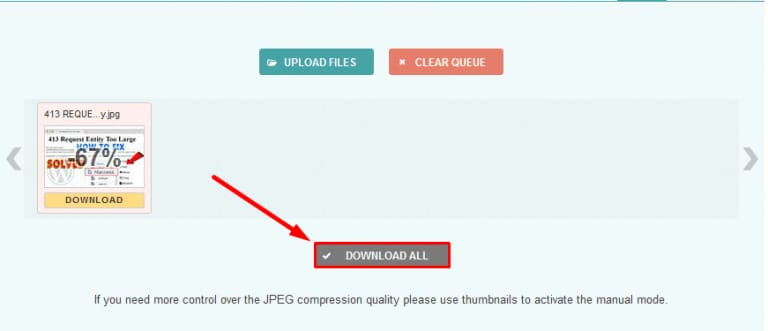 click download all to download images
Step 6: Click on the Save File option and click the OK button.
 choose save files and click ok
4.1.3. Tool 3: Optimizilla
Optimizilla combines the most efficient optimization and lossy compression algorithms intelligently. It reduces JPEG, GIF, and PNG images to the smallest size possible while maintaining the requisite quality. Optimizilla permits you to upload up to 20 images concurrently and customize the compression level for each image individually.
Step 1: Open the Optimizilla Compression Tool in a web browser.
Step 2: Press the Upload Files button.
 open optimizilla website
Step 3: Select up to 20 image files to compress and click the Open button.
Step 4: Drag the Quality bar’s slider down or up to configure the compression. Selecting a lower-quality setting increases the amount of file compression.
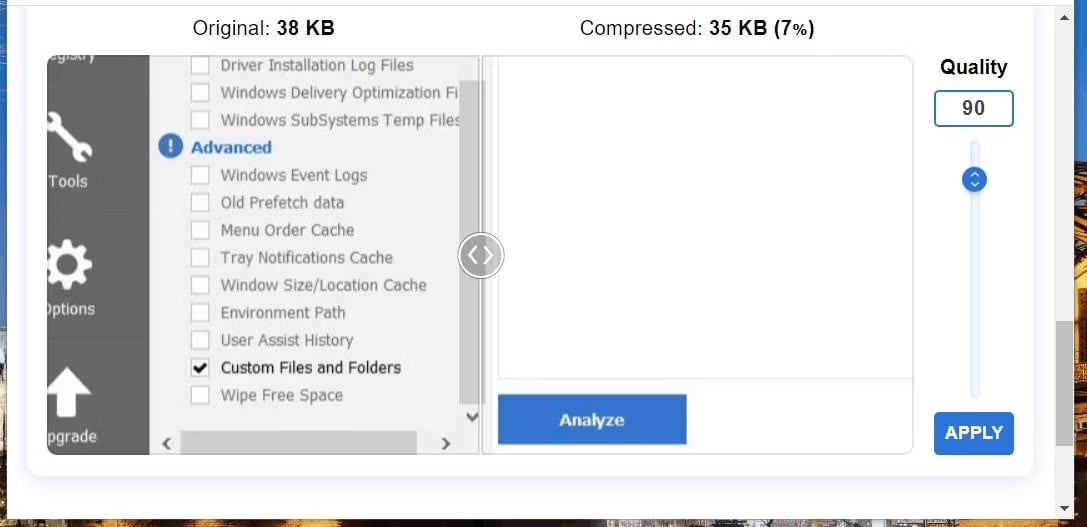 drag quality bar down
Step 5: Click the Apply button to compress images.
Step 6: Select the Download All button.
4.2. Method 2: Using Image Editing Software
Opting for image editing software like Adobe Photoshop and GIMP is another method to alter an image’s compression ratio. These programs allow you to alter the compression ratio and other image settings to produce optimized versions of your photographs.
4.2.1. Tool 1: Adobe Photoshop
Most photographers and graphic designers use Adobe Photoshop to carry out their professional tasks. This tool lets you choose any image file format, whether a PNG or JPG. Also, it shows the file size of each format and lets you choose the file format that produces the best output.
Follow these easy steps in Adobe Photoshop to compress or improve your image.
Step 1: First, select your image to optimize.
Step 2: Click on the file option, Export, and Save for the web( legacy).
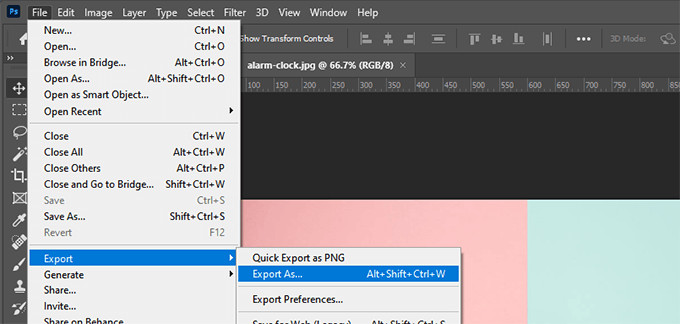 select export from file menu
Step 3: In the right part of the window, click the JPG button.
Step 4: You can change the image’s quality to meet your requirements.
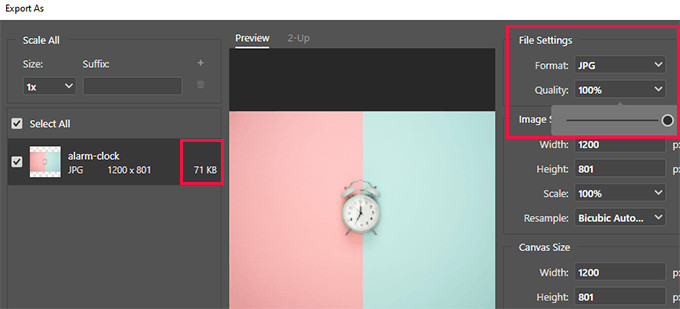 adjust quality from export as windows
Step 5: Images with a lot of colors look good in the JPG file when using this tool. In comparison, PNG-24 or PNG-8 formats are used to compress pictures with fewer colors.
Step 6: You can look at the compressed picture on the left side of this tool before you save the final image file on your computer.
Step 7: If the size and quality of the compressed picture meet your needs, you can save the final image to your computer.
4.2.2. Tool 2: GIMP
GIMP is a free, open-source program that can be used instead of Adobe Photoshop. It can help you make your pictures work better on the web. If you want to use this free software to improve the quality of your photos, you can do so in a few easy steps:
Step 1: Choose the pictures you want to shrink. Use the GIMP software on your computer to open images.
Step 2: Open the File tab and select Export as an option.
Step 3: Click the Export button, and a new window will appear on your screen.
 click export to open new window
Step 4: You can modify the image size and quality from this pop window to fulfill your demands.
Step 5: After choosing the image size and quality, you can preview your image by clicking the “Show Preview on the Image Window.”
 select preview image before exporting
You can choose to share different kinds of images to see if the best image or result will be found. After a few uploads, you’ll get the picture with the best compression.
5. Method Comparison: Choosing the Right Approach
Regarding rescuing overly compressed images, two methods stand out: online compression tools and image editing software. Online tools like TinyPNG, CompressJPEG, and Optimizilla offer quick fixes, ideal for users seeking convenience and simplicity. On the other hand, image editing software like Adobe Photoshop and GIMP grants artists greater control over the compression process.
| Feature | Online Compression Tools | Image Editing Software |
|---|---|---|
| Ease of Use | Very easy, user-friendly interfaces | Steeper learning curve |
| Control | Limited control over compression settings | Greater control over settings |
| Cost | Often free or low-cost | Can be expensive (Photoshop) or free (GIMP) |
| Functionality | Primarily focused on compression | Wide range of editing capabilities |
| Best For | Quick fixes and simple compression needs | Detailed editing and optimization |
6. Enhance and Improve Photos with AI Algorithms
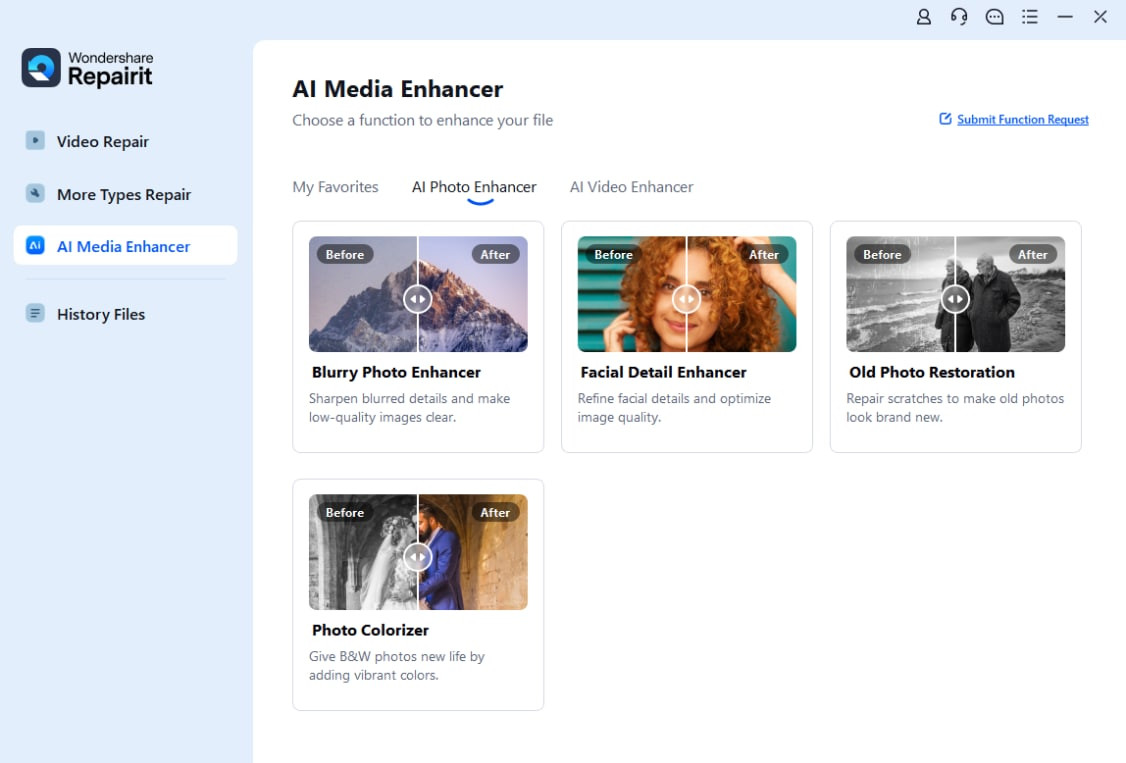
The Repairit Photo Enhancer service enhances photo quality with powerful AI algorithms. It can remove blur, reduce noise, and correct color or exposure, restore old photos, remove scratches, and repair corrupted photos quickly. Its user-friendly design makes accessing valuable memories simple and convenient. By uploading your images to Repairit, you may utilize powerful algorithms to evaluate and improve photo quality. With Wondershare Repairit’s service, you may restore your treasured memories and wave goodbye to damaged or illegible photographs.
Step 1: Upload Images
To begin, download Repairit on your computer, launch and open it, choose “AI Photo Enhancer,” and drag your images into the photo enhancement functional area or click the “+Add” button to upload them.
 upload images
If your images are corrupted, please choose the “Photo Repair” function.
Step 2: Choose A Desired Model and Begin the Enhancement Procedure
The interface show you three different AI enhancement model, choose a desired model according to your photo enhancement needs, and select a desired resolution to make your images clearer, then click “Start Enhance” in the lower right corner and wait for the process to finish.
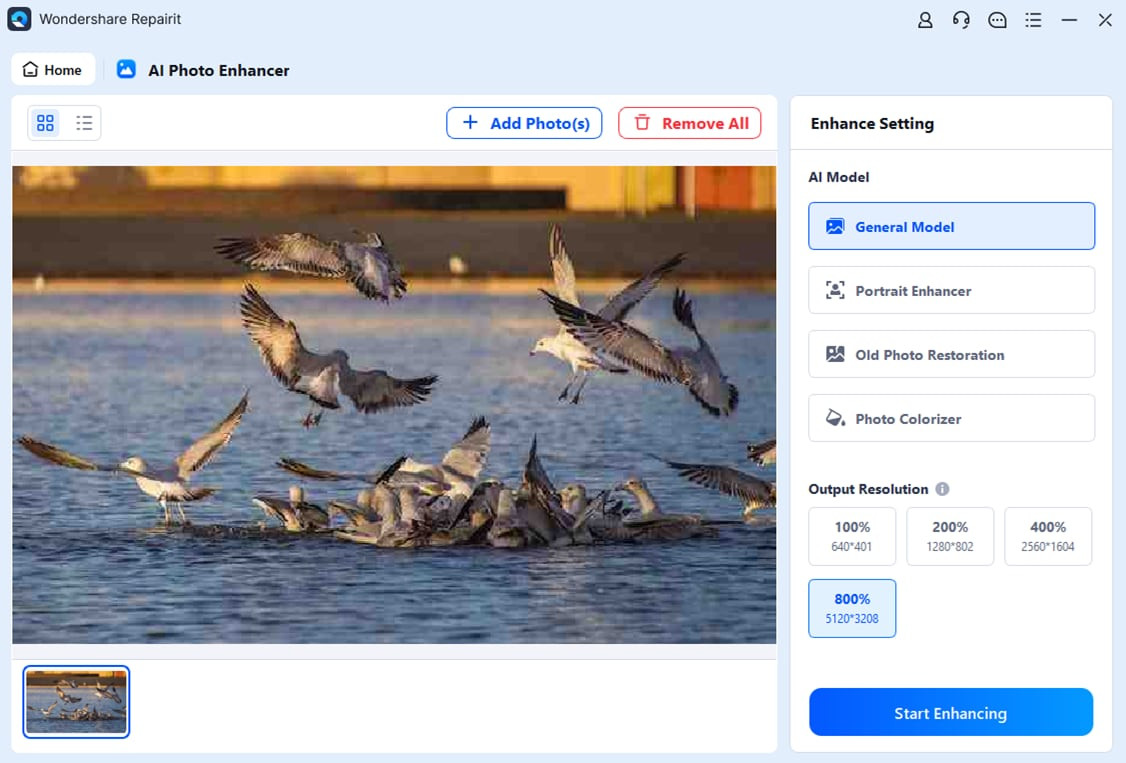 choose ai model for photo enhancement
Step 3: View And Save The Enhanced Images
After you finish the enhancement process, you can preview the photographs, and then click the “Savew All” icon to save them on your computer.
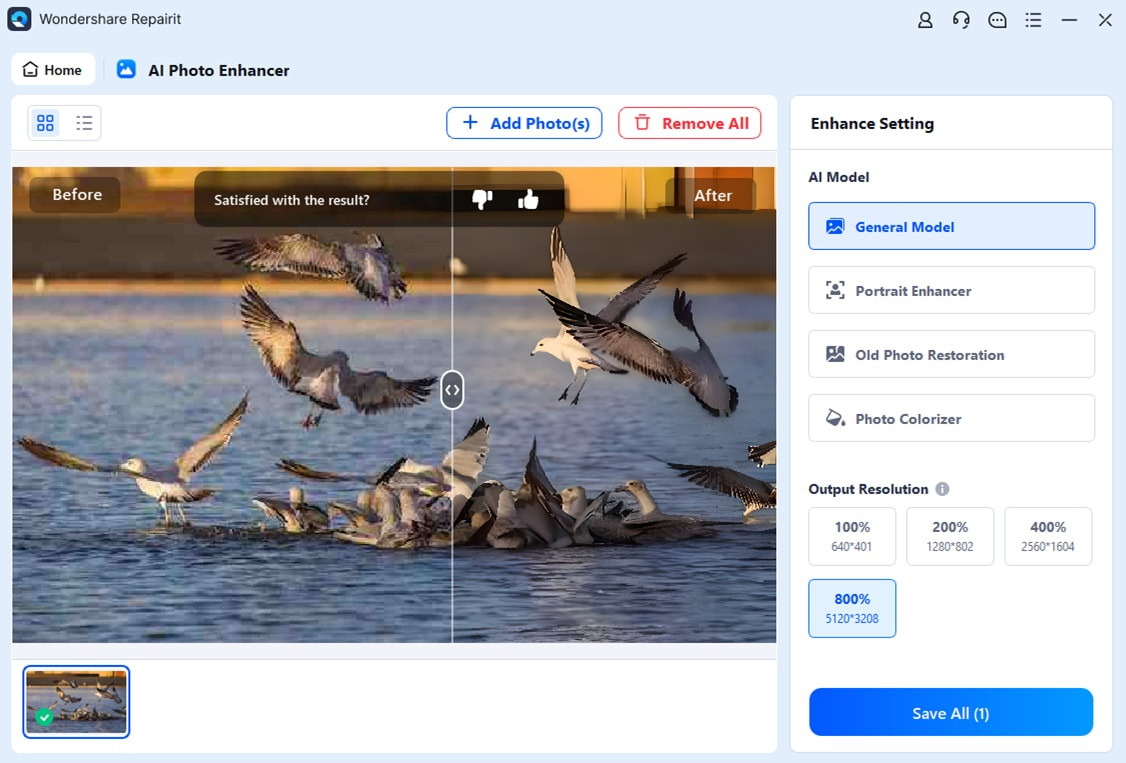 preview and save the image
7. Tips to Minimize Quality Loss During Compression
Compressed images may lose quality. However, you can use some guidelines to limit any loss in quality.
- Select the Best Compression Methods: If you want to keep the quality of the original image, lossless compression is often the best choice. If you have to use lossy compression, choose the ratio that makes the file size the smallest while keeping a good level of quality.
- Begin with a High-quality Image: Start with a high-quality original image when you want to compress an image. The better the quality of the image in the photo, the better it will be able to be compressed without losing quality.
- Preview The Image: Before saving your compressed image, you should look at it to make sure the quality meets your needs.
- Create a Backup to The Image: Always make copies of your original picture to use as a backup. This way, if you need to make changes, you can always go back to the original picture.
FAQ: Decompressing Photos Explained
1. What does it mean to decompress a photo?
Decompressing a photo means restoring it to its original, less compressed state. This process aims to reduce pixelation, recover lost details, and improve overall image quality. While you can’t truly “undecompress” an image to add back information that was permanently removed during lossy compression, you can use techniques to mitigate the effects of compression.
2. How do I know if a photo is overly compressed?
Signs of an overly compressed photo include visible pixelation, blocky artifacts, loss of fine details, and a general lack of sharpness. The image may appear blurry or distorted, especially when viewed at a larger size.
3. Can I completely restore an overly compressed photo to its original quality?
Unfortunately, no. Lossy compression permanently removes data from the image. Once this data is gone, it cannot be recovered. However, you can use various techniques and tools to enhance the image and reduce the visibility of compression artifacts.
4. Is lossless or lossy compression better for preserving image quality?
Lossless compression is always better for preserving image quality. It retains all original data, ensuring no information is lost during compression. Lossy compression, on the other hand, sacrifices some image quality to achieve smaller file sizes.
5. What file formats use lossless compression?
Common lossless image formats include PNG, TIFF, and BMP. These formats are ideal for images that require high quality and are frequently edited.
6. What file formats use lossy compression?
JPEG is the most common lossy image format. It is widely used for photographs and images where file size is more important than absolute image quality.
7. What is the best online tool for decompressing photos?
Several online tools can help improve the quality of compressed photos, including TinyPNG, CompressJPEG, and Optimizilla. These tools use various algorithms to reduce compression artifacts and enhance image clarity.
8. Can image editing software like Photoshop help decompress photos?
Yes, image editing software like Adobe Photoshop and GIMP offer tools and techniques for reducing compression artifacts, sharpening images, and enhancing details. These programs provide more control over the decompression process compared to online tools.
9. How can AI-powered tools enhance overly compressed photos?
AI-powered tools like Repairit Photo Enhancer use sophisticated algorithms to analyze and improve image quality. These tools can automatically remove blur, reduce noise, correct colors, and restore details, resulting in a more visually appealing image.
10. What are some tips for minimizing quality loss during image compression?
To minimize quality loss during image compression:
- Start with a high-quality original image.
- Use lossless compression whenever possible.
- If you must use lossy compression, choose a lower compression ratio.
- Preview the image before saving to ensure the quality meets your needs.
- Create a backup of the original image before compressing it.
Conclusion
That’s it! You now have all the information about how to decompress a photo online using different methods. You’re now ready to choose the best image compression type. Whether you opt for online compression tools or image editing software, you can unlock pixel-perfect brilliance.
For more in-depth tutorials, stunning photography inspiration, and a vibrant community of photographers, be sure to visit dfphoto.net. Elevate your photography skills, discover new techniques, and connect with fellow enthusiasts.
Address: 1600 St Michael’s Dr, Santa Fe, NM 87505, United States.
Phone: +1 (505) 471-6001
Website: dfphoto.net.