Have you ever wanted to create a gallery wall that truly stands out, or frame a precious photo with a custom touch? The secret to achieving that polished, professional look often lies in the picture mat. While custom framing can be expensive, and pre-cut mats might not always be the perfect size, there’s a satisfying and cost-effective solution: cutting your own photo mats at home.
Yes, you heard it right! Cutting your own picture mats is not only achievable but also surprisingly easy once you know the right techniques. Like the author of the original post, I initially thought it might be more hassle than it’s worth. However, after learning the ropes and navigating a few initial missteps, I discovered the joy and freedom of creating perfectly customized mats for any frame and photo size.
This guide is inspired by my own experiences and aims to expand on the original article, providing you with even more detailed instructions, helpful tips, and troubleshooting advice to ensure your DIY mat cutting journey is a success. Whether you’re aiming for a minimalist gallery wall, want to showcase individual prints, or simply need a mat in a non-standard size, mastering this skill will open up a world of framing possibilities.
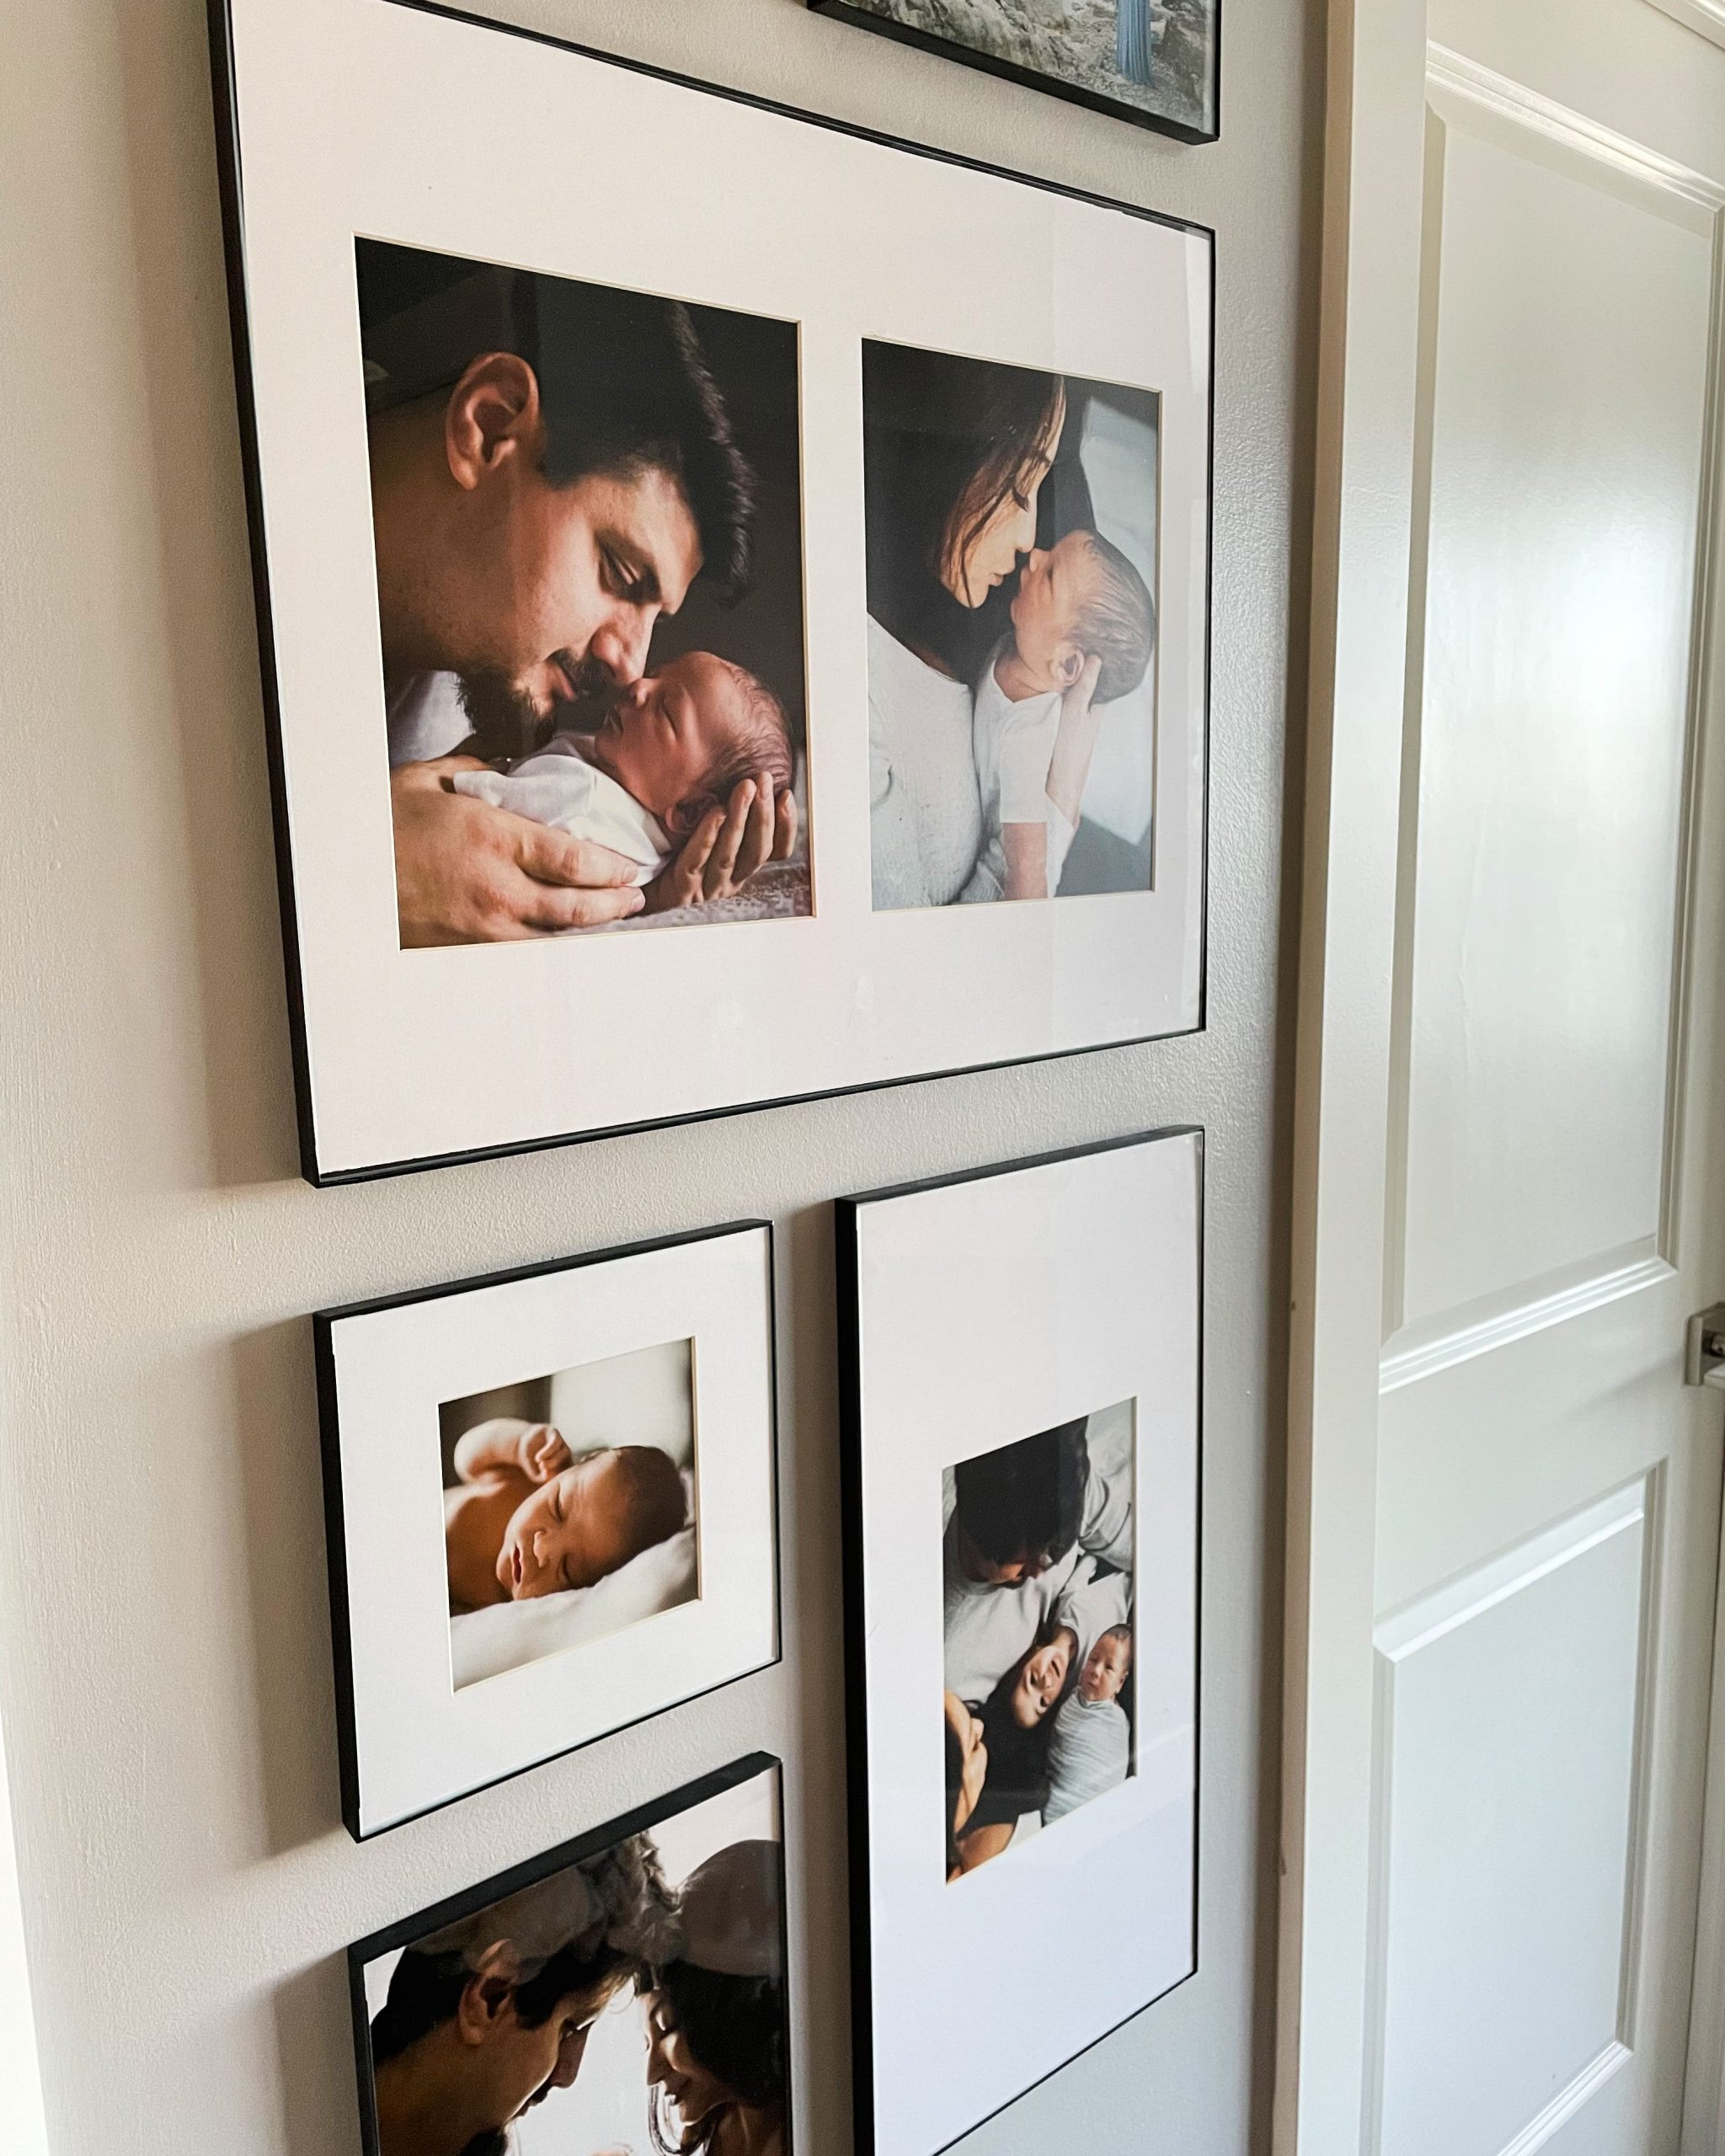 Close-up of a perfectly cut custom photo mat showcasing clean lines and a professional finish, enhancing a family photograph within a frame.
Essential Supplies for Cutting Custom Picture Mats
Before we dive into the step-by-step process, let’s gather the necessary tools and materials. Investing in the right supplies will not only make the process smoother but also ensure professional-looking results. While the initial outlay might seem a bit much, remember that you’ll be saving significantly compared to custom framing services in the long run, especially if you plan to create multiple framed pieces or gallery walls.
According to the original post, the total cost of supplies was around $200. While prices may vary, this is a reasonable estimate for setting up your DIY mat cutting toolkit. Here’s a breakdown of what you’ll need:
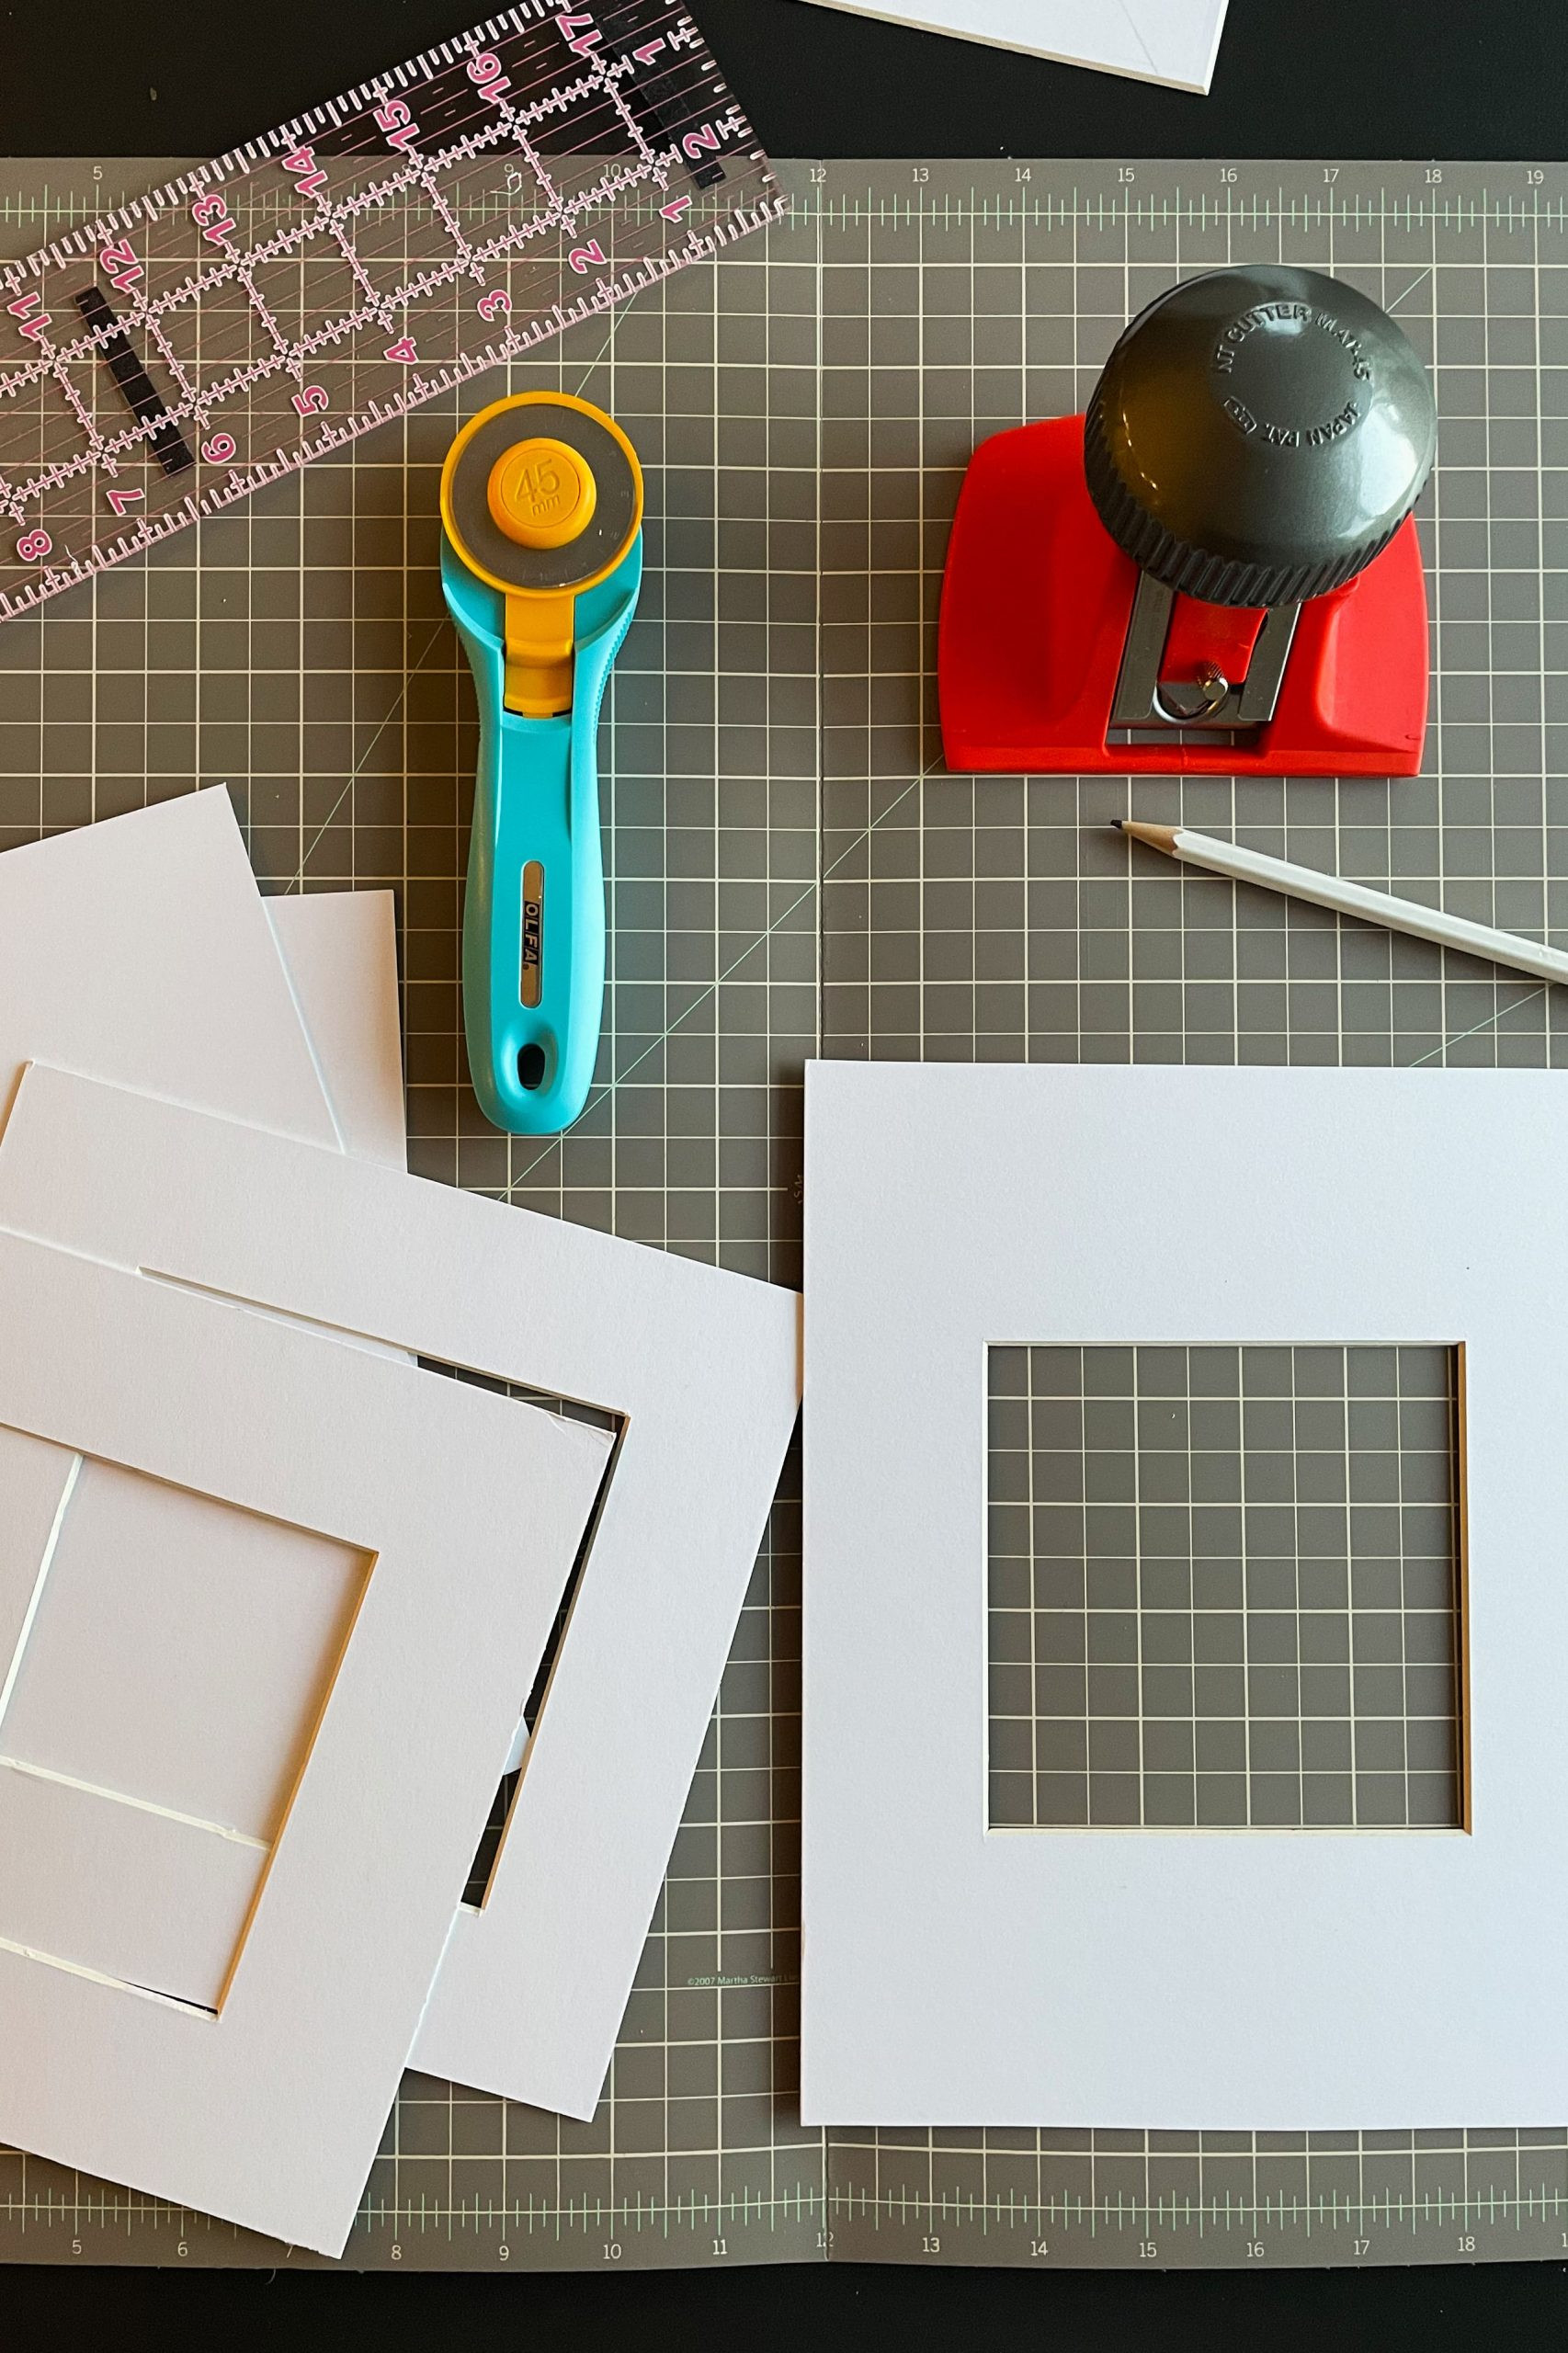 Image displaying all the necessary tools laid out neatly: a mat cutter, acrylic ruler, rotary cutter, pencil, and mat board, ready for a DIY photo mat cutting project.
- Mat Board Cutter: This is the most crucial tool. Invest in a quality mat cutter designed for bevel cuts, as this angled edge is what gives mats a professional, finished look. Brands like Logan or C&H are reputable choices.
- Acrylic Ruler with Non-Slip Backing: A clear acrylic ruler, preferably at least 24 inches long, is essential for guiding your mat cutter in a straight line. Crucially, ensure it has a non-slip backing or purchase anti-slip tape to add yourself. This prevents slipping and ensures accurate cuts.
- Rotary Cutter: A rotary cutter is used to trim the mat board down to the overall frame size. While a utility knife can work, a rotary cutter provides cleaner, straighter cuts, especially for larger pieces of mat board.
- Self-Healing Cutting Mat: Protect your work surface with a self-healing cutting mat. This provides a stable base for cutting and extends the life of your blades.
- Pencil: A standard pencil for marking measurements on the back of the mat board.
- Eraser (Optional): For correcting pencil marks.
- Measuring Tape: For measuring frames and photos accurately.
- Mat Board: Choose acid-free mat board to protect your photos from damage over time. Mat board comes in various colors and thicknesses; select one that complements your photos and frames.
Step-by-Step Guide: Cutting Your Own Picture Mats
Now that you have your supplies ready, let’s get into the step-by-step process of cutting your own picture mats. Take your time, follow each step carefully, and remember that practice makes perfect. Don’t be discouraged if your first attempt isn’t flawless – even experienced DIYers have learning curves!
1. Preparation is Key: Review Your Tools and Test Cuts
Before you even touch your good mat board, familiarize yourself with your mat cutter. As the original article wisely advises, carefully read the instructions that come with your specific mat cutter. Each tool might have slight variations in operation, and understanding the manufacturer’s guidelines is crucial for safety and accuracy.
Anti-Slip is Essential: If your acrylic ruler doesn’t have a non-slip base, apply the anti-slip material that likely came with your mat cutter, or purchase some separately. This seemingly small detail is a game-changer for preventing frustrating slips and crooked cuts. Trust me, skipping this step is a common beginner mistake that can lead to wasted mat board.
Depth Setting Test: Before cutting your final mat, perform test cuts on scrap mat board to determine the correct blade depth setting. You want the blade to cut cleanly through the mat board in a single pass without excessive force, but not so deep that it cuts into your cutting mat unnecessarily. Adjust the blade depth according to your mat cutter’s instructions until you achieve a clean cut.
2. Cutting the Mat Board to Frame Size
Using the paper insert that comes with your picture frame as a template, or by measuring the inside dimensions of your frame, determine the overall size of your mat board. Place your mat board on your cutting mat and use your rotary cutter and acrylic ruler to trim it to the correct size.
Pro Tip for Straight Cuts: As the original author mentions, keeping the rotary cutter perfectly straight can be challenging. To minimize straying, apply firm, even pressure on the acrylic ruler and keep your hand close to the cutter head for better control. Work in smooth, continuous strokes rather than jerky movements. If you’re cutting a large piece, reposition the ruler as needed to maintain accuracy.
3. Marking the Photo Opening: Precision is Paramount
This step requires careful measurement and marking. Work on the backside of your mat board.
Finding the Center: Lightly draw an “X” from corner to corner on the back of the mat board using a pencil and acrylic ruler. The intersection of these lines marks the exact center of your mat board. This center point will be your reference for marking the photo opening.
Calculating the Opening Size: Decide how much of your photo you want to be visible within the mat. A standard practice is to subtract 0.5 inches from both the width and height of your photo dimensions to ensure the mat slightly overlaps the photo, holding it securely in place. For example, for an 8×10 inch photo, your opening should be 7.5×9.5 inches.
Marking the Cutout Box: Divide your desired opening measurements in half. From the center point you marked on the mat board, measure out half of the opening width to the left and right, and half of the opening height up and down. Use these marks to draw a rectangle (your cutout box) using your pencil and acrylic ruler. Double-check your measurements to ensure accuracy before proceeding to the cutting stage.
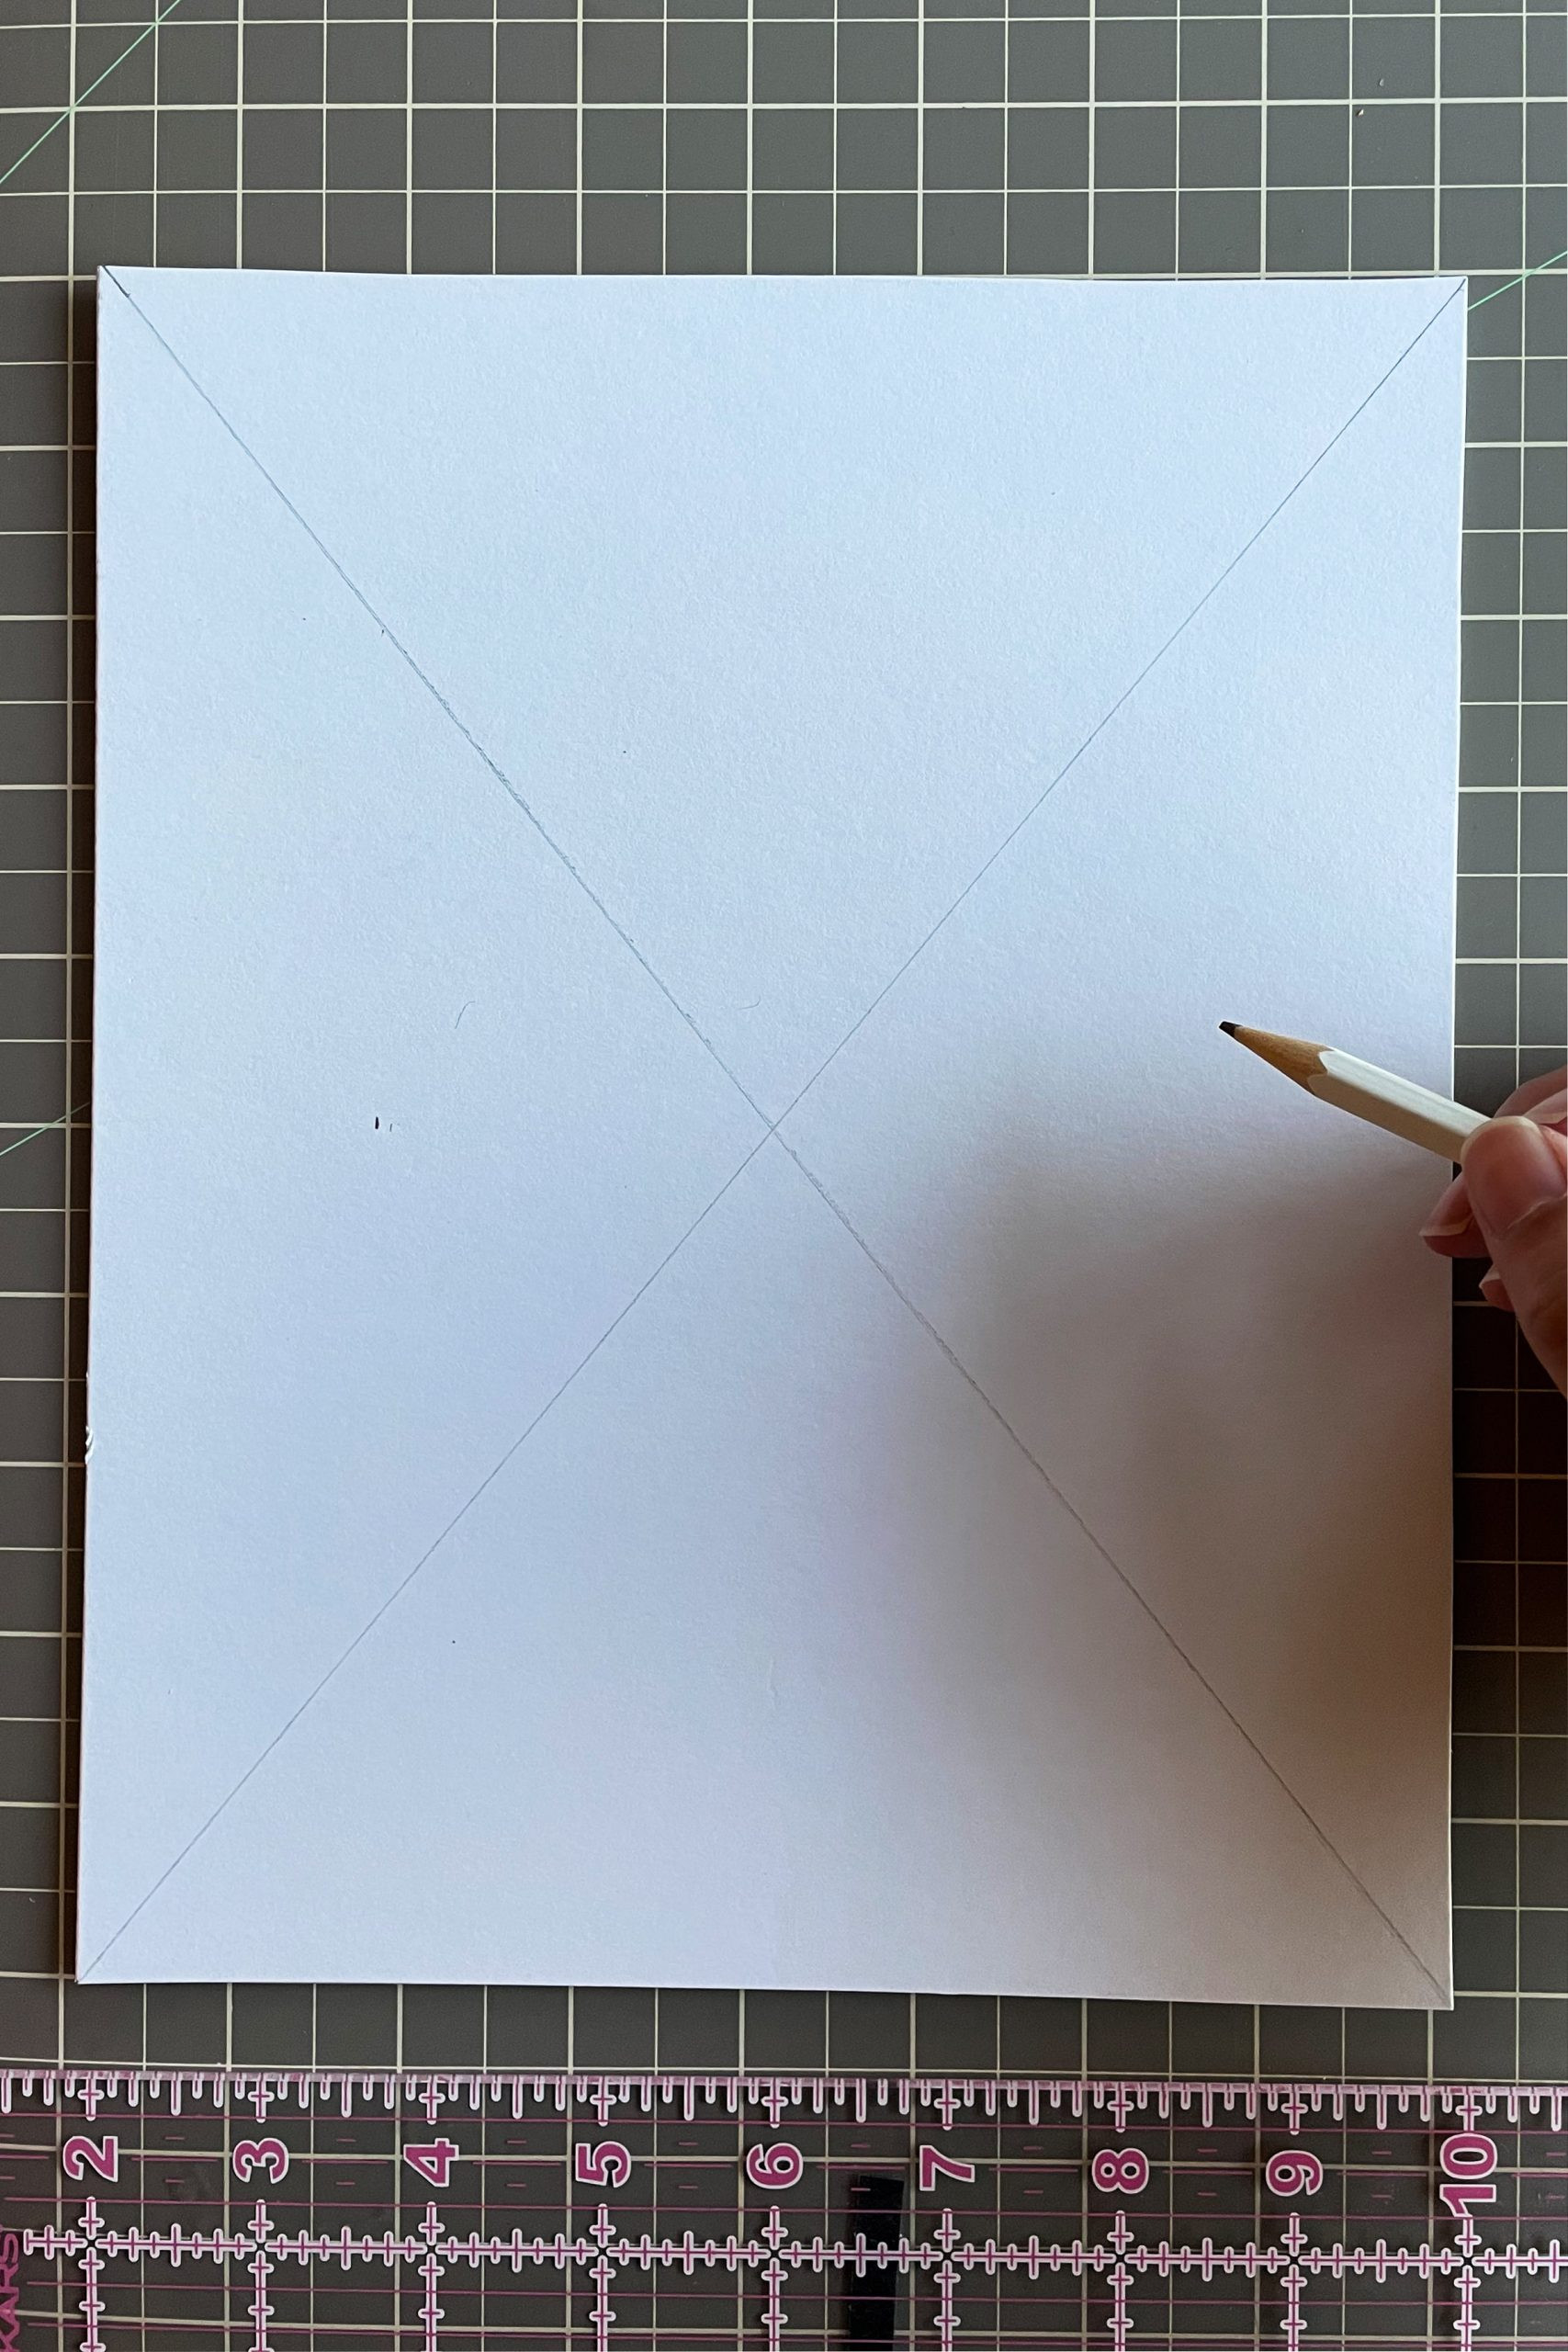 Image showing the back of a mat board with pencil markings: an 'X' drawn from corner to corner to find the center, and a smaller rectangular box drawn in the center representing the photo opening.
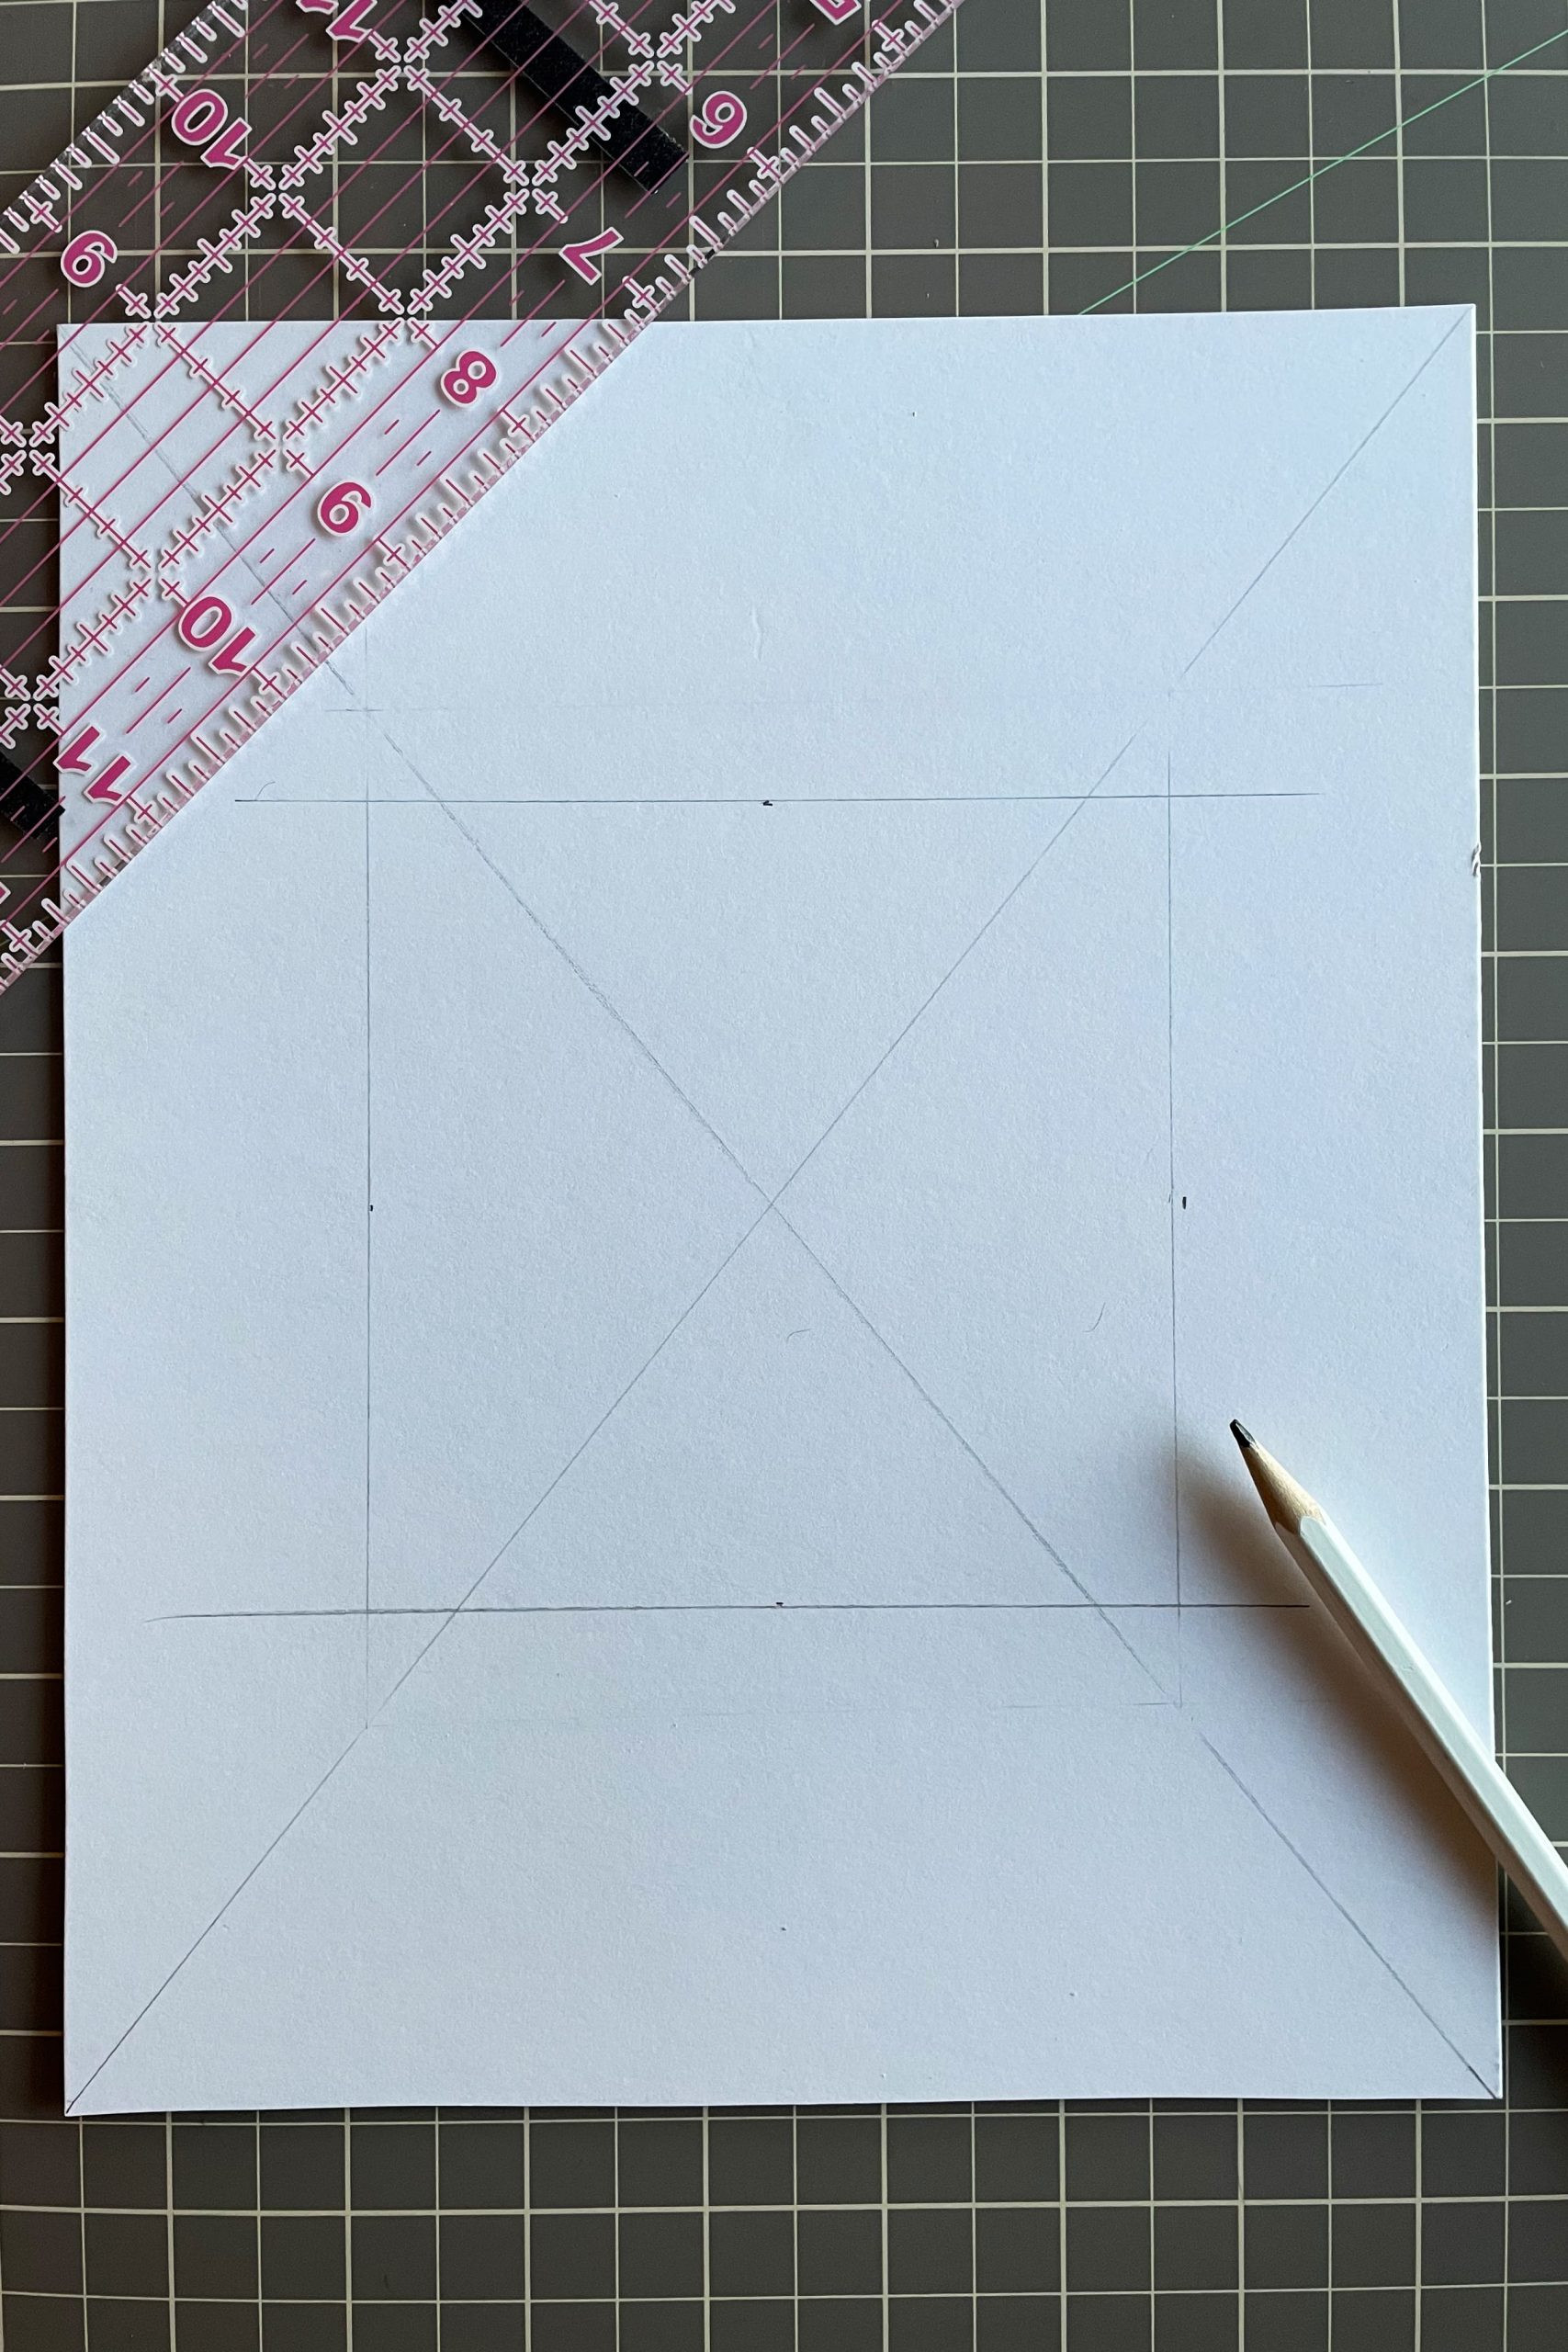 Image illustrating the process of measuring and marking the photo opening on the back of the mat board, using a ruler and pencil to create precise lines for the cutout.
4. Cutting the Photo Opening: The Moment of Truth
Now for the most crucial step – cutting the photo opening. This is where your mat cutter and steady hand come into play.
Positioning the Mat Cutter: Place your mat cutter inside the marked cutout box. Align the guide lines on the tool with your drawn pencil line. Butt the acrylic ruler firmly against the edge of the mat cutter to ensure a straight cut.
Starting the Cut Correctly: This is a key tip that can make or break your mat. Bring the mat cutter to a corner of your marked cutout line. Before pressing the blade down, carefully position the cutter so that the blade will pierce the mat board just slightly outside the corner of your marked line, as demonstrated in the original article. Starting and ending your cut slightly past the corners is essential for clean corners and a smooth pop-out of the center piece.
Executing the Cut: Once positioned, press firmly and steadily down on the mat cutter to engage the blade. Maintain consistent pressure as you slide the cutter along the edge of the acrylic ruler, following your marked line. Continue sliding until you are just slightly past the opposite corner of your marked line. Lift the blade.
Repeat for All Sides: Repeat this process for all four sides of your marked cutout box. Commit to completing each cut line in one smooth motion. Stopping and starting mid-cut can result in uneven lines.
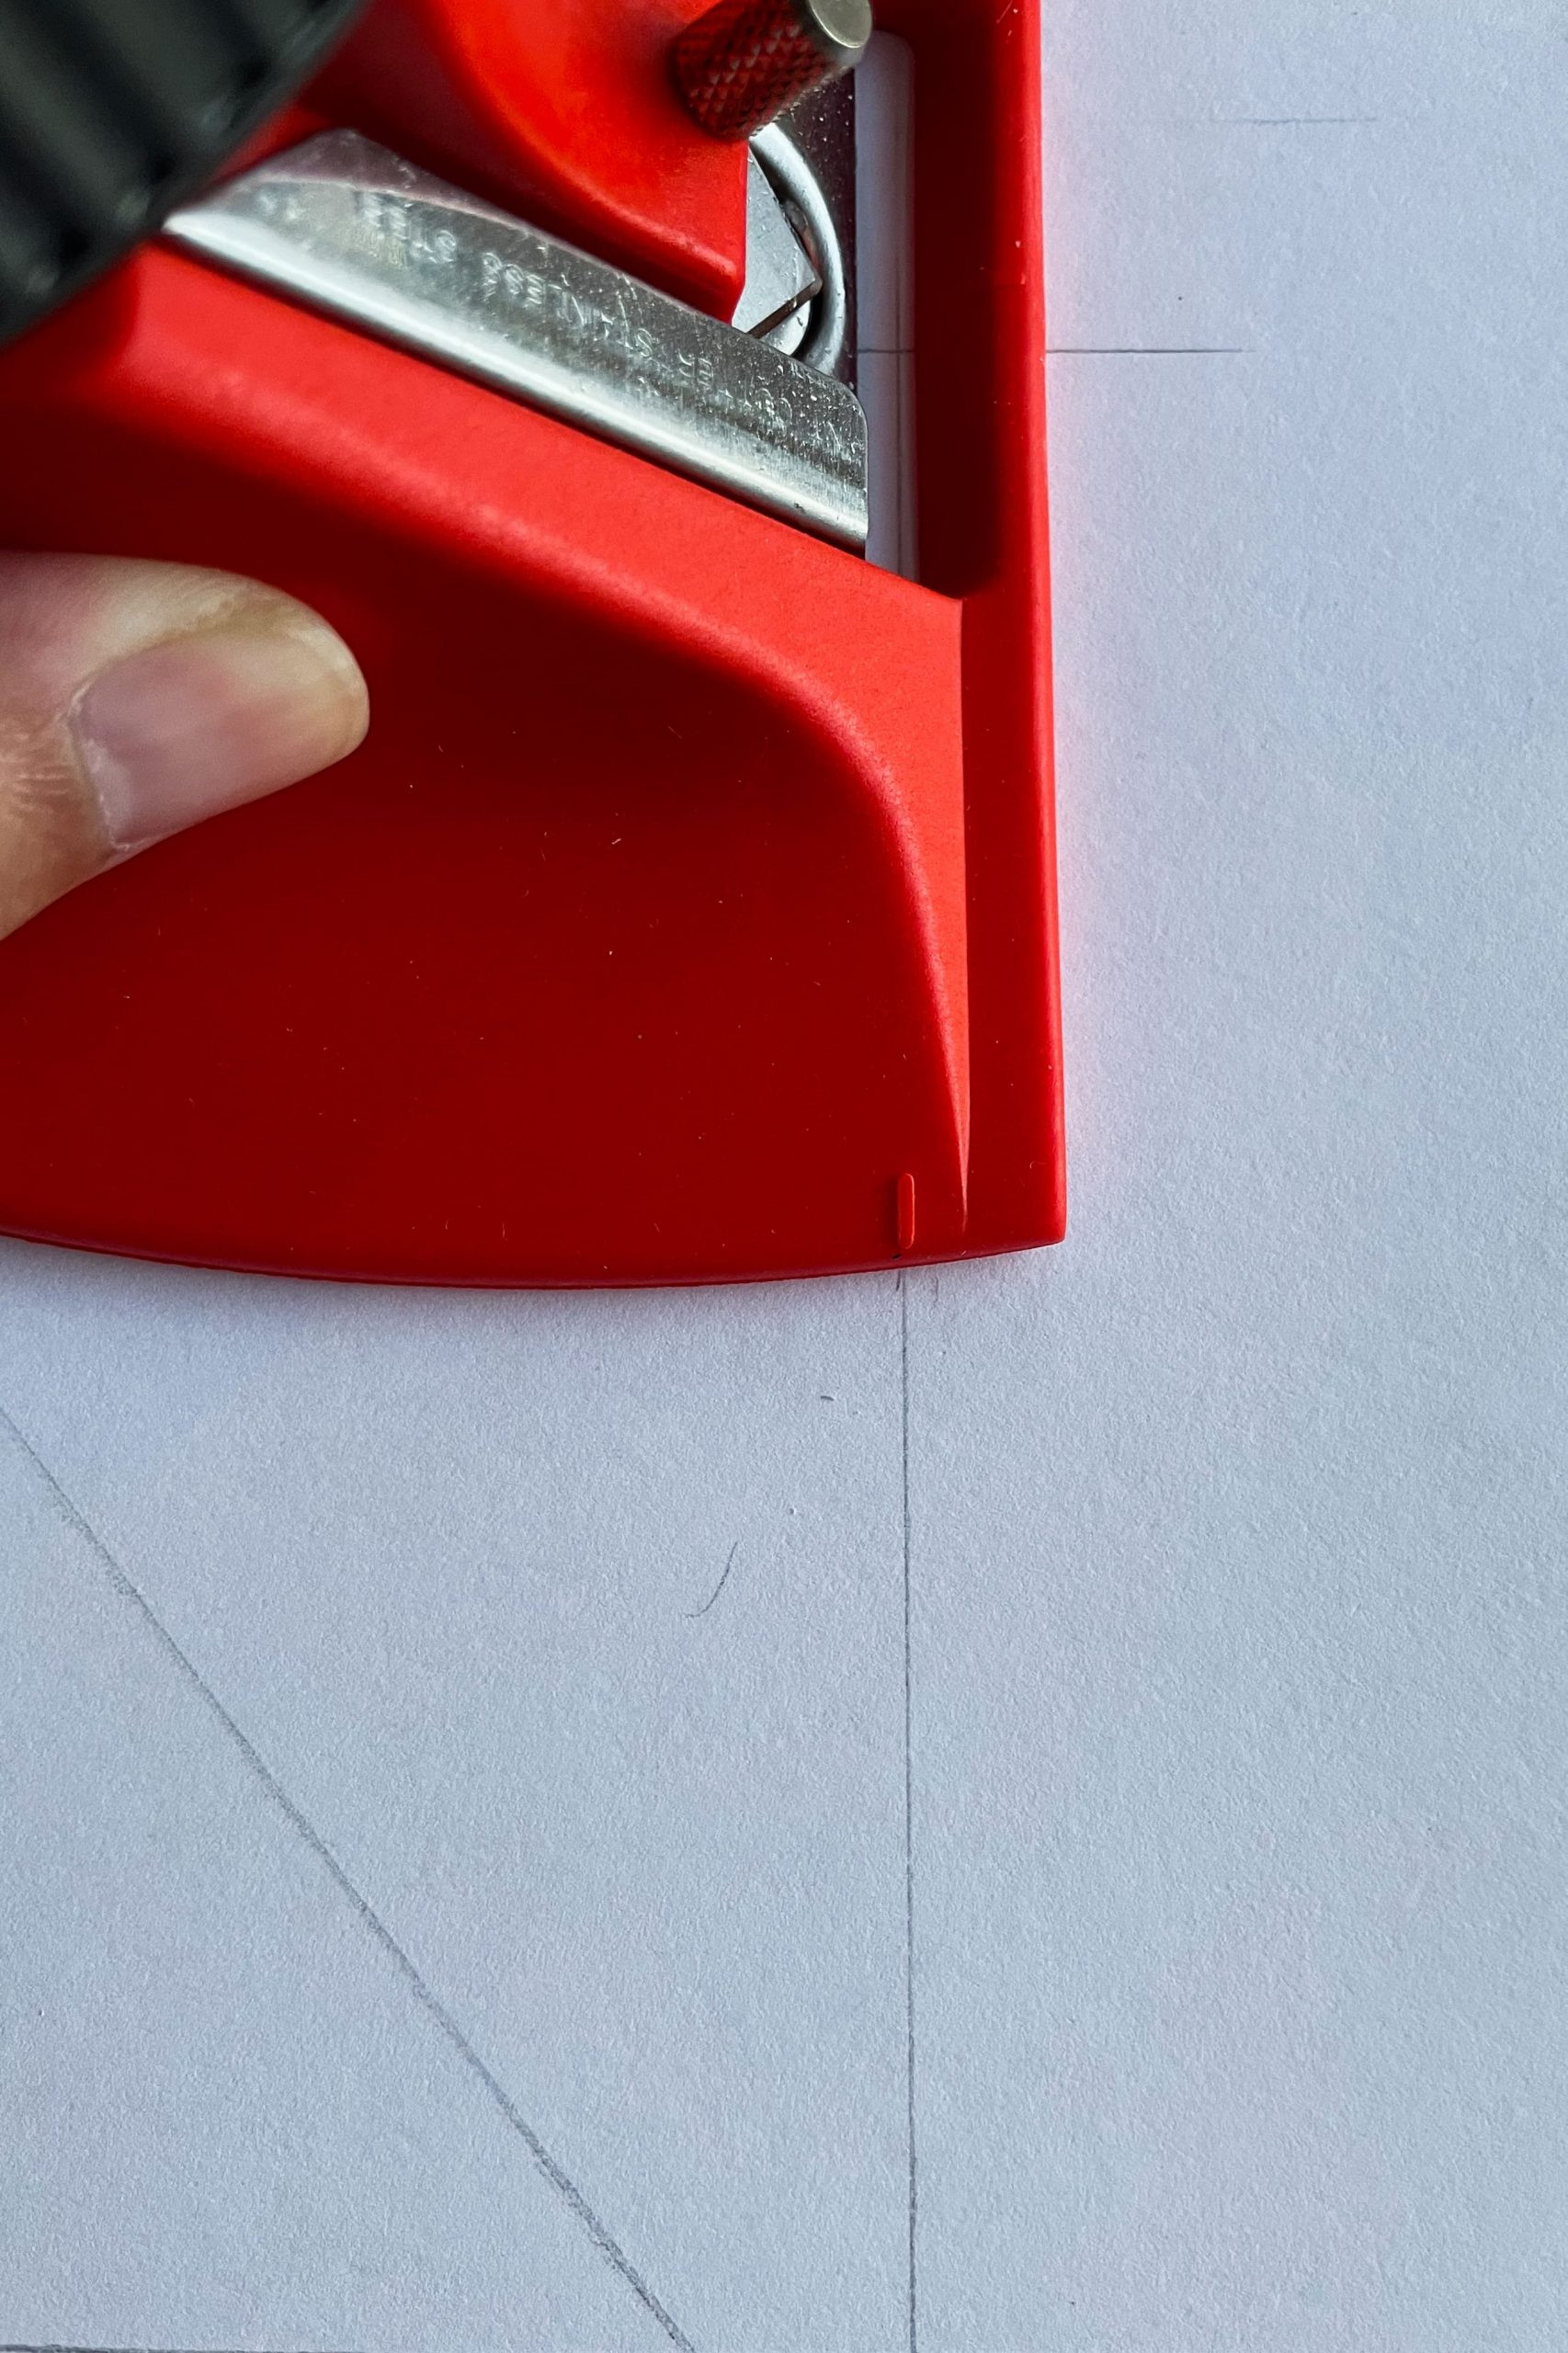 Image showing the mat cutter tool aligned with the marked line on the mat board, guided by an acrylic ruler, ready to make a precise cut for the photo opening.
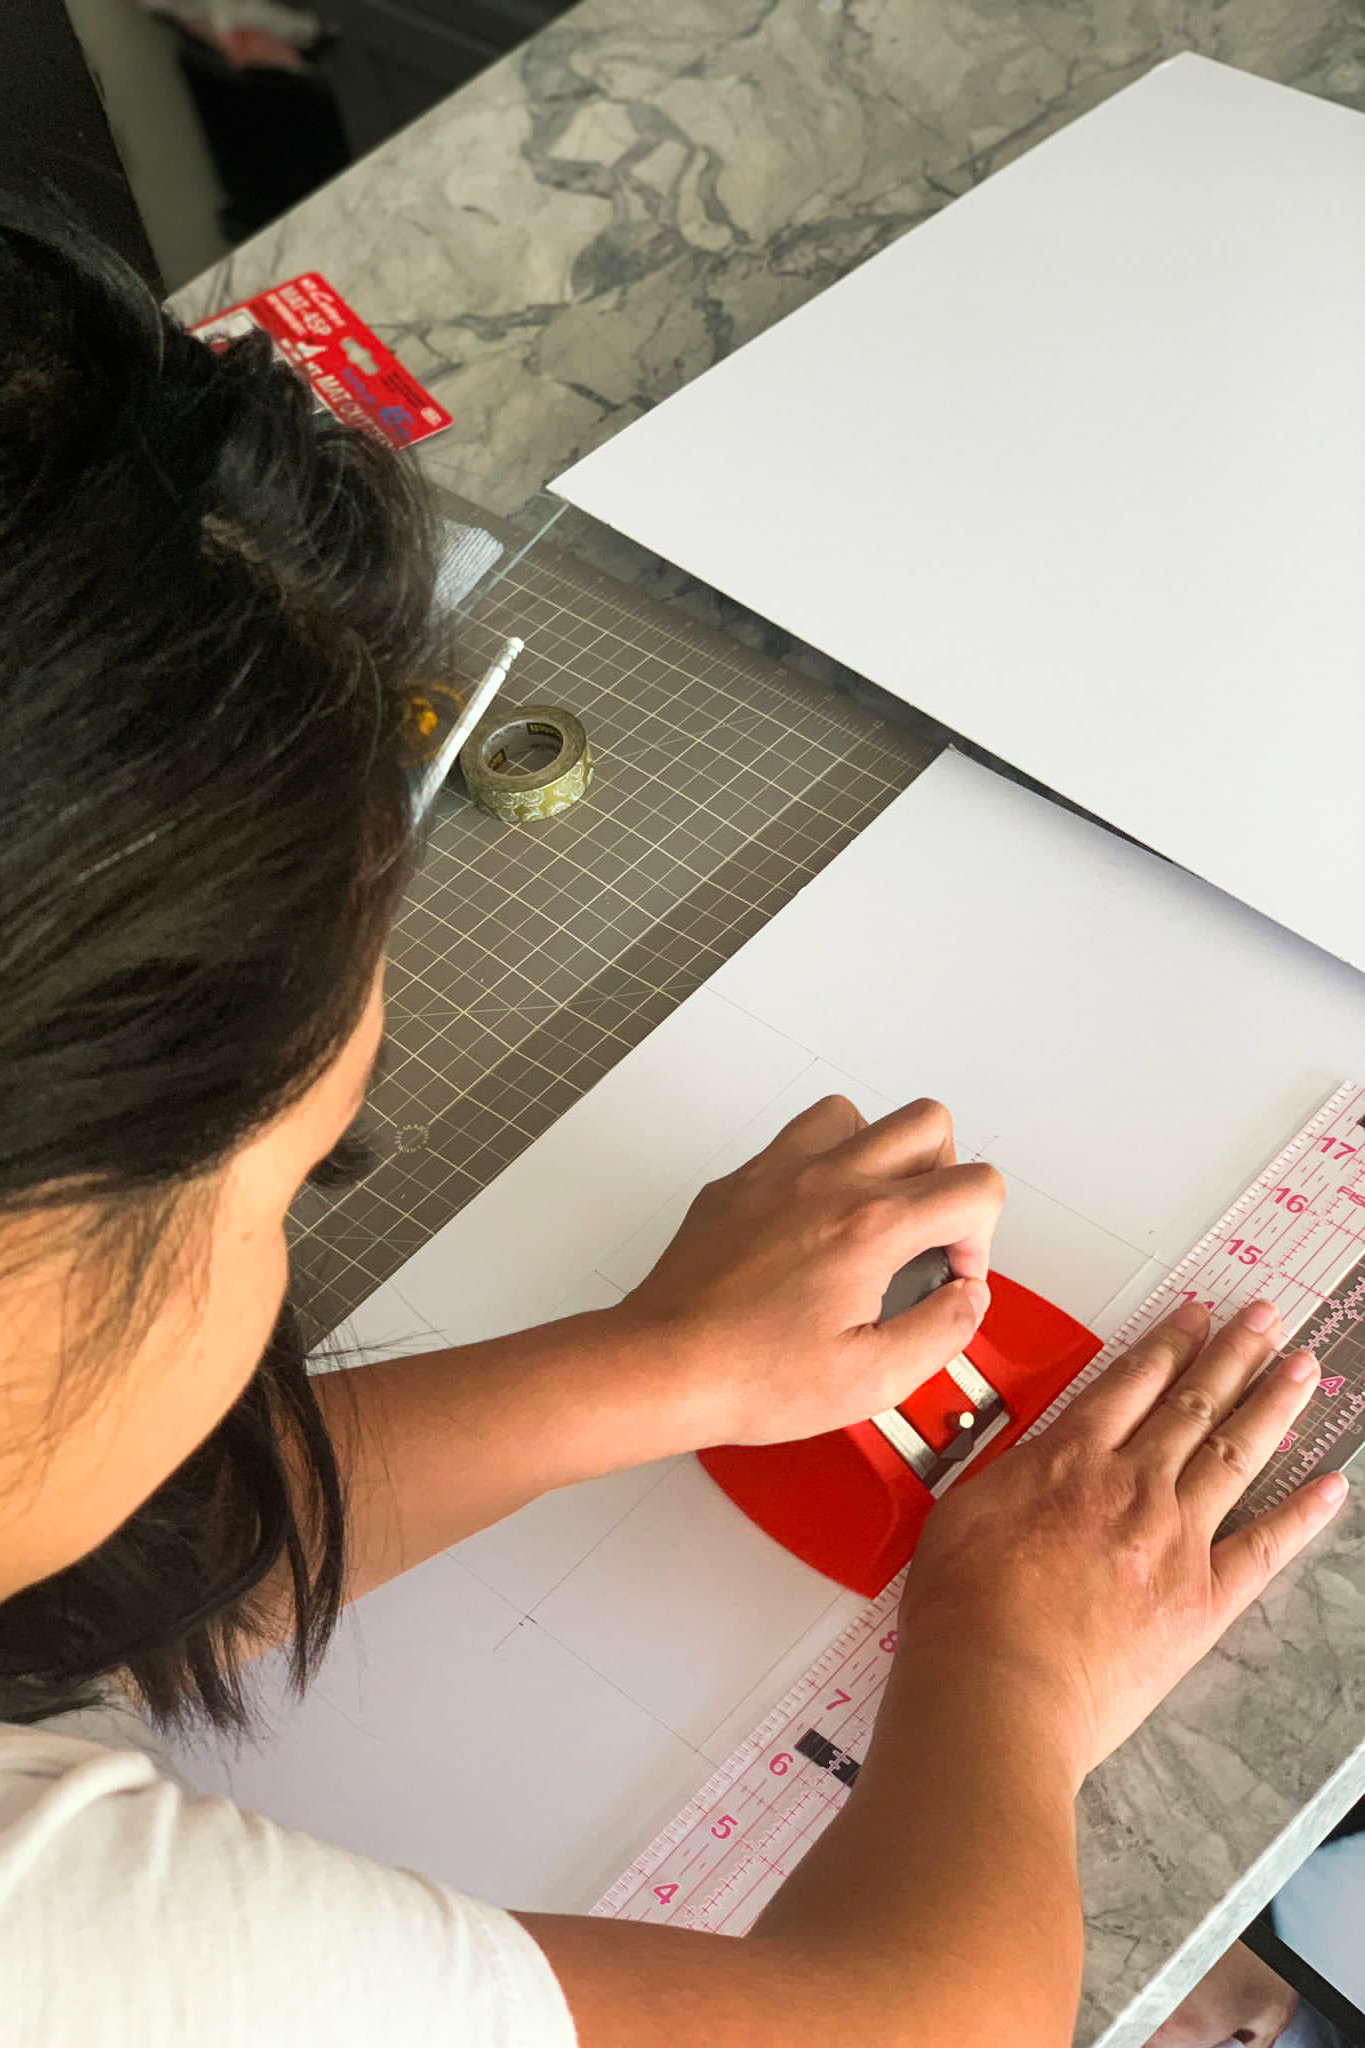 Image illustrating the action of sliding the mat cutter along the acrylic ruler to create a straight and clean cut for the photo mat opening.
The Clean Pop-Out Test: If your cuts are accurate and complete, the center piece of mat board should pop out cleanly on its own when you lift the mat board. This is the sign of a well-cut mat!
Troubleshooting Center Piece Removal: If the center piece doesn’t pop out cleanly, don’t force it! Carefully inspect the cut lines. If you see areas where the cut wasn’t deep enough, gently score along those lines again using your rotary cutter or a sharp X-acto knife. Never try to tear or pull the center piece out, as this can damage the edges of your mat opening.
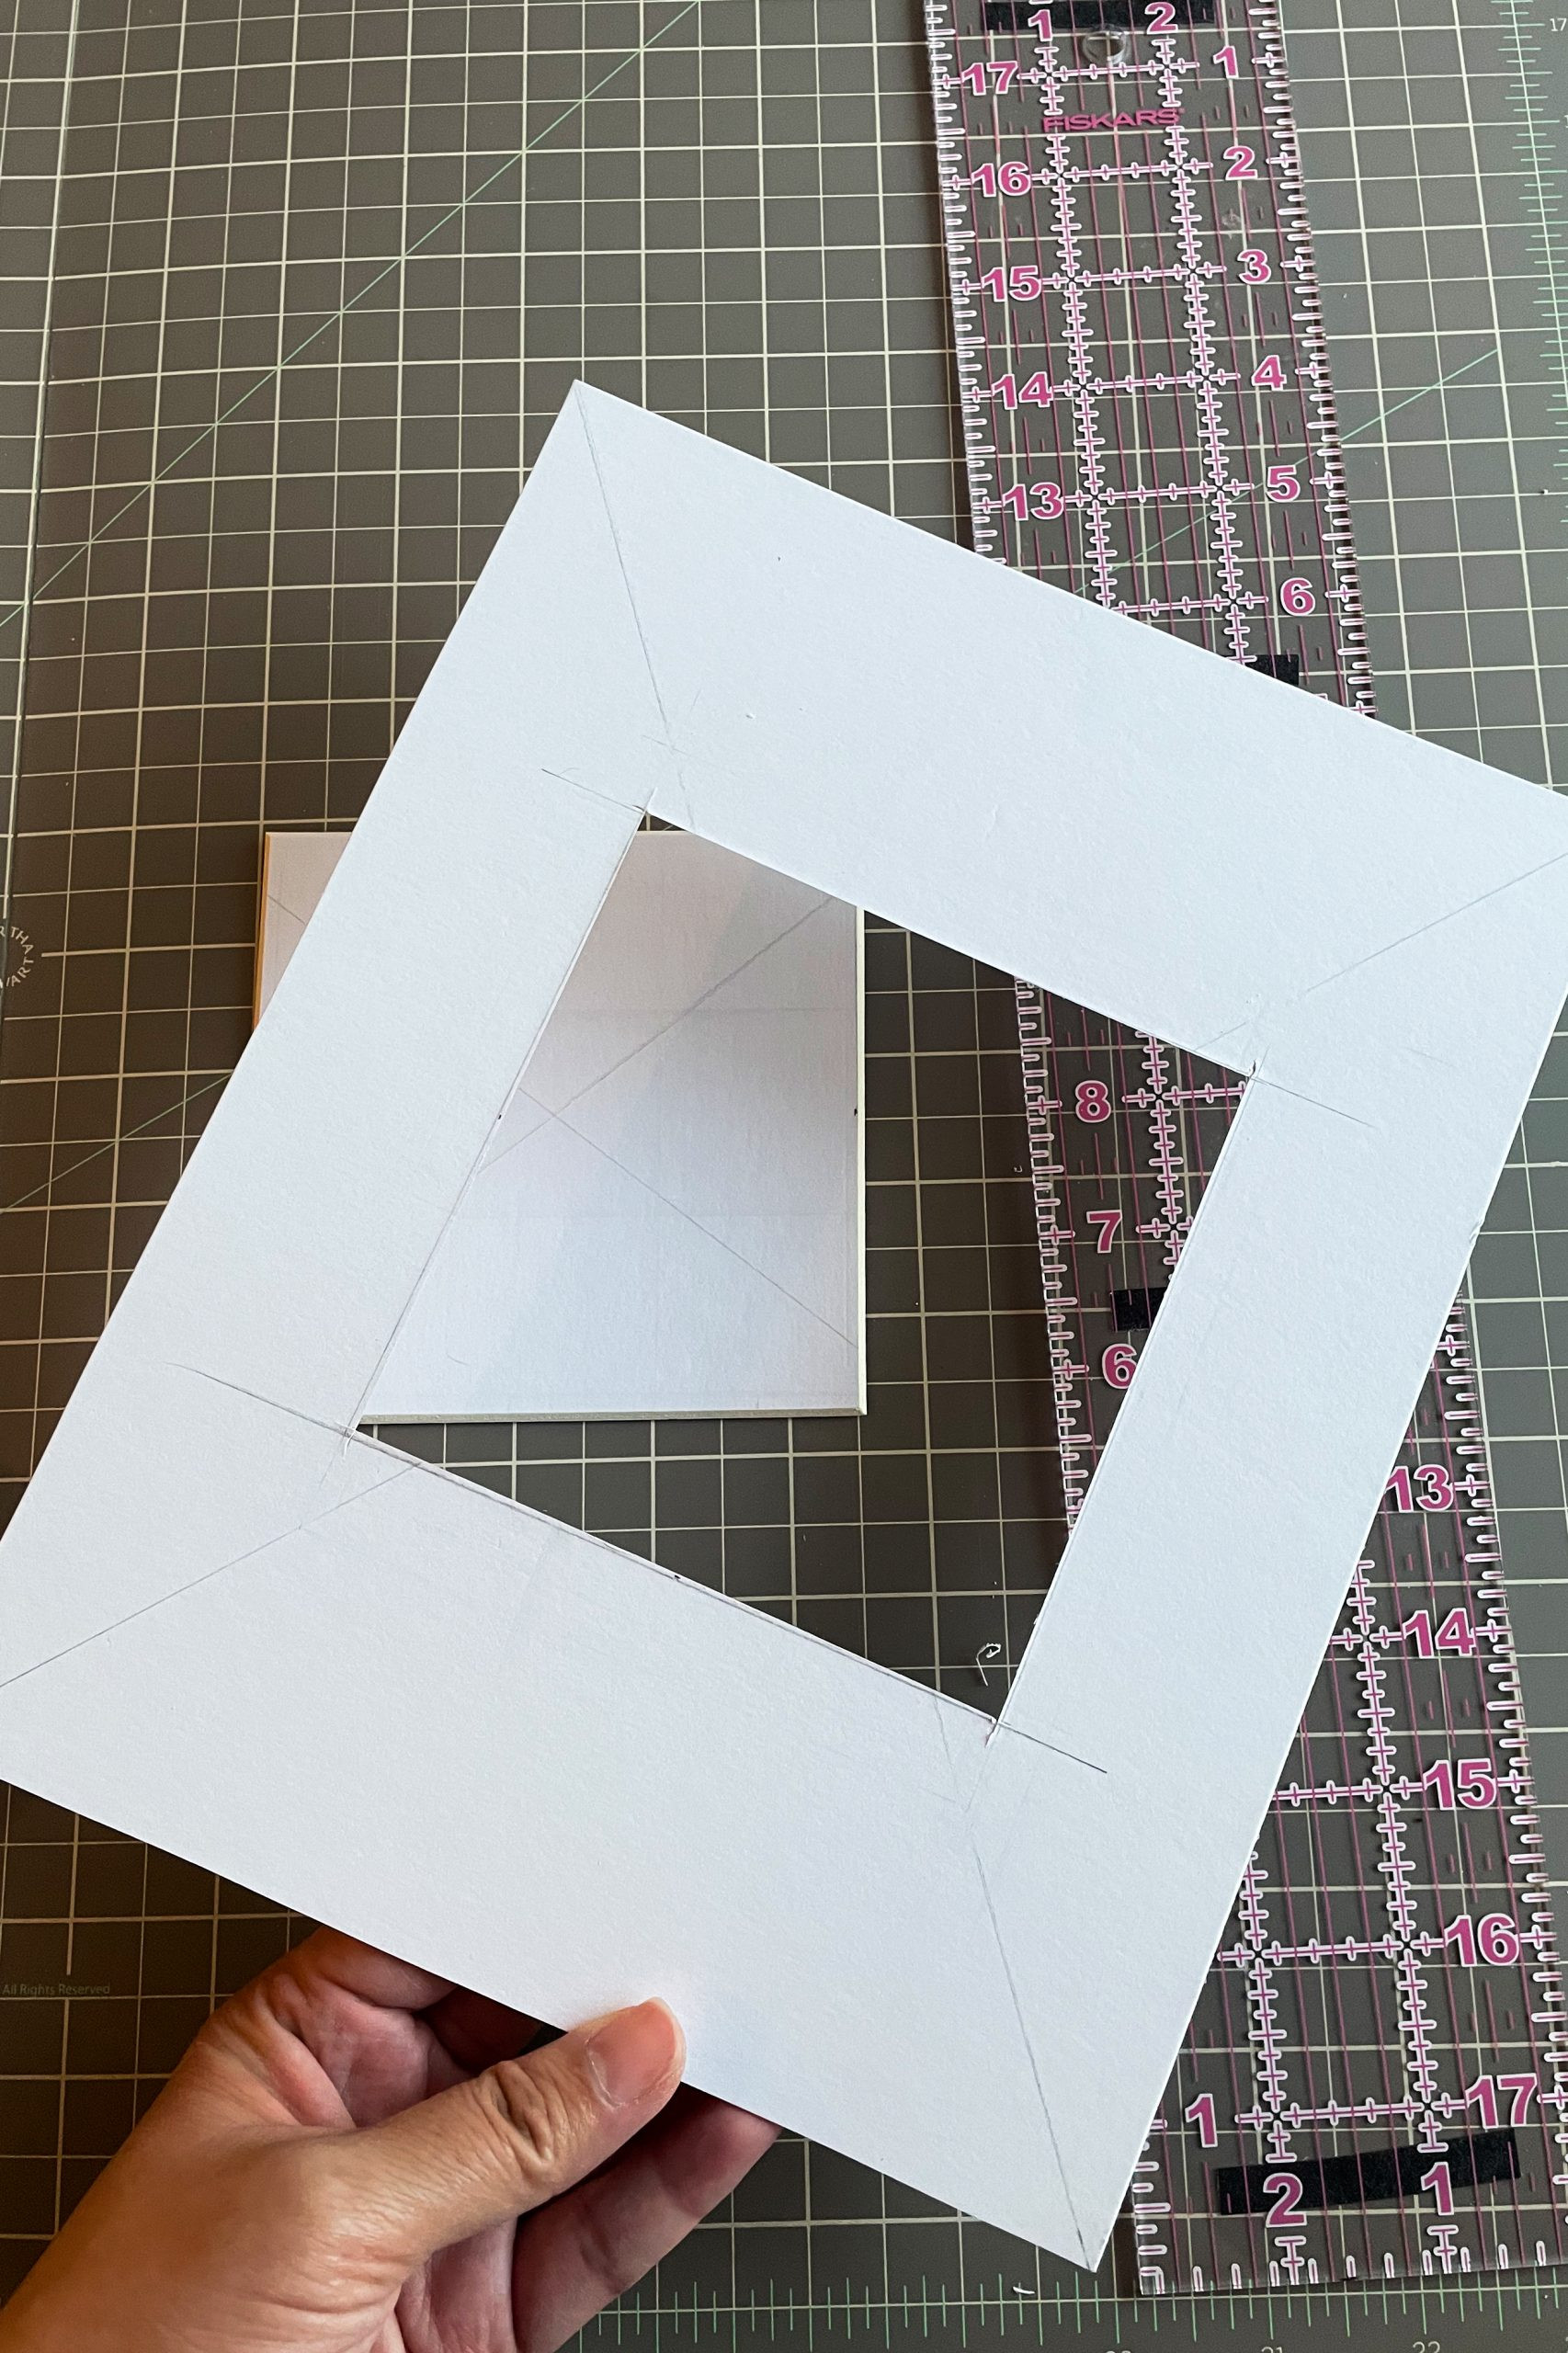 Image showcasing a successfully cut photo mat with the center piece cleanly removed, demonstrating the desired outcome of the mat cutting process.
 Image highlighting the bevel edge of a newly cut photo mat opening, emphasizing the professional and clean finish achieved through DIY mat cutting.
Finishing Touches and Displaying Your Masterpiece
Congratulations! You’ve successfully cut your own picture mat. Now, flip your mat over to the front side. The beveled edge of your cutout should be facing upwards, creating that professional, recessed look.
Mounting Your Photo: Secure your photo to the back of the mat board using acid-free artist tape or framer’s tape. Position the photo carefully within the opening, ensuring it’s centered and straight.
Framing and Display: Place your matted photo into your frame, assemble the frame backing, and you’re ready to display your beautifully framed artwork or photograph!
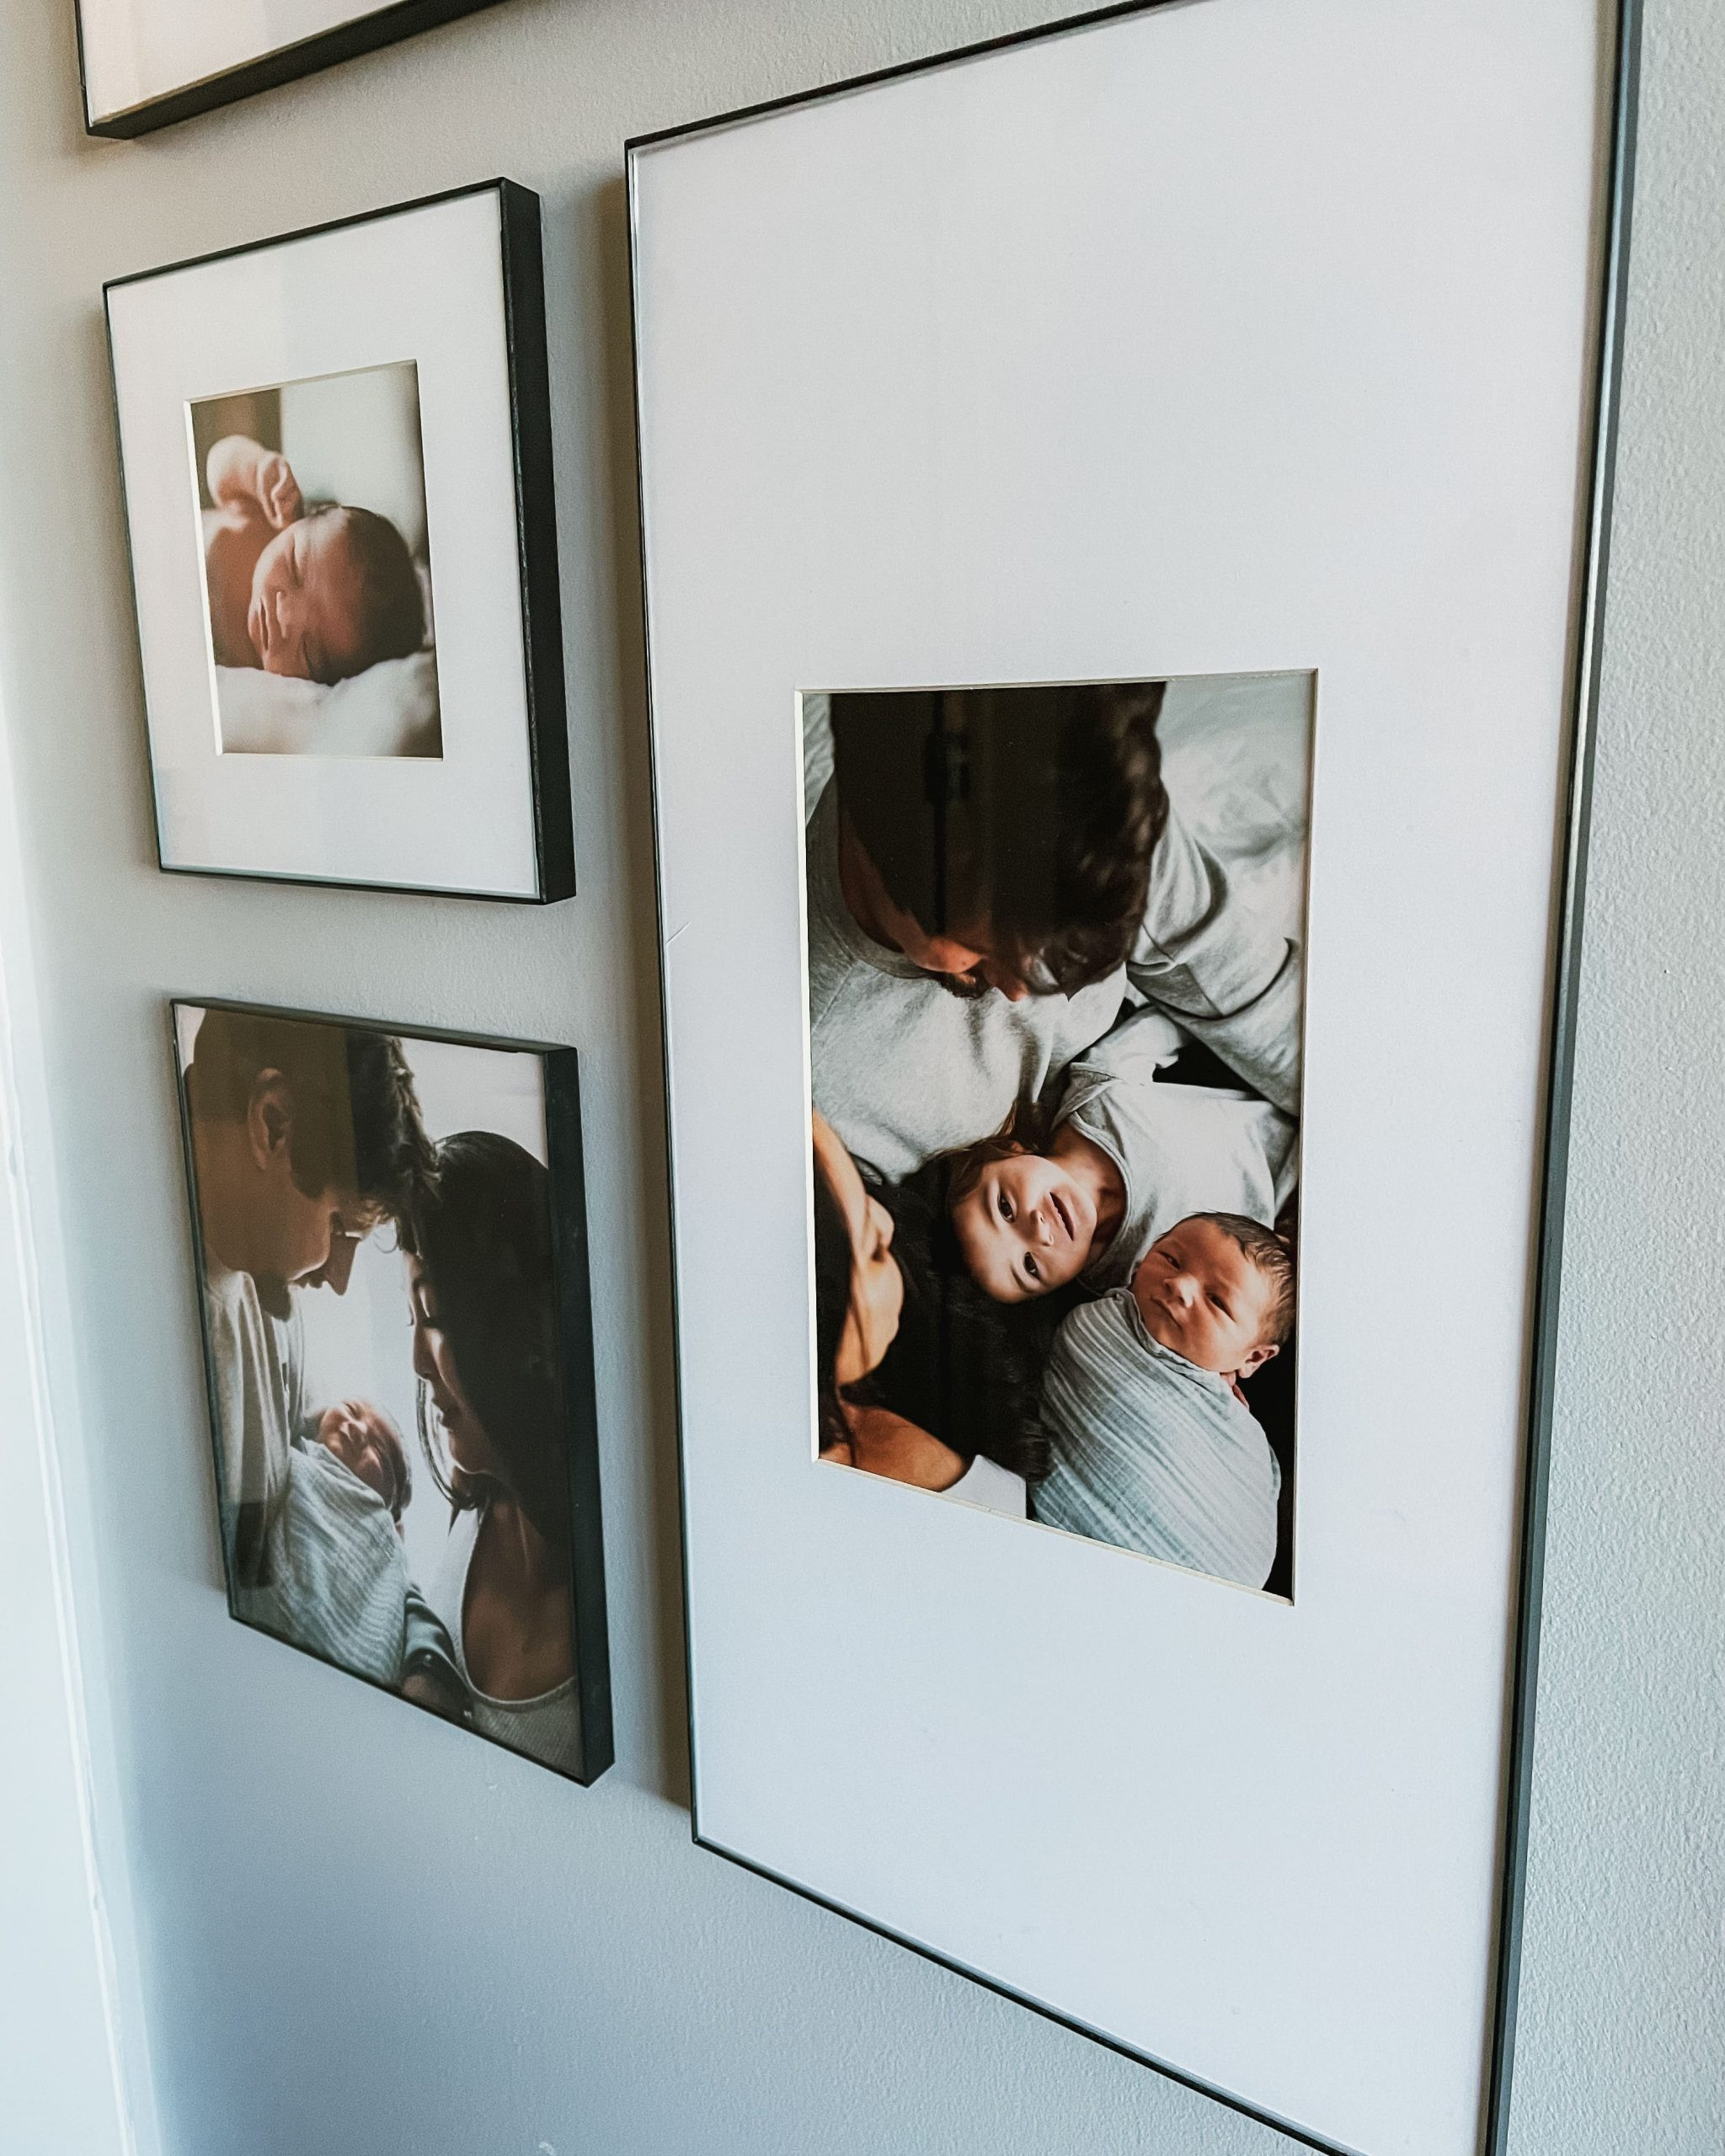 A beautifully arranged gallery wall featuring framed family photos, all enhanced with custom DIY picture mats, showcasing a cohesive and personalized home décor style.
Key Tips for Mat Cutting Success (Do it Right the First Time!)
Let’s recap some essential tips to minimize mistakes and maximize your mat cutting success, building upon the original author’s advice:
- Practice Makes Perfect (and Imperfect Mats are Okay!): Acknowledge that your first few mats might not be perfect. Use scrap mat board for practice cuts to get a feel for your tools and technique. Consider your first few mats as part of the learning process and factor in extra mat board for potential errors.
- Cut Past the Corners: Always start and end your cuts slightly beyond the corners of your marked cutout lines. This ensures clean corners and allows the center piece to release easily.
- Start Cuts at the Corner (Not in the Middle): Avoid starting your cut directly on your marked line, especially not in the middle of a line. This can create a small puncture or divot on the inside edge of your mat opening, which is visually unappealing. Always begin just outside the corner.
- Use Anti-Slip Ruler Backing: This cannot be stressed enough! Non-slip backing on your ruler is crucial for preventing slips and ensuring accurate, straight cuts.
- Complete Each Cut in One Motion: Once you begin a cut line, finish it smoothly and continuously. Avoid stopping and starting, as this can create uneven cuts.
- Sharp Blades are Your Friend: Use sharp blades in your mat cutter and rotary cutter. Dull blades require more pressure, leading to ragged cuts and increased risk of slipping. Replace blades regularly for optimal performance.
- Measure Twice, Cut Once: Double-check all your measurements before making any cuts. Accuracy in measuring is key to achieving the desired mat opening size and overall mat dimensions.
When DIY Isn’t For You: Considering Custom Mat Services
As the original article honestly points out, there might be times when DIY mat cutting isn’t the most appealing option. If you’re short on time, feeling overwhelmed, or need a large number of mats, consider using custom mat cutting services.
Online services like Custom Mat (mentioned in the original post) and others offer a wide range of mat board options, sizes, and even pre-designed templates. While it will be more expensive than DIY, it can save you time and frustration, especially for large or complex projects. Compare prices and consider sales or discounts to make custom mats more budget-friendly.
Ultimately, learning how to cut your own photo mats empowers you to create custom framing solutions for your photos and artwork. With practice and the right tools, you can achieve professional-looking results and add a personal touch to your home décor projects. So, go ahead, equip yourself with the knowledge and tools, and start creating your own beautiful custom picture mats today!