Cropping images is a fundamental skill for any designer working with Adobe Illustrator. Whether you’re refining photos for a website, creating social media graphics, or designing print materials, knowing how to crop effectively is essential. This guide outlines three simple yet powerful methods to crop photos in Illustrator, ensuring you have the right technique for any project.
Method 1: Using the Crop Image Function
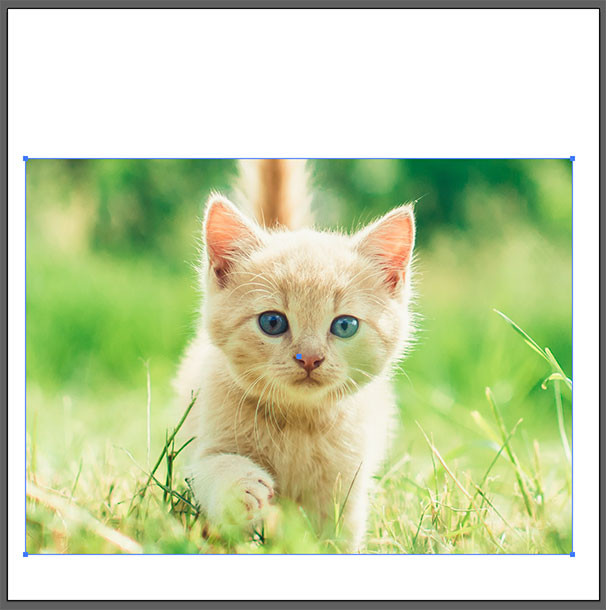
This method is ideal for cropping raster images like JPEGs, PNGs, and embedded EPS files. It’s a straightforward approach for quickly removing unwanted areas from your photos. Remember, this method permanently alters the image within your Illustrator file, though the original file remains unchanged on your computer.
- Prepare Your Image: Open your image in Illustrator. Resize it using the Selection Tool (V) and Shift key if necessary to ensure the desired area fits within the artboard.
- Select the Image: Click on the image with the Selection Tool.
- Access the Crop Image Function: Navigate to Object > Crop Image. A dialogue box will appear, informing you that the cropping process is non-destructive to the original source file. Click OK.
- Adjust the Cropping Area: A bounding box with handles will appear around your image. Drag the handles to define the area you want to keep.
- Apply the Crop: Click the “Apply” button in the Properties panel (Window > Properties) or the Control panel that appears above your artwork.
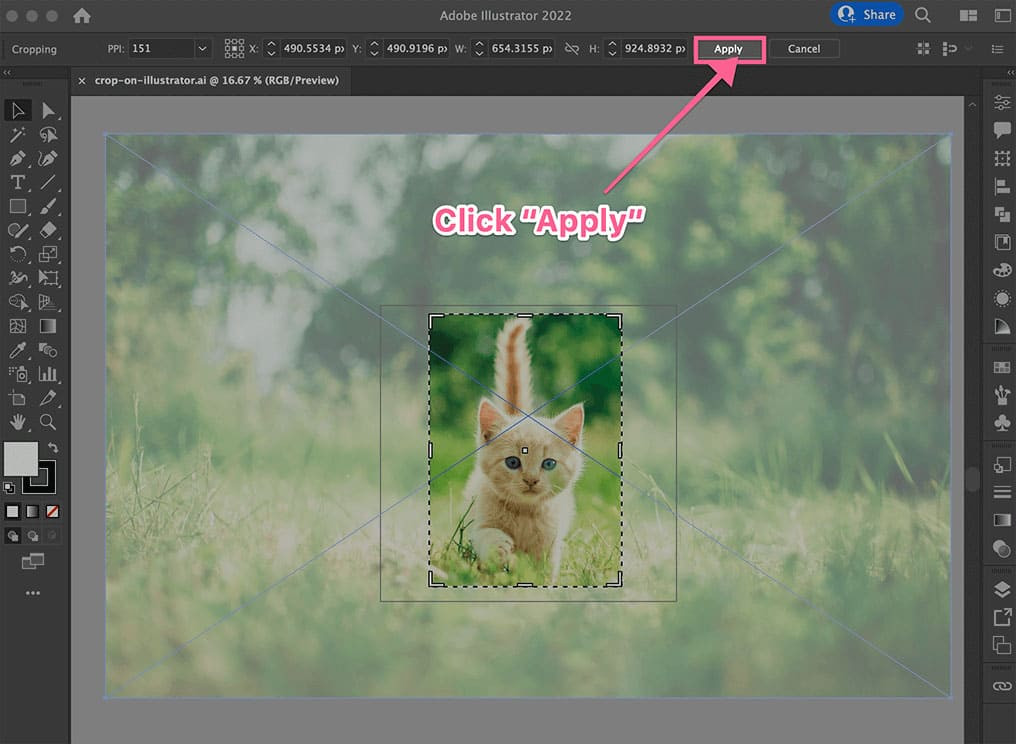 Cropping an image using the Crop Image function in Illustrator.
Method 2: Utilizing the Clipping Mask
Clipping Masks offer more flexibility, allowing you to crop images with custom shapes, both regular and irregular. This method is non-destructive, preserving the original image beneath the mask. This technique works with both raster and vector graphics.
- Create Your Shape: Use the Shape tools (Rectangle, Ellipse, etc.) or the Pen Tool (P) to draw the shape you want to use as your cropping boundary.
- Position the Shape: Place the shape over the area of the image you want to keep.
- Select Both Objects: Select both the image and the shape using the Selection Tool while holding the Shift key.
- Create the Clipping Mask: Go to Object > Clipping Mask > Make. The image will be cropped to the shape of the mask.
 Using a custom shape to create a clipping mask in Illustrator.
Cropping with an irregular shape using the Pen Tool and Clipping Mask.
Method 3: Mastering Opacity Masks
Opacity Masks offer the most control, enabling you to create soft, feathered edges and gradients within your cropped area by using grayscale values. Black represents complete transparency, white represents full opacity, and grays create varying levels of transparency.
- Create Your Mask Shape: Similar to the Clipping Mask method, create a shape that defines the visible area of your image. Fill it with white.
- Select Both Objects: Select both the image and the shape.
- Open the Transparency Panel: Go to Window > Transparency.
- Make the Opacity Mask: In the Transparency panel, click the “Make Mask” button. Ensure the “Clip” box is checked. You can now edit the mask shape with grayscale gradients or by painting directly on the mask to control transparency.
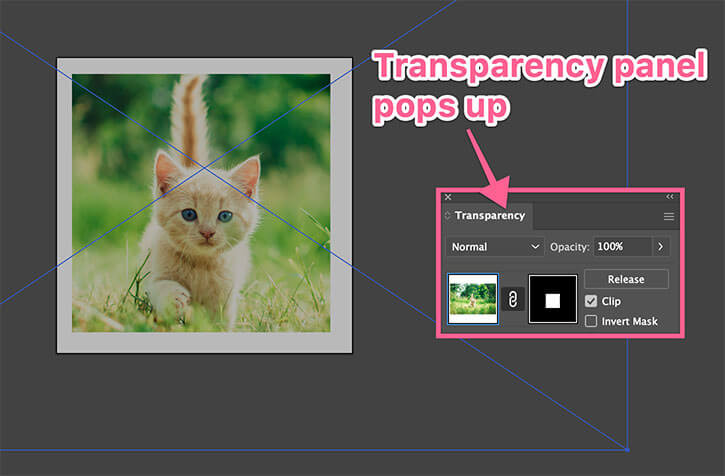 Adjusting opacity with a mask in Illustrator's Transparency panel.
Conclusion
Mastering these three cropping methods will significantly enhance your image editing workflow in Illustrator. Each technique offers unique advantages, allowing you to choose the best approach for your specific needs. Experiment with each method to discover the power and flexibility of cropping in Illustrator.
